はじめに
とあるプロジェクトでgoogle mapsを使う話が出たのですが、サーバーサイドからアクセス出来ないか思い立ったらカンタンに出来たので勢いでhubot scriptを作ってみました。
hubotの最近のバージョン(2.9系)だとscriptsフォルダ内にあったスクリプトが全て外部モジュールになってましたね。
ということもあり、これを機会に練習がてら、作成したhubotスクリプトをnpmに登録までしてみました。
googlemapsモジュール
まずは、googlemapsをnode.jsから扱ってみます。
ググると大抵ありますね。
$ npm i googlemaps
サンプルをもとに台東区周りを指定してみます。
かなり短いコードで試せます笑
var gm = require('googlemaps');
var util = require('util');

markers = [
    { 'location': '東京都台東区浅草' },
    { 'location': '東京都台東区上野' },
    { 'location': '東京都台東区東上野',
        'color': 'red',
        'label': 'A',
        'shadow': 'false',
        'icon' : 'http://chart.apis.google.com/chart?chst=d_map_pin_icon&chld=cafe%7C996600'
    }
];

util.puts(gm.staticMap('東京都台東区', 14, '2000x800', false, false, 'roadmap', markers));
実行すると地図の画像リンクが吐き出されます。
$ node map.js
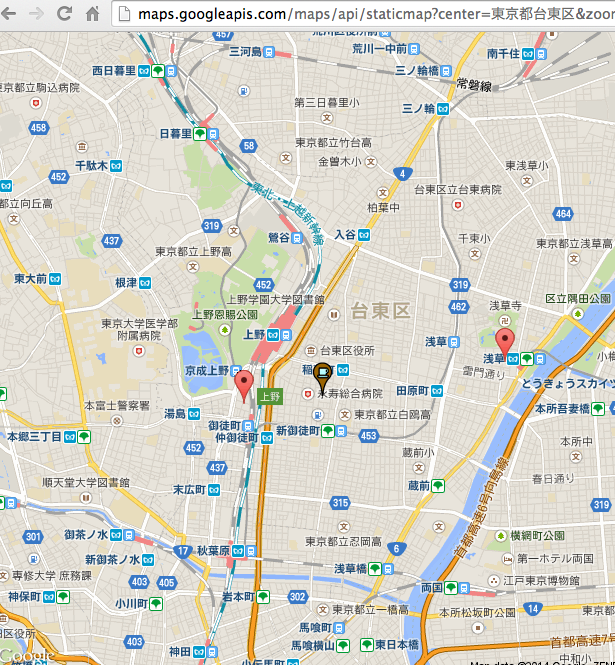
http://maps.googleapis.com/maps/api/staticmap?center=%E6%9D%B1%E4%BA%AC%E9%83%BD%E5%8F%B0%E6%9D%B1%E5%8C%BA&zoom=14&size=2000x800&maptype=roadmap&markers=%7C%E6%9D%B1%E4%BA%AC%E9%83%BD%E5%8F%B0%E6%9D%B1%E5%8C%BA%E6%B5%85%E8%8D%89&markers=%7C%E6%9D%B1%E4%BA%AC%E9%83%BD%E5%8F%B0%E6%9D%B1%E5%8C%BA%E4%B8%8A%E9%87%8E&markers=%7Ccolor%3Ared%7Clabel%3AA%7Cicon%3Ahttp%3A%2F%2Fchart.apis.google.com%2Fchart%3Fchst%3Dd_map_pin_icon%26chld%3Dcafe%257C996600%7Cshadow%3Afalse%7C%E6%9D%B1%E4%BA%AC%E9%83%BD%E5%8F%B0%E6%9D%B1%E5%8C%BA%E6%9D%B1%E4%B8%8A%E9%87%8E&sensor=false
ブラウザからアクセスするとこんな感じになります。
いちいちブラウザにアクセスするのは怠いのでSlackに貼りたい(hubot経由)
話の流れとしては、googlemapsをnode.jsで使えればOKだったのですが、確認用にブラウザにURLを貼るのが面倒だったという理由でHubot->slackへ投稿という形を取りました。
という理由で、Hubotのスクリプトで記述してみます。
"Hubot デフォルトのスクリプトで遊べそうなのものまとめ"にもあるようにデフォルトのhubotスクリプトでgoogle mapを表示するコマンドがあるっぽいですが、日本語対応してないみたいですし、スクリプト作成の練習がてら作ってみました。
$ npm i --save googlemaps
// Description:
//   Messing around with the google map API.
// Commands:
//   hubot gmap 'location'  - Return google map static images.

var gm = require('googlemaps');

module.exports = function(robot) {
	robot.respond(/gmap (.+)$/i, function(msg){
		console.log(msg.match[1]);
		markers = [{ 'location': msg.match[1] }]
		var output = gm.staticMap(msg.match[1], 14, '1000x800', false, false, 'roadmap', markers);
		msg.send(output);
	});
};
hubot gmap "location"
という感じで使えます。
ついでにnpm登録してみた
npm登録って初めてなのですが汗
こちらの記事(hubot-scriptを公開する方法(npm編))を参考にしてnpm公開してみました。
ちなみに.coffeeでnpm登録しましたが、↑のコードをCoffeeScriptに変換するとこんな感じ(?)でした。
# Description:
#   Messing around with the google map API.
# Commands:
#   hubot gmap 'location'  - Return google map static images.

gm = require("googlemaps")

module.exports = (robot) ->
  robot.respond /gmap (.+)$/i, (msg) ->
    markers = [location: msg.match[1]]
    output = gm.staticMap(msg.match[1], 14, "1000x800", false, false, "roadmap", markers)
    msg.send output
    return

  return
hubot-googlemaps
npmに公開したScriptです。
https://www.npmjs.com/package/hubot-googlemaps
使い方ですが、hubotのルートディレクトリで
$ npm install --save hubot-googlemaps
$ echo '["hubot-googlemaps"]' > external-scripts.json
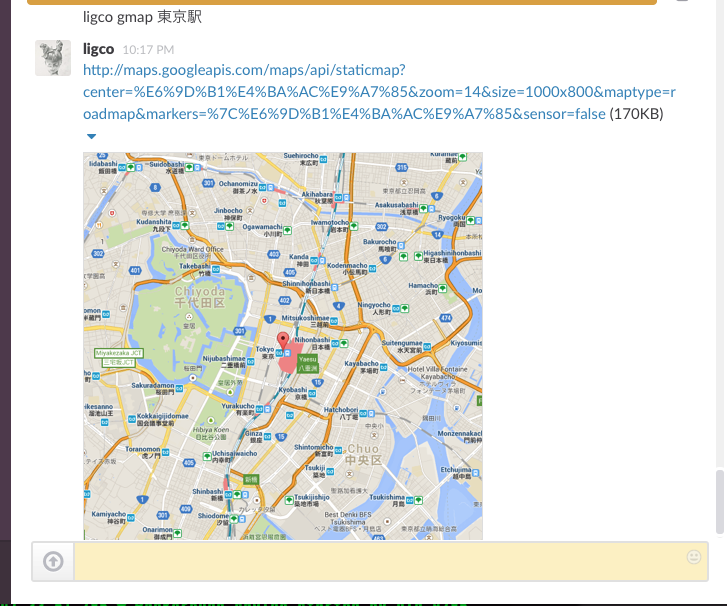
とすればOKです。こんな感じで実行出来ます。
Hubot> hubot gmap 東京
http://maps.googleapis.com/maps/api/staticmap?center=%E6%9D%B1%E4%BA%AC&zoom=14&size=1000x800&maptype=roadmap&markers=%7C%E6%9D%B1%E4%BA%AC&sensor=false