こんにちは、n0bisukeと申します。
Pythonのアドベントカレンダーの担当日ですが、WebRTCのもくもく会に来ています。
せっかくなのでPythonでWebRTCのシグナリングサーバーを作ってみます。
現状だとシグナリングサーバーというかシグナリングしてみたって感じなのでアップデートしたい[WIP]
↑しました。
普段はPythonを使ってないのでニュアンス違うなぁってのがあれば教えてください
これまでにやったこと
- Phoenix Channelを使ってWebRTCのシグナリングをするメモ #beamlangtokyo
- WebRTCのシグナリングサーバーにMilkcocoaを使って見るメモ #webrtcjp #mlkcca
シグナリングだけやってますね()
調査
Pythonは普段触らないので調査からスタートです。
などが見つかりました。
simple-websocket-serverがパッと見でシンプル&分かりやすそうなのでこれを使ってみます。
たぶん最後のリンクが公式感あるやつですけど今回は執筆スピード重視で......笑
simple-websocket-serverを触ってみる
サーバー側
まずはpipでモジュール追加
pip install git+https://github.com/dpallot/simple-websocket-server.git
サンプルコードを記述
from SimpleWebSocketServer import SimpleWebSocketServer, WebSocket

class SimpleEcho(WebSocket):

    def handleMessage(self):
        # echo message back to client
        self.sendMessage(self.data)

    def handleConnected(self):
        print(self.address, 'connected')

    def handleClose(self):
        print(self.address, 'closed')

server = SimpleWebSocketServer('', 8000, SimpleEcho)
server.serveforever()
実行します。
python testapp.py
何も表示されないけどサーバーは立ち上がった模様。
localhost:8000でwsサーバーが起動します。
クライアント側
サンプルコードをそのまま利用します。
index.htmlとして8001番ポートでサーバー起動します。
python -m SimpleHTTPServer 8001
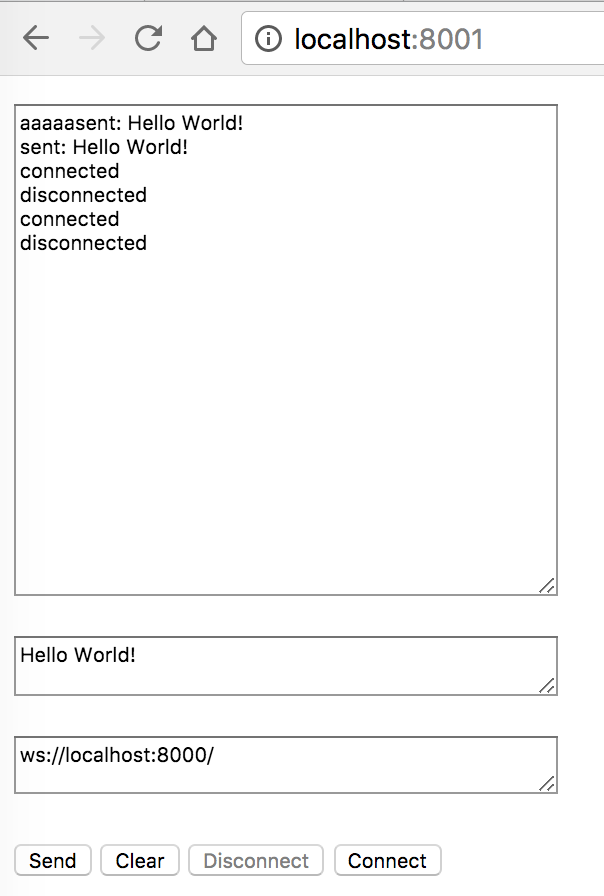
http://localhost:8001にブラウザからアクセスするとこんな感じのページになります。
Connectボタンを押すと8000番ポートのwsサーバーに接続されます。
左側がwsサーバー(8000番)、右側がwebサーバー(8001番)です。
シグナリングしてみる
ここまで出来ればあとは応用ですね
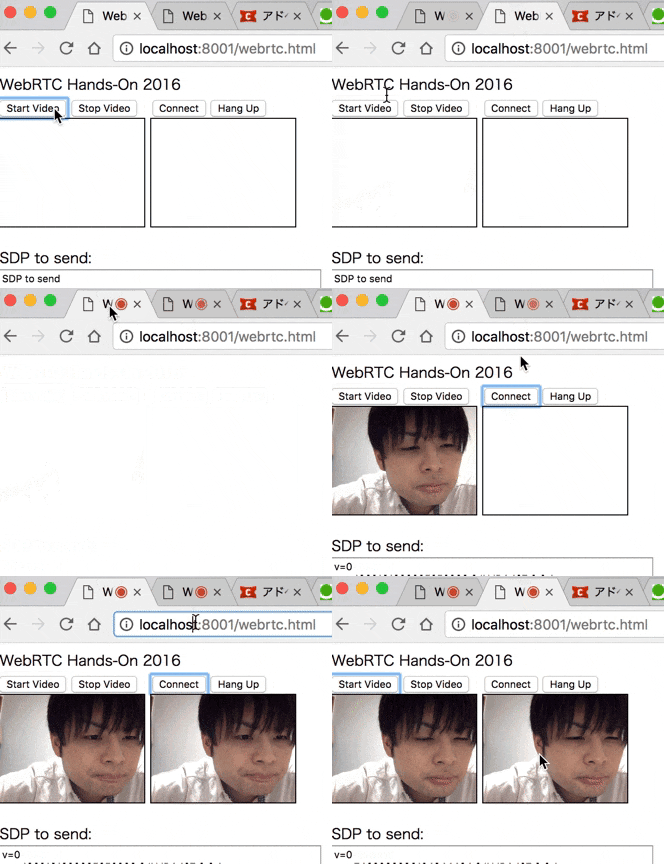
大元のコードはこちらのハンズオン資料の内容です。
このままだと今回もこのエラーが出ます
setRemoteDescription(answer) ERROR: DOMException: Failed to set remote answer sdp: Called in wrong state: STATE_INPROGRESS
Node.jsでのシグナリングサーバーサンプルではオブジェクト比較をしてwebsocketクライアントが同じかを判定していますが、
function isSame(ws1, ws2) {
    // -- compare object --
    return (ws1 === ws2);
}
Python側で比較をするよりクライアント側でUUID発行のほうが早そうだったのでクライアント側で判定するようにします。
このロジックをPythonで書いてみます。
サーバー側
ほぼtestapp.pyの内容と同じですがsignaling.pyを作成しました。
from SimpleWebSocketServer import SimpleWebSocketServer, WebSocket

clients = []

class SimpleEcho(WebSocket):

    def handleMessage(self):
        for client in clients:
            if client != self: #judge
                print('-----on----')
                client.sendMessage(self.data)
            else:
                print('----skip-----')

    def handleConnected(self):
        print(self.address, 'connected')
        clients.append(self) #add client

    def handleClose(self):
        print(self.address, 'closed')

server = SimpleWebSocketServer('', 8000, SimpleEcho)
server.serveforever()
解説すると、
    def handleConnected(self):
        print(self.address, 'connected')
        clients.append(self) #add client
ここで新規アクセスがあるたびにクライアント情報を記録します。
def handleMessage(self):
        for client in clients:
            if client != self: #judge
                print('-----on----')
                client.sendMessage(self.data)
            else:
                print('----skip-----')
ここで前述したエラーに対応するために、同じクライアントからの情報はスキップさせます。
クライアント側
こちらのハンズオンの内容をそのまま利用です。
終わりに
これでシグナリングが出来ました。 コードはこちらです。
結果、全くPython触らずに出来てしまったので、せめてサーバーサイドで同一クライアントの情報をスキップする処理を書けるかためしてアップデートしたいと思っています。
Pythonでシグナリングサーバーを作ることができました。簡単ですね。
Node.jsのコードと比較してもシンプルに書けるなぁと感動しています。
もう少し時間つくってMicro Pythonさわりたい...
現場からは以上です!


