LINE BOTのホスティング先で色々試してましたが、Firebaseでも動的なアプリケーションを動かすことが出来るようになってたので試してみました。
静的サイトだけかと思ってたら、すごいですね。(ウォッチしてなかっただけ)
準備
今回は先にプロジェクトがあったところからスタートしたのでこの手順紹介にします。
Firebase CLIをインストールする
npm i -g firebase-tools
CLIでログインする
firebase login
? Allow Firebase to collect anonymous CLI usage and err
or reporting information? [Y/n]
的な質問がくるのでYと答える
ブラウザが開かれるので、ログインするアカウントを選択して進めます。

・
・
・
✔  Success! Logged in as xxxx@gmail.com
みたいな表示が出たらログイン成功です。
ローカルでプロジェクト作成
firebase init functions
なんかかっこいい表示出ます。

どのプロジェクトでスタートするかの選択肢が出てきます。forlinebotという名前でfirebaseのプロジェクトを作ったので真ん中のforlinebotという名前の箇所を選択します。

このあとは基本的にEnterで進めて大丈夫だと思います。
- JSかTSか
今回はJavaScriptでいきます。

- ESLint使うか
そのままEnterで進めたのでNかな?

- 依存モジュールをnpmで今入れるか
そのままEnterで進めたのでYes
? Do you want to install dependencies with npm now? Yes
そうするとこんな感じのフォルダとファイルが出来上がります。
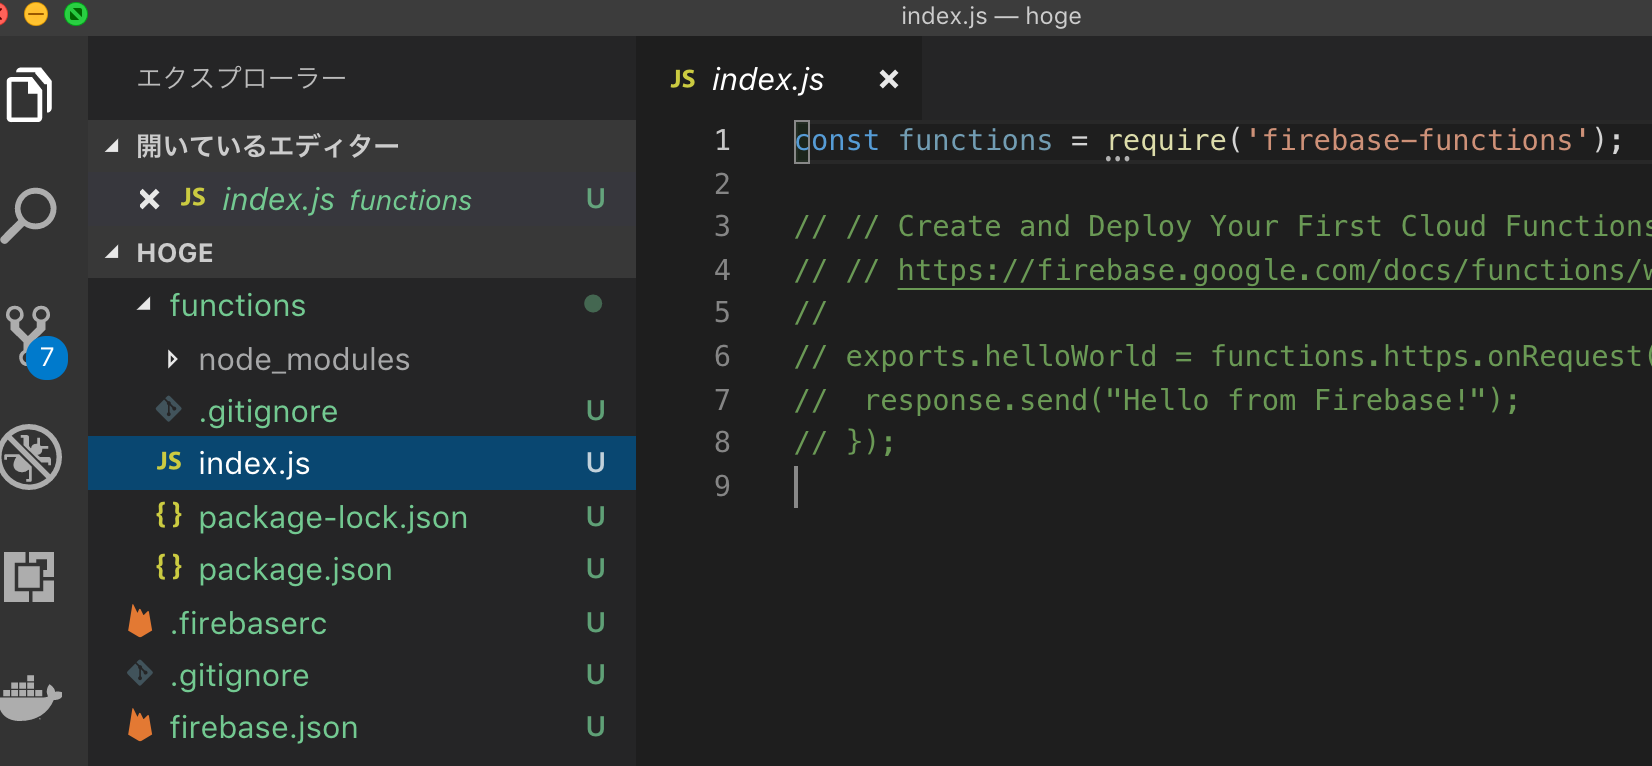
functionsフォルダ、.firebaserc、.gitignore、firebase.jsonが生成され、functionsフォルダ内にアプリケーションのテンプレートが出来上がります。
ExpressとLINE BOT SDKでBOT作成準備
依存モジュールのインストールをします。functionsフォルダに移動してインストールします。
cd functions
npm i --save @line/bot-sdk express
index.jsを以下の内容に書き換えます。 こちらの記事を参考に channelSecretとchannelAccessTokenに値を入れましょう。
'use strict';

const functions = require('firebase-functions');
const express = require('express');
const line = require('@line/bot-sdk');

const config = {
    channelSecret: '',
    channelAccessToken: ''
};

const app = express();

app.post('/webhook', line.middleware(config), (req, res) => {
    console.log(req.body.events);
    Promise
      .all(req.body.events.map(handleEvent))
      .then((result) => res.json(result));
});

const client = new line.Client(config);

async function handleEvent(event) {
  if (event.type !== 'message' || event.message.type !== 'text') {
    return Promise.resolve(null);
  }

  return client.replyMessage(event.replyToken, {
    type: 'text',
    text: event.message.text //実際に返信の言葉を入れる箇所
  });
}

exports.app = functions.https.onRequest(app);
firebase.jsonを以下に書き換えます。
{
    "hosting": {
        "public": "./",
        "rewrites": [{
            "source": "/webhook",
            "function": "app"
        }],
        "ignore": [
            "firebase.json",
            "**/.*",
            "**/node_modules/**"
        ]
    }
}
アプリケーションの起動とngrokで動作確認
以下でlocalサーバーを起動します。
firebase serve --only functions,hosting
そうするとlocalhost:5000でサーバーが起動します。
サーバー側だけなので、
functionsの指定だけで良いかと思いきやexpressのこのやり方だとhostingも指定しないとエラーが出ました。あんまり追ってないです。
こちらの記事を参考にngrokで5000番ポートへのトンネリングサーバーも起動しましょう。
ngrok http 5000

発行されたngrokのURLをLINE Developersのチャンネル設定でWebhook URLに設定します。

ここまでで問題がなければ、おうむ返しBOTが出来てると思います。

デプロイする
async/awaitを利用したいのでサーバー上のNode.jsのバージョンを最新(現時点で8系らしい)にします。
functions/package.jsonに以下のenginesの指定を追加します。
"engines": {"node": "8"}
さっきのコマンドのserveの部分をdeployに変えて実行します。
firebase deploy --only functions,hosting
=== Deploying to 'forlinebot-xxxx'...

i  deploying functions, hosting
i  functions: ensuring necessary APIs are enabled...
✔  functions: all necessary APIs are enabled
i  functions: preparing functions directory for uploading...
i  functions: packaged functions (27.22 KB) for uploading
✔  functions: functions folder uploaded successfully
・
・
・
・

✔  Deploy complete!

Please note that it can take up to 30 seconds for your updated functions to propagate.
Project Console: https://console.firebase.google.com/project/forlinebot-xxxx/overview
Hosting URL: https://forlinebot-xxxx.firebaseapp.com
初回は少し時間がかかった印象ですが、2回目以降は結構はやくデプロイできました。
ここで生成されたアドレス( https://xxxx.firebaseapp.com )をLINE DevelopersのWebhook URLに設定しなおせば完了です。

雑感
Firebase全くウォッチしてなかったけど便利やん。