node.jsでのwebアプリケーションはポート1024番以降でしかデフォルトでは利用出来ずhttp://アドレス:ポートという形式でしかアクセス出来ません.これがかっこわるいので通常のhttp://アドレスでアクセス出来るようにします.
参考:Node.jsで 80番ポートをListenするWebサーバを作る | 元祖ワシ的日記 4.0
さくらVPSでクリーンインストールする機会があったのでメモします.
さくらVPS契約
省略
VPSマシンを起動
さくらインターネットの会員メニューから
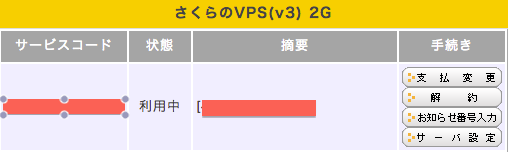
[契約情報] -> [契約サービスの確認]のページへ
https://secure.sakura.ad.jp/menu/service/?mode=S1010
ページ下部に契約している内容が表示されると思うので,サーバー設定を選択しましょう.
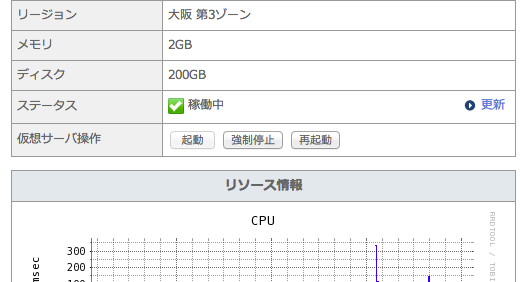
VPSのコントロールパネルでマシン起動
https://secure.sakura.ad.jp/vpscontrol/main/
起動ボタンを押して起動させましょう.
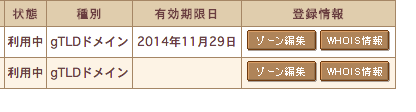
独自ドメイン設定
管理しているドメイン名一覧でゾーン編集を選択
https://secure.sakura.ad.jp/menu/domain/
さくらインターネットのネームサーバを設定する からサーバーのIPアドレスを入力して送信すればOK
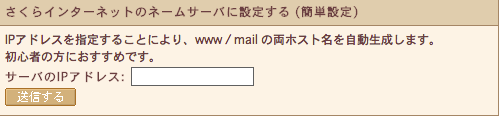
少しすると http://example.com/ でアクセスできるようになります.(ある程度時間が掛かるみたいです)
初期設定
sshでリモートログインして作業する
$ssh root@契約したVPSのIPアドレス or ↑で設定したドメイン
$ ssh root@example.com
root@example.com's password: (←契約した時にさくらからメールに送られてくるVPSのパスワード)
これでサーバーにログインできると思います
参考
http://www.xn--vps-073b3a72a.com/4.html
あとは参考サイトをもとに,
rootのパスワード変更, ユーザーを作成,などを行いました.
node.jsのインストール
nvmのインストール
$git clone git://github.com/creationix/nvm.git ~/.node
$ . ~/.node/nvm.sh
node.jsのインストール
$nvm install 0.10.22
expressのインストール
$npm -g install express
参考: http://offsidenow.phpapps.jp/archives/1687
hello world
$express -e test
$cd test
$npm install
$node app.js
を実行し,
http://example.com:3000/ にアクセスしてexpressのページが表示されればOK
nginxのインストール
ポート3000アクセスはかっこわるいので80ポートでアクセスさせます.
デフォルトのポート80番にアクセスしても,Apacheなどのwebサーバーが入ってないのでアクセス出来ない状態です.また,node.jsのhttpポートを80には設定出来ないようなので勉強がてらnginxを入れてみました.
参考サイトの通りにやったらエラーなくインストールできました.
参考 :CentOS6で最新版のnginxをyumでインストールする - 飲んだり寝たり
nginxでリバースプロキシ
nginxの設定ファイルを編集
$ sudo vim /etc/nginx/nginx.conf
user  nginx;
worker_processes  1;

error_log  /var/log/nginx/error.log warn;
pid        /var/run/nginx.pid;


events {
    worker_connections  1024;
}

http {
    include       /etc/nginx/mime.types;
    default_type  application/octet-stream;

    log_format  main  '$remote_addr - $remote_user [$time_local] "$request" '
                      '$status $body_bytes_sent "$http_referer" '
                      '"$http_user_agent" "$http_x_forwarded_for"';

    access_log  /var/log/nginx/access.log  main;

    sendfile        on;
    #tcp_nopush     on;

    keepalive_timeout  65;

    #gzip  on;

    include /etc/nginx/conf.d/*.conf;
}
ここのhttp{}の内部に以下を追記する
server {
     listen      80 default;
     server_name  example.com;
     location / {
        proxy_pass http://example.com:3000;
     }
    }
nginxの起動
$ sudo service nginx start
※ちなみにミスってhttp{}の外にserver{}を記述したら
"server" directive is not allowed hereとか言われました.
参考:popowa: [emerg] "server" directive is not allowed hereて言われたら
参考:nginx連載4回目: nginxの設定、その2 - バーチャルサーバの設定
これで http://example.com にアクセスすることで http://example.com:3000/ で起動しているnode.js+expressのアプリケーションにアクセス出来ます.