はじめに
GitHubにコードを公開してるので,コードだけ知りたい方は飛ばしてもらって大丈夫です.
Windows10
ruby: 2.6.10
Rails: 5.2.8
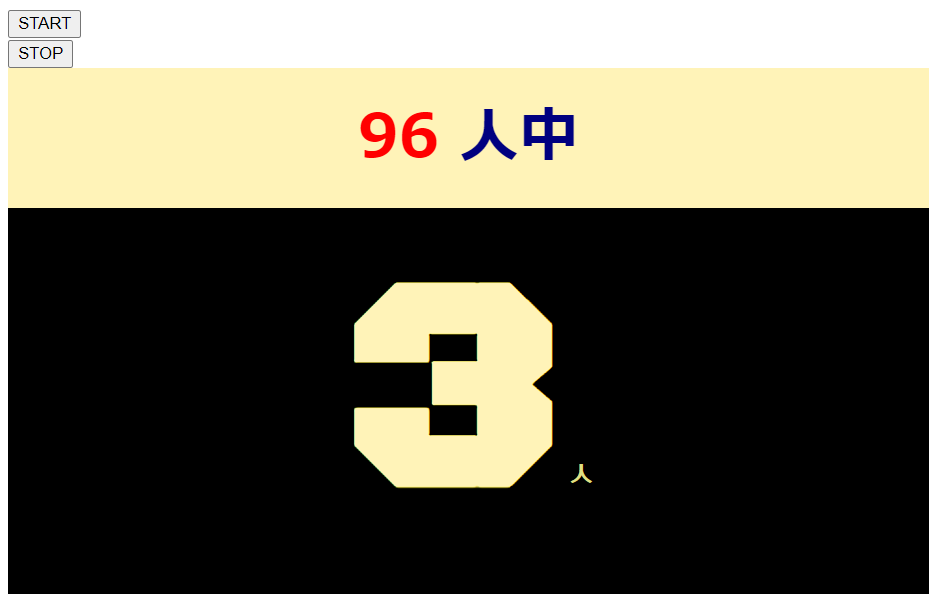
完成図
Herokuでデプロイしてるので,ぜひ試してみてください.
結果画面↓
https://it-yes-no-app.herokuapp.com/posts/index
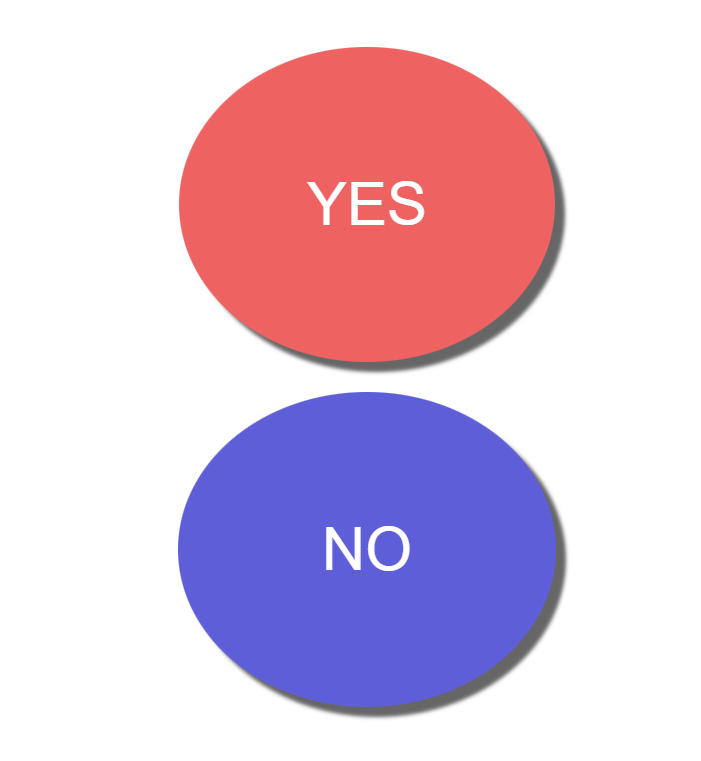
回答画面↓
https://it-yes-no-app.herokuapp.com/posts/new
仕組み
管理者画面(結果画面)に,STARTボタンとSTOPボタンがある.STARTボタンを押すと,テーブルのデータがリセット(削除)され,回答者は回答できるようになる.STOPボタンを押すと回答できなくなり,管理者画面に結果が表示される.
STOPボタンを押したとき↓

回答者側がボタンを押したとき↓

Yes/Noアプリの作り方
1. Railsアプリを新規で作成
(Rails,Rubyがインストールされていることを前提)
rails new アプリ名
2. モデル,コントローラ,ビュー,ルーティングの作成
scaffoldについては,以前の記事で詳しく説明しているので説明は省く.
ここでは簡単にscaffoldを使ってモデル,コントローラ,ビュー,ルーティングを作成する.
モデル名:post,カラム名:yes_no(string型)で作成した.
rails generate scaffold post yes_no:string
正しくscaffoldで自動生成できてることを確認したら,マイグレーションする.
rails db:migrate
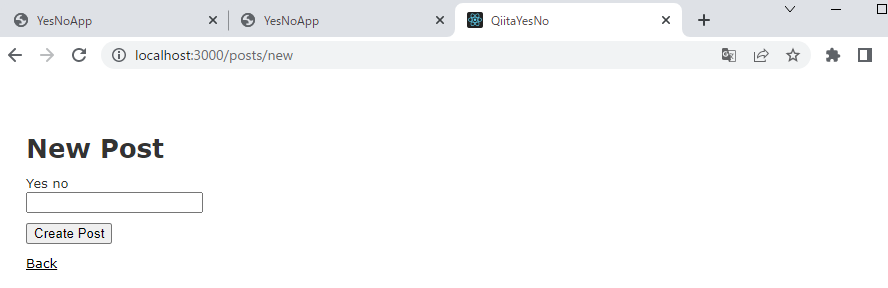
rails sで起動し,http://localhost:3000/posts/newにアクセスすると以下のようになる.
3. viewファイルの変更
<% if $stop == "stop" %>
  <div class="question_stop">
    受付停止中です.
  </div>
  <% else %>
  <div class="yes_no_button">
    <%= form_tag("/posts/yes", {multipart: true}) do %>
      <input type="submit" name="yes_no" value="YES" class="button_yes">
    <% end %>
    <br>

    <%= form_tag("/posts/no", {multipart: true}) do %>
      <input type="submit" name="yes_no" value=" NO " class="button_no">
    <% end %>
  </div>
<% end %>
<%= form_tag("/posts/start") do %>
  <input type="submit" value="START" >
<% end %>
<%= form_tag("/posts/stop") do %>
  <input type="submit" value="STOP">
<% end %>

<div class="content">
  <h2 class="people"><%= Post.count %> <span  style="color:navy">人中</span></h2>

  <h1 style="display:inline"><%= Post.where(yes_no: "YES").count %></h1>
  <h3 style="display:inline" class="nin">人</h3>
</div>
<div class="show">
  受け付けました.
  <br>
  回答は1質問につき1回まででお願いします.
  <br>
  <%= link_to("回答ページに戻る", "/posts/new") %>

</div>
4. コントローラの書き換え
class PostsController < ApplicationController
  # before_action :authenticate_user

  def index
    @posts = Post.all.order(created_at: :asc)
  end

  def show
  end

  def edit
  end

  def yes
    @post = Post.new( yes_no: "YES" )
    if @post.save
      redirect_to("/posts/show")
    else
      render("posts/new")
    end
  end

  def no
    @post = Post.new( yes_no: "NO" )
    if @post.save
      redirect_to("/posts/show")
    else
      render("posts/new")
    end

  end

  def stop
    $stop = "stop"
    redirect_to("/posts/index")
  end

  def start
    $stop = "start"
    Post.destroy_all
    redirect_to("/posts/index")
  end

end
5. ルーティングの書き換え
Rails.application.routes.draw do
  get "posts/index" => "posts#index"
  get "posts/new" => "posts#new"
  get "posts/show" => "posts#show"

  post "posts/yes" => "posts#yes"
  post "posts/no" => "posts#no"

  post "posts/stop" => "posts#stop"
  post "posts/start" => "posts#start"
  # For details on the DSL available within this file, see http://guides.rubyonrails.org/routing.html
end
6. レイアウトを整える(cssの変更)
scaffoldで自動的に生成されたassets/stylesheets/scaffolds.scssを削除する.
Google Fontsを利用した.
ボタンは,こちらのサイトを利用した.
/* Google Fonts */
@import url('https://fonts.googleapis.com/css2?family=Black+Ops+One&family=Keania+One&family=Qahiri&display=swap');

h1 {
  font-family: 'Black Ops One', cursive;
  color: #FFF3B8;
  background-color: black;
  font-size: 15rem;
  text-align: center;
}

/* ボタンのデザイン */
.button_yes {
  display       : inline-block;
  border-radius : 50%;          /* 角丸       */
  font-size     : 36pt;        /* 文字サイズ */
  text-align    : center;      /* 文字位置   */
  cursor        : pointer;     /* カーソル   */
  padding       : 100px 100px;   /* 余白       */
  background    : #ef6262;     /* 背景色     */
  color         : #ffffff;     /* 文字色     */
  line-height   : 1em;         /* 1行の高さ  */
  transition    : .3s;         /* なめらか変化 */
  box-shadow    : 8px 8px 3px #666666;  /* 影の設定 */
  border        : 2px solid #ef6262;    /* 枠の指定 */
}
.button_yes:hover {
  box-shadow    : none;        /* カーソル時の影消去 */
  color         : #ef6262;     /* 背景色     */
  background    : #ffffff;     /* 文字色     */
}

.button_no {
  display       : inline-block;
  border-radius : 50%;          /* 角丸       */
  font-size     : 36pt;        /* 文字サイズ */
  text-align    : center;      /* 文字位置   */
  cursor        : pointer;     /* カーソル   */
  padding       : 100px 100px;   /* 余白       */
  background    : #5e5ed8;     /* 背景色     */
  color         : #ffffff;     /* 文字色     */
  line-height   : 1em;         /* 1行の高さ  */
  transition    : .3s;         /* なめらか変化 */
  box-shadow    : 8px 8px 3px #666666;  /* 影の設定 */
  border        : 2px solid #5e5ed8;    /* 枠の指定 */
}
.button_no:hover {
  box-shadow    : none;        /* カーソル時の影消去 */
  color         : #5e5ed8;     /* 背景色     */
  background    : #ffffff;     /* 文字色     */
}

.show {
    text-align: center;
    padding-top: 40px;
}

.yes_no_button {
    text-align: center;
    padding-top: 40px;
}

.yes {
    text-align: center;
    font-size: 10rem;
}

.people {
    color: red;
    text-align: center;
    background-color: #FFF3B8;
    padding: 20px;
    margin: 0;
    font-size: 3rem;
}

.content {
  text-align: center;
  background-color: black;
  height:100vh;
}

.nin {
    color: rgb(223, 223, 133);
}
7.完成!!
http://localhost:3000/posts/index :管理者画面(結果表示画面)
http://localhost:3000/posts/new :回答画面
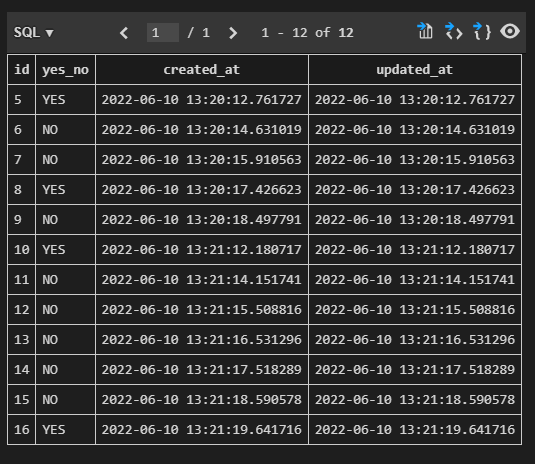
試しに動かして,データベースを覗いてみた↓