エイチームライフスタイルアドベントカレンダー 2017、6 日目は株式会社エイチームライフスタイルの Web エンジニア @mziyut が担当します。
React よりも Vue 派でもフロントエンドじゃない PHPer な @mziyut がWeexを使ってネイティブアプリ作成を行ってみました。
React Native を使用しているプロジェクトも近頃増えてきているので HTML+CSS+JavaScript でネイティブアプリを作成することに対して、
敷居が低くなってきていると思います。その中で、Vue.js を使ってネイティブアプリを作成する Weex に関する情報が少なかったので動かしてみました!
Weex とは
alibabaが開発を行っていたネイティブアプリフレームワークです
ちなみに、現在は Apache Software Foundation に移管されました
中身は、Vue なので Vue に慣れ親しんだ方なら違和感なく開発できるかと思います。
実際にソースコードを見ても違和感はありませんでした ![]()
事前準備
今回は、node v6.10.0 を使用し weex プロジェクトを作成します。
そのために、weexコマンドを使用するので、weex-toolkitをグローバルにインストールします
また、開発環境を立ち上げるために、webpackとwebpack-dev-serverのインストールも同時に行います
$ node -v
v6.10.0
$ npm -g i weex-toolkit webpack webpack-dev-server
合わせて、Mac を使用している人は、xcode-buildが後述するnpm installの際に必要となるので、
以下コマンドを実行するようにしてください。
$ xcode-select --install
インストールが終わったら次に進みましょう ![]()
Weex プロジェクトの作り方
$ weex create weex-sample
This command need to install weexpack. Installing...
Creating a new weex project.
上記コマンドを実行すると、weex-sample ディレクトリが作成されその中に、weex プロジェクトが展開されます。
$ cd weex-sample && ll
total 760
-rw-r--r--  1 mizui.yuta  staff       1 - README.md
-rw-r--r--  1 mizui.yuta  staff     113 - android.config.json
-rw-r--r--  1 mizui.yuta  staff     961 - config.xml
drwxr-xr-x  3 mizui.yuta  staff     102 - hooks
-rw-r--r--  1 mizui.yuta  staff     152 - ios.config.json
-rw-r--r--  1 mizui.yuta  staff  346780 - npm-shrinkwrap.json
-rw-r--r--  1 mizui.yuta  staff    1396 - package.json
drwxr-xr-x  2 mizui.yuta  staff      68 - platforms
drwxr-xr-x  3 mizui.yuta  staff     102 - plugins
drwxr-xr-x  3 mizui.yuta  staff     102 - src
-rwxr-xr-x  1 mizui.yuta  staff     676 - start
-rw-r--r--  1 mizui.yuta  staff     649 - start.bat
drwxr-xr-x  3 mizui.yuta  staff     102 - temp
drwxr-xr-x  3 mizui.yuta  staff     102 - tools
drwxr-xr-x  5 mizui.yuta  staff     170 - web
-rw-r--r--  1 mizui.yuta  staff    5590 - webpack.config.js
-rw-r--r--  1 mizui.yuta  staff    2635 - webpack.dev.js
まだ、展開された状態のため、npm iを実行します
$ npm i
> ios-deploy@1.9.2 preinstall /Users/h-1442/Workspace/github.com/mziyut/weex-sample/node_modules/.staging/ios-deploy-0bb7b451
> ./src/scripts/check_reqs.js && xcodebuild

...
...

> fsevents@1.1.2 install /Users/h-1442/Workspace/github.com/mziyut/weex-sample/node_modules/fsevents
> node install

[fsevents] Success: "/Users/h-1442/Workspace/github.com/mziyut/weex-sample/node_modules/fsevents/lib/binding/Release/node-v48-darwin-x64/fse.node" already installed
Pass --update-binary to reinstall or --build-from-source to recompile
weex@1.0.0 /Users/h-1442/Workspace/github.com/mziyut/weex-sample
install が終わったら、プロジェクト設定は完了です。
PC 上で動かして見よう
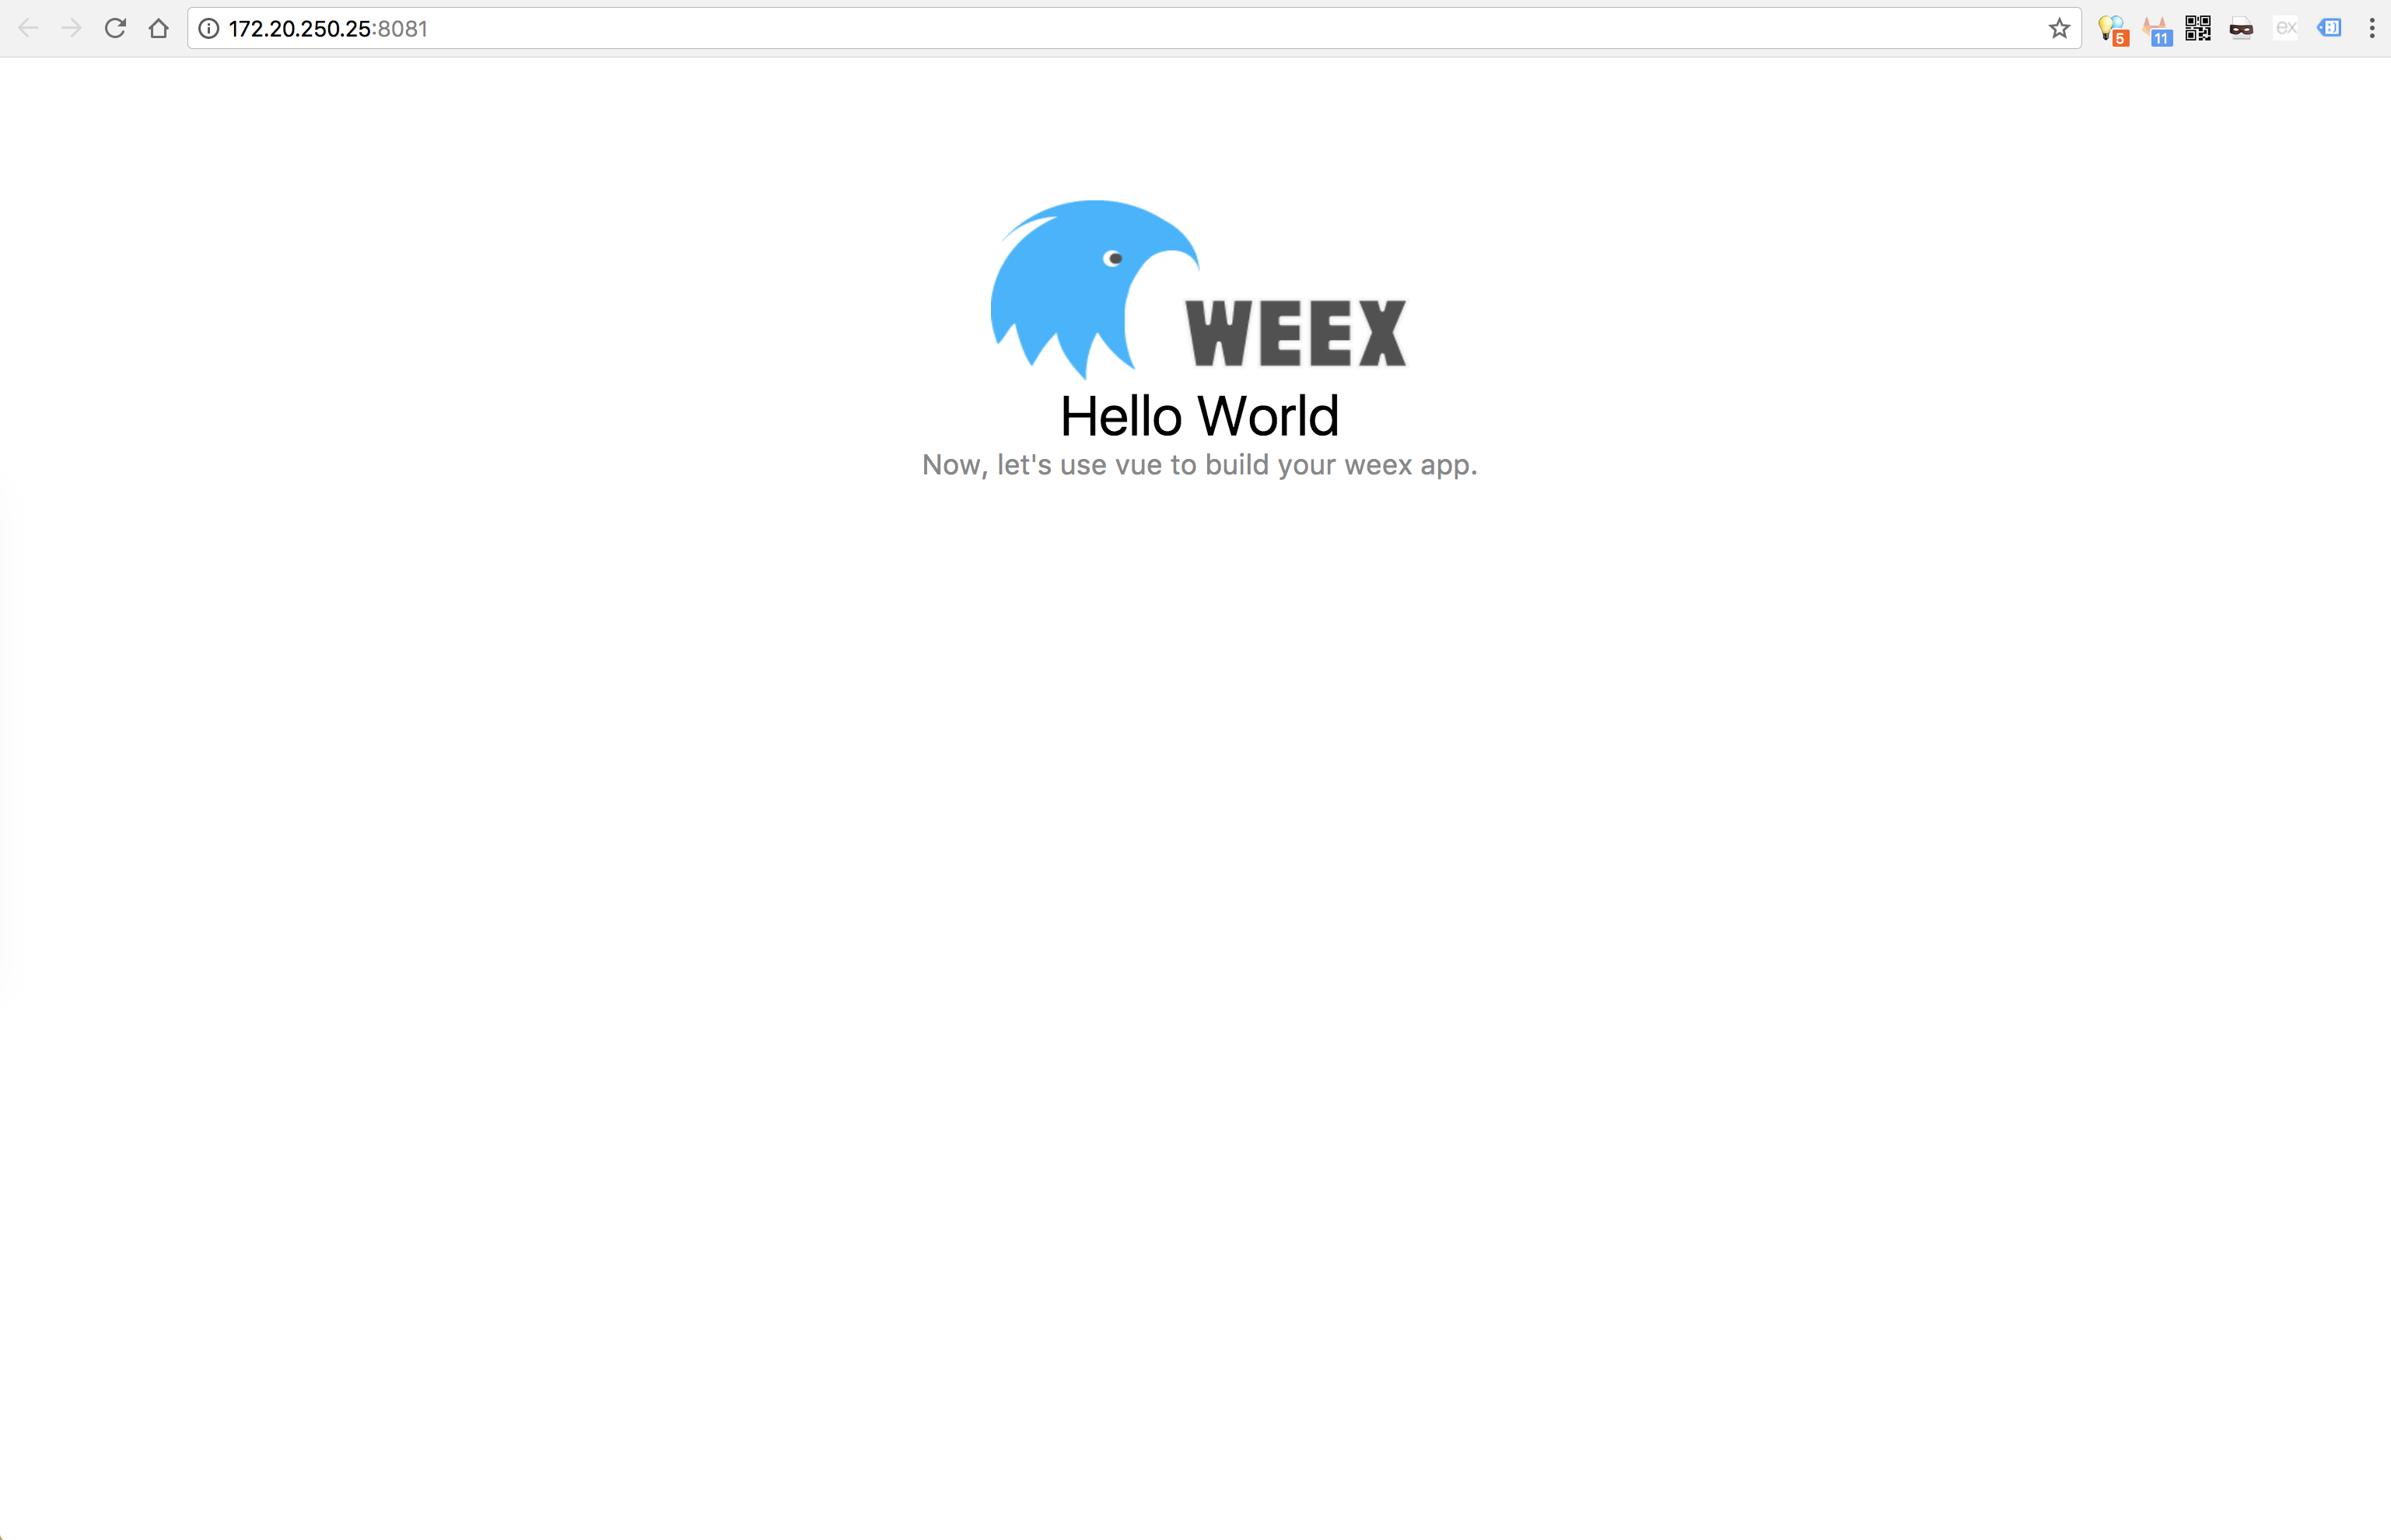
npm run serveコマンドを実行すると、ディレクトリ内のソースのビルド、ウォッチ、ブラウザの起動を行ってくれます
$ npm run serve
> weex@1.0.0 serve /Users/h-1442/Workspace/github.com/mziyut/weex-sample
> webpack-dev-server --config webpack.dev.js --watch --open

server is running! Please open http://172.20.250.25:8080/
Project is running at http://172.20.250.25:8081/
webpack output is served from /
404s will fallback to /index.html
webpack: wait until bundle finished: /
Hash: 812bb863cbdea9795b71
Version: webpack 2.7.0
Time: 7879ms
           Asset      Size  Chunks             Chunk Names
    index.web.js    141 kB       0  [emitted]  index
index.web.js.map  89 bytes       0  [emitted]  index
      index.html   1.18 kB          [emitted]
chunk    {0} index.web.js, index.web.js.map (index) 326 kB [entry] [rendered]
   [35] ./temp?entry=true 85 bytes {0} [built]
   [36] (webpack)-dev-server/client?http://172.20.250.25:8081 5.83 kB {0} [built]
   [37] ./~/ansi-html/index.js 4.26 kB {0} [built]
   [47] ./~/loglevel/lib/loglevel.js 6.74 kB {0} [built]
   [54] ./~/sockjs-client/lib/entry.js 244 bytes {0} [built]
   [80] ./~/strip-ansi/index.js 161 bytes {0} [built]
   [82] ./~/url/url.js 23.3 kB {0} [built]
   [83] ./~/url/util.js 314 bytes {0} [built]
   [84] ./src/index.vue 1.76 kB {0} [built]
   [87] ./~/vue-style-loader!./~/css-loader?sourceMap!./~/vue-loader/lib/style-compiler?{"vue":true,"id":"data-v-cf085120","scoped":false,"hasInlineConfig":false}!./~/vue-loader/lib/selector.js?type=styles&index=0!./src/index.vue 1.57 kB {0} [built]
   [90] (webpack)-dev-server/client/overlay.js 3.6 kB {0} [built]
   [91] (webpack)-dev-server/client/socket.js 856 bytes {0} [built]
   [93] (webpack)/hot nonrecursive ^\.\/log$ 160 bytes {0} [built]
   [94] (webpack)/hot/emitter.js 77 bytes {0} [built]
   [95] multi (webpack)-dev-server/client?http://172.20.250.25:8081 ./temp?entry=true 40 bytes {0} [built]
     + 81 hidden modules
Child html-webpack-plugin for "index.html":
    chunk    {0} index.html 1.2 kB [entry] [rendered]
        [0] ./~/html-webpack-plugin/lib/loader.js!./web/index.dev.html 1.2 kB {0} [built]
webpack: Compiled successfully.
webpack: Compiling...
webpack: wait until bundle finished: /node_modules/vue/dist/vue.runtime.js
webpack: wait until bundle finished: /node_modules/weex-vue-render/dist/index.js
webpack: wait until bundle finished: /robots.txt
Hash: 812bb863cbdea9795b71
Version: webpack 2.7.0
Time: 42ms
           Asset      Size  Chunks             Chunk Names
    index.web.js    141 kB       0  [emitted]  index
index.web.js.map  89 bytes       0  [emitted]  index
chunk    {0} index.web.js, index.web.js.map (index) 326 kB [entry]
   [35] ./temp?entry=true 85 bytes {0} [built]
   [93] (webpack)/hot nonrecursive ^\.\/log$ 160 bytes {0} [built]
     + 94 hidden modules
Child html-webpack-plugin for "index.html":
    chunk    {0} index.html 1.2 kB [entry]
         + 1 hidden modules
webpack: Compiled successfully.
ブラウザまではさくさくっと確認出来たことだろうと思います
次は、Web ではなく実機で動かすことに挑戦してみましょう![]()
実際に実機で動かしてみよう
Android
$ANDROID_HOMEだったり、$PATHが定義されていない人は定義しましょう![]()
合わせて、実機を繋いだり、デバッグオプションを ON にしたり普通に開発するときと同じように設定しておいてください
export ANDROID_HOME=~/Library/Android/sdk
export PATH=${PATH}:$ANDROID_HOME/tools:$ANDROID_HOME/platform-tools:$ANDROID_HOME/build-tools
その後、 weex で管理している、android ビルド用プラグインを追加します
weex platform add android
追加が終わったら、以下コマンドを実行すると・・・
weex run android
...
...
BUILD SUCCESSFUL

Total time: 3 mins 29.179 secs

This build could be faster, please consider using the Gradle Daemon: https://docs.gradle.org/2.14.1/userguide/gradle_daemon.html
 => Install app ...
 => Running app ...
となり、Android アプリが立ち上がります ![]()

iOS
続きまして iOS も同様に Build していきましょう
Android 同様に、weex で管理している、iOS ビルド用プラグインを追加し、実行を行います
weex platform add ios
weex run ios
Android のときと違って、実行途中で起動する iOS シミュレーターのバージョンを指定します
(USB で実機を繋いでいたら実機も表示されていました)
? Choose one of the following devices
  iPhone 8 ios: 11.1
  iPhone 8 Plus ios: 11.1
  iPhone SE ios: 10.1
❯ iPhone SE ios: 11.1
  iPhone X ios: 11.1
   = devices =
  iPhone 4s ios: 8.4
(Move up and down to reveal more choices)
ここまではよかったのですが、iOS のビルドだけコケてしまいました。 ![]()
こちらについては、継続して確認してみようと思います。 ![]()
? Choose one of the following devices iPhone 6 ios: 10.1
project is building ...
2017-11-30 02:16:05.879 xcodebuild[67682:6548749]  iPhoneConnect: ## Unable to mount developer disk image, (Error Domain=com.apple.dtdevicekit Code=601 "Could not locate device support files." UserInfo={DeviceType=iPhone7,2, NSLocalizedDescription=Could not locate device support files., NSLocalizedRecoverySuggestion=This iPhone 6 is running iOS 11.2 (15C5107a), which may not be supported by this version of Xcode.}) {
    DeviceType = "iPhone7,2";
    NSLocalizedDescription = "Could not locate device support files.";
    NSLocalizedRecoverySuggestion = "This iPhone 6 is running iOS 11.2 (15C5107a), which may not be supported by this version of Xcode.";
}
** BUILD FAILED **
追記(2018/01/27)
- こちら、
pod installが失敗していたためとなります。 - Weex の Project を作成する前に、iOS を利用する場合は、
CocoaPodsまたは、Carthageが必要となるので準備しておいたほうが良いかもしれません。
Playground ツールもあります
これまで、沢山コマンドを打ちながら進めてきてくださいましたが、実は Weex の Playground ツールもあります ![]()
簡単なコードを記述してどのような見た目になるか確認するだけならば、
十分に使えるツールだと思います
- ちなみに、index.vue を描画してみた結果は以下の通りです
まとめ
Weexはプロジェクトの init から、各アプリのビルドまでサクッと行うことが出来ました(iOS 以外)
ただし、日本語の情報が少なすぎるのに加えて、英語以外に中国語のが飛び交うグループを見なければならず翻訳を使わなければ難しい部分もありました。
今後も、HTML+CSS+JavaScript を用いてネイティブアプリを作るツールは様々出てくるかと思いますが継続してウォッチしていければと思います ![]()
また、今回使用したコードは、mziyut/weex-sample にコミットしておきました確認したい方はご確認頂ければと思います。
最後に
エイチームライフスタイルアドベントカレンダー 2017、明日は開発リーダー @charden さんが Firebase を用いた A/B テストについて書いてくれるらしいので、お楽しみに![]()
