はじめに
- Qiitaで記事を書くために Remix (かつSupabase) を試す環境が欲しく作るまでの手順を記事化した
- Remix <> Supabase 間は
supabase-jsを使って通信することとします- Prisma や TypeORM 等使いたい方は適宜修正してください
環境
> sw_vers
ProductName:            macOS
ProductVersion:         15.1.1
BuildVersion:           24B91
> node -v
v22.11.0
Supabase CLI の設定
Supabase CLI のセットアップは下記記事にまとめてありますので確認し設定してください。
Remix Project の設定
今回は template remix-run/remix/templates/remix を使用します。
npx create-remix@latest --template remix-run/remix/templates/remix を実行し Remix Project を作成します。
> npx create-remix@latest --template remix-run/remix/templates/remix
Need to install the following packages:
create-remix@2.15.0
Ok to proceed? (y) y


 remix   v2.15.0 💿 Let's build a better website...

   dir   Where should we create your new project?
         remix-supabase-test

      ◼  Template: Using remix-run/remix/templates/remix...
      ✔  Template copied

   git   Initialize a new git repository?
         No

  deps   Install dependencies with npm?
         Yes

      ✔  Dependencies installed

  done   That's it!

         Enter your project directory using cd ./remix-supabase-auth
         Check out README.md for development and deploy instructions.

         Join the community at https://rmx.as/discord
npm run dev で dev サーバーが起動するかを確認しましょう。
> npm run dev

> dev
> remix vite:dev

  ➜  Local:   http://localhost:5173/
  ➜  Network: use --host to expose
  ➜  press h + enter to show help
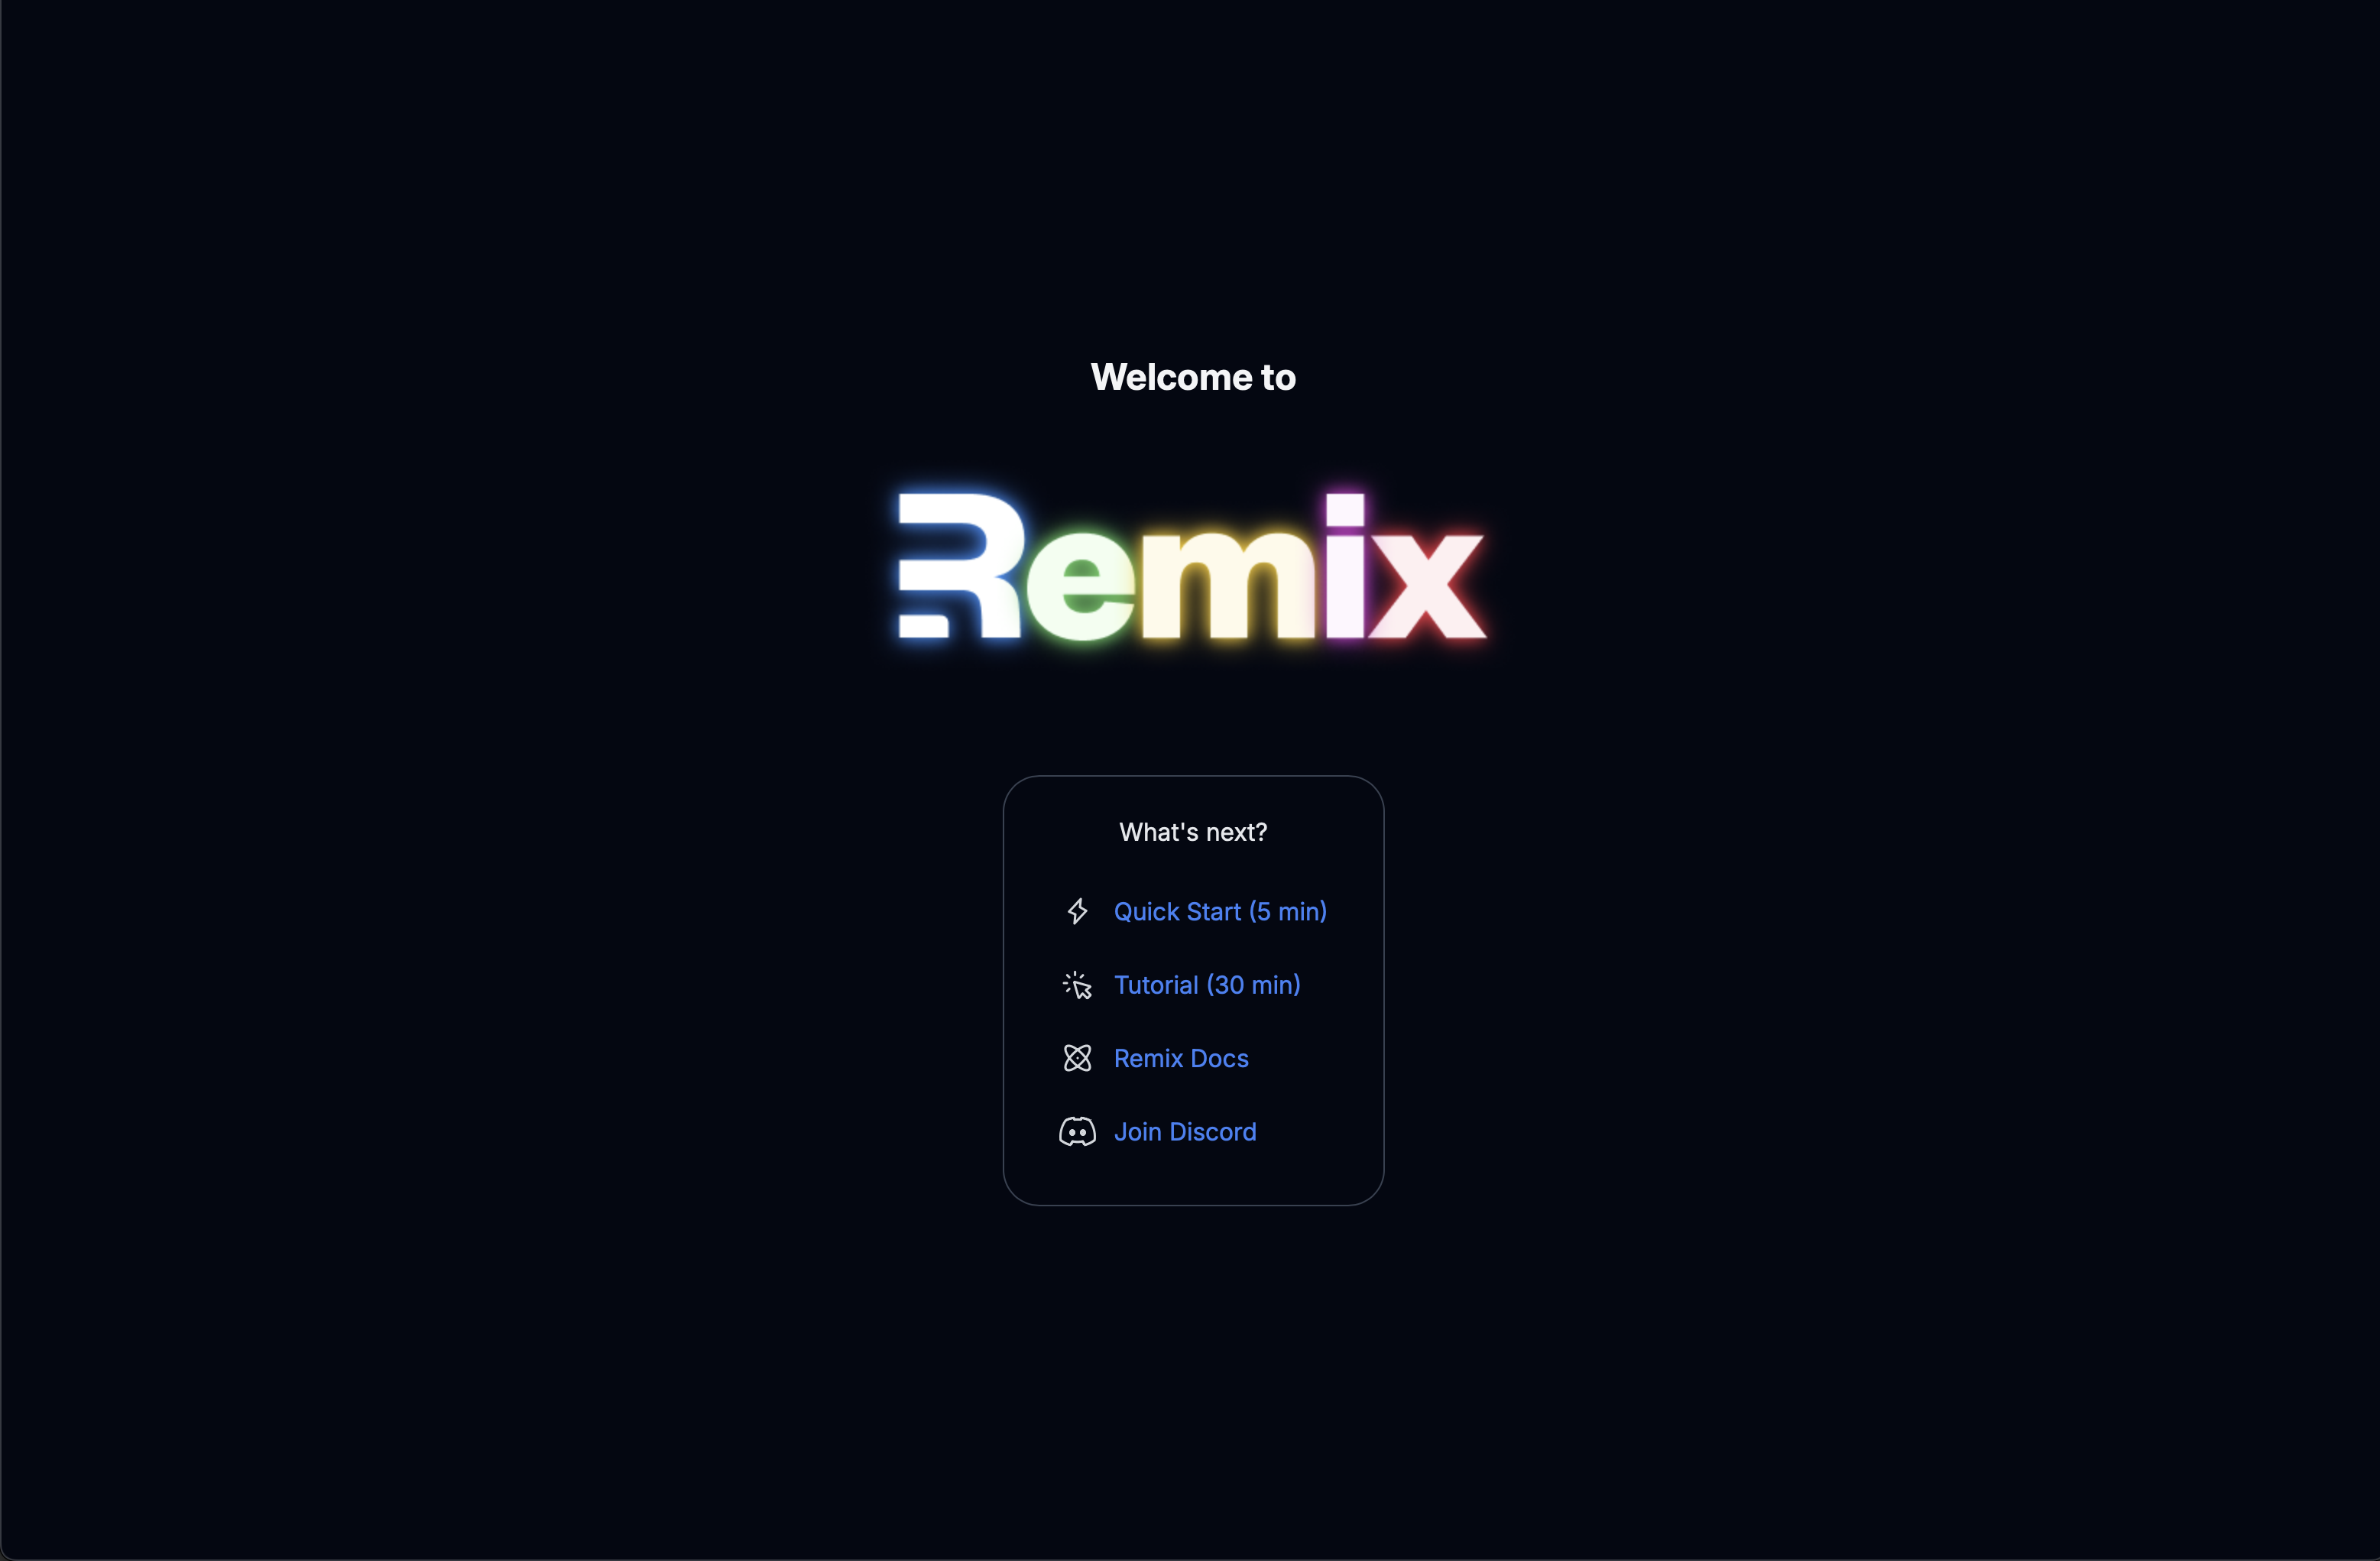
「Welcome to Remix」と表示されていればOKです。
Supabase の初期設定を行う。
supabase init を実行し Supabase CLI を使って Project を立ち上げられるようにします。
3つほど質問されるので Y/N で回答してください。
> supabase init

Generate VS Code settings for Deno? [y/N]
Generate IntelliJ Settings for Deno? [y/N]
Finished supabase init.
Supabase を立ち上げる
supabase start を実行し Suoabase を起動します。
初回は Docker image の download を行うため時間がかかります。時間及びネットワークに余裕があるときに実施すると良いでしょう。
実行後 API URL 等が console に表示されたら完了です。
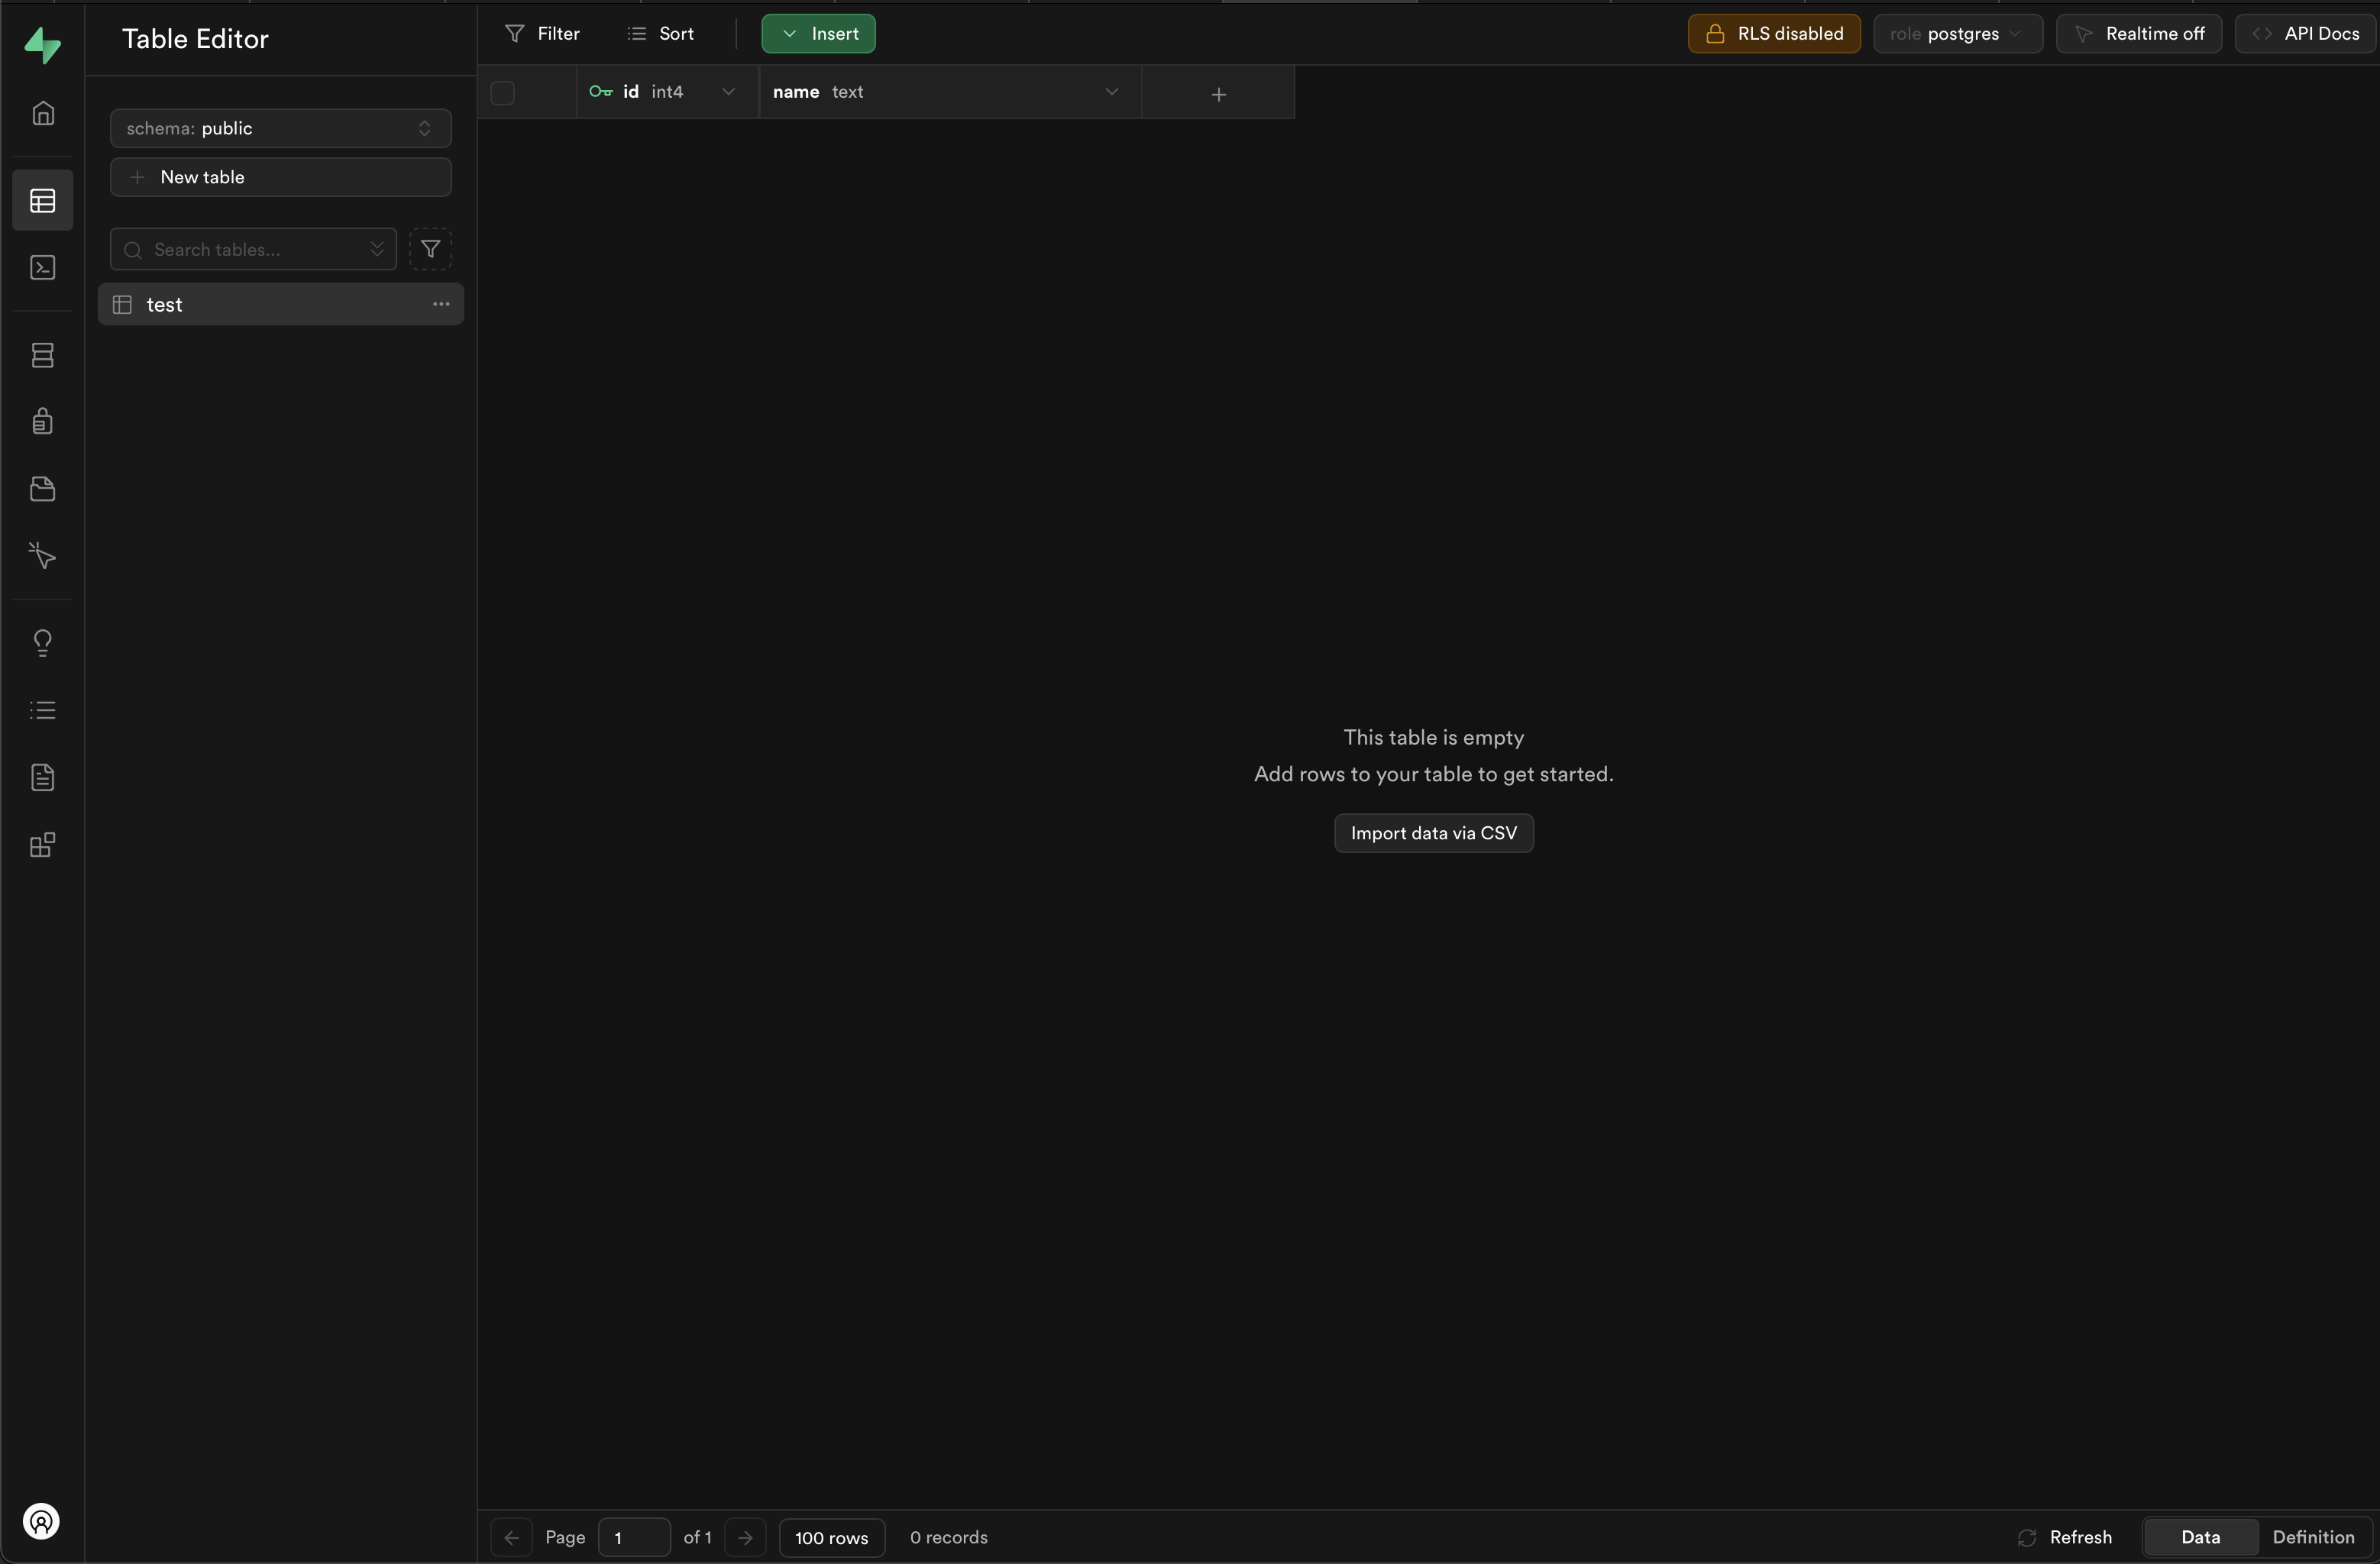
Studio URL を開くと見慣れた Supabase の console を表示することができます。
> supabase start

WARN: no seed files matched pattern: supabase/seed.sql
WARNING: analytics requires mounting default docker socket: /var/run/docker.sock
Started supabase local development setup.

         API URL: http://127.0.0.1:54321
     GraphQL URL: http://127.0.0.1:54321/graphql/v1
  S3 Storage URL: http://127.0.0.1:54321/storage/v1/s3
          DB URL: postgresql://postgres:postgres@127.0.0.1:54322/postgres
      Studio URL: http://127.0.0.1:54323
    Inbucket URL: http://127.0.0.1:54324
      JWT secret: super-secret-jwt-token-with-at-least-32-characters-long
        anon key: ANON_KEY_ANON_KEY_ANON_KEY_ANON_KEY_ANON_KEY
service_role key: SERVICE_ROLE_KEY_SERVICE_ROLE_KEY_SERVICE_ROLE_KEY
   S3 Access Key: S3_ACCESS_KEY_S3_ACCESS_KEY_S3_ACCESS_KEY
   S3 Secret Key: S3_SECRET_KEY_S3_SECRET_KEY_S3_SECRET_KEY
       S3 Region: local
@supabase/supabase-js の install
npm install @supabase/supabase-js
.env の用意
起動した Supabase に接続できるように .env を用意します。
supabase start 実行後に表示された「API URL」及び「anon key」を設定します。
SUPABASE_URL=http://127.0.0.1:54321
SUPABASE_ANON_KEY=ANON_KEY_ANON_KEY_ANON_KEY_ANON_KEY_ANON_KEY
migration を作成し実行
supabase migration new XXX を実行し migration file を作成します。
supabase migration new test
作成された SQL ファイルに CREATE TABLE xxx を記載します。
CREATE TABLE test (
  id SERIAL PRIMARY KEY NOT NULL,
  name TEXT
);
合わせて supabase/seed.sql も作成し初期データを挿入しておきましょう。
INSERT INTO test (name) VALUES ('example'), ('example2');
supabase migration up を実行して migration を走らせます。
> supabase migration up
WARN: no seed files matched pattern: supabase/seed.sql
Connecting to local database...
Applying migration 20241203150624_test.sql...
Local database is up to date.
Studio URL を開き test table が作成されていれば完了です。
supabase-js でデータを取得する
template で作成した app/routes/_index.tsx に先ほど作成した test table のデータを参照する処理を記載します。
loader に / にアクセスしたら console に出力されるように設定します。
  import type { MetaFunction } from "@remix-run/node";
+ import { createClient } from '@supabase/supabase-js'


+ export async function loader() {
+   const supabase = createClient(process.env.SUPABASE_URL || '', process.env.SUPABASE_ANON_KEY || '')
+   const { data } = await supabase.from('test').select()
+
+   console.table(data)
+
+   return {};
+ }
実際にアクセスし下記のように 出力されたら完了です。
1:41:27 AM [vite] page reload app/routes/_index.tsx (x2)
┌─────────┬────┬────────────┐
│ (index) │ id │ name       │
├─────────┼────┼────────────┤
│ 0       │ 1  │ 'example'  │
│ 1       │ 2  │ 'example2' │
└─────────┴────┴────────────
Ref

