Ateam Lifestyle Advent Calendar 2019の 19 日目は
株式会社エイチームライフスタイル 自動車事業部 の @mziyut が担当します ![]()
最近購入したテレビが AndroidTV をベースにしたものだったのもあり、
0.55 から ReactNative で AndroidTV 向けアプリケーションの開発を行えるようになっていたので試してみました。
ちなみに、2019/12/16 時点の最新バージョンは、v0.61.5 でした。
ReactNative とは 
簡単に言うと「Facebook が作成した React をベースにネイティブアプリケーションフレームワーク」です。
AndroidTV とは 
簡単に言うと、Google が提供する、スマートテレビ向けプラットフォームです。
今回用いる環境
$ sw_vers
ProductName: Mac OS X
ProductVersion: 10.14.4
BuildVersion: 18E226
$ node -v
v10.16.3
ReactNative を開発する準備 
AndroidStudio や、CocoaPodsなどは、
プロジェクト作成時に必要となるため事前に準備しておきましょう。
まず、ReactNative の Project を作成します。
今回は、「react_native_androidtv」といったプロジェクト名にします。
時間は、かかるので気長に待ちましょう。
npx react-native init react_native_androidtv

               ######                ######
             ###     ####        ####     ###
            ##          ###    ###          ##
            ##             ####             ##
            ##             ####             ##
            ##           ##    ##           ##
            ##         ###      ###         ##
             ##  ########################  ##
          ######    ###            ###    ######
      ###     ##    ##              ##    ##     ###
   ###         ## ###      ####      ### ##         ###
  ##           ####      ########      ####           ##
 ##             ###     ##########     ###             ##
  ##           ####      ########      ####           ##
   ###         ## ###      ####      ### ##         ###
      ###     ##    ##              ##    ##     ###
          ######    ###            ###    ######
             ##  ########################  ##
            ##         ###      ###         ##
            ##           ##    ##           ##
            ##             ####             ##
            ##             ####             ##
            ##          ###    ###          ##
             ###     ####        ####     ###
               ######                ######


                  Welcome to React Native!
                 Learn once, write anywhere

✔ Downloading template
✔ Copying template
✔ Processing template
✔ Installing CocoaPods dependencies (this may take a few minutes)

  Run instructions for iOS:
    • cd /Users/mziyut/Workspace/github.com/mziyut/react_native_androidtv && npx react-native run-ios
    - or -
    • Open react_native_androidtv/ios/react_native_androidtv.xcworkspace in Xcode or run "xed -b ios"
    • Hit the Run button

  Run instructions for Android:
    • Have an Android emulator running (quickest way to get started), or a device connected.
    • cd /Users/mziyut/Workspace/github.com/mziyut/react_native_androidtv && npx react-native run-android
起動
Blank の Project が作成されたので、起動できるところまで確認を実施しておきます。
今回は Android が対象なので、Project 作成時に出ていた以下コマンドを実行
$ cd /Users/mziyut/Workspace/github.com/mziyut/react_native_androidtv && npx react-native run-android
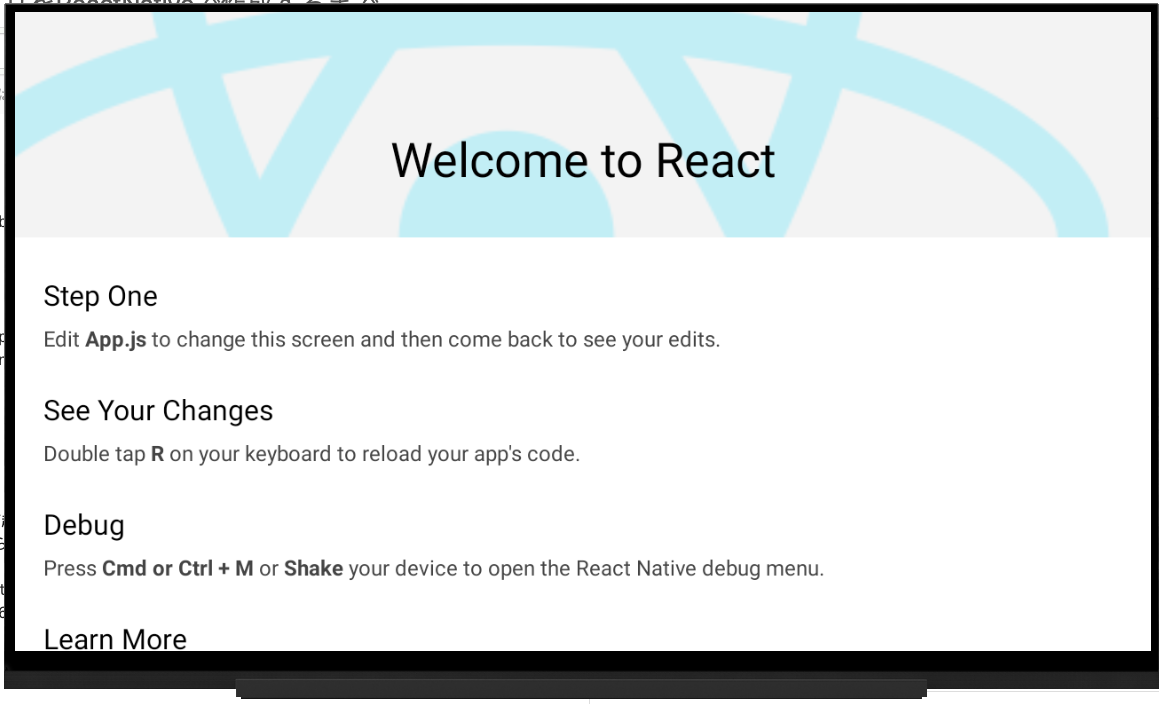
起動することを確認できました ![]()

AndroidTV 向けにオプションの変更
AndroidTV 向けに Build できるように設定を変更しましょう。
AndroidManifest.xmlの一部を変更する必要があります。
- react_native_androidtv/android/app/src/main/AndroidManifest.xml
※1
  <!-- Add custom banner image to display as Android TV launcher icon -->
 <application
  ...
  android:banner="@drawable/tv_banner"
  >
    ...
    <intent-filter>
      ...
      <!-- Needed to properly create a launch intent when running on Android TV -->
      <category android:name="android.intent.category.LEANBACK_LAUNCHER"/>
    </intent-filter>
    ...
  </application>
仮想デバイスの追加
デフォルトだと、通常の Android が起動してしまうため AndroidTVDevice を追加しましょう。

↑ のアイコンを AndroidStudio から探し 「AVD Manager」を立ち上げます。
標準であればツールバー内に存在します。
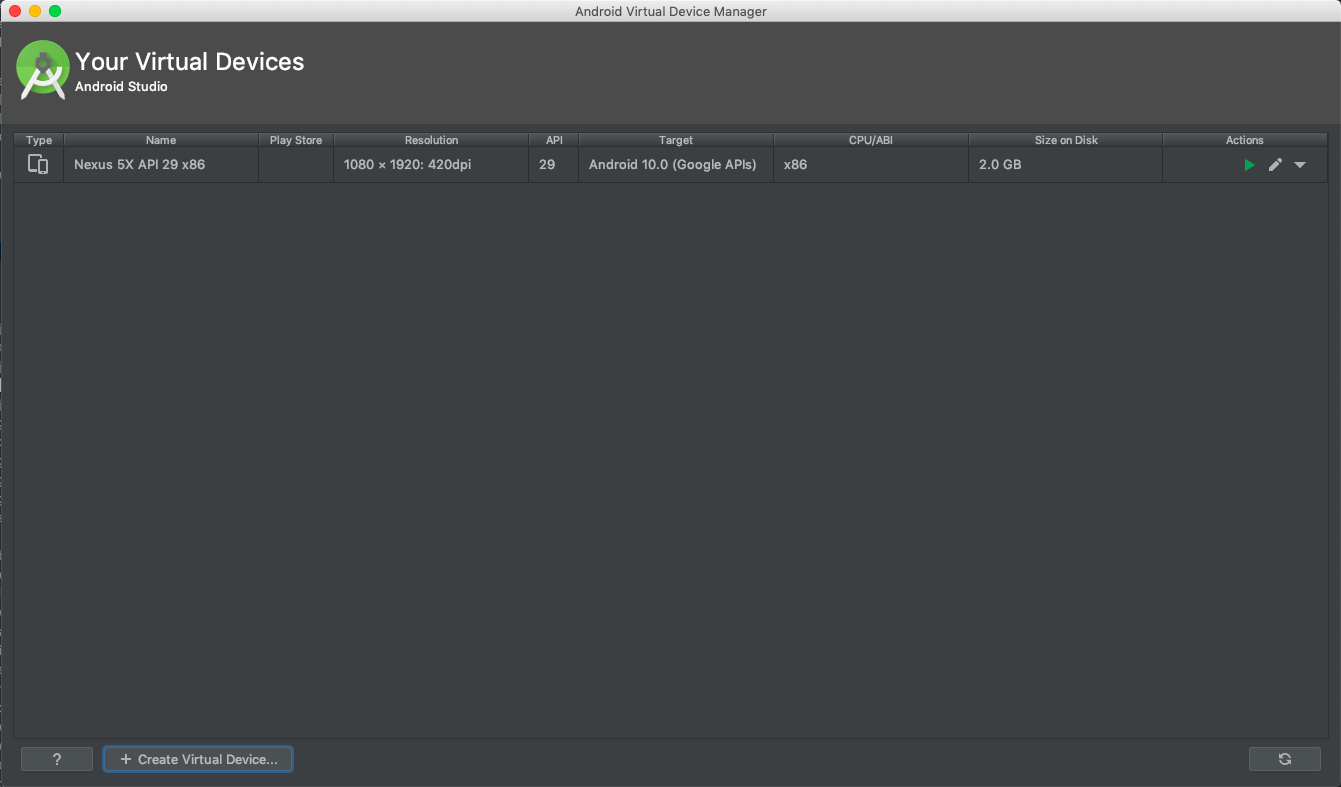
「Create Virtual Devise」をクリックします。
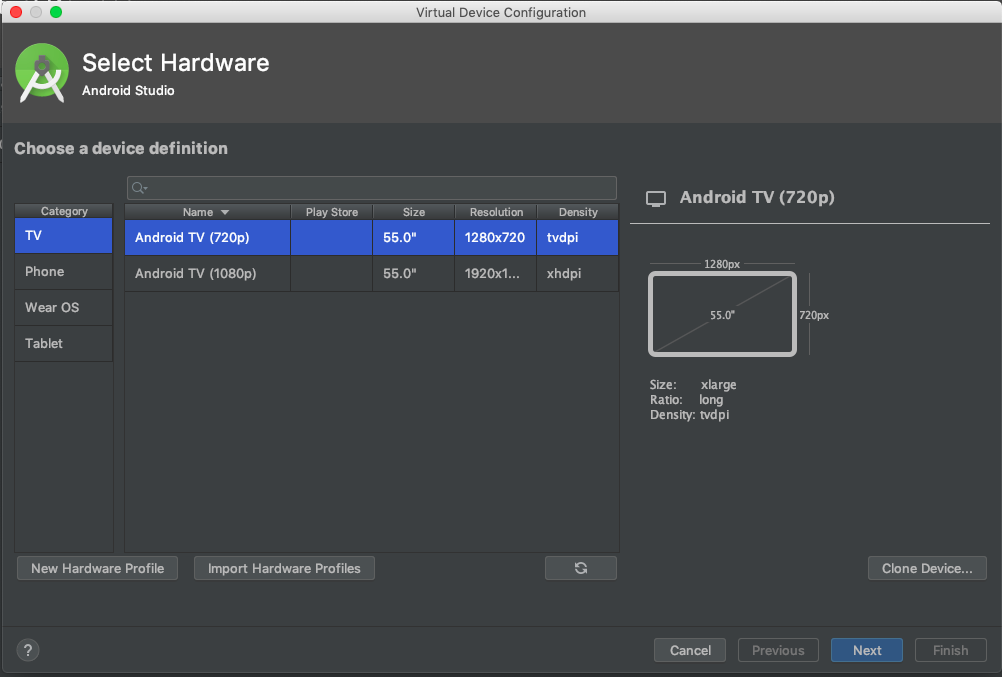
AndroidTV を選択し「Next」をクリック。
システムイメージを選択しましょう。
今回は、「Q」を選択します。
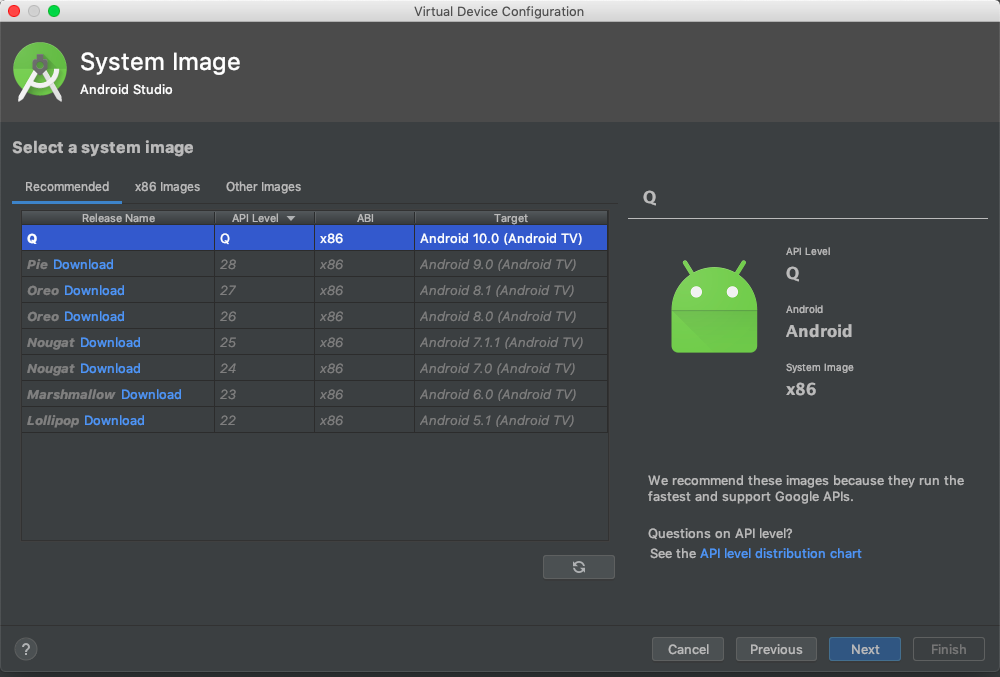
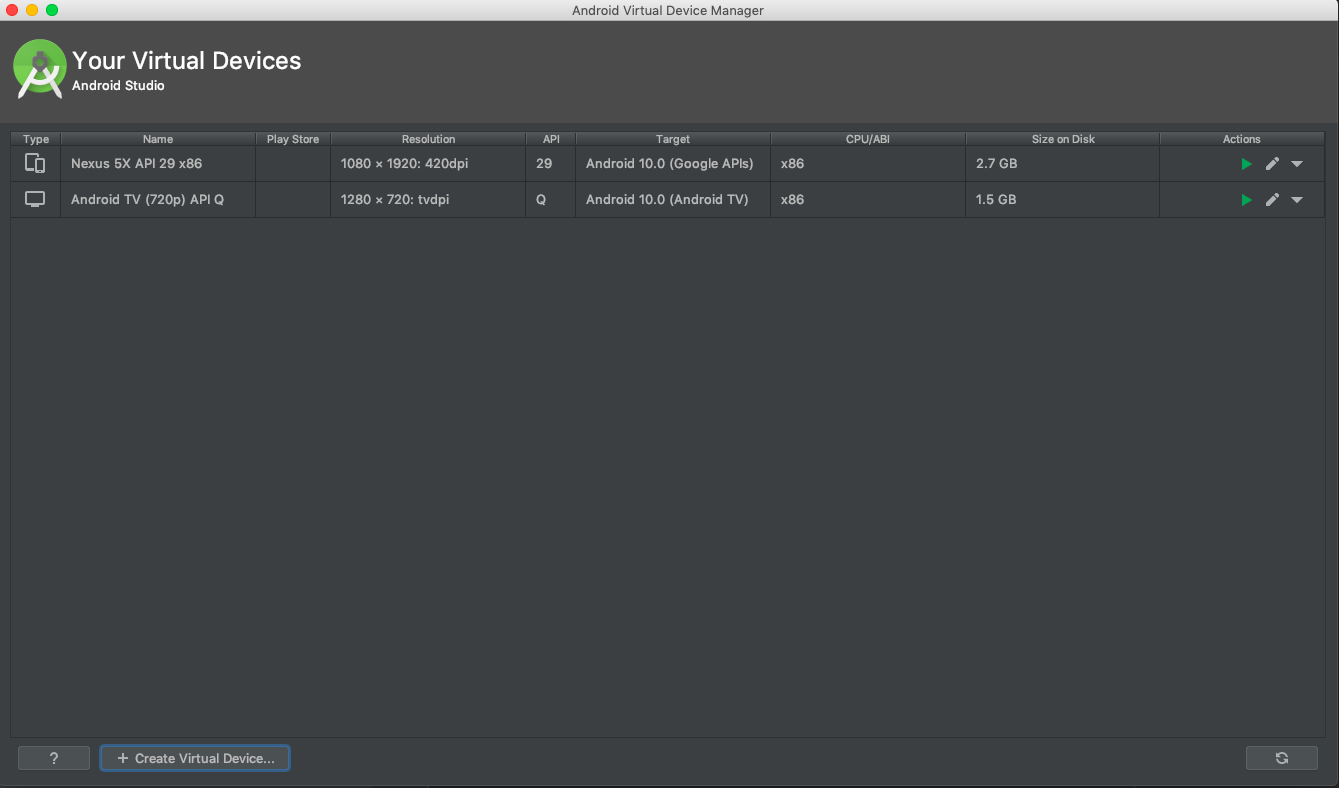
「Next」を押すと無事仮想デバイスが作成されます。
起動しましょう 
先程立ち上がっていた、仮想デバイスを停止した後、改めて Build を行います。
$ cd /Users/mziyut/Workspace/github.com/mziyut/react_native_androidtv && npx react-native run-android
まとめ
AndroidTV 向けの Build が ReactNative でサポートされており、少ない設定でアプリケーションを Build し立ち上げるところまで行えました。
しかし、TV アプリの品質 | Android Developersに以下記載があります。
重要: 優れたユーザー エクスペリエンスを実現するには、TV 端末向けのアプリがユーザビリティの特定の要件に適合している必要があります。
次の品質基準に適合するアプリのみが Google Play で Android TV アプリとして認められます。
リモコン操作に対する設定だけではなく UI に関する制限をクリアするために多くの実装を追加で行う必要があります。
(同様に、AppleTV 向けアプリケーションも同様に要件があります)
そのため、ReactNative でスマートテレビ向けアプリケーションを作成できると安易に飛びつくことなく、
実装に必要な内容を整理した上で判断したほうが良いと考えます。
Build しただけですが、mziyut/react_native_androidtv - Githubに Push しておきました。
最後に
Ateam Lifestyle Advent Calendar 2019 20 日目は @mgmg121 がお送りします!!
どんな記事を書いてくれるかとても楽しみですね!
