はじめに
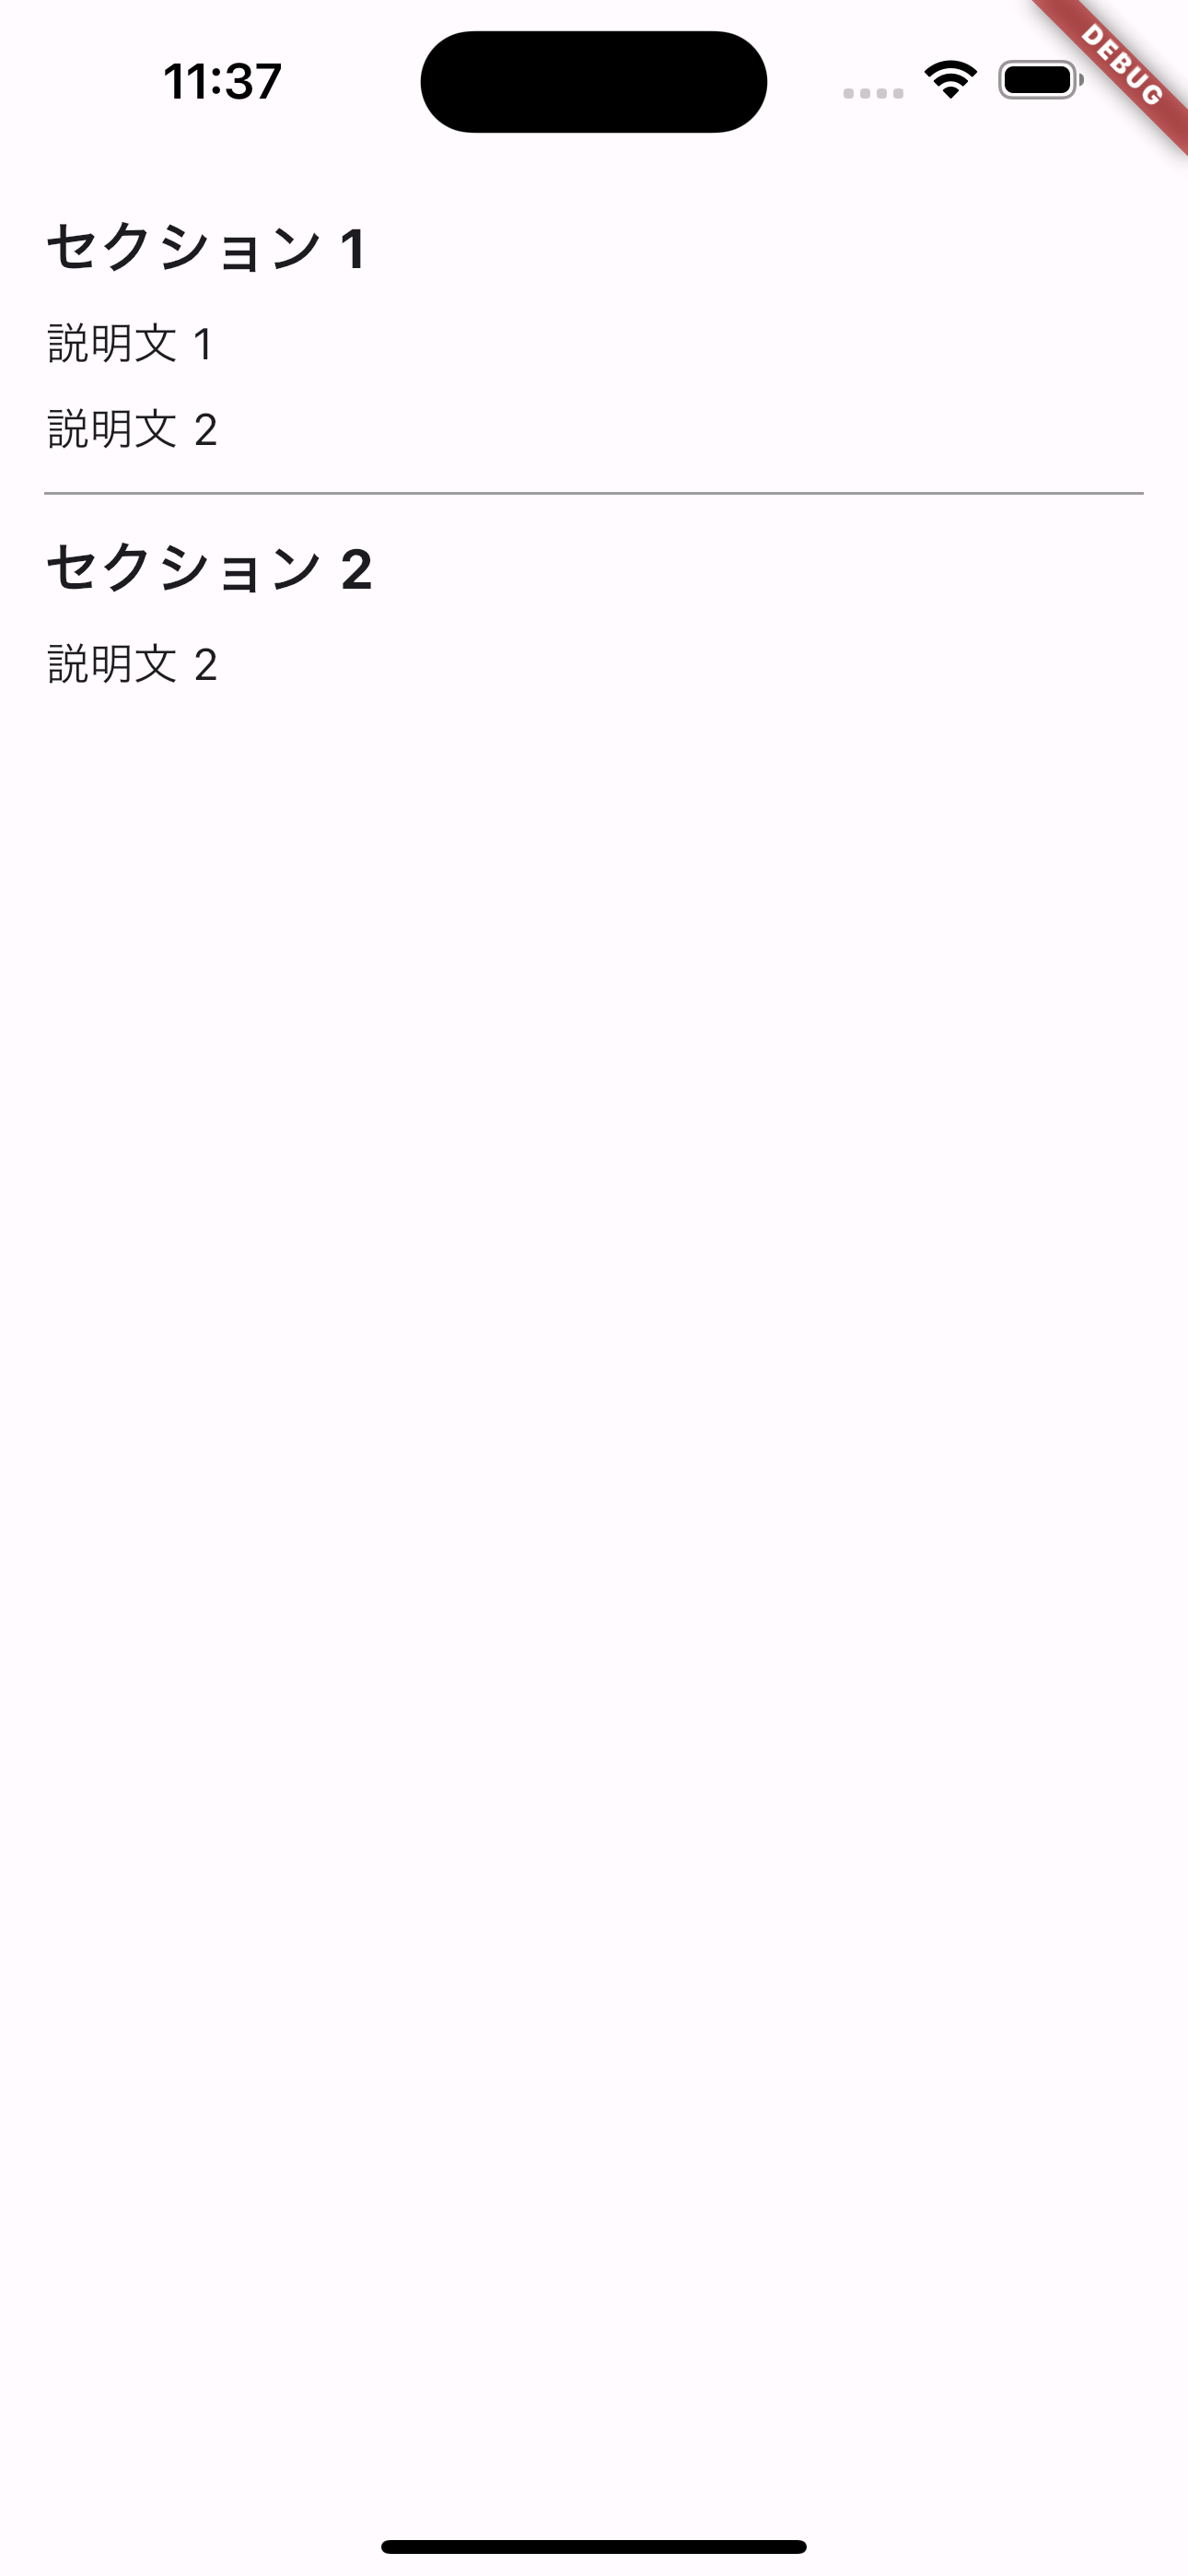
リストビューを構築する際、セクションごとに異なる情報を表示するデザインがよく用いられます。例えば、以下の画像のようなUIを考えてみましょう。
ここでは、セクション1には説明文1と説明文2が、セクション2には説明文2のみが表示されています。さらに、各セクション間にはスペースや区切り線が挿入され、視覚的に区切られています。
この記事では、上記を例に取り、forループとasMapを使用したウィジェット構築のアプローチを比較し、それぞれのメリットとデメリットを考えてみます。
環境
- Flutter 3.19.1
(1) forループの場合
全コード
import 'package:flutter/material.dart';

void main() {
  runApp(const MyApp());
}

class MyApp extends StatelessWidget {
  const MyApp({super.key});

  @override
  Widget build(BuildContext context) {
    return const MaterialApp(home: MyHomePage());
  }
}

// セクションを表すクラス
class Section {
  final String? title;
  final List<String> descriptions;

  const Section({
    this.title,
    required this.descriptions,
  });
}

class MyHomePage extends StatelessWidget {
  const MyHomePage({super.key});

  @override
  Widget build(BuildContext context) {
    return Scaffold(
      body: SafeArea(
        child: ListView(
          padding: const EdgeInsets.all(16),
          children: const [
            _SectionsWidget(sections: [
              Section(
                title: "セクション 1",
                descriptions: ["説明文 1", "説明文 2"],
              ),
              Section(
                title: "セクション 2",
                descriptions: ["説明文 2"],
              ),
            ]),
          ],
        ),
      ),
    );
  }
}

// for文を使用した例
class _SectionsWidget extends StatelessWidget {
  const _SectionsWidget({
    required this.sections,
  });

  final List<Section> sections;

  @override
  Widget build(BuildContext context) {
    // // セクションのタイトルと最初の余白を追加
    List<Widget> widgets = [];
    for (Section section in sections) {
      // タイトルを追加(タイトルが存在する場合)
      if (section.title != null) {
        widgets
          ..add(
            Text(
              section.title!,
              style: const TextStyle(
                fontSize: 20.0,
                fontWeight: FontWeight.bold,
              ),
            ),
          )
          ..add(const SizedBox(height: 8));
      }
      // 説明文を追加
      for (int i = 0; i < section.descriptions.length; i++) {
        if (i > 0) {
          // 最初の説明文以外の前に余白を追加
          widgets.add(const SizedBox(height: 8));
        }
        widgets.add(
          Text(
            section.descriptions[i],
            style: const TextStyle(fontSize: 16.0),
          ),
        );
      }
      // 最後のセクション以外に余白とDividerを追加
      if (section != sections.last) {
        widgets
          ..add(const SizedBox(height: 12))
          ..add(const Divider(height: 1, color: Colors.grey))
          ..add(const SizedBox(height: 12));
      }
    }
    return Column(
      crossAxisAlignment: CrossAxisAlignment.start,
      children: widgets,
    );
  }
}
解説
_SectionsWidgetに注目します。
① セクションの処理
まず、外側のforループはsectionsリスト内の各Sectionオブジェクトを一つずつ取り出します。このループ内で、セクションのタイトル(もしあれば)とその後の余白をウィジェットのリストに追加します。タイトルが存在する場合、Textウィジェットを使って表示し、続けて余白のためにSizedBoxウィジェットを追加します。
② 説明文の処理
次に、内側のforループは選択されたセクション内の説明文のリストを処理します。このループは各説明文に対して実行され、最初の説明文以外の前には余白を追加するようにしています。
③ セクション間の区切り
最後に、現在処理中のセクションがリストの最後のセクションでない場合、セクション間に余白と区切り線(Dividerウィジェット)を追加しています。
asMapの場合
asMapメソッドを使用すると、リストの各要素のインデックスがキーとして、要素自体が値としてマップに格納されます。リスト内の各要素に対してその位置(インデックス)に基づく特別な処理が必要な場合に便利です。
全コード
//...「for文」の場合から変更していないためここまでのコードは省略しています。

// asMapを使用した例
class _SectionsWidget extends StatelessWidget {
  const _SectionsWidget({
    required this.sections,
  });

  final List<Section> sections;

  @override
  Widget build(BuildContext context) {
    // // セクションのタイトルと余白を追加
    final children = sections.expand((section) {
      final sectionWidgets = <Widget>[];
      if (section.title != null) {
        sectionWidgets
          ..add(
            Text(
              section.title!,
              style: const TextStyle(
                fontSize: 20.0,
                fontWeight: FontWeight.bold,
              ),
            ),
          )
          ..add(const SizedBox(height: 8));
      }
      // 説明文を追加
      sectionWidgets.addAll(
        section.descriptions.asMap().entries.expand((entry) {
          final index = entry.key;
          final description = entry.value;
          return [
            // 最初の説明文以外に余白を追加
            if (index > 0) const SizedBox(height: 8),
            Text(
              description,
              style: const TextStyle(fontSize: 16),
            ),
          ];
        }).toList(),
      );
      // 最後のセクション以外に余白とDividerを追加
      if (section != sections.last) {
        sectionWidgets
          ..add(const SizedBox(height: 12))
          ..add(const Divider(height: 1, color: Colors.grey))
          ..add(const SizedBox(height: 12));
      }
      return sectionWidgets;
    }).toList();

    return Column(
      crossAxisAlignment: CrossAxisAlignment.start,
      children: children,
    );
  }
}
解説
① セクションのタイトルと余白の追加
各セクションに対してタイトル(存在する場合)を表示し、それに続く余白を追加しています。タイトルが存在する場合はTextウィジェットでタイトルを表示し、SizedBoxウィジェットで余白を追加しています。
② 説明文の処理と余白の追加
次に、asMapメソッドを用いて各セクションの説明文リストをマップに変換し、そのマップのエントリ(インデックスと説明文のペア)をexpandメソッドで処理しています。
各説明文の前に条件付きで余白を追加(最初の説明文を除く)し、説明文自体をTextウィジェットで表示しています。
③ セクション間の区切りの追加
最後のセクション以外に余白と区切り線(Dividerウィジェット)を追加し、セクション間の明確な区別を設けています。
④ それらを一つのリストにまとめる
最後に、上記のすべてのウィジェット(タイトル、説明文、余白、区切り線)をexpandメソッドとtoList()メソッドを使用して、一つのリストにまとめています。
比較
for文のアプローチ
for文は、リストの各項目を一つずつ見ていく方法です。直感的に理解しやすい反面、ただし、コードの中で多くのfor文を重ねると、コードが長く複雑になりがちで、階層が深くなってしまい、可読性が低くなってしまいます。
asMapのアプローチ
asMapは、リストの各項目を、項目の番号(インデックス)と一緒に扱えるように変換します。これにより、項目の内容とその位置の両方に簡単にアクセスでき、特定の条件下でのみ何かをしたいときなどに便利です。
結論
for文とasMapを使った方法は、それぞれに良い点があり、場面によって使い分けるのが良いかと思います。
シンプルな操作が必要な時や、項目ごとに複雑な処理を行いたい時はfor文が適しています。一方で、コードを短くまとめたい、項目の番号を活用したい場合にはasMapが有効です。
プロジェクトの目的や、チームメンバーが読みやすいと感じるスタイルに合わせて選ぶと良いでしょう。