毎回手順を調べては忘れるので、備忘録。
1.Railsをインストールする
$ mkdir rails-tutorial
$ cd rails-tutorial
$ bundle init
Writing new Gemfile to /Users/hogehoge/rails-tutorial/Gemfile
作成されたGemfileを編集。railsのコメントアウトを外す。
Gemfile
# frozen_string_literal: true
source "https://rubygems.org"

git_source(:github) {|repo_name| "https://github.com/#{repo_name}" }

- # gem "rails"
+ gem "rails"
$ bundle install --path vendor/bundle
2.Railsプロジェクトを作成する
今回はDBをMySQLにして作成。
$ bundle exec rails new . -B -d mysql --skip-turbolinks --skip-test
3.DBを作成する
$ rails db:create
※ Mysql2::Error::ConnectionError: Access denied for user 'root'@'localhost' (using password: NO)のエラーが出た場合
MySQLのパスワードを設定し直す必要がある。
パスワードは、長さが8文字以上, 小文字/大文字両方が含まれており, 特殊文字が含まれているものにすること。
$ mysql_secure_installation

Securing the MySQL server deployment.

Enter password for user root: (現在のパスワードを入力)

The 'validate_password' plugin is installed on the server.
The subsequent steps will run with the existing configuration
of the plugin.
Using existing password for root.

Estimated strength of the password: 50
Change the password for root ? ((Press y|Y for Yes, any other key for No) : (Yと入力)

New password: (新しいパスワードを入力)

Re-enter new password: (再度新しいパスワードを入力)
また、database.ymlのパスワードも変更する。
database.yml
...

default: &default
  adapter: mysql2
  encoding: utf8mb4
  pool: <%= ENV.fetch("RAILS_MAX_THREADS") { 5 } %>
  username: root
  password: (新しいパスワードを入力)
  socket: /tmp/mysql.sock

...

production:
  <<: *default
  database: rails_tutorial_twitter_production
  username: rails_tutorial_twitter
  password: (新しいパスワードを入力)
4. yarnとwebpackerのインストール
$ yarn install
$ rails webpacker:install
5. サーバーを起動!
$ rails s

...

=> Booting Puma
=> Rails 6.1.6 application starting in development
=> Run `bin/rails server --help` for more startup options
Puma starting in single mode...
* Puma version: 5.6.4 (ruby 2.6.6-p146) ("Birdie's Version")
*  Min threads: 5
*  Max threads: 5
*  Environment: development
*          PID: 43735
* Listening on http://127.0.0.1:3000
* Listening on http://[::1]:3000
Use Ctrl-C to stop
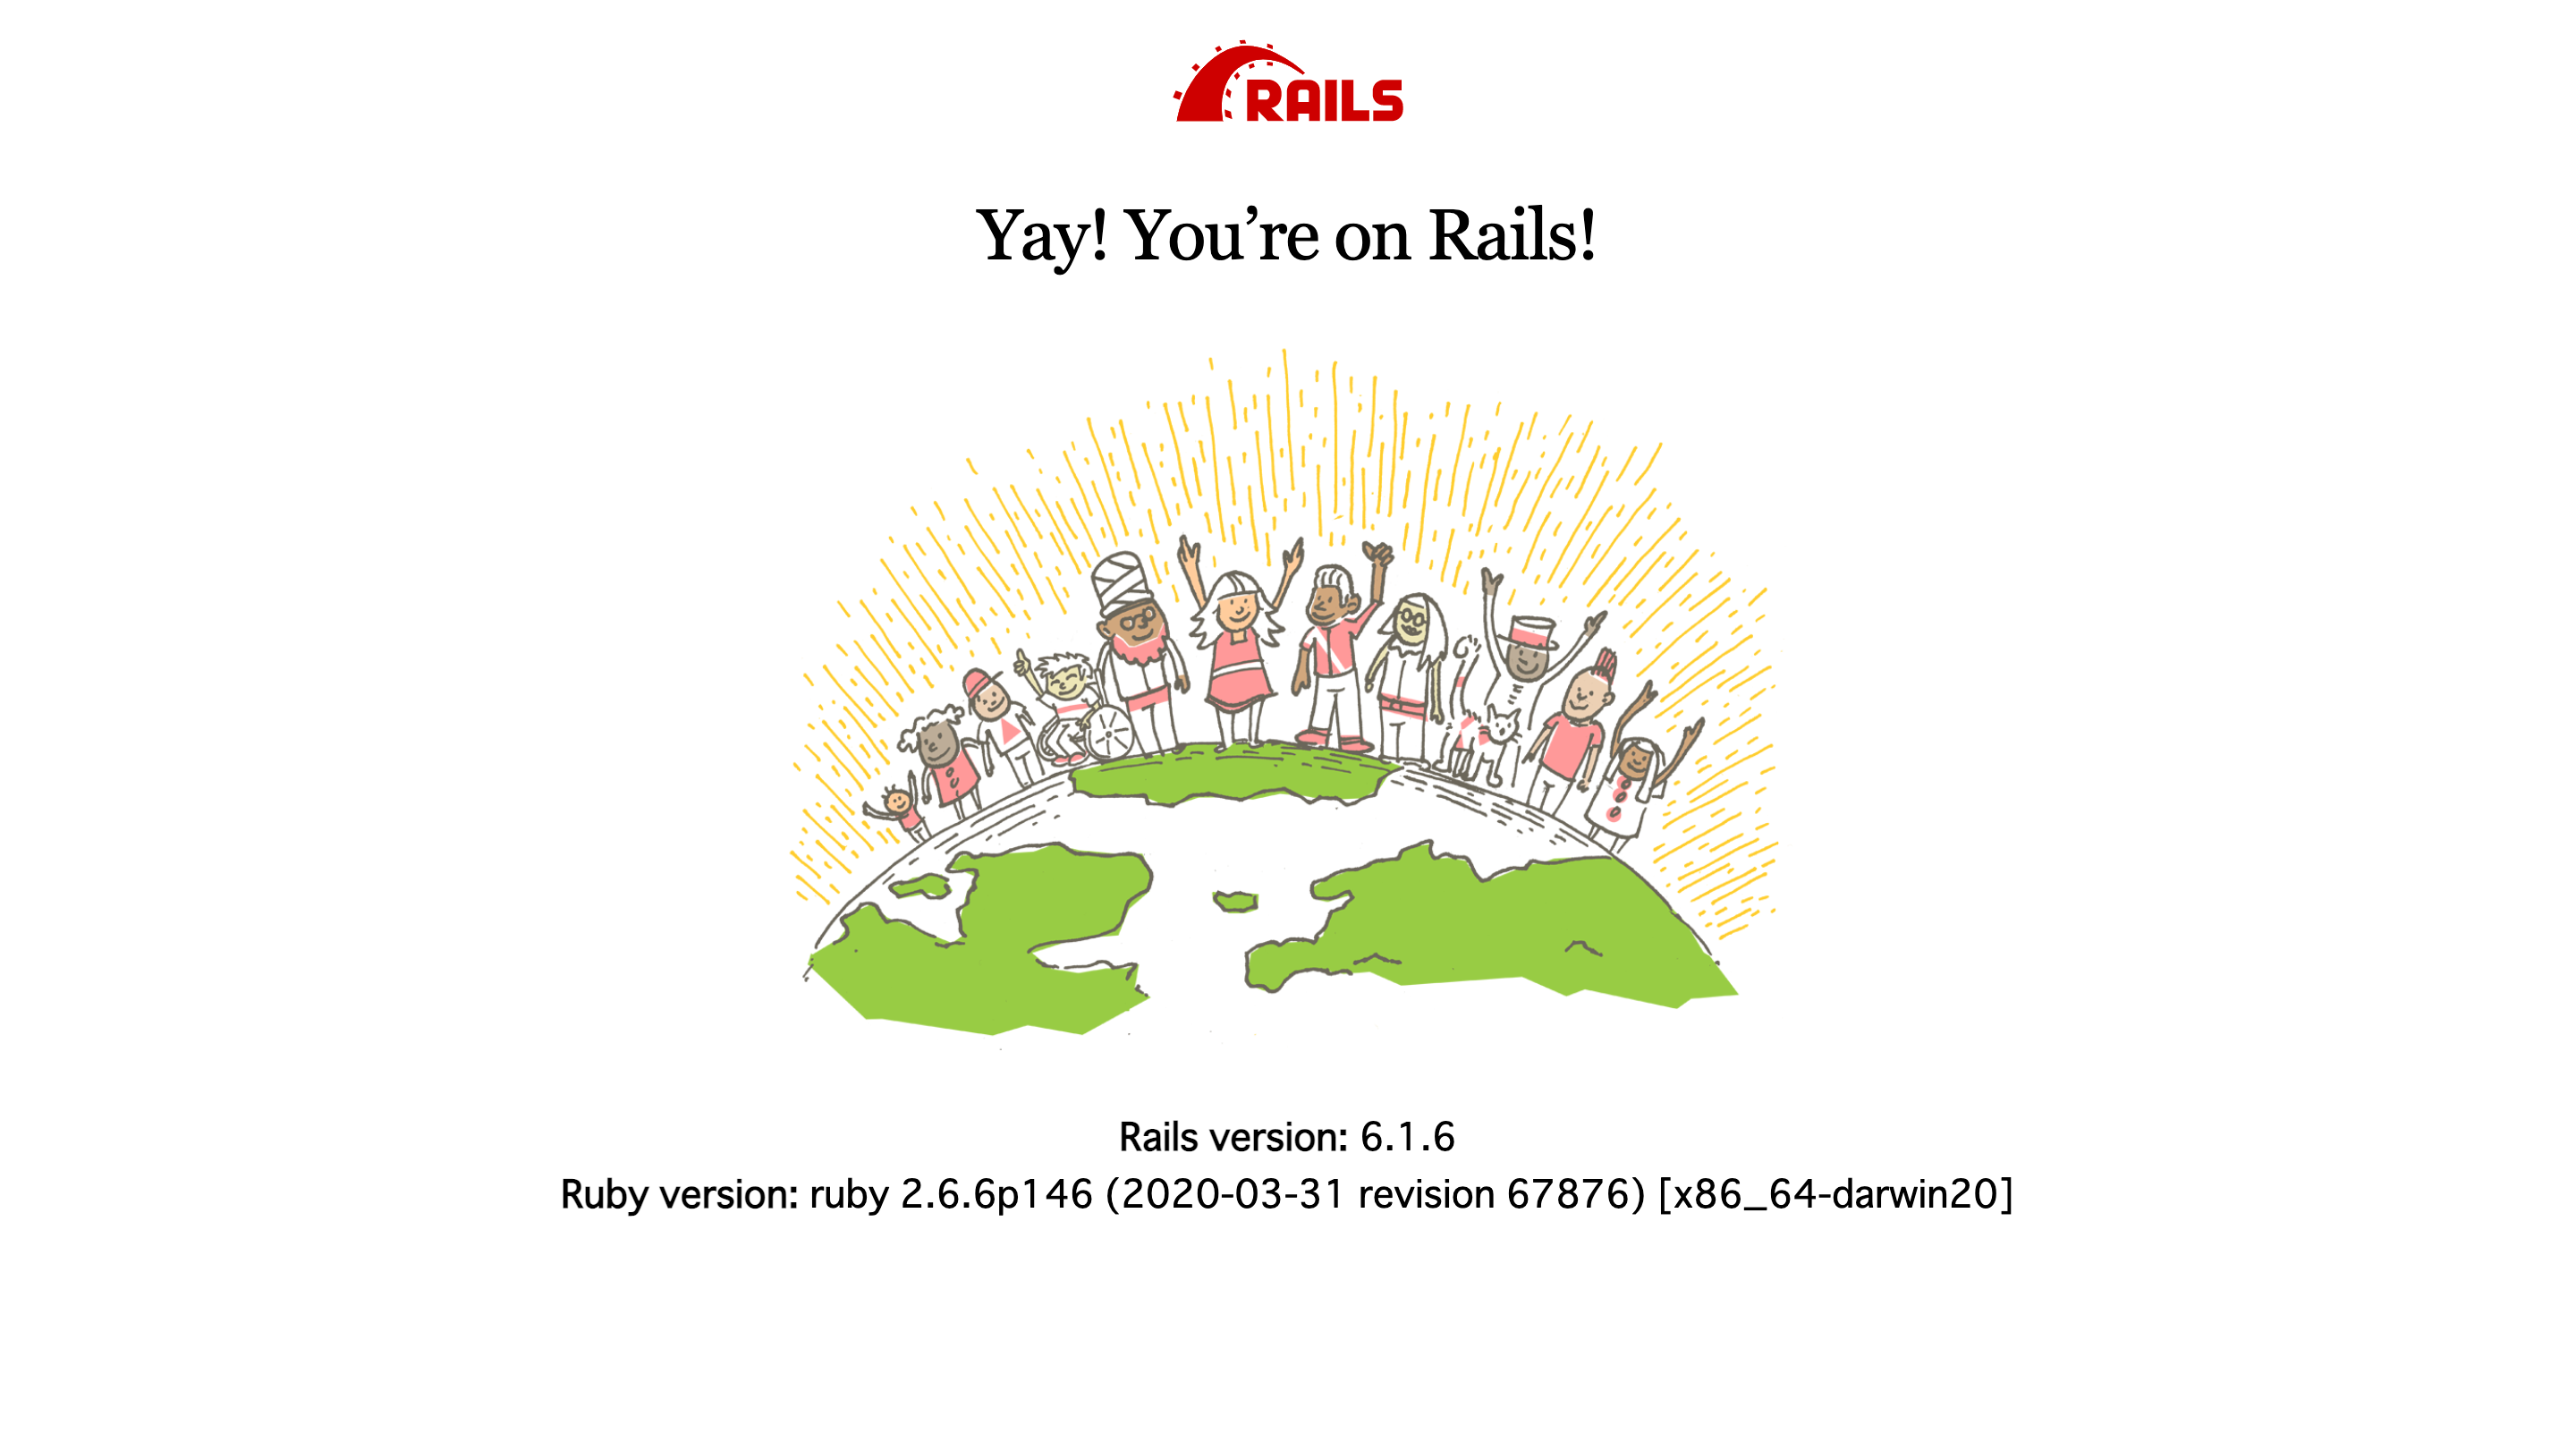
http://localhost:3000/にアクセス。
↓の画面が表示されればOK

6. GitHubにpushする
GitHubで新規リポジトリを作成しておく。
$ git init
$ git add .
$ git commit -m "initial commit"
$ git remote add origin https://github.com/username/rails-tutorial.git
$ git push -u origin master
おしまい!