9
5

Delete article

Deleted articles cannot be recovered.

Draft of this article would be also deleted.

Are you sure you want to delete this article?

More than 3 years have passed since last update.

SwiftUIのButtonに角丸の枠線をつける

Posted at

はじめに

SwiftUIで角丸の枠線がついたButtonを表示します。
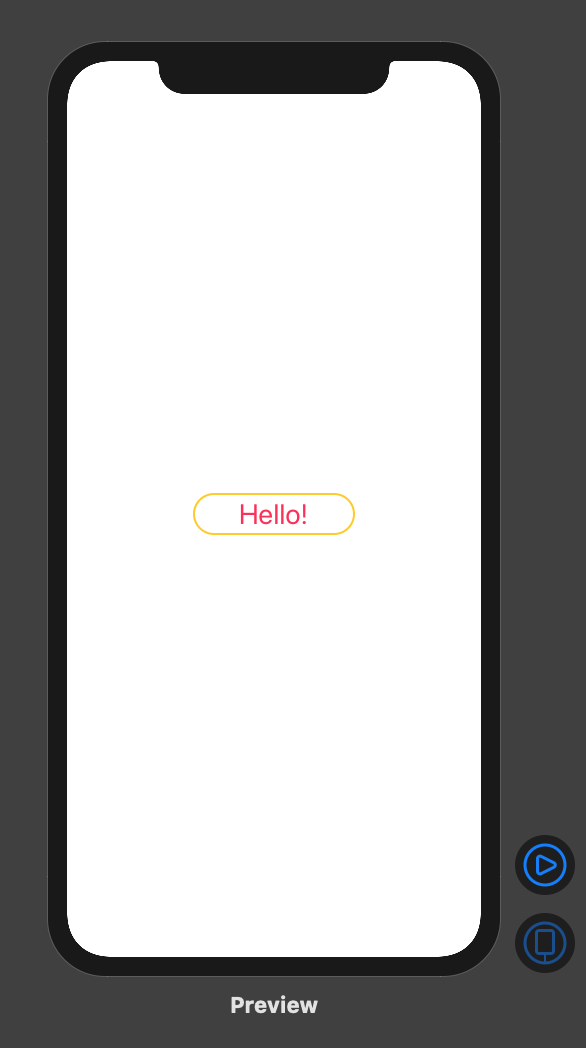
スクリーンショット 2020-02-26 15.23.07.png

環境

Xcode 11.3.1
Swift 5

やり方

テキストの上に角丸の長方形を描画します。


Button(action: {
        print("Button tapped.")
    }) {
        Text("Hello!")
            .font(.title)
            // テキストのサイズを指定
            .frame(width: 160, height: 40, alignment: .center)
            // 枠線を描画
            .overlay(
                RoundedRectangle(cornerRadius: 20)
                    .stroke(Color.yellow, lineWidth: 2)
            )
    }
    // 文字色を指定(わかりやすいように枠線と違う色にしています)
    .foregroundColor(.pink)

余談(失敗例)

Xcode11 beta6では下記のように.border()だけで実装できたようですが、
現在は引数からcornerRadiusが廃止されています。

.border(Color.yellow, width: 2, cornerRadius: 20)

.cornerRadius()を別で追加する方法も試してみましたが
丸めた角の部分が上手く表示されないようでした。


Button(action: {
        print("Button tapped.")
    }) {
        Text("Hello!")
            .font(.title)
            .frame(width: 160, height: 40, alignment: .center)
            // 角丸枠線を描画したかった…
            .border(Color.yellow, width: 2)
            .cornerRadius(20)
    }
    .foregroundColor(.pink)
スクリーンショット 2020-02-26 15.25.35.png
9
5
0

Register as a new user and use Qiita more conveniently

  1. You get articles that match your needs
  2. You can efficiently read back useful information
  3. You can use dark theme
What you can do with signing up
9
5

Delete article

Deleted articles cannot be recovered.

Draft of this article would be also deleted.

Are you sure you want to delete this article?