はじめに
VagrantによるLAMP環境構築 1【PHP 5.4】 の続きです。
前回構築したVM(CentOS7)にApache/MariaDB/PHP/phpMyAdminなどをインストールしていきます。
スタートアップスクリプトを実行する
rootでログインする
rootのホームディレクトリにスタートアップスクリプトを作成する
パーミッションを実行可能に変更して実行する
> su -
> vagrant
> touch startup_yum.sh
> vi startup_yum.sh
> chmod +x startup_yum.sh
> ./startup_yum.sh
startup_yum.shの内容は以下のように編集する
#!/bin/bash -ex

yum clean all #yumをクリーンな状態にする
yum -y update #yumを最新の状態にする
yum -y install httpd #Apacheインストール
yum -y install mariadb-server mariadb #MariaDBインストール
yum -y install php php-mbstring php-gd php-mysql #PHPインストール

systemctl enable httpd.service #Apacheを自動的に起動
systemctl enable mariadb.service #MariaDBを自動的に起動
VMを再起動する
VMを再起動してhttpdとmariadbのサービスを起動する
C:\test_VM> vagrant reload
データベースの初期設定をする
rootでログインする
データベースの初期設定をする
> su -
> vagrant
> mysql_secure_installation
> [Enter]
> y
> vagrant #DB用の管理者パスワードを設定
> vagrant #再入力
> y
> y
> y
> y
phpMyAdminをインストールする
Apache/MariaDB/PHPを構築したのでphpMyAdminをインストールする
> yum -y install epel-release #EPELリポジトリからもyum出来るようにする
> yum --enablerepo=epel install -y phpMyAdmin #phpMyAdminインストール
phpMyAdminの初期設定をする
/etc/httpd/conf.d/phpMyAdmin.confを開いて19行目に行を追加する
ポートフォワードによる通信を行う場合、ゲストから見たホストのipアドレス(10.0.2.2)からの通信を許可する
※forwarded_port(NAT Adapter上に設定される)
VirtualBox network engine : 10.0.2.2/24
VM Adapter eth0 : 10.0.2.15/24
> vi /etc/httpd/conf.d/phpMyAdmin.conf
     # Apache 2.4
     <RequireAny>
       Require ip 127.0.0.1
       Require ip ::1
       Require ip 10.0.2.2 #この行を追加する
httpdのサービスを再起動する
> systemctl restart httpd
phpMyAdminにログインする
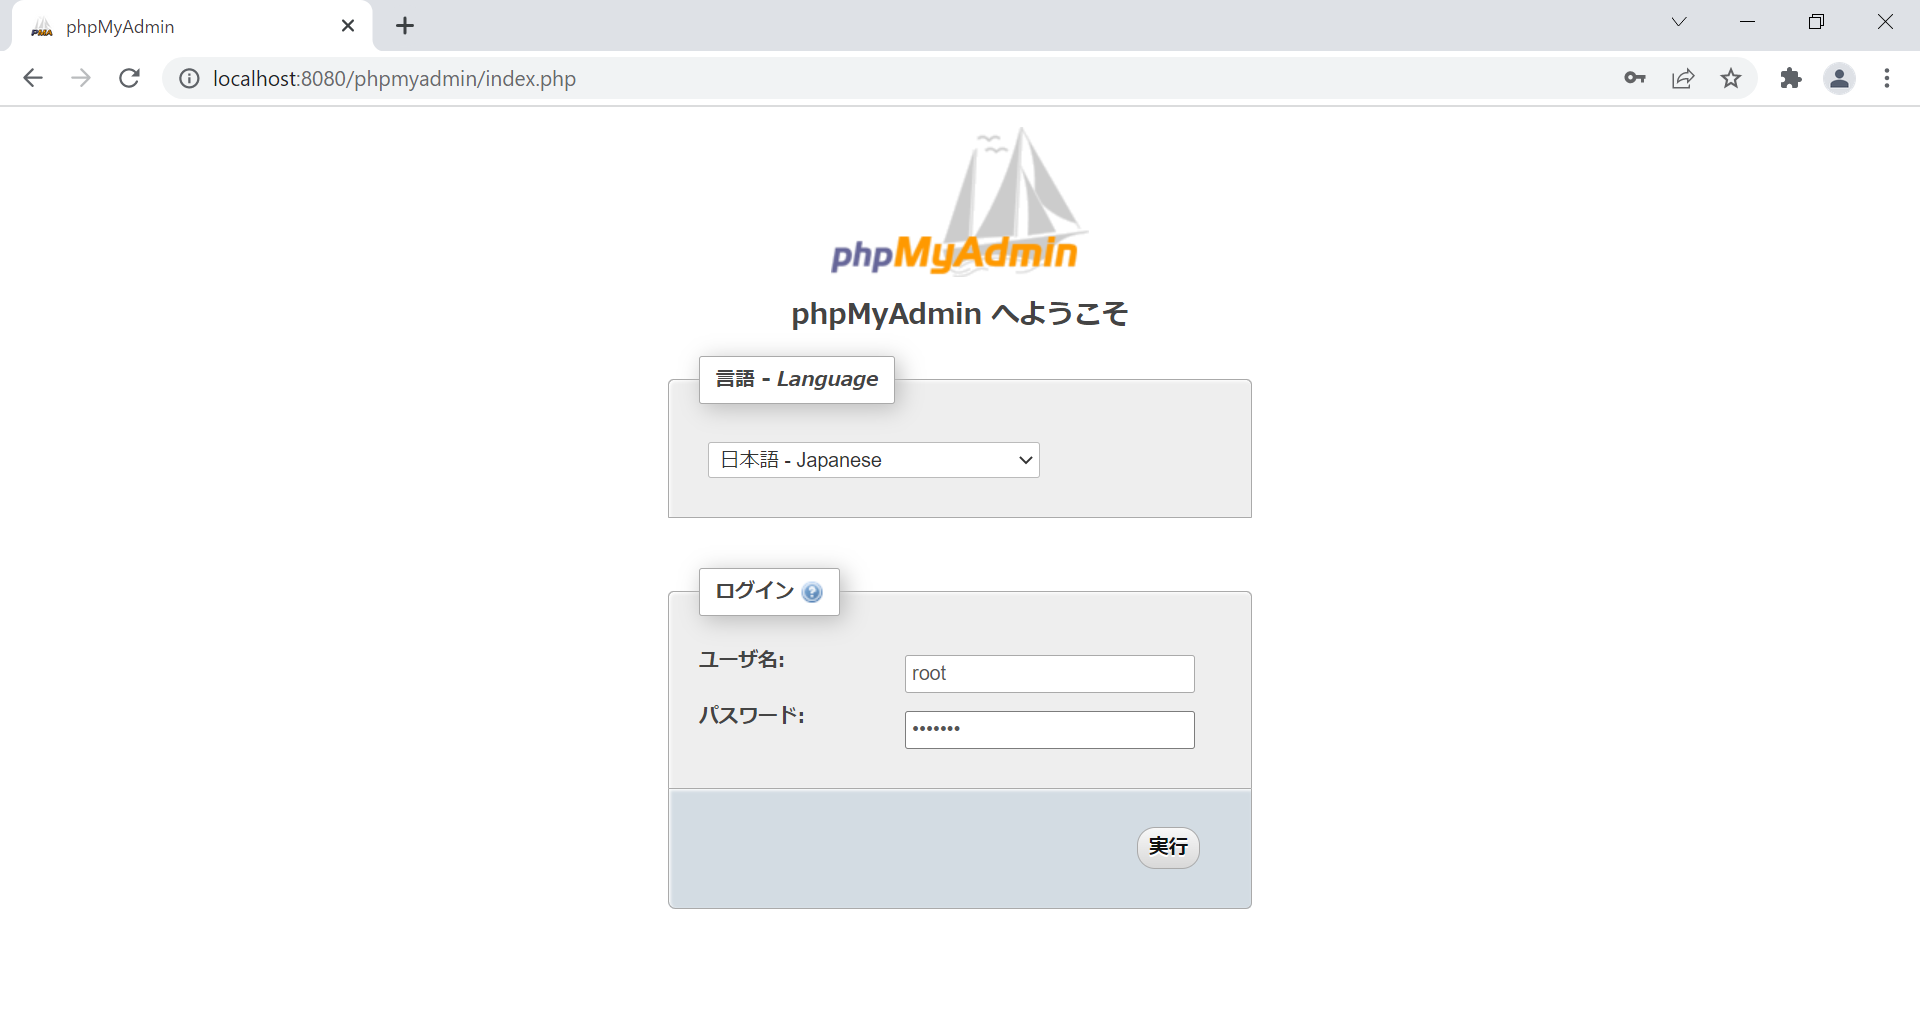
ホストのブラウザを開いて"URL: localhost:8080/phpmyadmin"にアクセスする
DB管理者パスワードでログインする
