はじめに
どうも、らむです。
今回は画像中の色の数を減らす減色処理を実装します。
ちなみに、前回から一本飛んでいるのはどうしても5本目のHSV変換が実装できなかったからです。
6本目:減色処理
減色処理はその名の通り、色の数を減らす処理のことです。
通常の画像ではBGRでそれぞれ[0:255]の256色が存在し、1つの画素値で$256^3 = 16,777,216$色の組み合わせがあります。
今回の処理ではBGRそれぞれに[32,96,160,224]の4色、1つの画素値で$4^3 = 64$色に減色します。
今回、減色は以下の式に従って行います。
pix = {  32 (  0 <= pix <  64)
         96 ( 64 <= pix < 128)
        160 (128 <= pix < 192)
        224 (192 <= pix < 256)
ソースコード
decreaseColor.py
import numpy as np
import cv2
import matplotlib.pyplot as plt

def decreaseColor(img):
  dst = img.copy()

  idx = np.where((0<=img) & (64>img))
  dst[idx] = 32
  idx = np.where((64<=img) & (128>img))
  dst[idx] = 96
  idx = np.where((128<=img) & (192>img))
  dst[idx] = 160
  idx = np.where((192<=img) & (256>img))
  dst[idx] = 224

  return dst

# 画像読込
img = cv2.imread('../assets/imori.jpg')

# 減色処理
img = decreaseColor(img)

# 画像表示
plt.imshow(cv2.cvtColor(img, cv2.COLOR_BGR2RGB))
plt.show()
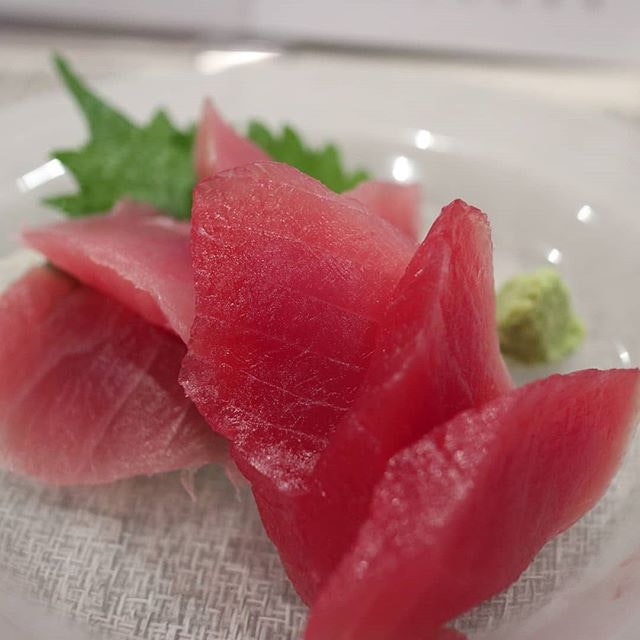
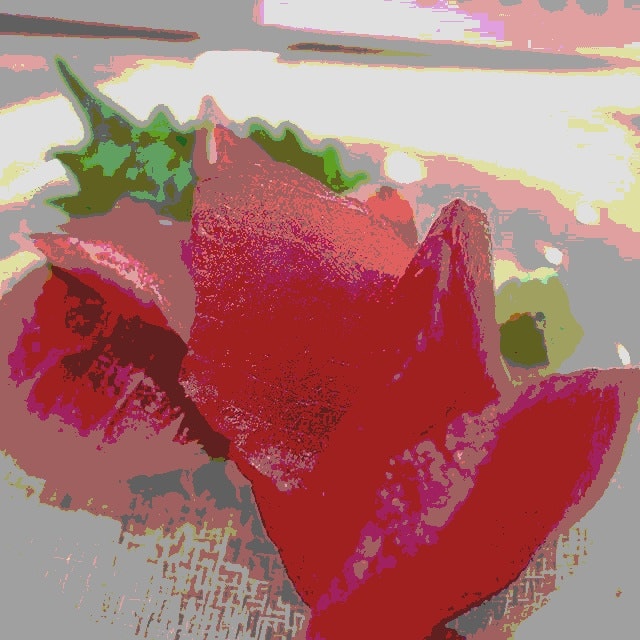
画像左は入力画像、画像右は出力画像です。
上手く色が減っていることが分かりますね。似たような色の箇所をベタ塗りしたような出力結果になりました。
おわりに
もし、質問がある方がいらっしゃれば気軽にどうぞ。
imori_imoriさんのGithubに公式の解答が載っているので是非そちらも確認してみてください。
それから、pythonは初心者なので間違っているところがあっても優しく指摘してあげてください。