RailsのGemであるSimple Calendarを利用して、ミニアプリを作ってみた。
アプリの新規作成
まずはアプリの新規作成から。
ターミナルで以下を実行する。
rails _6.0.0_ new minicalendar -d mysql
次にencodingの設定を変更。
default: &default
  adapter: mysql2
  encoding: utf8  #ここを変更する
  pool: <%= ENV.fetch("RAILS_MAX_THREADS") { 5 } %>
  username: root
.gitignoreファイルの一番下の行に、.Ds_Storeと追記。
/public/packs
/public/packs-test
/node_modules
/yarn-error.log
yarn-debug.log*
.yarn-integrity
.Ds_Store  #ここに追記
続いてGemfileの編集。
 # Bundle edge Rails instead: gem 'rails', github: 'rails/rails'
gem 'rails', '~> 6.0.0'
 # Use mysql as the database for Active Record
gem 'mysql2', '>= 0.5.3'  #ここを変更
ターミナルでbundle installを実行する。
ユーザー機能の実装
次にユーザー機能を実装していく。
まずはGemの導入。
gem 'devise'
#一番下に追記する
追記後、bundle install。
ターミナルで以下を実行してdeviseをインストール → モデルの作成。
rails g devise:install
rails g devise user
今回初期設定のメールアドレスとパスワード以外にユーザー名も登録したいので、以下のようにカラムを追加する。
class DeviseCreateUsers < ActiveRecord::Migration[6.0]
  def change
    create_table :users do |t|
      ## Database authenticatable
      t.string :email,              null: false, default: ""
      t.string :encrypted_password, null: false, default: ""
      t.string :name  #追記
追記したらbundle install
nameカラムをパラメーターとして渡してあげる記述とauthenticate_user!メソッドを記述。
authenticate_user!メソッドを使用すると、処理が呼ばれた段階で、ユーザーがログインしていなければ、そのユーザーをログイン画面に遷移させる事ができる。
class ApplicationController < ActionController::Base
  before_action :authenticate_user!
  before_action :configure_permitted_parameters, if: :devise_controller?

  private
  def configure_permitted_parameters
    devise_parameter_sanitizer.permit(:sign_up, keys: [:name])
  end
end
続いてビューファイルの作成。
rails g devise:views
ビューファイルにnameカラムの入力フォームを追加する。
 <div class="field">
    <%= f.label :name %><br />
    <%= f.text_field :name, autofocus: true, autocomplete: "name" %>
  </div>
シンプルカレンダーの導入
Gemfileに以下を記述。
gem "simple_calendar", "~> 2.4"
# 一番下に追記
bundle installを実行。
モデル作成。
rails g model calendar
次にルーティングを設定。
今回ルートパスにindexページを設定している。
Rails.application.routes.draw do
  devise_for :users
  # For details on the DSL available within this file, see https://guides.rubyonrails.org/routing.html
  root to: 'calendars#index'
  resources :calendar, only: [:index]
end
次にコントローラー。
rails g controller calendars
class CalendarsController < ApplicationController
  def index
  end
end
最後にビューファイルの作成。
とりあえずは以下のように記述すると、カレンダーのフォーマットのようなものが表示されるようになる。
<%= month_calendar do |date| %>
  <%= date %>
<% end %>
*= require simple_calendar  #追記
 *= require_tree .
 *= require_self
 */
実装確認
rails sでローカルサーバーを起動。
ユーザー登録を経て、表示されたのが、以下のページ。
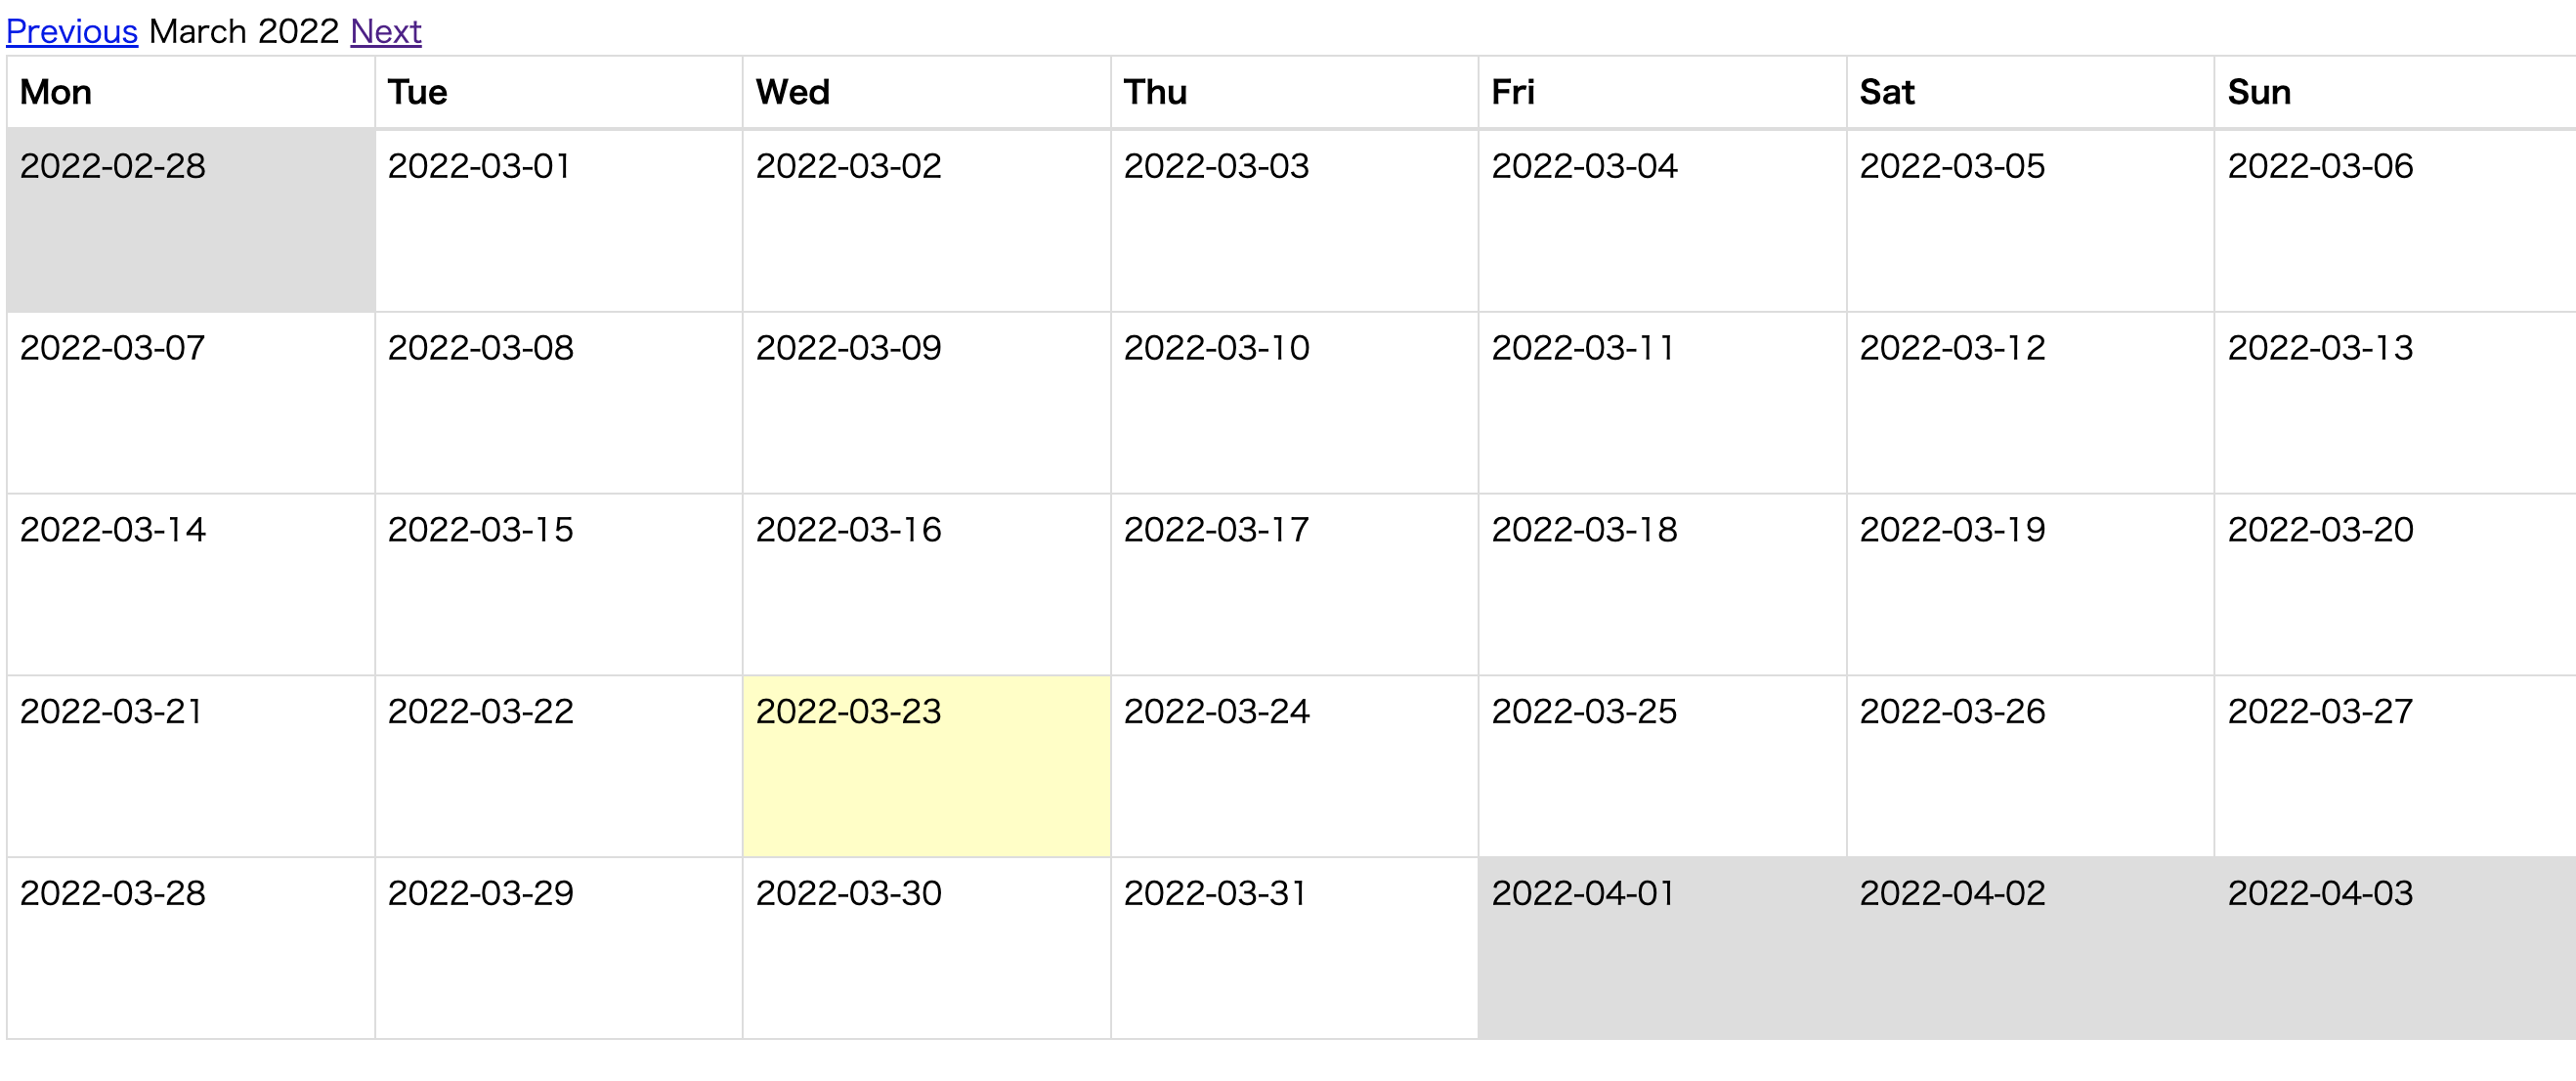
デザインは味気ないが、とりあえずは成功。
あとはこれに新規スケジュールの作成機能などを追加していくつもりだが、それはまた次回に。