目次
はじめに
はじめてのRaspberry Pi Zero WにHomebridgeインストールまでの手順を簡単にまとめました。
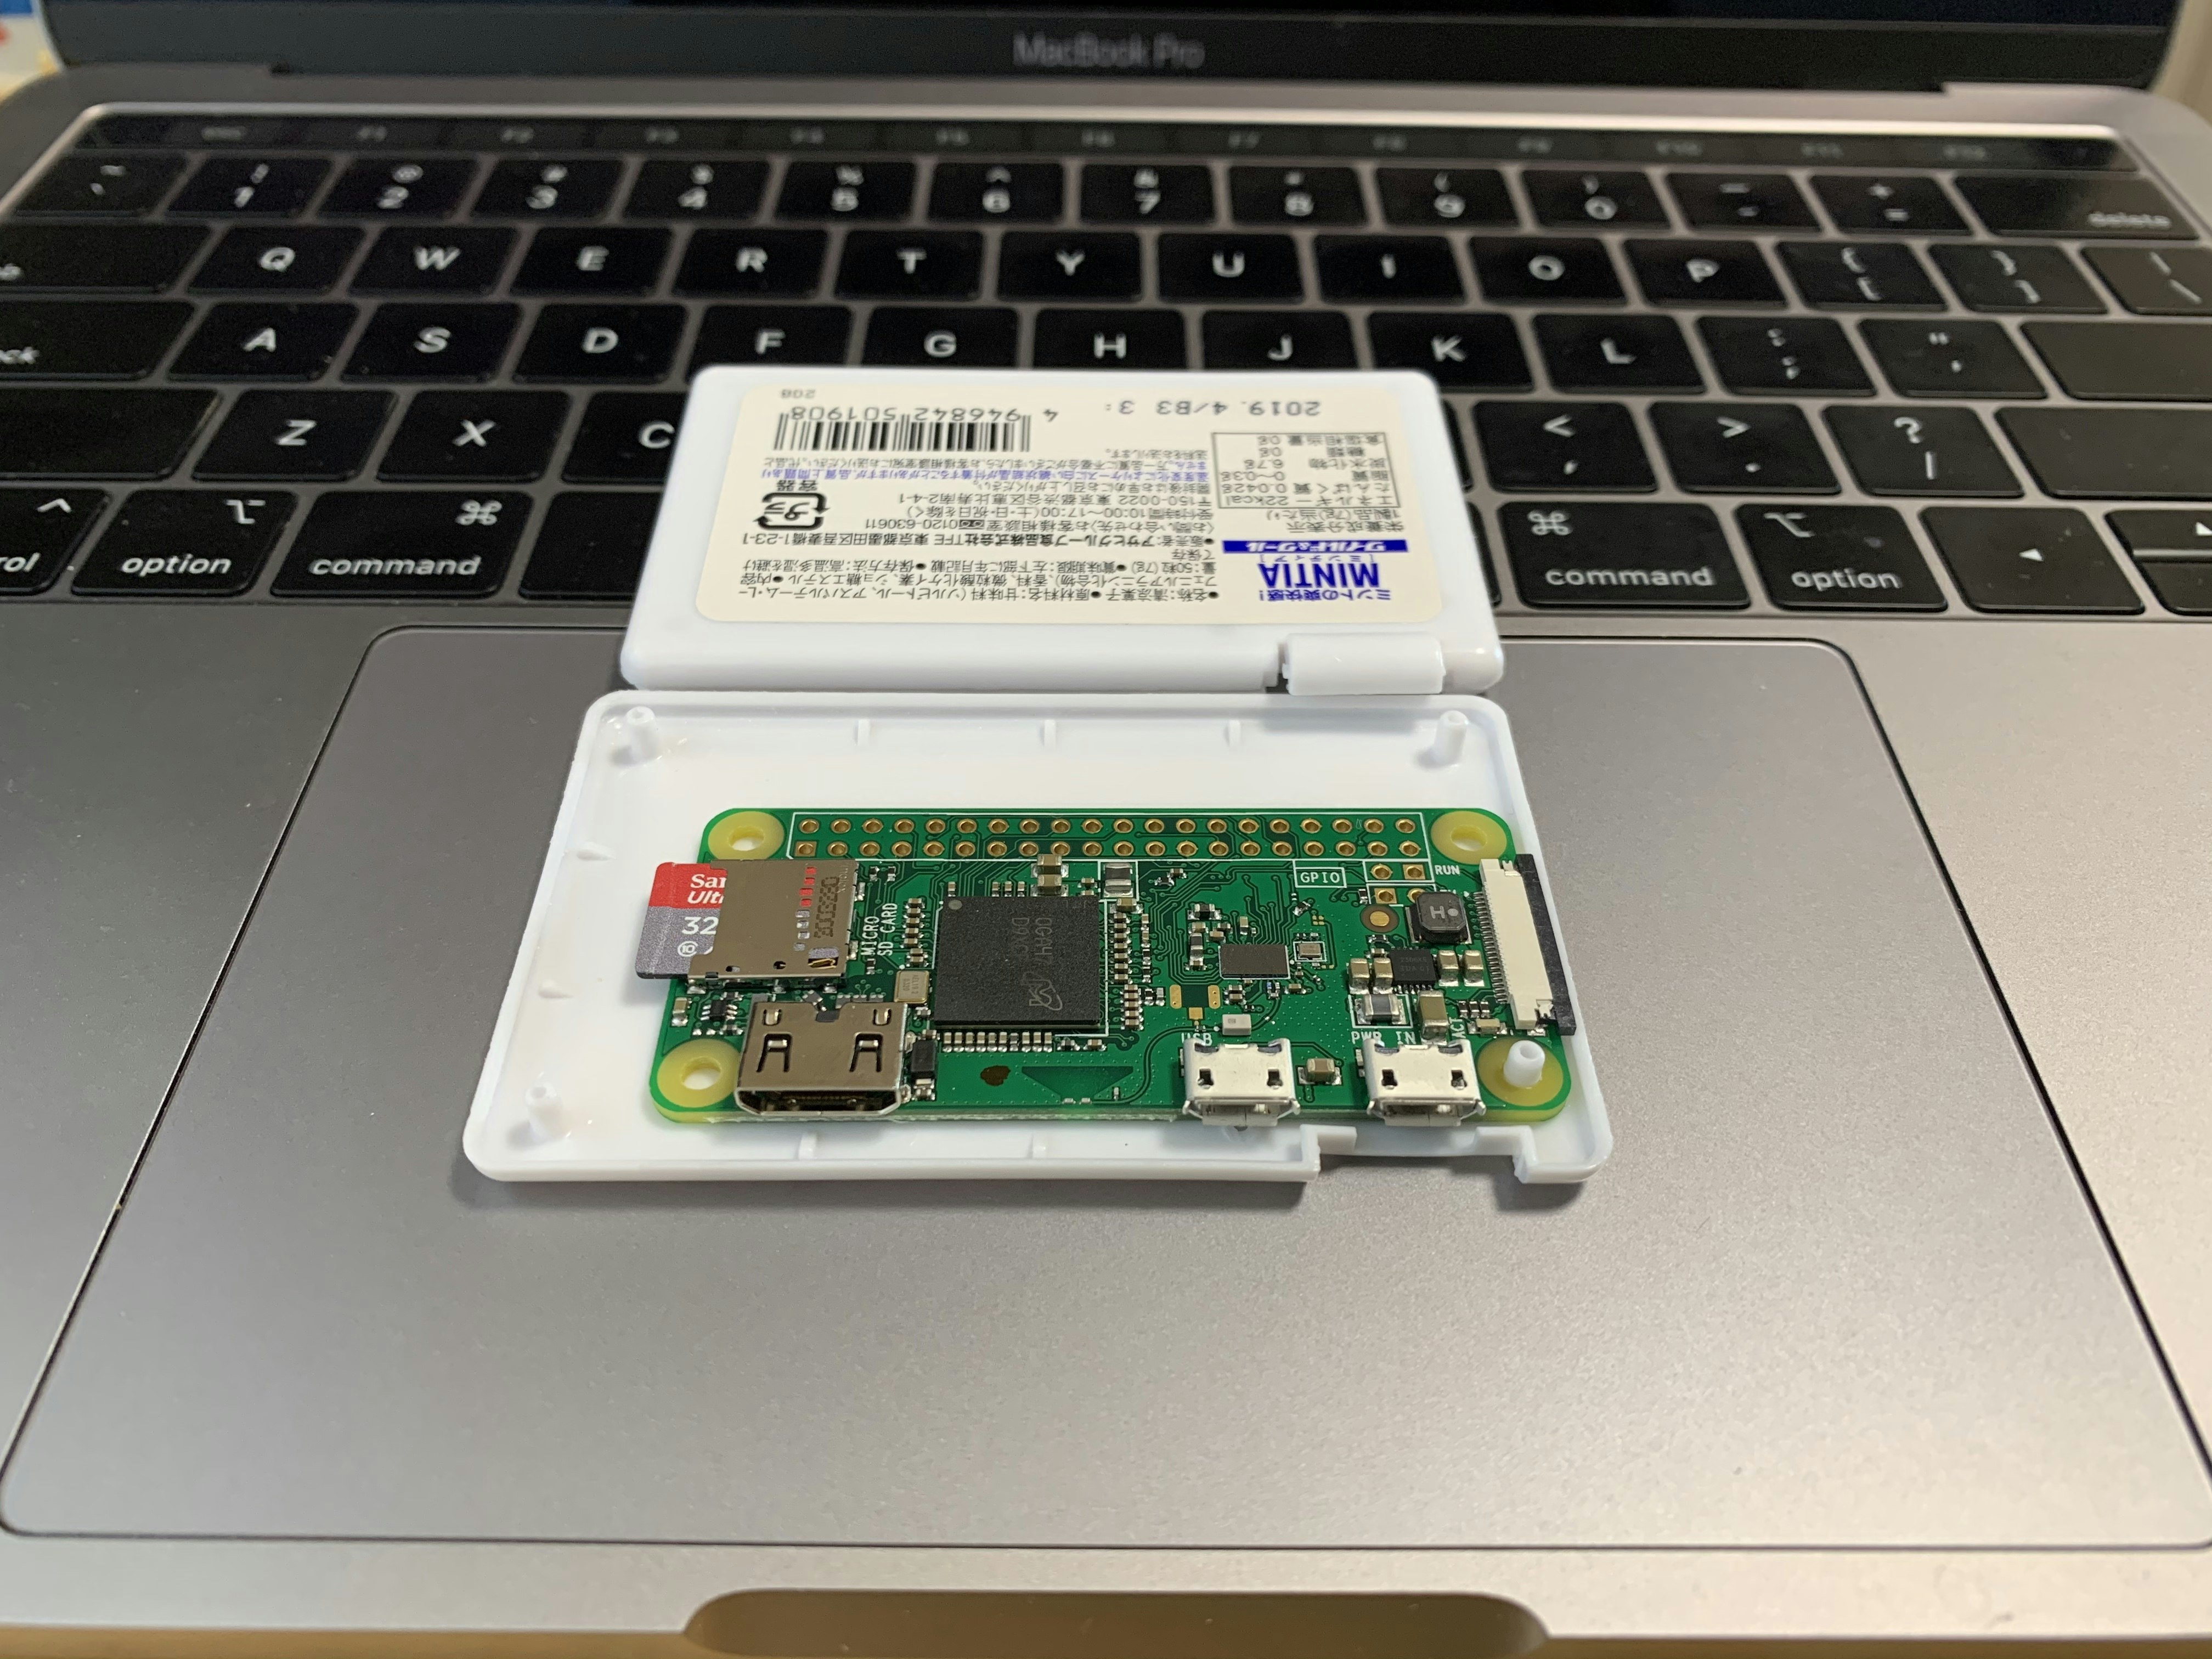
- ケースが無かったのとりあえず d(^_^;) MINTIAにドンピシャでRaspberry Pi Zeroがハマるのは凄い!
(↑多少ケース内の出っ張りをニッパーでカット&削る必要があるけど、電源用microUSB端子なんかシンデレラフィット!)
1. Raspberry Pi OSインストール
まず、SDカードにOSを書き込むツールをオフィシャルからダウンロードしてくる。
【[Install Raspberry Pi OS using Raspberry Pi Imager]
(https://www.raspberrypi.org/software/)】

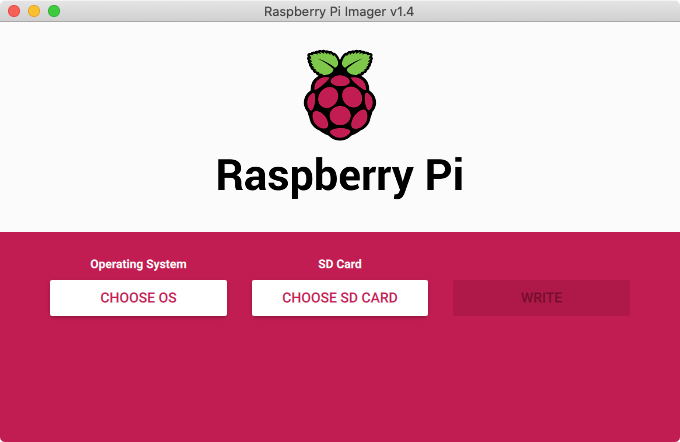
「CHOOSE OS」でインストールしたい「Raspberry Pi OS」を選択し、「CHOOSE SD CARD」で、書き込み先のSDカードを選択します。
-
SDカードは、FAT32フォーマットで、32GBまで使えるので、「microSDHC 32GB class10」があれば十分だと思います。
-
「CHOOSE OS -> USE CUSTOM」を選択すると、「Operating system images」でダウンロードした「zip」ファイルなどをSDカードに書き込むことができます。
2. SSH, VNCを使えるようにする
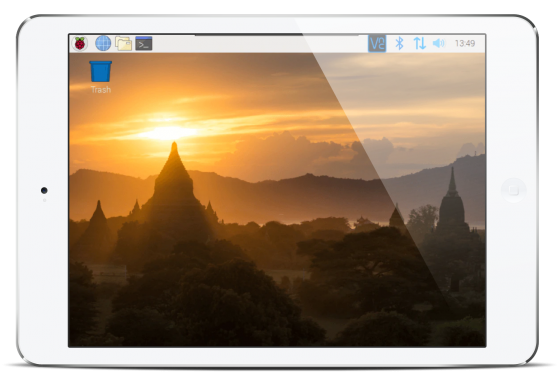
Raspberry Piの電源を入れて、言語環境、WiFiなどの初期セットアップ後、SSHとVNC(Virtual Network Computing)を有効化しておくと、WindowsやMac、iOSの「VNC Viewer」から、Raspberry Piのデスクトップを操作できます。
- Raspberry Piの接続ポートに、HDMIを接続して、USBハブを接続して、キーボードつないで、マウスつないで、といった煩わしい作業が不要になります。
-
iPadなどのタブレットやスマホをRaspberryPiのモニターとして使えます。

- <参考リンク> Raspberry Pi 4にSSHとVNCで接続してみた
3. node.js, npmのインストール
Pi ZeroはCPUのアーキテクチャがARMv6なので、通常のnodeインストールはエラーになるっぽいです。
なので「node-pi-zero.git」で、node.jsをインストールするのが簡単な様です。
# aptのアップデート(インストール可能なパッケージの一覧更新)
sudo apt-get update
# aptのアップグレード(インストール済みパッケージ更新)
sudo apt-get upgrade

# gitのインストール
sudo apt-get install -y git

# node-pi-zero.gitのクローン
git clone https://github.com/sdesalas/node-pi-zero.git

# node v11.5.0 のインストール
cd node-pi-zero
sudo chmod 755 ./install-node-v11.5.0.sh
./install-node-v11.5.0.sh

# バージョンの確認
node -v
v11.5.0

npm -v
6.4.1
後から気がついたのですが、Gitでcloneしなくても、直接以下のコマンドで、node-pi-zeroの最新版をインストールできるみたい。
wget -O - https://raw.githubusercontent.com/sdesalas/node-pi-zero/master/install-node-v.last.sh | bash
4. Homebridgeのインストール
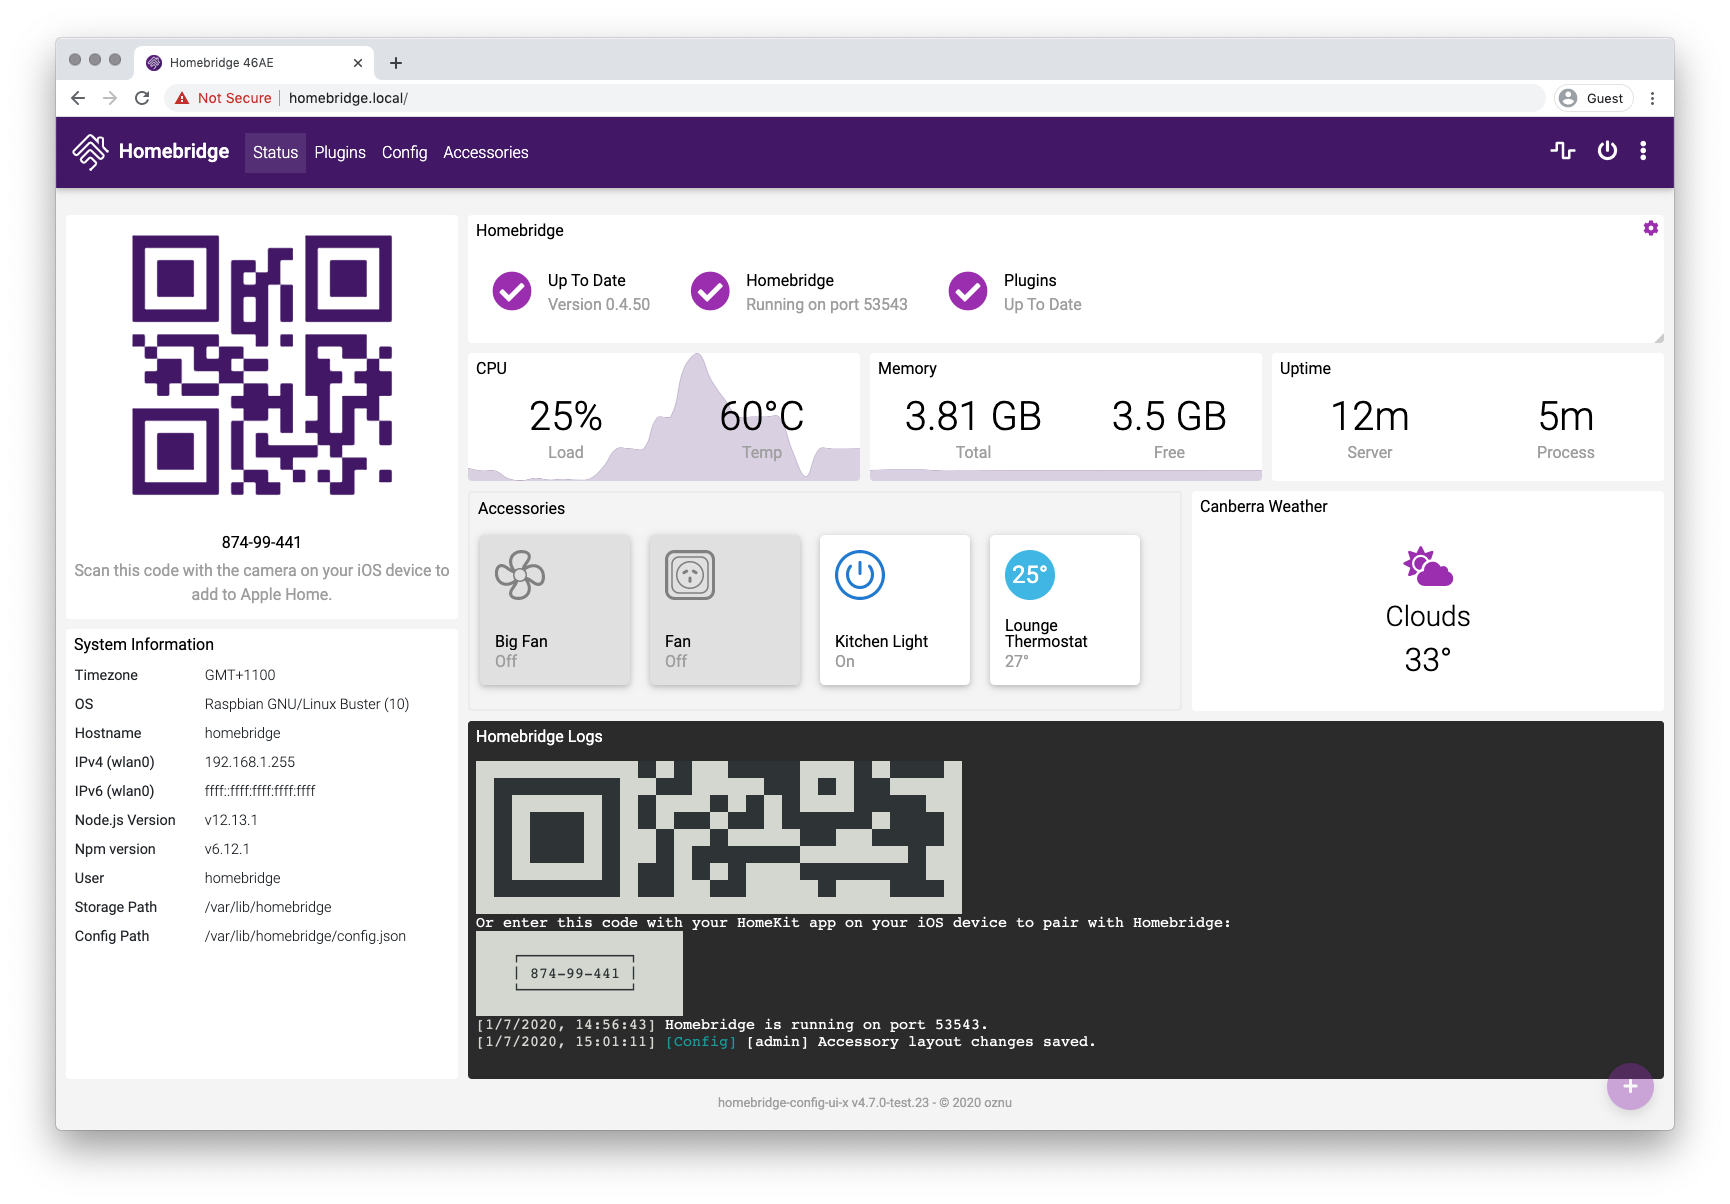
Homebridgeをインストールすることで、RaspberryPiのシステム状態をダッシュボード上で見ることができたり、iPhoneのSiriから家電をコントロールできたりと、とっても便利です。
# npmでHomebridgeインストール
sudo npm install -g --unsafe-perm homebridge homebridge-config-ui-x

# hb-serviceでWebサービスとして設定
cd /opt/nodejs/lib/node_modules/homebridge-config-ui-x/dist/bin
sudo ./hb-service.js install --user homebridge
↓ install結果
ℹ Installing Homebridge Service
ℹ Created service user: homebridge
ℹ Creating Homebridge directory: /var/lib/homebridge
ℹ Creating default config.json: /var/lib/homebridge/config.json
ℹ Starting Homebridge Service...
✔ Homebridge Started

Manage Homebridge by going to one of the following in your browser:

* http://localhost:8581
* http://192.168.1.255:8581
* http://[ffff:ffff:ffff:ffff:ffff:ffff:ffff:ffff]:8581

Default Username: admin
Default Password: admin

✔ Homebridge Setup Complete
おわりに
今回は、Raspberry Pi OSに、node.js, npm → Homebridgeをインストールしていきましたが、Raspberry Pi (Zero W) に、直接「homebridge-raspbian-image」を稼働させたい場合は、以下のGitを参考にすると良いと思います。
- 基本的には、ダウンロードしたzipファイルをSDカードに書き込んで、初回セットアップ手順に従ってWiFiを設定するだけです。
- 「based on Raspbian Lite.」なので、Desktop版のようなGUI(Graphical User Interface)のないバージョンになります。
- <参考リンク> GitHub - homebridge/homebridge-raspbian-image: Official Homebridge Raspberry Pi Image based on Raspbian Lite.


