こんにちは、むんです![]()
前々から触ってみたいと思っていたLaravelで、まずHelloworldしてみようと思います。
目次
- そもそもLaravelとは
- Laravelをインストールする
- Helloworldしてみる
- まとめ
そもそもLaravelとは
以下、Wikipediaより引用です。
Laravel は、MVCのWebアプリケーション開発用の無料・オープンソースのPHPで書かれたWebアプリケーションフレームワークである。LaravelはMITライセンスの下でリリースされており、そのソースコードはGitHubにホスティングされている。マイクロソフトの.NETの開発に関わっていたTaylor Otwell が開発し、Taylorを中心としたコミュニティーが活発な開発を続けている。
との事です。
Laravelをインストール
Composerを使ってインストールします。
1.まずHomebrewをインストールする。
$ /bin/bash -c "$(curl -fsSL https://raw.githubusercontent.com/Homebrew/install/master/install.sh)"
以下コマンドでHome brewがインストールされている確認します。
$ brew -V
Homebrew 3.1.5
Homebrew/homebrew-core (git revision f0b807bf1c; last commit 2021-05-01)
Homebrew/homebrew-cask (git revision ea4b3d7082; last commit 2021-05-01)
2.phpをインストールする。
phpが古いと入らないため、Homebrewでphpをインストールします。
$ brew install php@7.4
バージョンを確認します。
$ php -V
php -Vでphpのバージョンが変わらない場合
$ echo $PATH
phpの記述を確認してみてください。
古いバージョンのままになっている場合、下記コマンドでbash_profileを変更して下さい。
$ vi ~/.bash_profile
私の場合は、phpの古いバージョンの記述を新しいバージョンへ変更しました。
変更を確認します。
$ php -V
PHP 7.4.18 (cli) (built: Apr 30 2021 09:57:43) ( NTS )
反映されていますね。
3.composerをインストール
Homebrewでcomposerをインストールします。
$ brew install composer
インストールを確認します。
$ composer -V
Composer version 2.0.13 2021-04-27 13:11:08
※既に入っている場合でも、古いとlaravelをインストールできないようなので、アップデートして下さい。
$ composer self-update
composer.pharがなくてアップデートできない場合
$ php -r "copy('https://getcomposer.org/installer', 'composer-setup.php');"
$ php composer-setup.php
⇨composer.pharが作成される
再度、composer self-updateする。
4.Laravelのインストール
$ composer global require "laravel/installer"
Helloworldしてみる
1.プロジェクトを作成し、起動する。
// プロジェクトを作成
$ laravel new helloworldlaravel

// プロジェクトディレクトリ配下へ移動
$ cd helloworldlaravel

// サーバーを起動する
$ php artisan serve --host 0.0.0.0
Starting Laravel development server: http://0.0.0.0:8000
[Wed May  5 11:31:21 2021] PHP 7.4.18 Development Server (http://0.0.0.0:8000) started
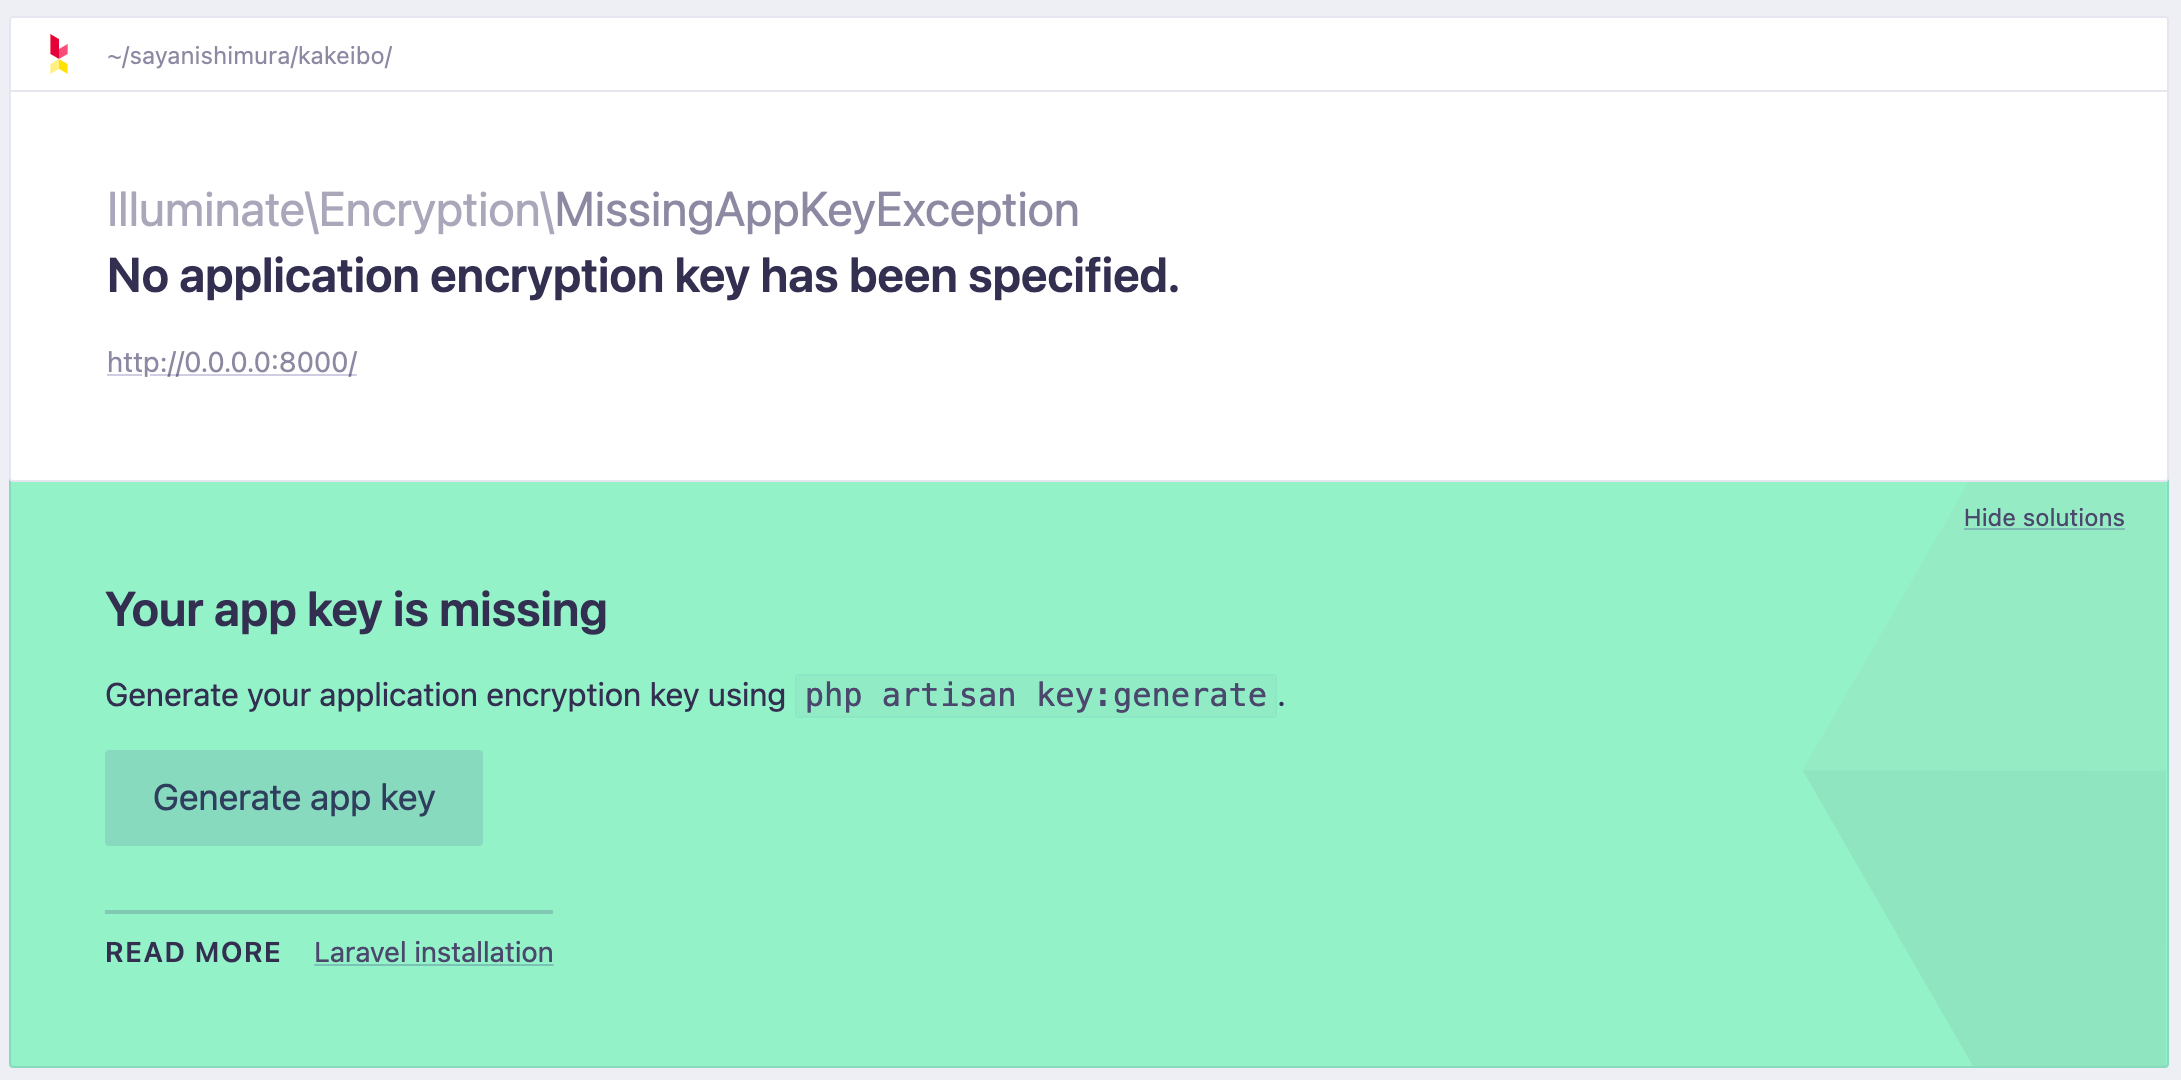
http://0.0.0.0:8000をブラウザで確認する。
エラーに出ている通り、プロジェクトの暗号キーが未設定であることが原因のようです。
暗号キーを設定する。artisanコマンドでencryptionKeyを生成する。
$ php artisan key:generate
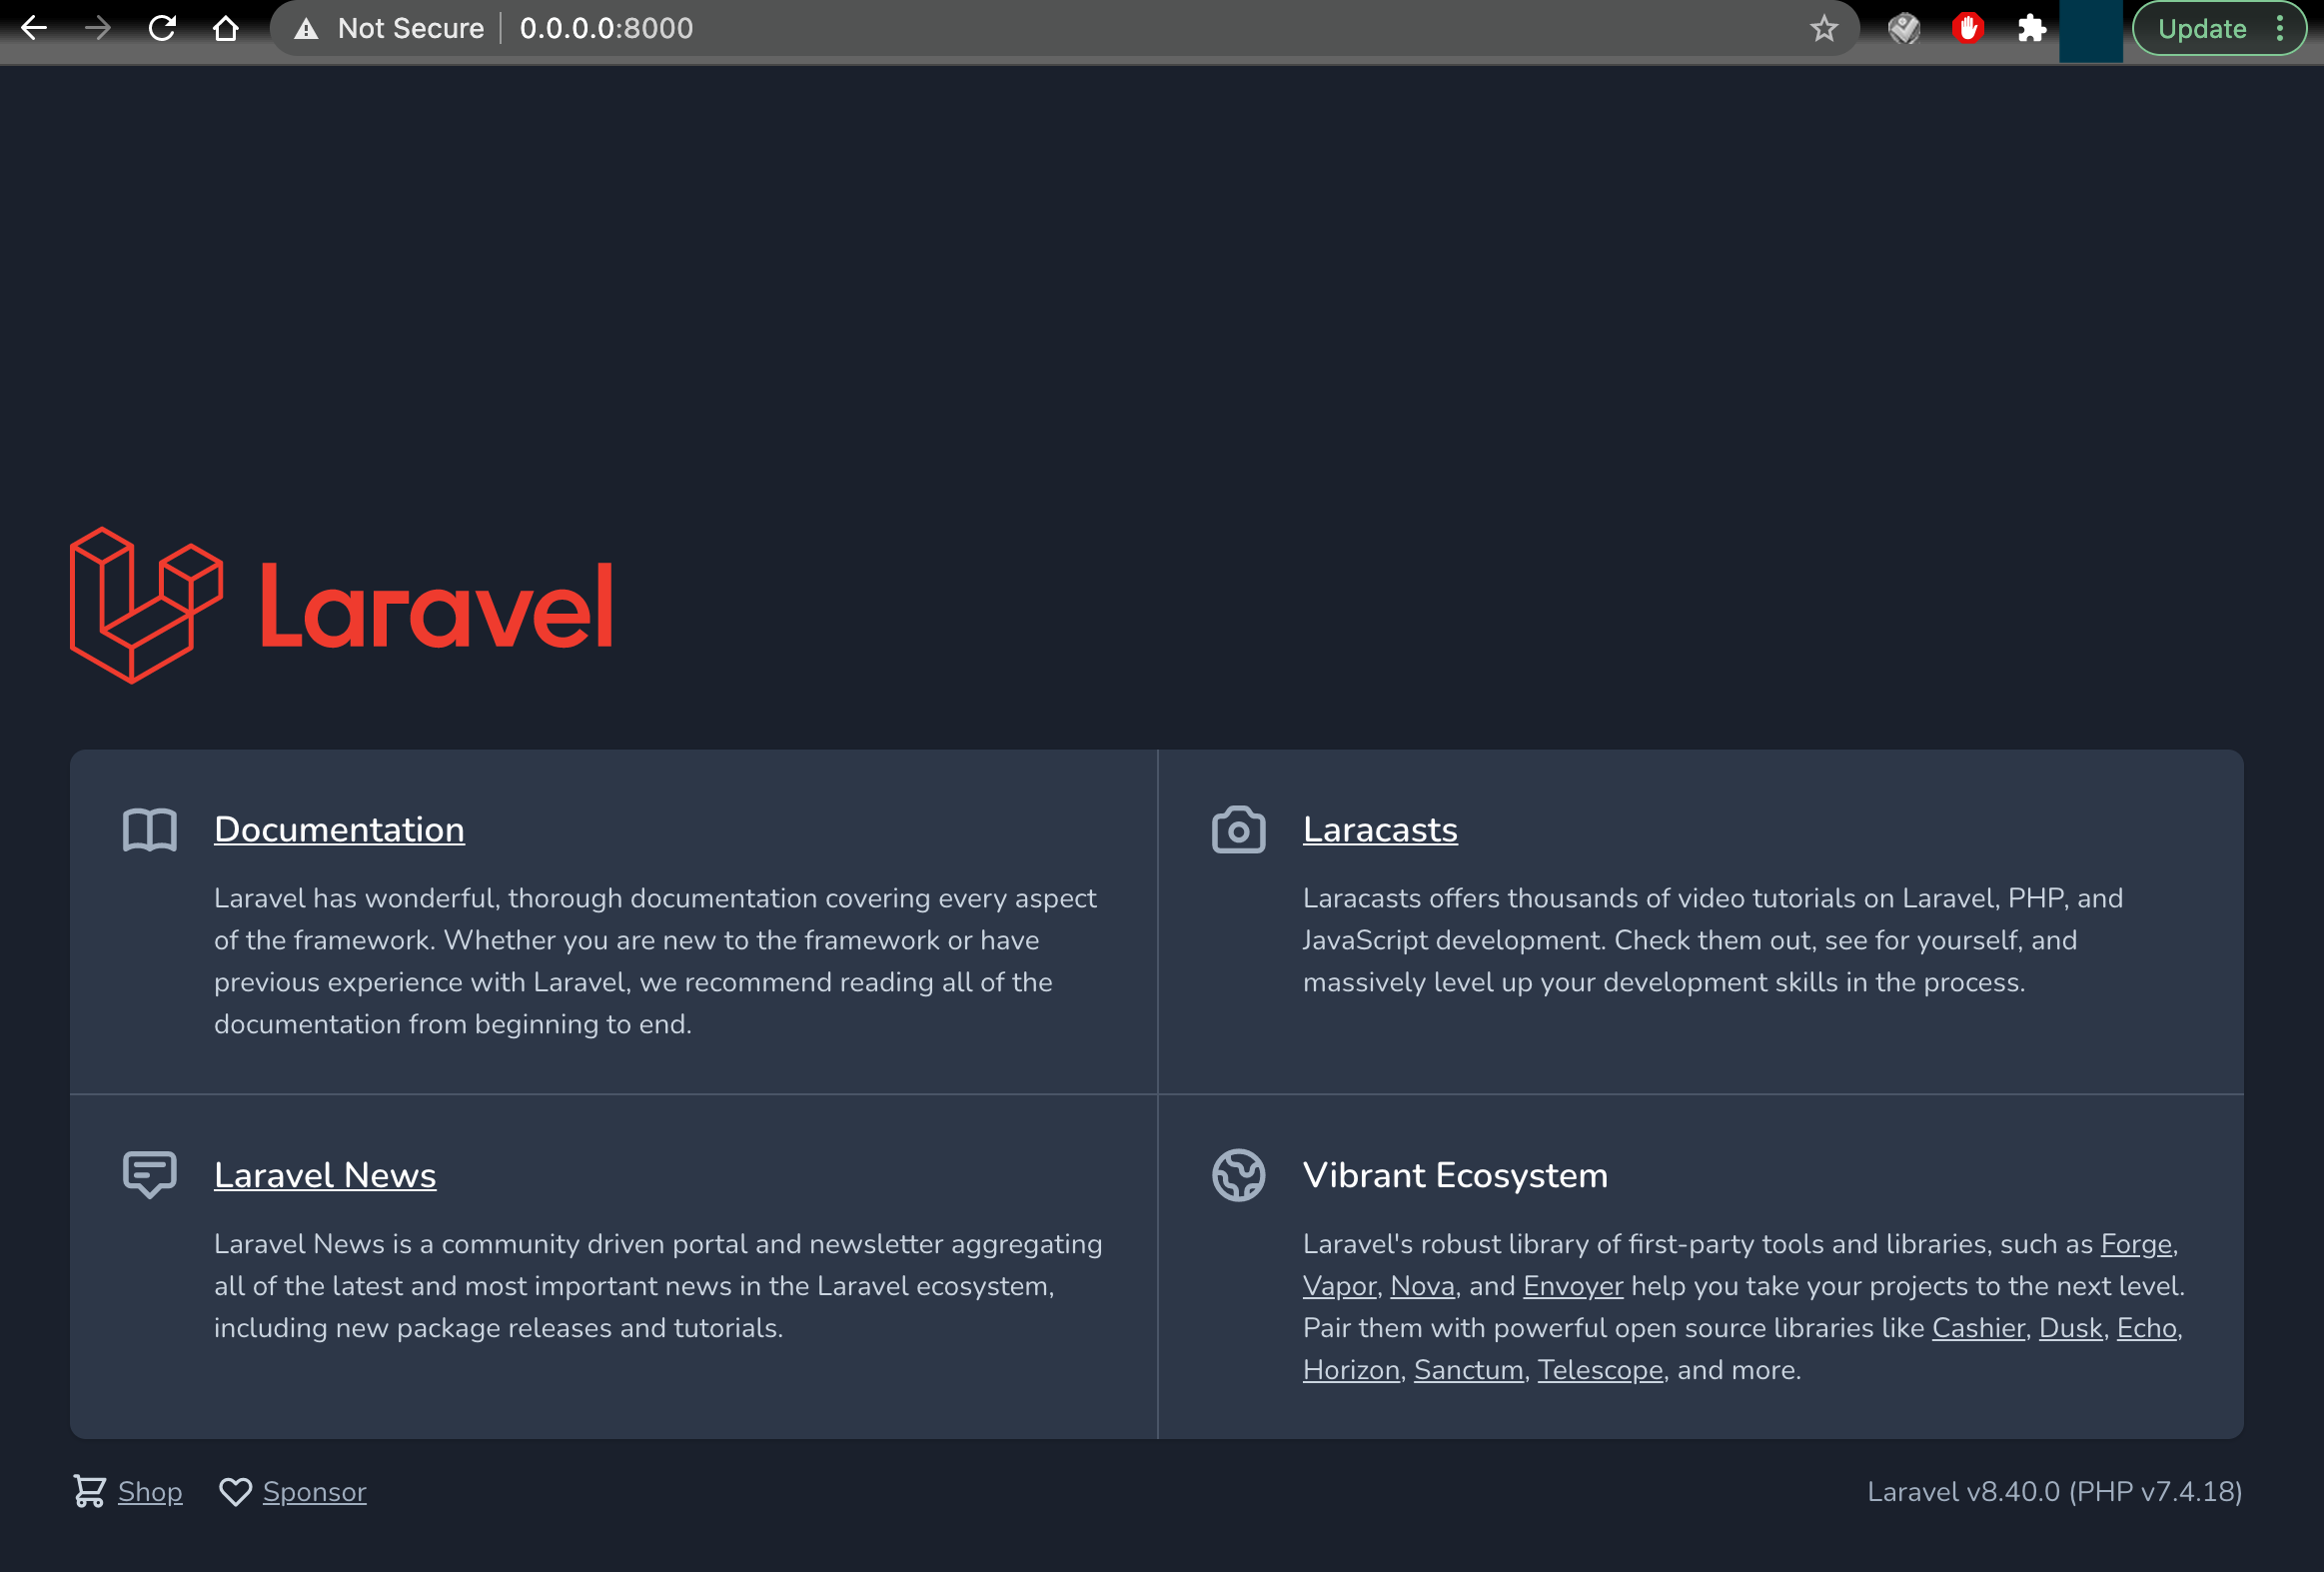
再度、http://0.0.0.0:8000をブラウザで確認する。
無事、表示できました!
2.Routerを編集する。
{プロジェクト名}/routes/web.phpに以下を追記する。
Route::get('/login', function(){
	return view('login');
});
3.Viewを作成する。
{プロジェクト名}/resources/views/配下に「login.blade.php」を作成し、以下を記述する。
<!DOCTYPE html>
<html lang="en">
<head>
	<meta charset="UTF-8">
	<meta name="viewport" content="width=device-width, initial-scale=1.0">
	<title>Hello</title>
</head>
<body>
    <p>Hello world!</p>
</body>
</html>
4.サーバーを起動する。
$ php artisan serve --host 0.0.0.0
Starting Laravel development server: http://0.0.0.0:8000
[Wed May  5 11:31:21 2021] PHP 7.4.18 Development Server (http://0.0.0.0:8000) started
http://0.0.0.0:8000/helloを確認します。
無事、Helloworldできましたね。
まとめ
いかがだったでしょうか。
一番詰まったのは、phpのpath通すところですかね。。
bash_profileのあたりもなんとなく使っているので、もっと勉強していきたいと思います。
次はLaravelでログイン画面を実装してみたいと思います。
認証を作ってくれるartisanコマンドがあるらしいです。


