最終回です。
これまでの記事
- Boilerplateを使ったDapps(分散型アプリケーション)の作成(1)
- Boilerplateを使ったDapps(分散型アプリケーション)の作成(2)
- Boilerplateを使ったDapps(分散型アプリケーション)の作成(3)
最後に
- Mongoに登録されたコントラクト一覧を表示する機能
- その契約の詳細を表示する機能
を実装したいと思います。
2.契約一覧画面
MongoDBに登録された契約一覧を呼び出して、一覧表を作成します。
(1) View
最終的なコードは下記のようになりました。
<template name="components_index">
    <!-- 商品一覧パネル -->
    <div class="panel panel-default">
        <div class="panel-heading">
            <h4>契約一覧</h4>
        </div>
        <table class="table">
            <thead>
                <tr>
                    <th>商品ID</th>
                    <th>取引先</th>
                    <th>想定元本</th>
                    <th>固定金利</th>
                    <th>変動金利</th>
                    <th>自社ポジション</th>
                    <th>期日</th>
                    <th>ステータス</th>
                    <th>契約詳細</th>
                </tr>
            </thead>
            <tbody>
        {{> contract}}
    </tbody>
</table>
</div>
</template>

<!-- 上記の{{contract}}に格納 -->
<template name="contract">
    <!-- index.js にcontractsのヘルパーを記載することで下記の{{}}内に変数が格納される -->
    {{#each contracts}}
      <tr>
          <td id="_id">{{_id}}</td>
          <td id="client">{{client}}</td>
          <td id="price">{{price}}</td>
          <td id="fixed_rate">{{fixedRate}}</td>
          <td id="floated_rate">TIBOR + {{spread}}</td>
          <td id="position">{{position}}</td>
          <td id="expired_date">{{expiredDate}}</td>
      {{#if done}}
          <td><button type="button" class="btn btn-success">実行済</button></td>
      {{else}}
          <td><button type="button" class="btn btn-default">未実行</button></td>
      {{/if}}
      <td><button type="button" class="btn btn-warning"><a href ="/contract/{{_id}}" style="color:#fff;">契約詳細</a></button></td>
      </tr>
    {{/each}}
</template>
MeteorはBlazeというレンダリングエンジンを仕様しています。
前回同様、Templateで他のレイアウト側のHTMLファイルから呼び出しを行っています。
contractテンプレート(上記コードの後半部分)の {{ }} 部分は、(2)で後述するヘルパーから変数を取得しています。
また、契約詳細画面へのリンクを、idをURLとして動的に作成するため、
<a href ="/contract/{{_id}}" style="color:#fff;">契約詳細</a>
このようにリンクを貼っています。
(2)JSファイル
こちらは非常にシンプルです。
Template.contract.helpers({
 contracts: function(){
   Meteor.subscribe('contracts');  //serverのcontractsをsubscribeする
   return Contracts.find();  //main.jsにcontractsの配列を返す
 }
});
contractテンプレートに渡す contracts という配列をヘルパーとして取得しています。
Meteor.subscribe は、(3)で記載する publish とセットにすることで、DB内のコレクションにアクセスすることが可能になります。
(3)サーバー側
前回のコードに下記を追記します。
....
    Meteor.publish('contracts', function() {  //client側にpublishする
      return Contracts.find({});  //全ての配列
    });
...
これにより、(2)の subscribe で取得可能になります。
subscribe と public はセットで使用すると覚えましょう。
(4)最終形
これらのコードにより最終的に下記のような画面が作成されました。

DB内に入っているContractコレクションを一覧として取得して表示しています。
また、ステータスはパラメータの値に応じて、ボタンが切り替わる用にViewでif分岐をしています。
そして、契約詳細ボタンは、各契約の詳細ページに飛ぶリンクとなっています。
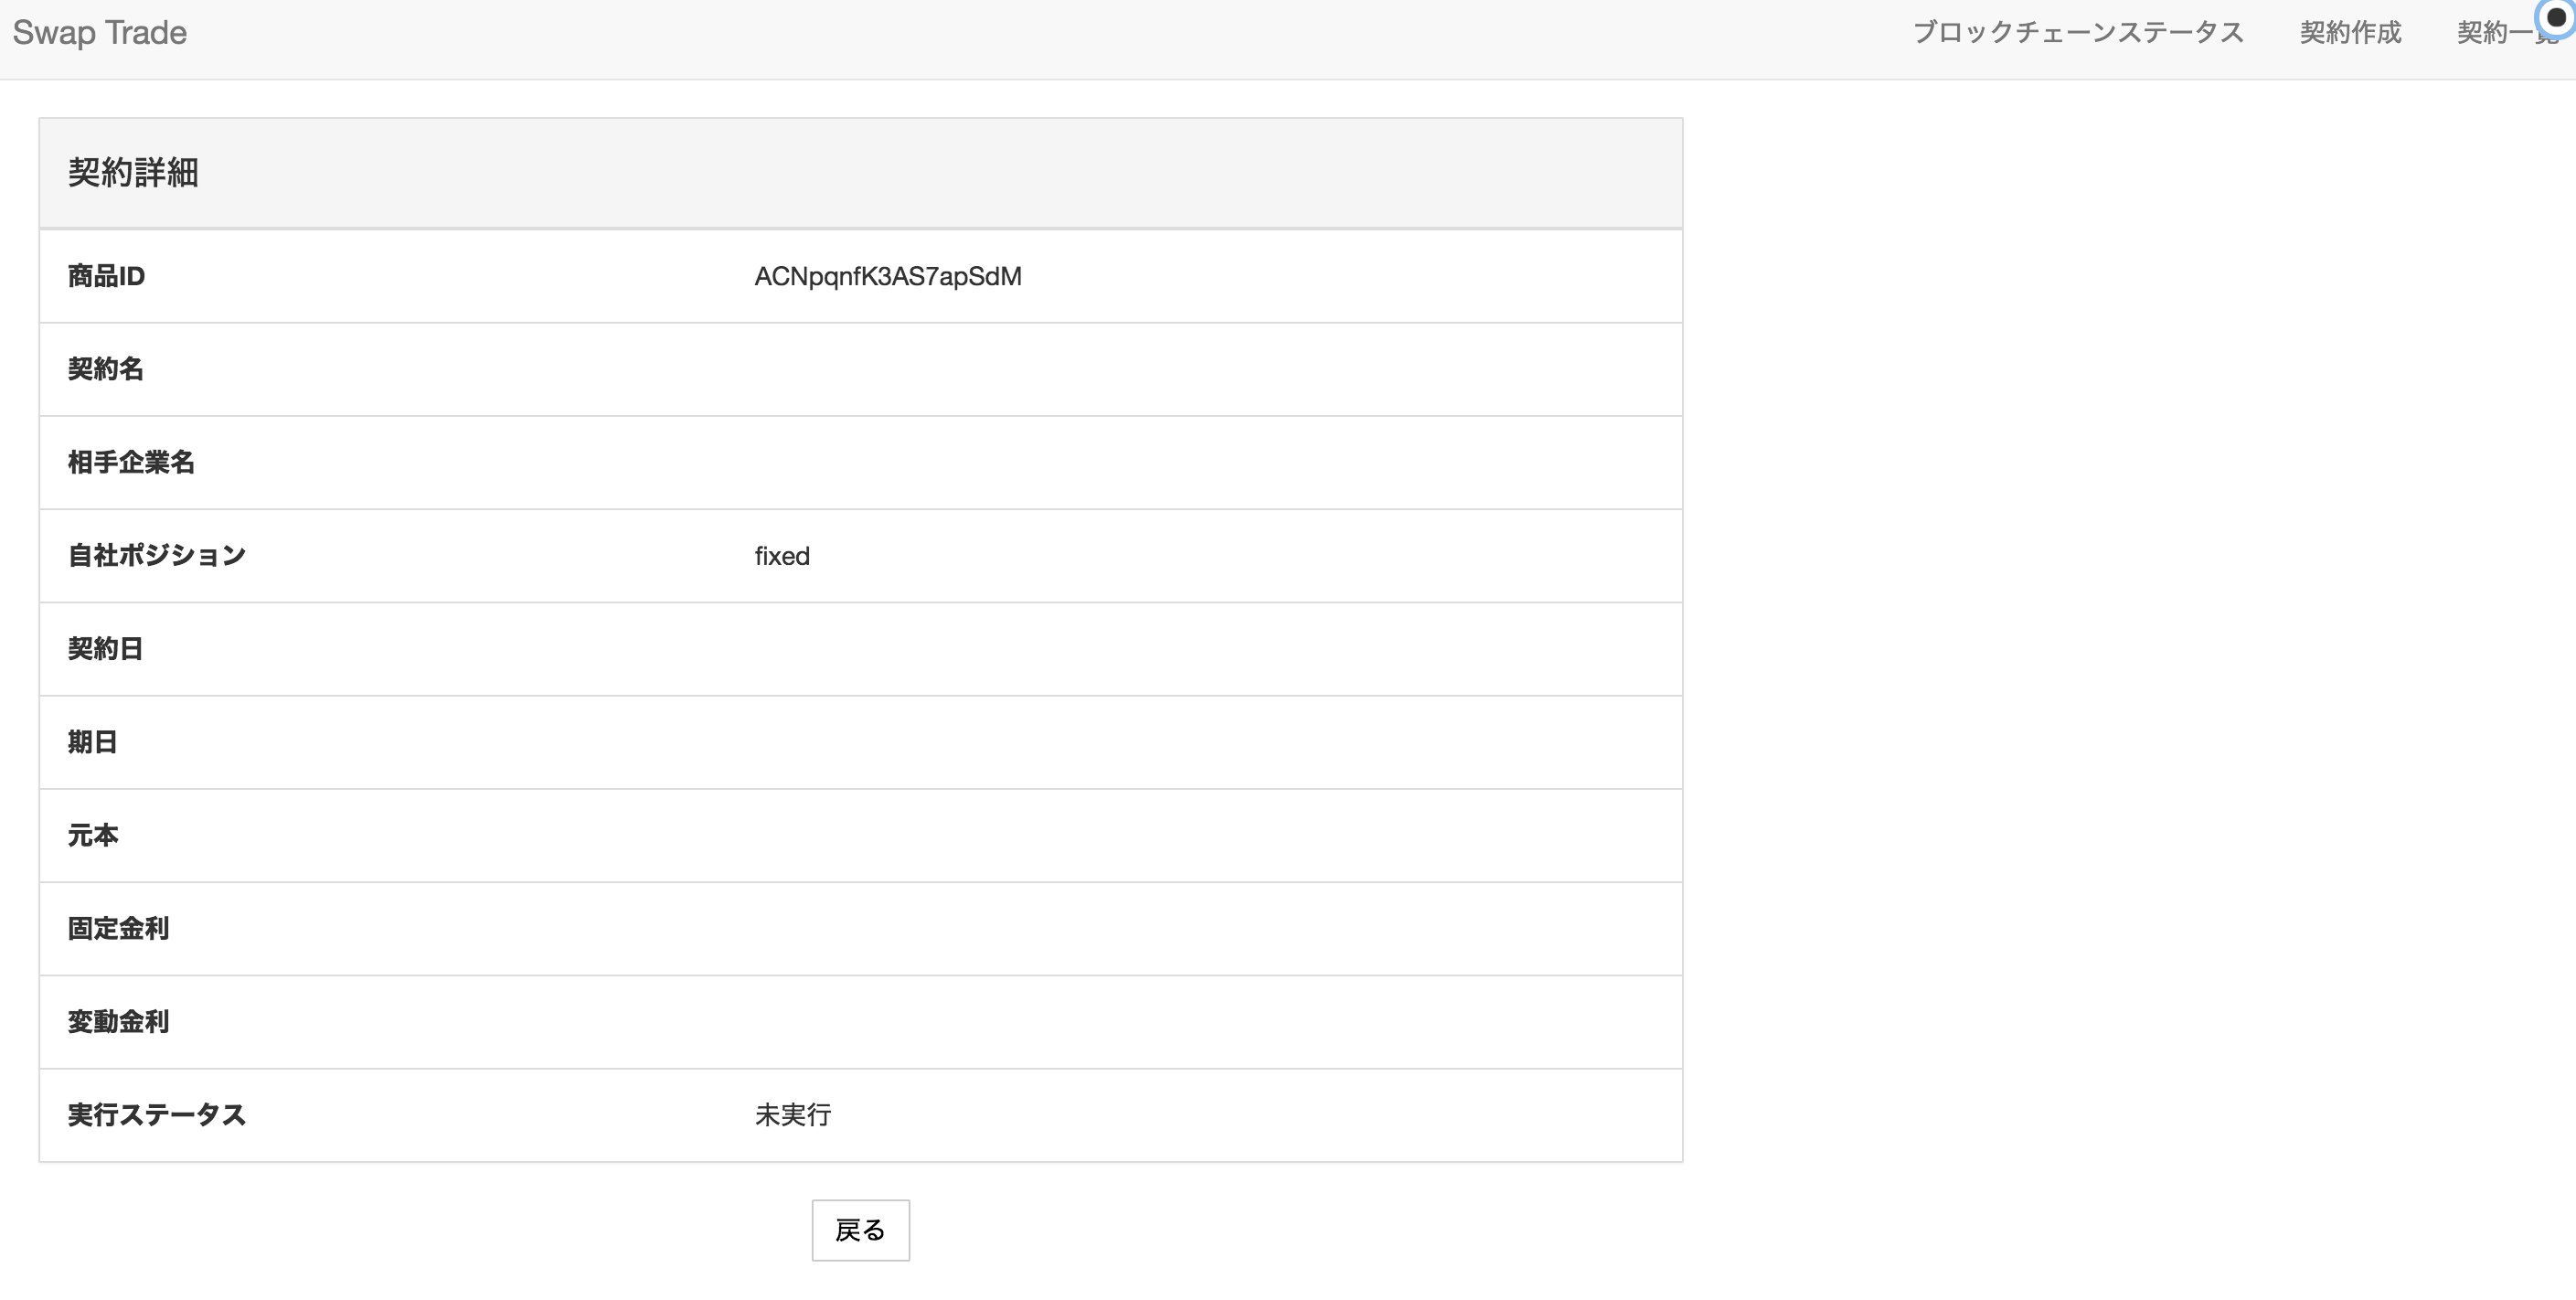
3.契約詳細画面
動的に生成されたURIから飛ぶ、契約詳細ページを作成します。
(1)ルーティング
Boilerplateは、Meteorのルーティング用ライブラリのデファクトスタンダードと言える、「Iron router」を使用しています。
動的にContractsコレクションのIDでview4というテンプレートにリンクを貼るコードは下記のようになります。
Router.map(function() {
  this.route('view4', {
    path: 'contract/:_id',    //URLの生成
    data: function() { return Contracts.findOne({_id: this.params._id});}
  });
});
最後の行により、this.params._id でViewもしくはJS側から _idを取得することが可能になります。
(2)View
下記抜粋です。2と同じように、JSファイルからヘルパーとして渡された変数を表示するようになっています。
<template name="contract_detail">
    <tr>
        <th>商品ID</th>
        <td>{{_id}}</td>
    </tr>
    <tr>
        <th>契約名</th>
        <td>{{contract_name}}</td>
    </tr>
    <tr>
        <th>相手企業名</th>
        <td>{{client_name}}</td>
    </tr>
    <tr>
        <th>自社ポジション</th>
        <td>{{position}}</td>
    </tr>

.....略.....

</template>
(3)JSファイル
Template.contract_detail.helpers({
   details: function(){
     Meteor.subscribe('contracts');  //serverのcontractsをsubscribeする
     return Contracts.findOne({_id: this.params._id});  //info.jsに動的なidで取得したオブジェクトを渡す
   }
});
subscribeは、2と同じです。
ルーティングファイルからidを取得できるため、コレクションからそのidで検索したオブジェクトをView側に渡しています。
(4)最終形
下記のような画面が作成されました (開発の都合上、空欄が発生してしまっていますが...)
さて、今回までの4つの記事により、下記が出来るようなりました。
- Ethereumのテストネットを動かす
- Boilerplateを使ってSmartContractが記載されたMeteorを動かす
- MeteorとEthereumを接続して動作させる
- MeteorとSmartContractをカスタマイズして独自のアプリケーションを作る
Ethereumやその記述言語であるSolidityはまだまだ仕様が変更していく可能性もありますが、大きな可能性のある技術だと思います。
これらを用いてこれまでになかったプロダクトをどんどん開発していきましょう!