サーバーのPHPと連携する
こんにちは、mucunです。
今回の記事では、サーバーサイドのPHPとの連携について書きたいと思います。
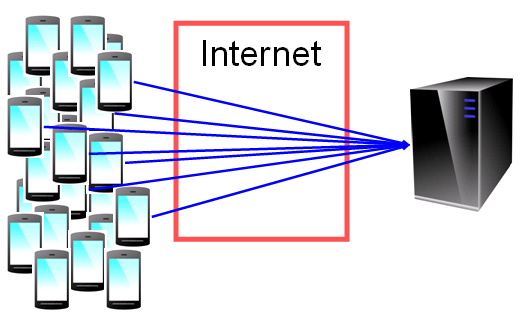
スマートフォンの普及によって、WEBシステムを、フロントエンドとバックエンドに分ける、
という考え方が一般的になってきました。
(それについて詳しい記事:http://qiita.com/shuntaro_tamura/items/e1a20e33c57c71679688 )
 (画像引用元:https://www.atled.jp/jireinavi/develop/android_alert/ )
アプリ上で処理した方が良いことと、サーバー上で処理した方が良いこととを整理すると、
考え方もリソースも整理されて都合が良い、という考え方です。
フロントエンドとバックエンドとで分けて開発すれば、タスク管理がスッキリしたり、
BUGが発生した時の原因の切り分けもしやすくなります。
「困難は分割せよ(デカルト)」ってな訳です。
具体例は、どこかのタイミングで別の記事にまとめたいと思います。
以降は、具体的な実現方法を話していきます。
何はともあれ、デモプログラムを動かしましょう。
先ずは、土台とするサンプルプログラムをダウンロードします。
今回は、以下公式ページで紹介されているサンプルを拝借します。
(http://blog.ionic.io/10-minutes-with-ionic-2-hello-world/ )
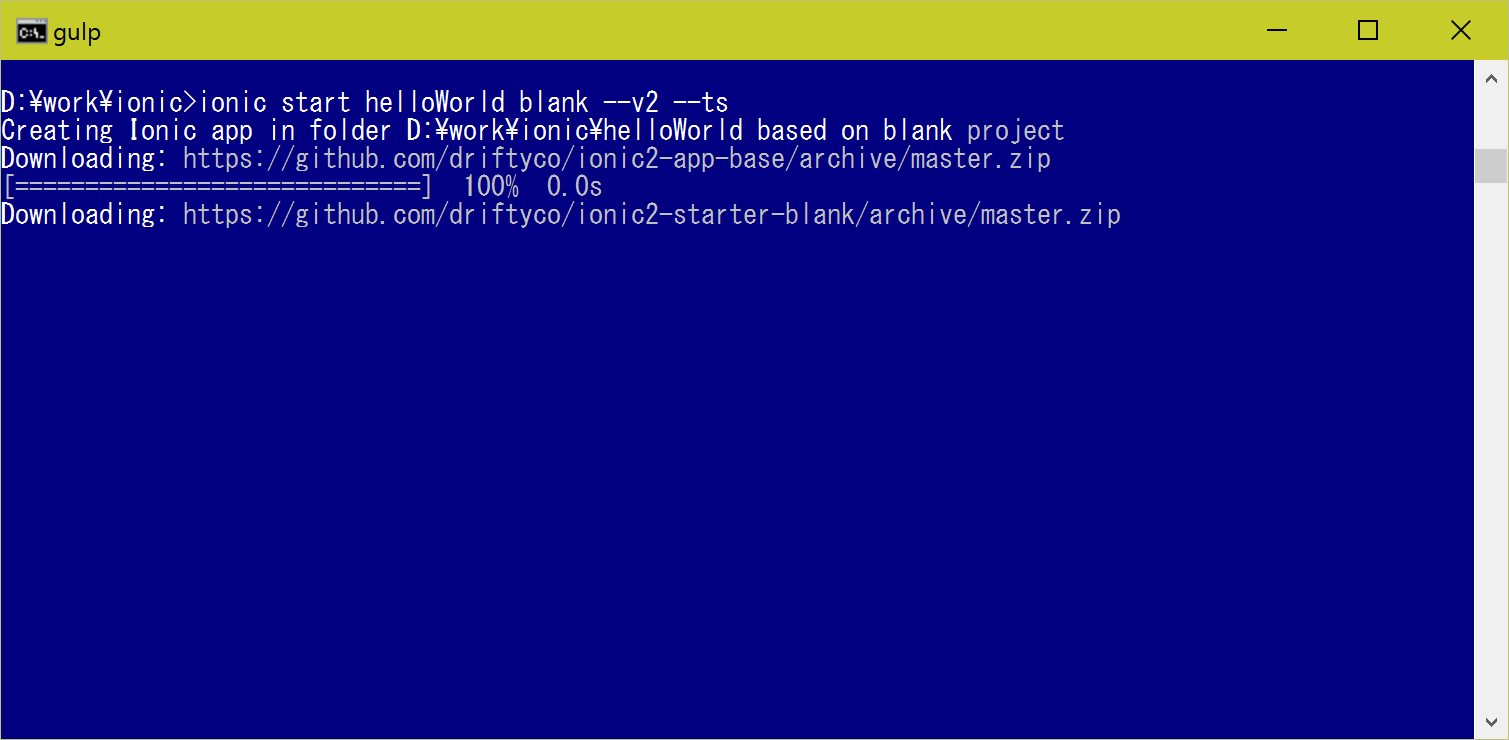
「ionic start helloWorld blank --v2 --ts」コマンドで、拝借できます。
コマンドプロンプトにて、作業フォルダに「cd」した上で実行してください。
すると、ダウンロードが始まります。
ダウンロードが終わったら、「helloWorld」フォルダにカレントを移して、
「ionic serve」コマンドを実施します。
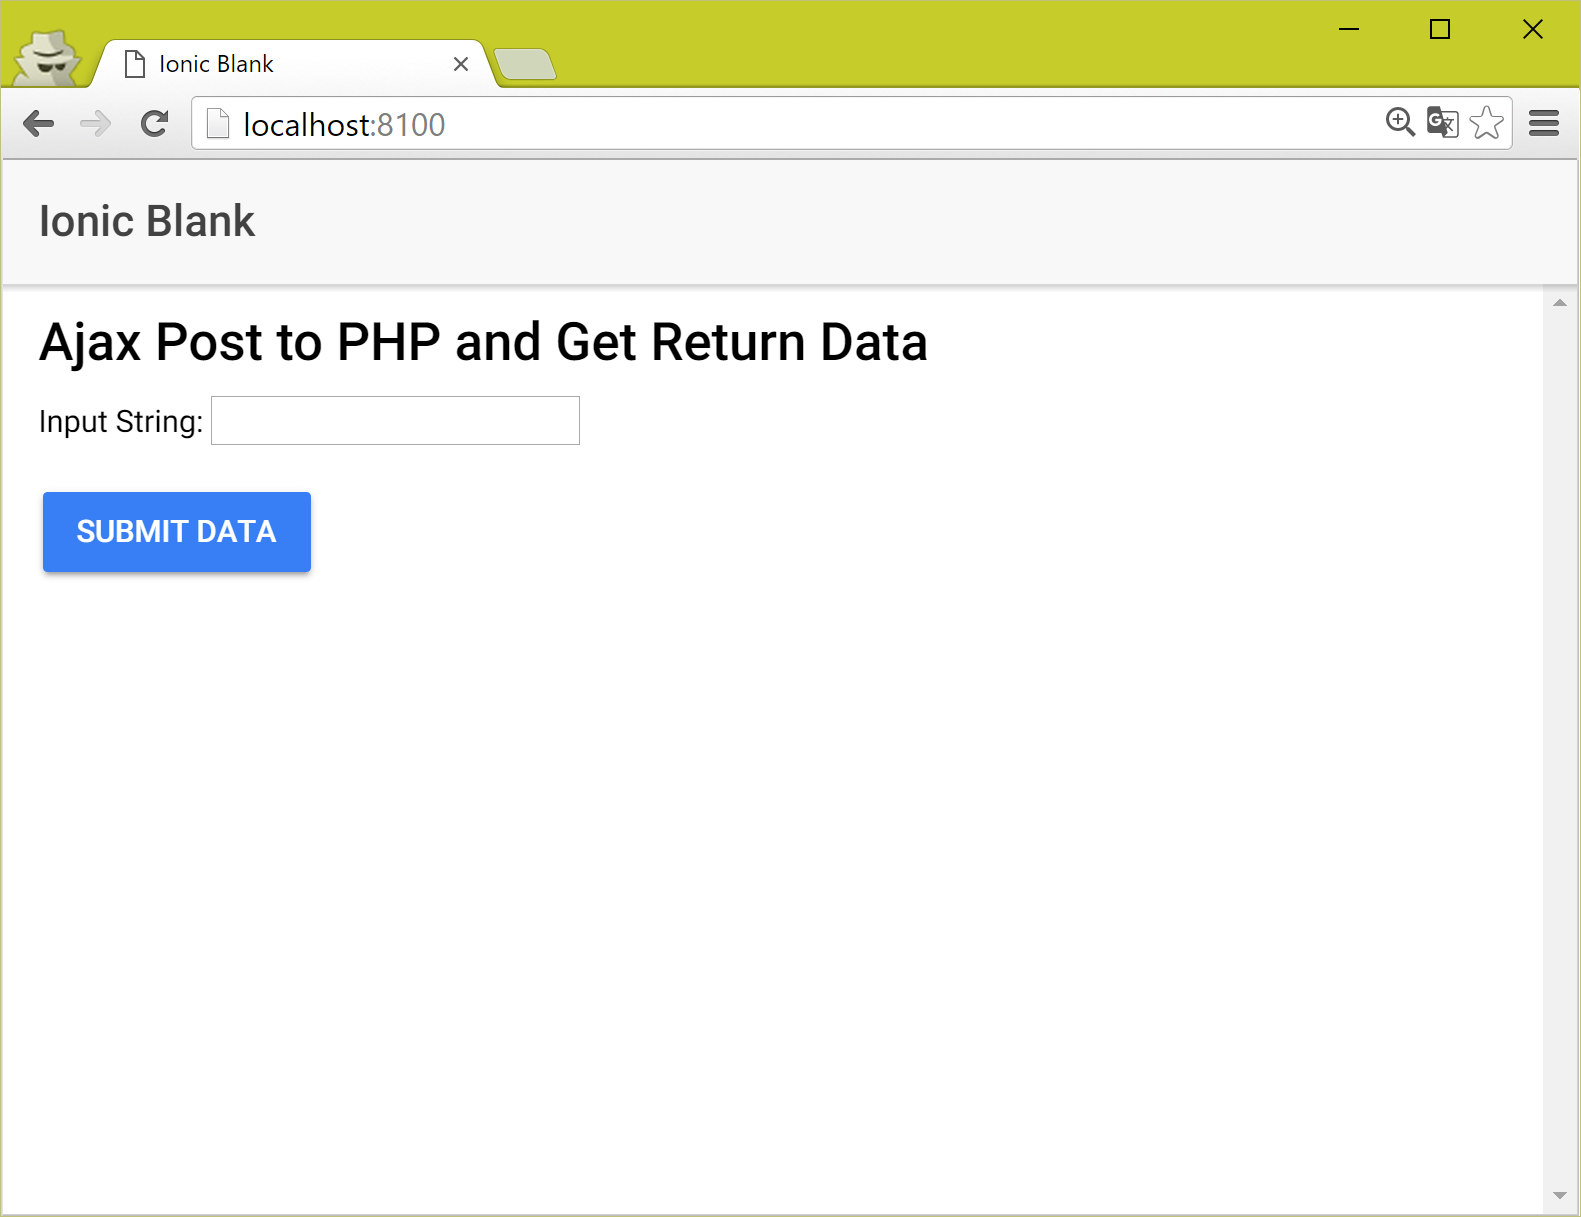
すると、ブラウザ上に以下のアプリが起動されます。
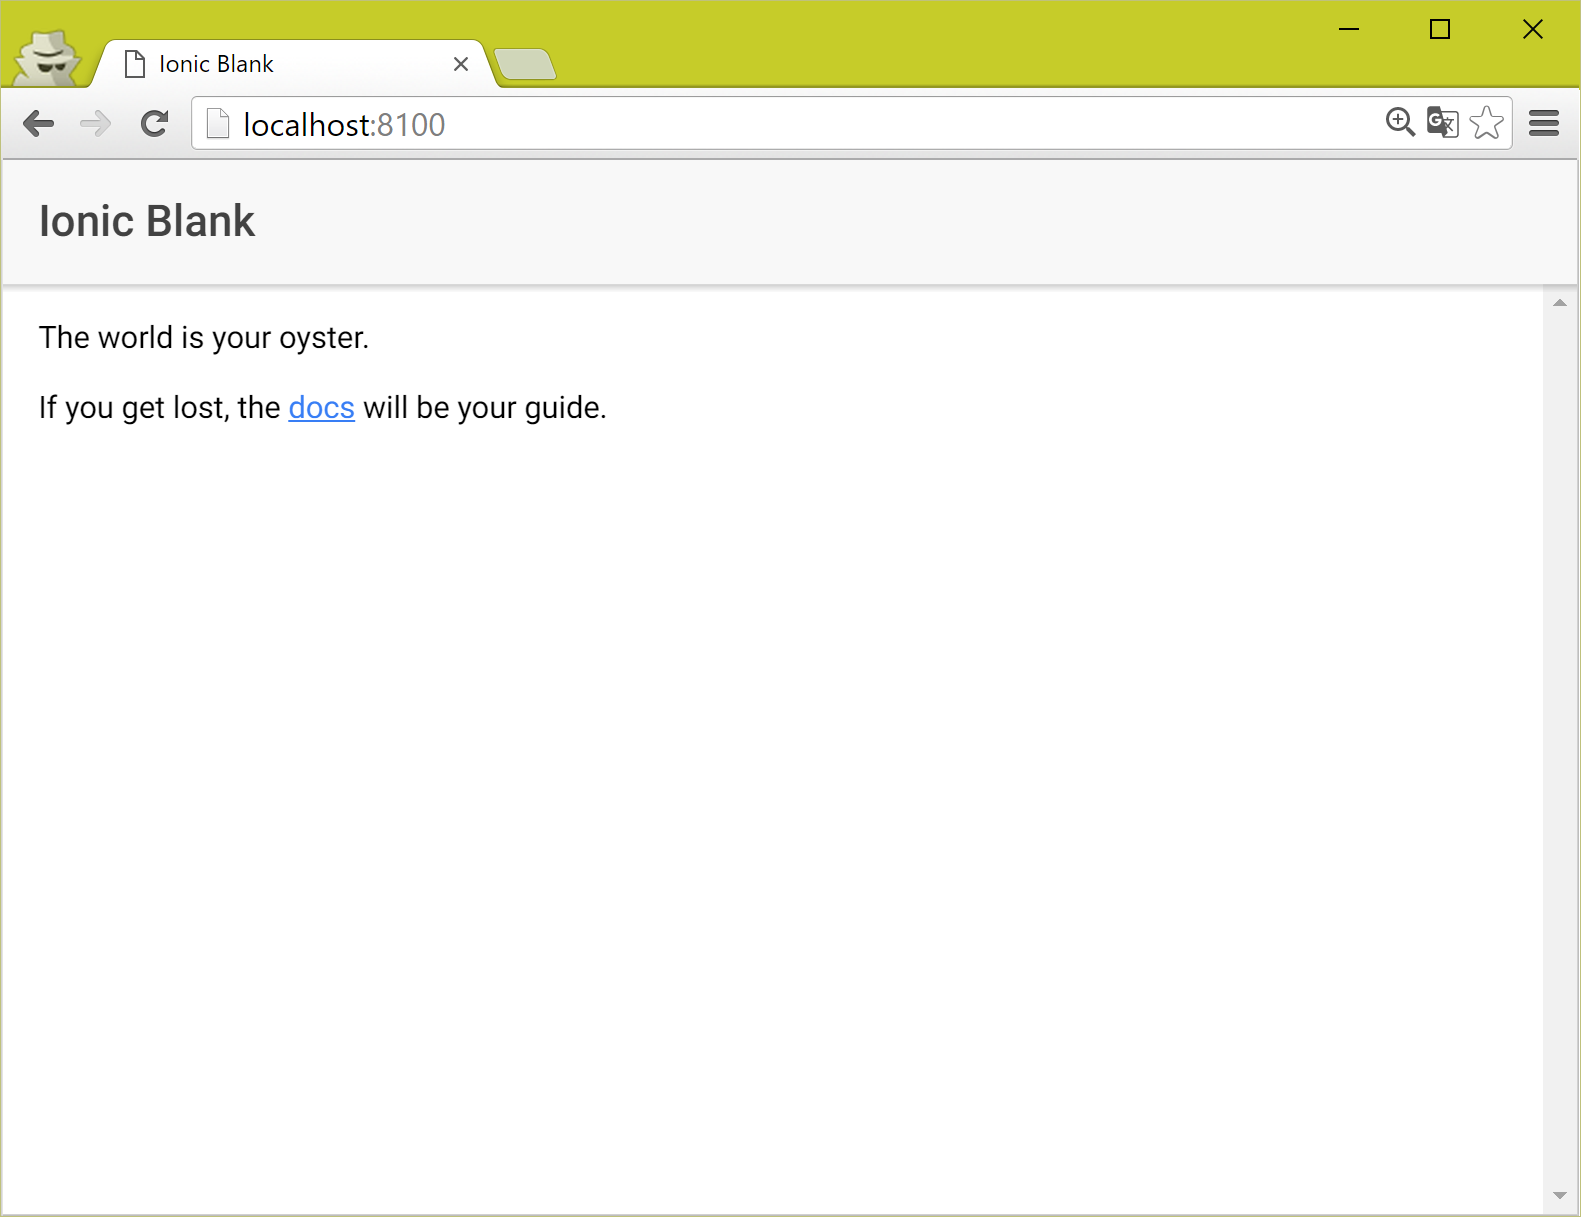
これをいじっていきます。
先ず、エディターで「…/helloWorld/app/pages/home/home.html」を開きます。
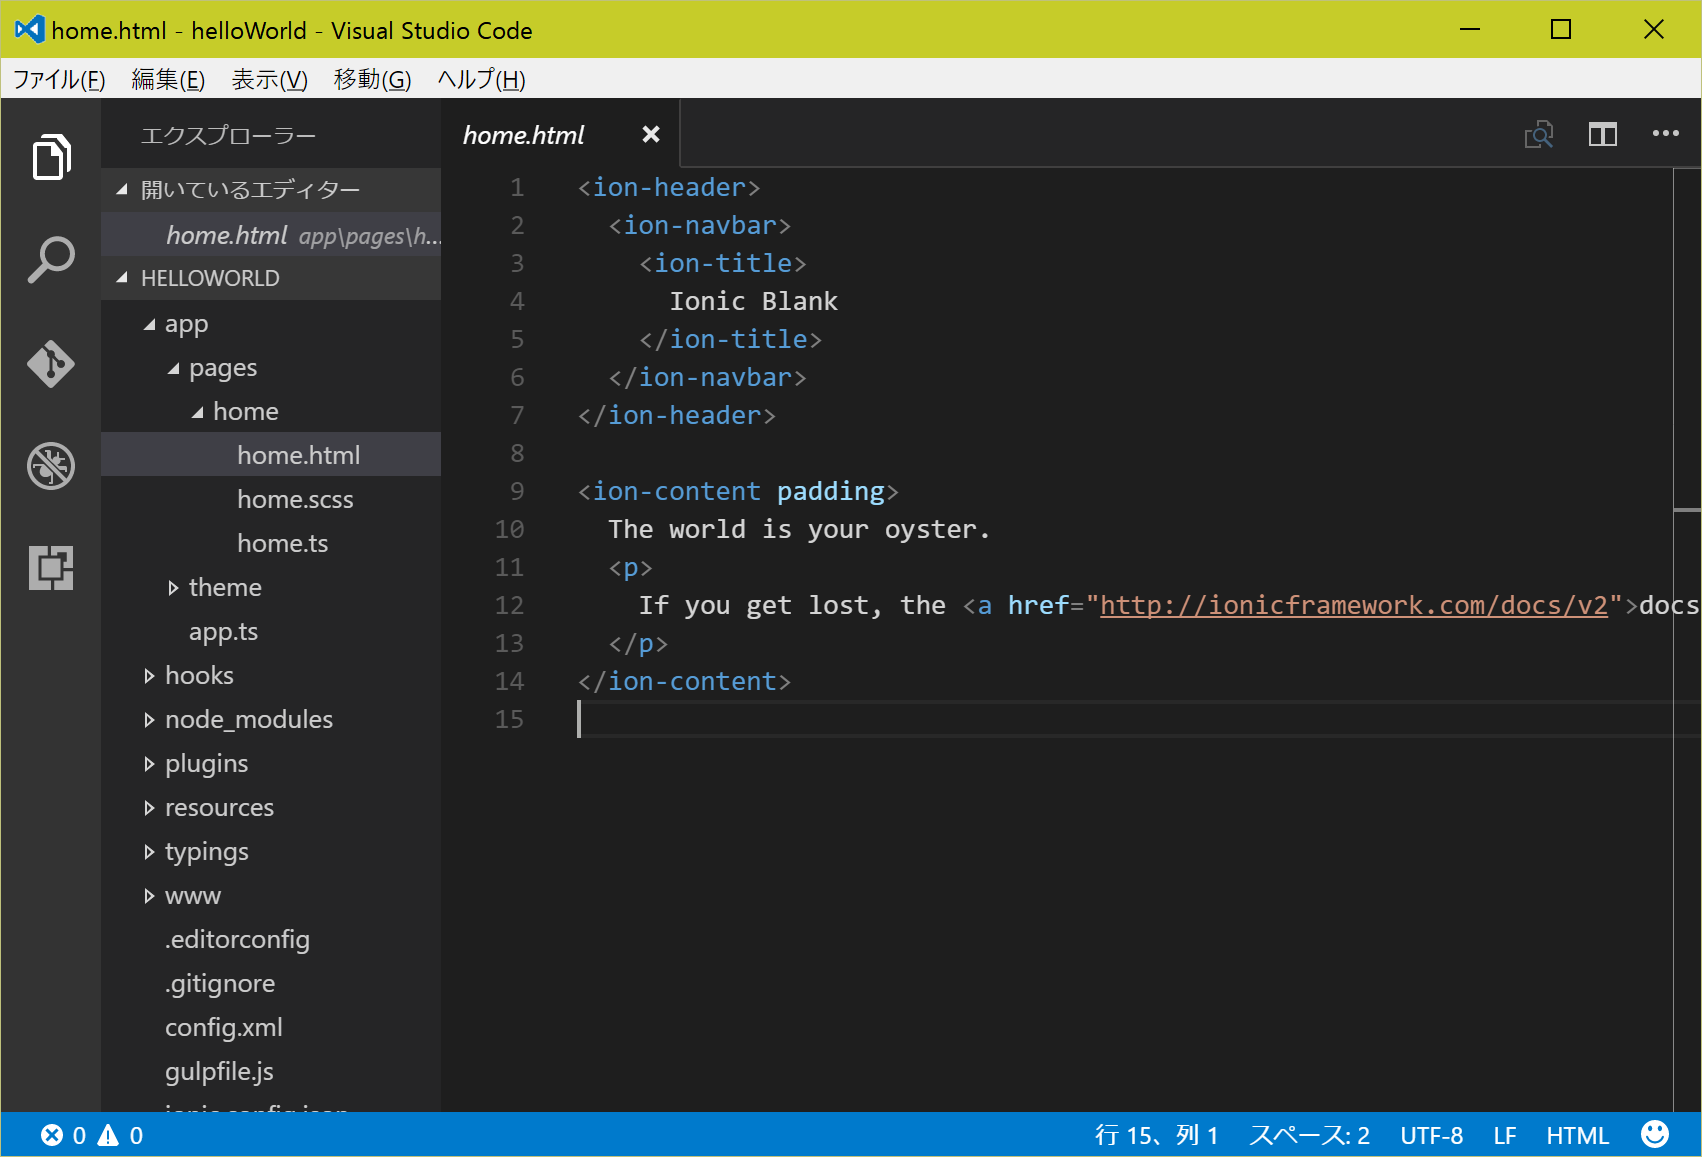
これを以下のように変更します。
  The world is your oyster.
  <p>
    If you get lost, the <a href="http://ionicframework.com/docs/v2">docs</a> will be your guide.
  </p>
↓ 変更
  <h2>Ajax Post to PHP and Get Return Data</h2>
  Input String: <input id="input_str" name="input_str" type="text"> <br><br>
  <button value="Submit Data" (click)="ajax_post()">submit data</button> <br><br>
  <div id="status"></div>
この変更を加えると、起動中のアプリが以下のように変更されます。
次に、「…/helloWorld/app/pages/home/home.ts」を開きます。
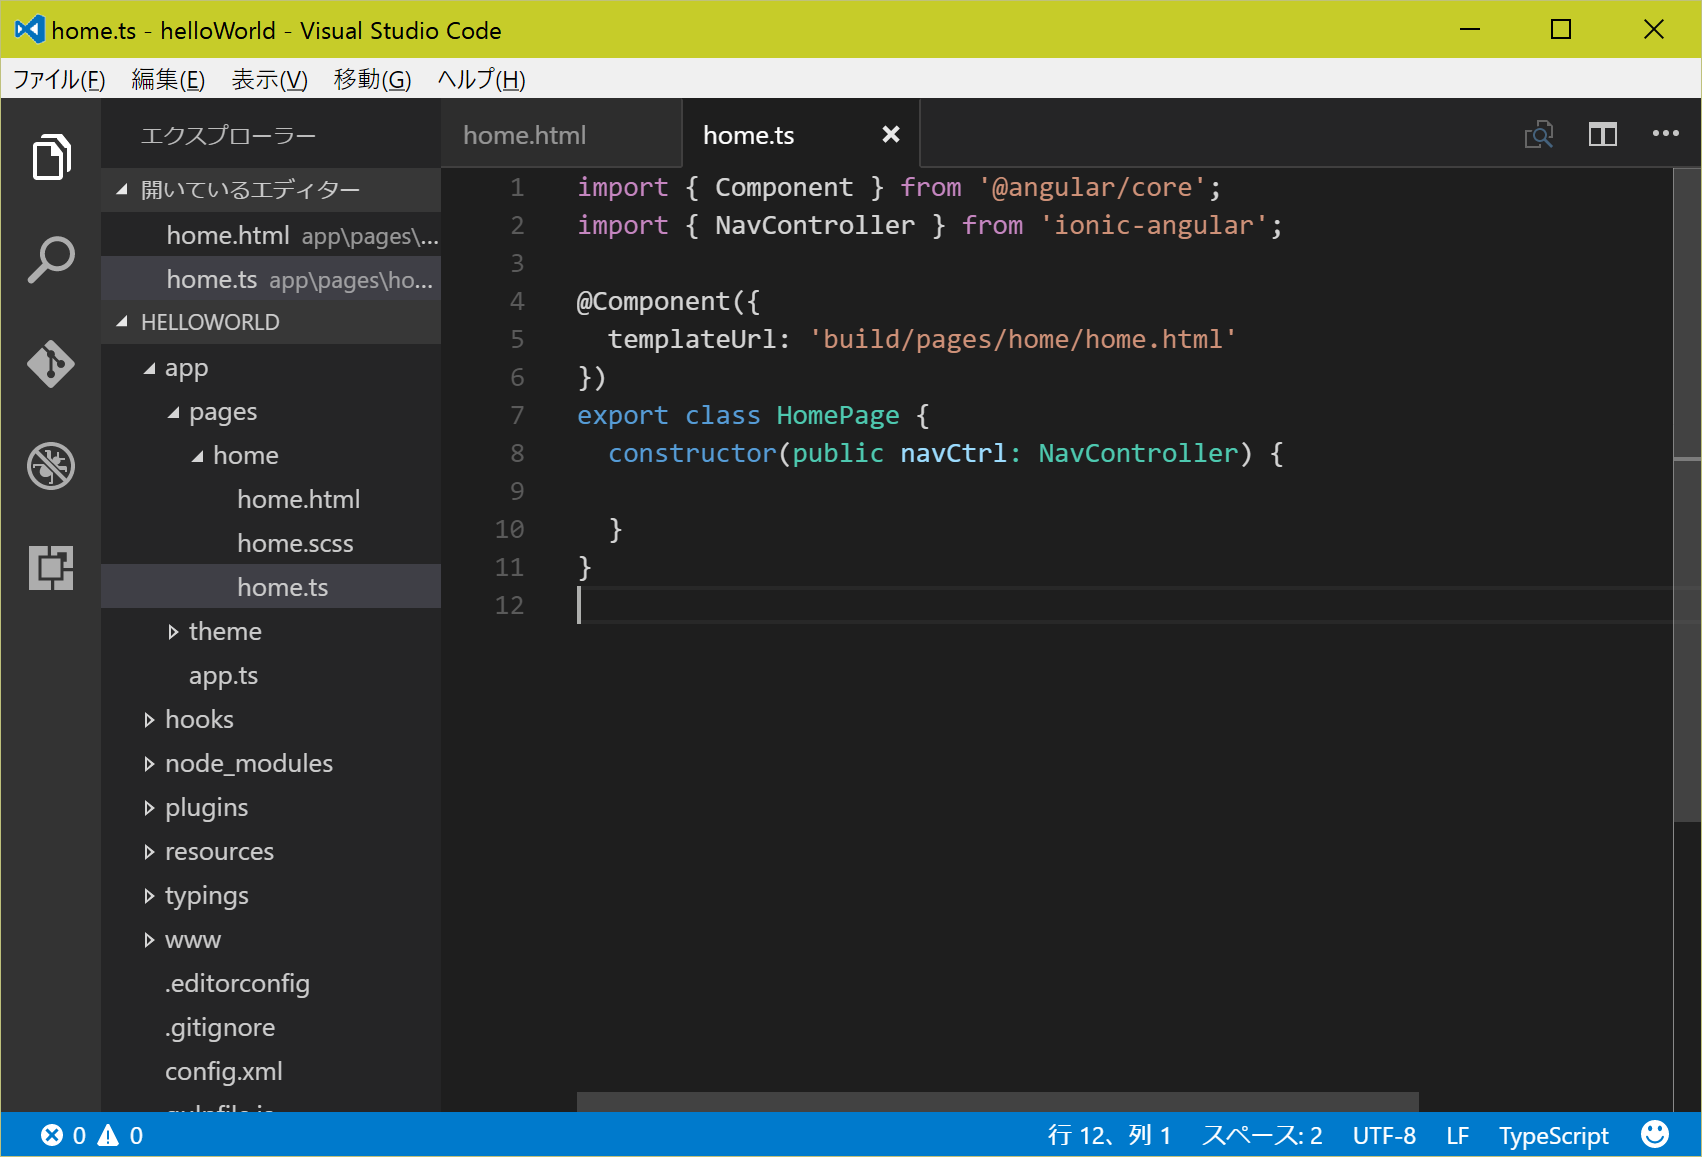
これを、以下のように
export class HomePage {
  constructor(public navCtrl: NavController) {

  }
}
↓ 変更
export class HomePage {
  constructor(public navCtrl: NavController) {

  }
  ajax_post(){
    // Create our XMLHttpRequest object
    var hr = new XMLHttpRequest();
    // Create some variables we need to send to our PHP file
    var url = "http://localhost/post_test.php";
    var str = (<HTMLInputElement>document.getElementById("input_str")).value;
    var vars = "input_str_to_server="+str;
    hr.open("POST", url, true);
    // Set content type header information for sending url encoded variables in the request
    hr.setRequestHeader("Content-type", "application/x-www-form-urlencoded");
    // Access the onreadystatechange event for the XMLHttpRequest object
    hr.onreadystatechange = function() {
      if(hr.readyState == 4 && hr.status == 200) {
        var return_data = hr.responseText;
      document.getElementById("status").innerHTML = "逆さにすると、 "+return_data;
      }
    }
    // Send the data to PHP now... and wait for response to update the status div
    hr.send(vars); // Actually execute the request
    document.getElementById("status").innerHTML = "processing...";
  }
}
ここで、15行目の"localhost"は、皆様個別のサーバーへのパスと置き換え可能です。
自分でレンタルしているサーバー、持っているサーバーのパスを設定してください。
その場合、15行目は以下のようになります。
var url = "http://www.jibunnoserver.com/post_test.php";
このテストでは、Apacheを起動して、"localhost"サーバーでテストしています。
私のApacheは、"localhost" ← "D:/work/www"と設定されています。
そこで、「D:/work/www」に、「post_test.php」というファイルを作成します。
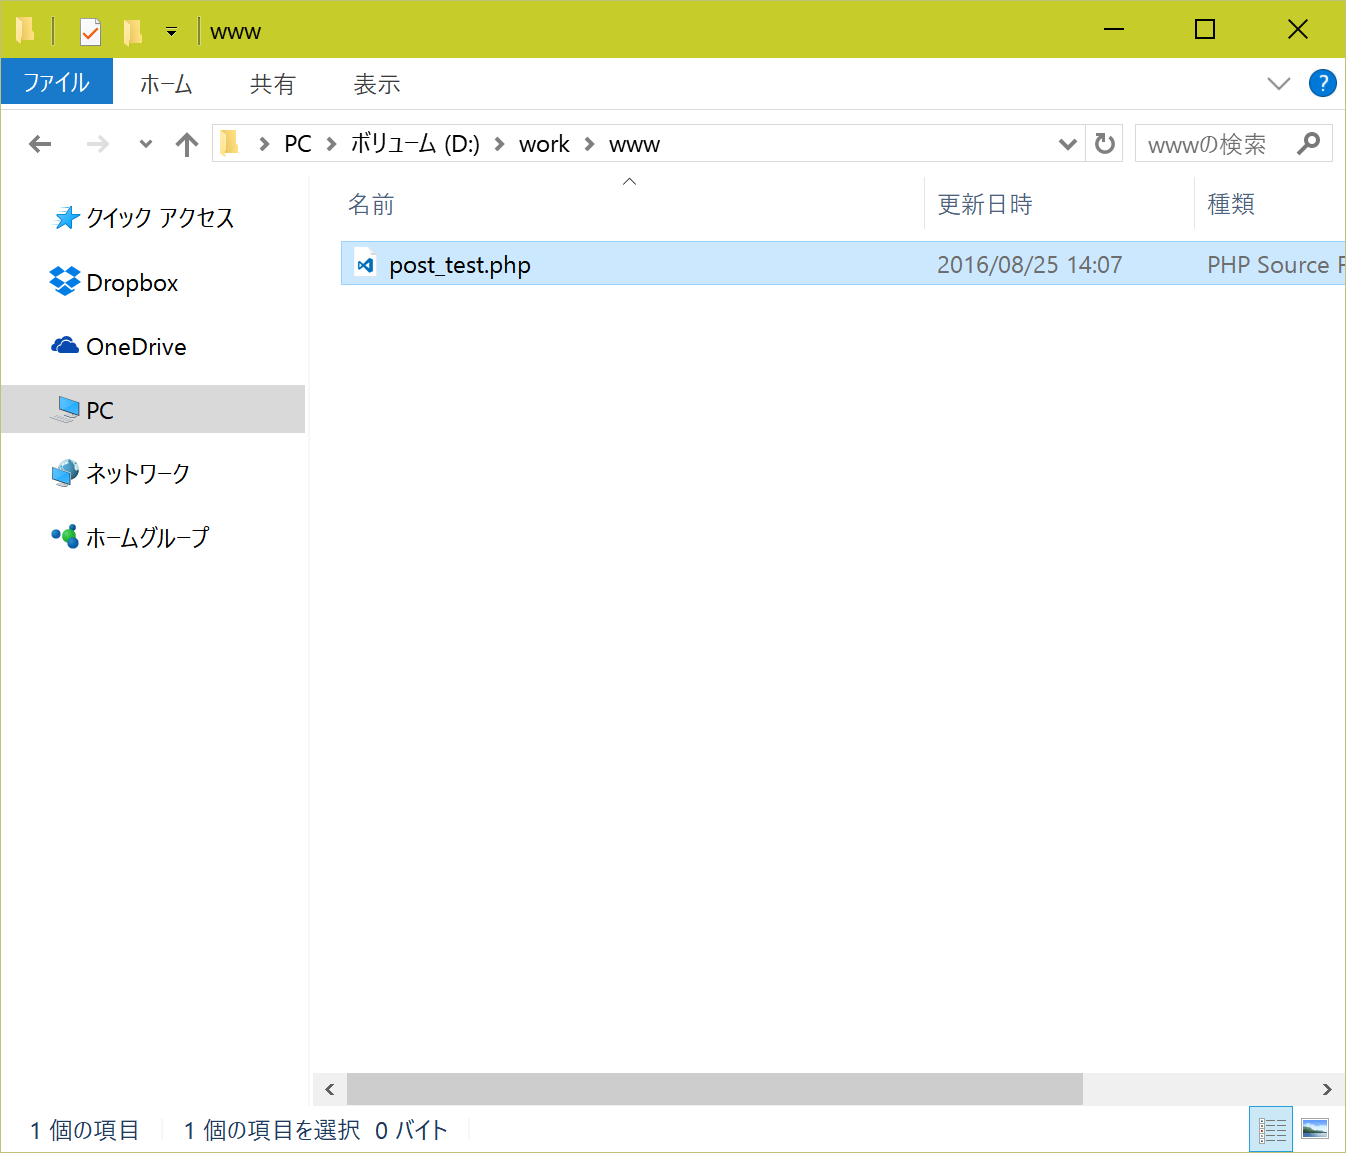
その内容を以下とします。
<?php
    header('Access-Control-Allow-Origin:*');
    echo strrev($_POST['input_str_to_server']) . ' (return from the post_test.php)';
?>
ふう、、、
長い手順でしたが、サーバー連携テストの準備が出来ました!
画面入力欄に文字列を入力して、「SUBMIT DATA」ボタンを押してみましょう。
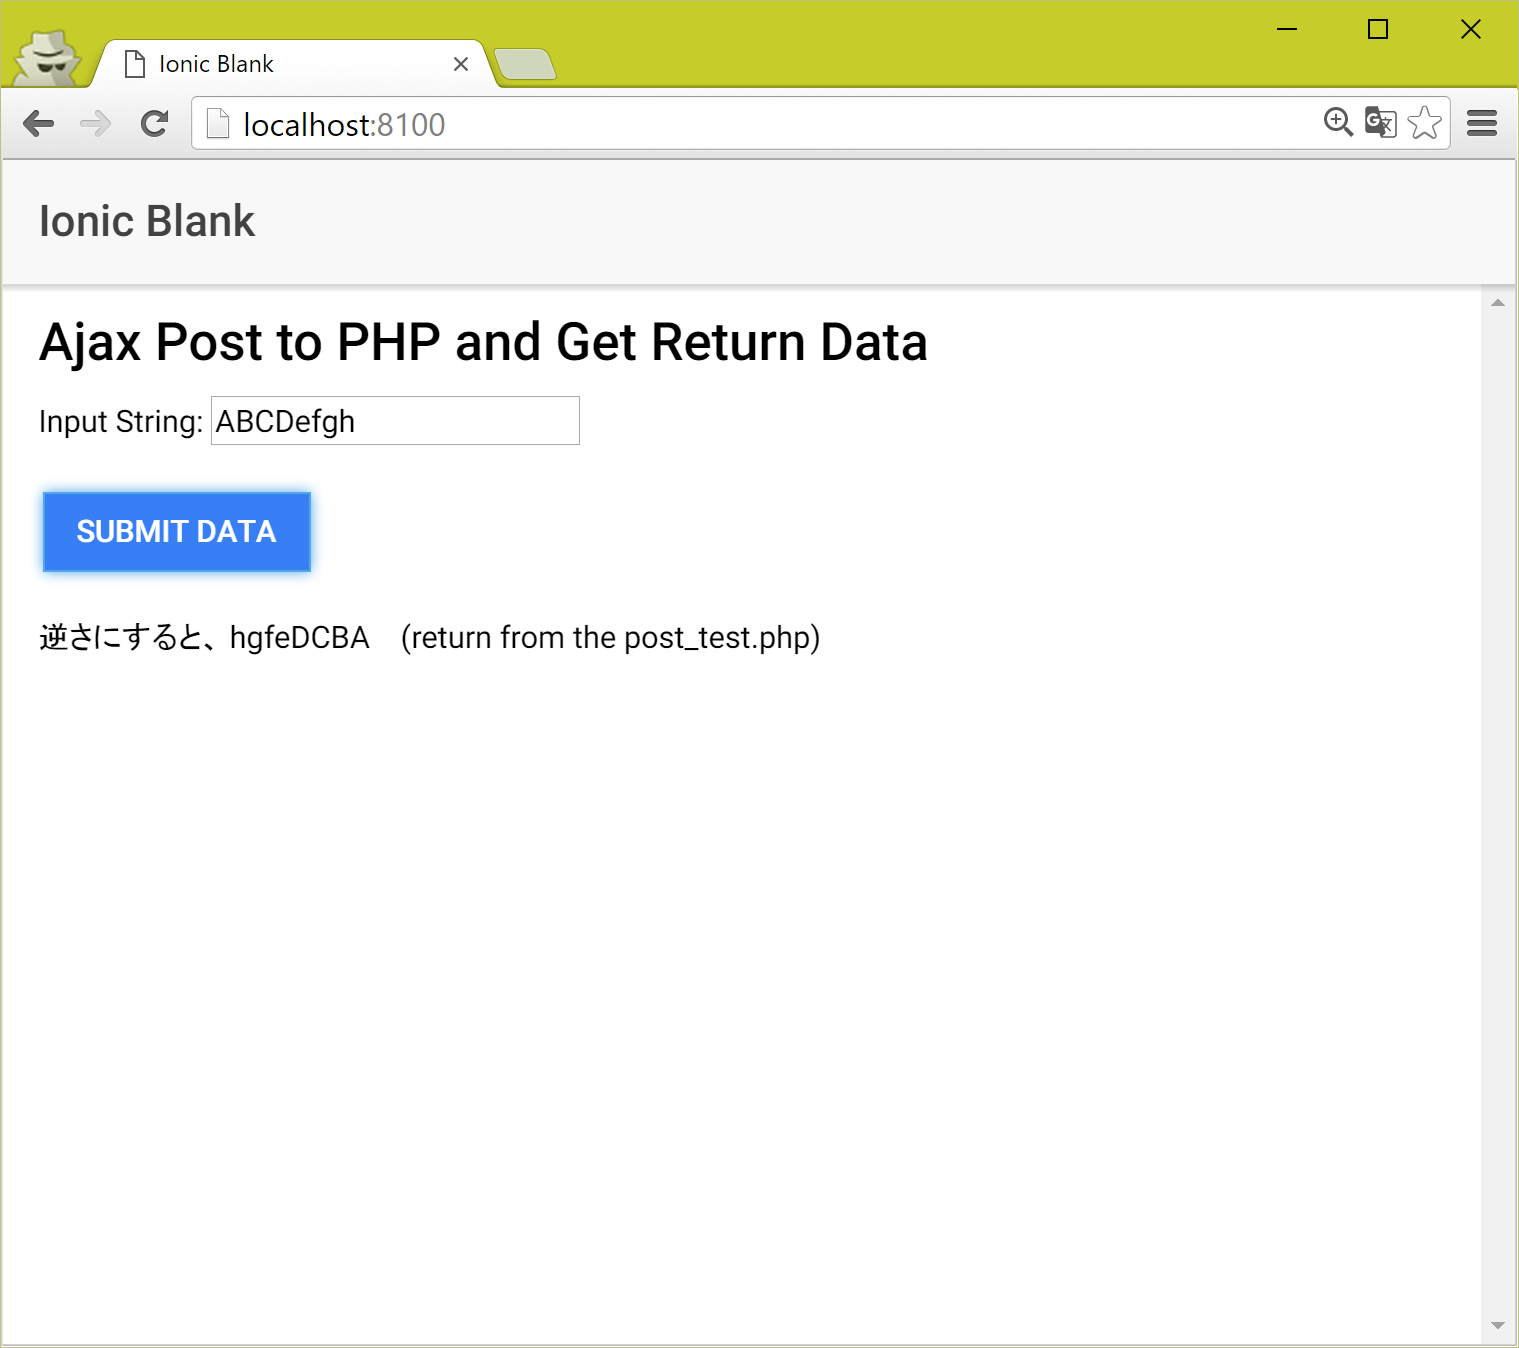
ボタン下部に、入力欄の文字列を逆さにしたものが出力されました。
これは、アプリでの入力値が、サーバ上で逆さまに変換されて、
それがアプリ上に返ってきて表示を実施したものです。
テストは簡易な確認ですが、本来のサーバー連携としては、
アプリからKey値がサーバーに送られ、サーバ上DBでそれに関連するデータを取得し、
アプリ側に返して、それをアプリが表示をする等の処理が一般的かと思います。
以上、今回記事はここまでとなります。
読んで下さった方、ありがとうございました。
尚、今回の記事を書くにあたっては、以下のページを参考にしました。
(参考:https://www.developphp.com/video/JavaScript/Ajax-Post-to-PHP-File-XMLHttpRequest-Object-Return-Data-Tutorial )
Thank you so much!