はじめに
https://qiita.com/mu-naka/items/9ad7f509e697e83c2987
↑以前書いたPythonのコードで、「JIRAチケットを作成する」処理を書いていたのですが、その後続処理にSlack通知を追加することになりました。
Slack通知内容に新規に作成したJIRAチケットURLを含めたかったのですが、URLの取得方法がドキュメントを探しても見つけるのに難儀した(見つかっていない)ため備忘録として書きます。もっといい方法があれば教えて下さい。
公式ドキュメントはこちら↓
https://jira.readthedocs.io/en/master/index.html
python上でJIRAライブラリを利用する方法については前回の記事で書いているのでそちらを参照してください。
本記事のpythonのバージョンは3.7です。
おさらい
ログイン
JIRAを操作する上でまずはログインする必要があるのでログインします。
# JIRA Login
try:
    jira = JIRA(options = {'server': os.environ["JIRAのURL※1"]}, basic_auth = (JIRAのユーザーID, JIRAのパスワード))
except JIRAError as e:
    return { "status" : "JIRA Login Failed." }
※1 チケット詳細ページのURLが仮に
https://jira.hoge.com/jira/browse/HOGE-001
だった場合は
https://jira.hoge.com/jira
を入力
チケット作成
# Create New Issue
newIssue = jira.create_issue(
    project = 'プロジェクト名※2',
    summary = '要約(チケットタイトル)',
    description = 'チケットの説明',
    issuetype = {'name':'タスク'}
    )
※2 チケット詳細ページのURLが仮に
https://jira.hoge.com/jira/browse/HOGE-001
だった場合は「HOGE」を入力
本題
チケット作成時のcreate_issue()の返り値がnewIssueに入っています。
このnewIssueの中身を見てみると
from pprint import pprint
# (中略)
    pprint(vars(newIssue))
{'_base_url': '{server}/rest/{rest_path}/{rest_api_version}/{path}',
 '_options': {'agile_rest_api_version': '1.0',
              'agile_rest_path': 'greenhopper',
              'async': False,
              'async_workers': 5,
              'auth_url': '/rest/auth/1/session',
              'check_update': False,
              'client_cert': None,
              'context_path': '/jira',
              'headers': {'Cache-Control': 'no-cache',
                          'Content-Type': 'application/json',
                          'X-Atlassian-Token': 'no-check'},
              'resilient': True,
              'rest_api_version': '2',
              'rest_path': 'api',
              'server': 'https://jira.hoge.com/jira',
              'verify': True},
 '_resource': 'issue/{0}',
 '_session': <jira.resilientsession.ResilientSession object at 0x7fa801472dd0>,
 'expand': 'renderedFields,names,schema,operations,editmeta,changelog,versionedRepresentations',
 'fields': <class 'jira.resources.PropertyHolder'>,
 'id': '12345',
 'key': 'HOGE-001',
 'raw': {
〜以下略〜
非常にボリュームがあるので省略していますが、そのままURLとして使えるパラメータはありませんでした。
しかしチケットのURLにはhttps://[JIRAサーバのベースURL]/browse/[チケットキー]の規則があるので、以下のコードで生成できます。
ticketUrl = newIssue._options.server + '/browse/' + newIssue.key
おまけ
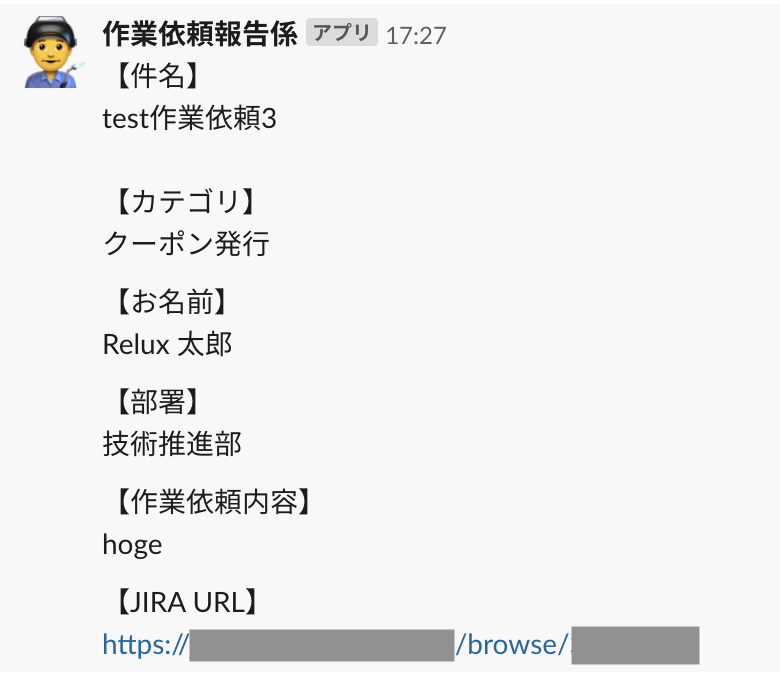
SlackへはIncoming Webhookを利用し、以下のコードで通知を飛ばします。
requests.post('webhookのURL', data = json.dumps({
    'text': ticketUrl,
    'username': u'通知ユーザー名',
    'icon_emoji': u':bow:',
    'link_names': 1
    }))
諸々パラメータの値はサンプルと異なりますがこれで作成したチケットのURLをSlack通知内容に含めることができました。