概要
Grafanaをコンテナで運用する際に
コンテナ起動後にDatasourceとDashboardを作成するのではなく
コンテナ起動時にDatasourceとDashboardをインポートする方法を紹介する。
動作環境
- Debian [v10.8]
- Grafana [v8.0.6]
準備するもの
- 各Dashboardをjson出力した
dashboard.json - Dashboardプロビジョニング用
dashboard.yml - Datasourceプロビジョニング用
datasource.yml - Grafanaコンテナ用
Dockerfile
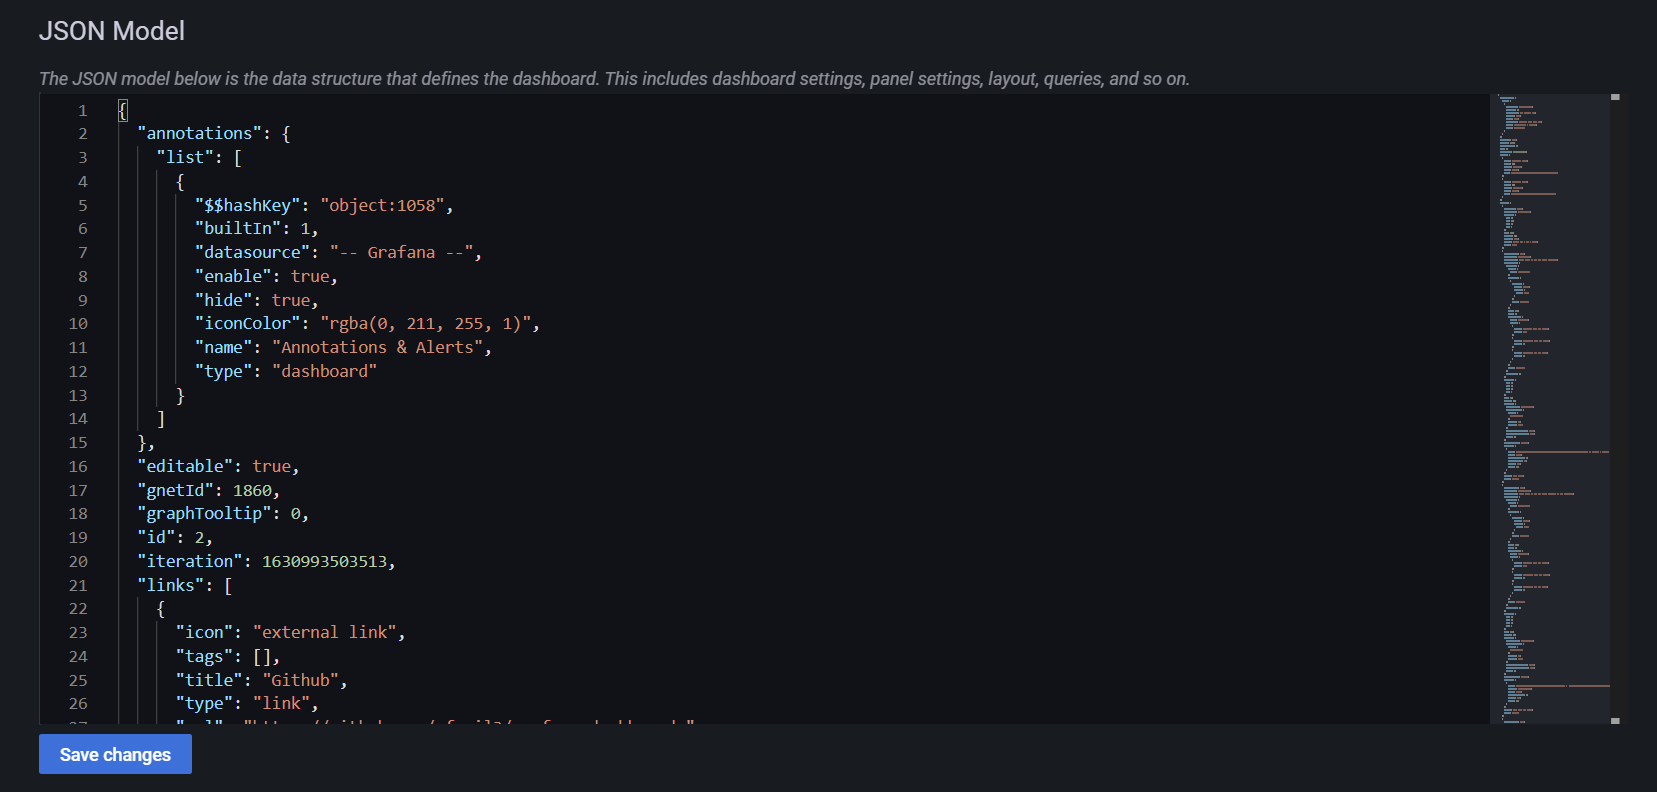
1. 各Dashboardをjson出力した dashboard.json
【以下具体例】
{
  "annotations": {
    "list": [
      {
        "$$hashKey": "object:1058",
        "builtIn": 1,
        "datasource": "-- Grafana --",
        "enable": true,
        "hide": true,
        "iconColor": "rgba(0, 211, 255, 1)",
        "name": "Annotations & Alerts",
        "type": "dashboard"
      }
    ]
  },


〜〜〜〜〜 省略 〜〜〜〜〜

    ],
    "time_options": [
      "5m",
      "15m",
      "1h",
      "6h",
      "12h",
      "24h",
      "2d",
      "7d",
      "30d"
    ]
  },
  "timezone": "browser",
  "title": "Linux Server",
  "uid": "sxXoxCW7z",
  "version": 1
}
作成方法
①. Dashboard画面右上の歯車マークをクリック
②. 左側メニューの JSON Model をクリック
③. JSON Model 内のjsonをファイルにコピー
2. Dashboardプロビジョニング用 dashboard.yml
【以下具体例】
apiVersion: 1

providers:
  # <string> an unique provider name. Required
  - name: 'Linux Server'
    # <int> Org id. Default to 1
    orgId: 1
    # <string> name of the dashboard folder.
    folder: 'Server'
    # <string> folder UID. will be automatically generated if not specified
    folderUid: ''
    # <string> provider type. Default to 'file'
    type: file
    # <bool> disable dashboard deletion
    disableDeletion: false
    # <int> how often Grafana will scan for changed dashboards
    updateIntervalSeconds: 10
    # <bool> allow updating provisioned dashboards from the UI
    allowUiUpdates: false
    options:
      # <string, required> path to dashboard files on disk. Required when using the 'file' type
      path: /var/lib/grafana/dashboards/Linux_Server.json
      # <bool> use folder names from filesystem to create folders in Grafana
      foldersFromFilesStructure: false

  - name: 'Windows Server'
    orgId: 1
    folder: 'Server'
    type: file
    disableDeletion: false
    updateIntervalSeconds: 10
    allowUiUpdates: false
    options:
      path: /var/lib/grafana/dashboards/Windows_Server.json
      foldersFromFilesStructure: false

  - name: 'Web Service'
    orgId: 1
    folder: 'Service'
    type: file
    disableDeletion: false
    updateIntervalSeconds: 10
    allowUiUpdates: false
    options:
      path: /var/lib/grafana/dashboards/Web_Service.json
      foldersFromFilesStructure: false
作成方法
①. Grafana公式コンテナイメージ内の /etc/grafana/provisioning/dashboards/dashboard.yml をコピー
②. Dashboard毎に以下の providers 設定を追記
  - name: 'Web Service'         # Dashboardの「名前」
    orgId: 1                    # デフォルトのままで
    folder: 'Service'           # Dashboardが格納される「フォルダ名」
    type: file                  # デフォルトのままで
    disableDeletion: false      # Dashboardの「削除可否」
    updateIntervalSeconds: 10   # Dashboardの「更新頻度」
    allowUiUpdates: false       # Dashboardの「UI変更可否」
    options:
      path: /var/lib/grafana/dashboards/Web_Service.json    # dashboardの「jsonファイルパス」
      foldersFromFilesStructure: false                      # デフォルトのままで
3. Datasourceプロビジョニング用 datasource.yml
【以下具体例】
# config file version
apiVersion: 1

# # list of datasources that should be deleted from the database
# deleteDatasources:
#   - name: Graphite
#     orgId: 1

# list of datasources to insert/update depending
# what's available in the database
datasources:
  # <string, required> name of the datasource. Required
  - name: Prometheus
    # <string, required> datasource type. Required
    type: prometheus
    # <string, required> access mode. proxy or direct (Server or Browser in the UI). Required
    access: proxy
    # <int> org id. will default to orgId 1 if not specified
    orgId: 1
    # <string> custom UID which can be used to reference this datasource in other parts of the configuration, if not specified will be generated automatically
    uid: prometheus
    # <string> url
    url: http://localhost:9090
    # <string> Deprecated, use secureJsonData.password
    password:
    # <string> database user, if used
    user:
    # <string> database name, if used
    database:
    # <bool> enable/disable basic auth
    basicAuth:
    # <string> basic auth username
    basicAuthUser:
    # <string> Deprecated, use secureJsonData.basicAuthPassword
    basicAuthPassword:
    # <bool> enable/disable with credentials headers
    withCredentials:
    # <bool> mark as default datasource. Max one per org
    isDefault: true
    # # <map> fields that will be converted to json and stored in jsonData
    # jsonData:
    #   graphiteVersion: '1.1'
    #   tlsAuth: true
    #   tlsAuthWithCACert: true
    # # <string> json object of data that will be encrypted.
    # secureJsonData:
    #   tlsCACert: '...'
    #   tlsClientCert: '...'
    #   tlsClientKey: '...'
    #   # <string> database password, if used
    #   password:
    #   # <string> basic auth password
    #   basicAuthPassword:
    version: 1
    # <bool> allow users to edit datasources from the UI.
    editable: false

  - name: CloudWatch
    type: cloudwatch
    jsonData:
      authType: default
      defaultRegion: ap-northeast-1
作成方法
①. Grafana公式コンテナイメージ内の /etc/grafana/provisioning/datasources/datasource.yml をコピー
②. Datasource毎に以下の datasources 設定を追記
### Prometheusの場合 ###
  - name: Prometheus            # Datasourceの「名前」
    type: prometheus            # ※[p]は小文字
    access: proxy               # デフォルトのままで
    uid: prometheus             # デフォルトのままで
    url: http://localhost:9090  # Datasourceの「URL」
    isDefault: true             # 複数のDatasource内で「デフォルトに設定するか否か」
    version: 1                  # デフォルトのままで
    editable: false             # Datasourceの「設定変更可否」

### CloudWatchの場合(動作環境がEC2内の場合) ###
  - name: CloudWatch                # Datasourceの「名前」
    type: cloudwatch                # ※[c]は小文字
    jsonData:
      authType: default             # デフォルトのままで
      defaultRegion: ap-northeast-1 # CloudWatch の「リージョン」
4. Grafanaコンテナ用 Dockerfile
【以下具体例】
FROM grafana/grafana:8.0.6

COPY ./dashboards/ /var/lib/grafana/dashboards/
COPY ./dashboard.yml /etc/grafana/provisioning/dashboards/dashboard.yml
COPY ./datasource.yml /etc/grafana/provisioning/datasources/datasource.yml
説明
以下のようなディレクトリ構造でDockerfileを作成する。
.
├── Dockerfile
├── dashboard.yml
├── dashboards
│   ├── Linux_Server.json
│   ├── Web_Service.json
│   └── Windows_Server.json
└── datasource.yml
動作チェック
Dockerfileと同じディレクトリ内で以下を実行する。
docker image build -t grafana:8.0.6 .
docker run -d -p 8080:3000 grafana:8.0.6
echo "[Grafana] → http://localhost:8080/"
参考


