業務で Typescript×React×Hooks を使ったフロントエンドのアプリケーションを開発しています。触り始めた当初はいろいろつまずきながら実装していて、自分が始める時にこんなサンプルアプリがあったら嬉しかったなというものを作ったので公開します。
本格的なアプリケーションにする骨組み(Boilerplate)としたく、長くなりそうなので全 3 回に分けます。
- Firebase Auth で認証基盤外出し
- Context でアプリの状態管理
- Formik と Yup でフォームバリデーション
利用している技術要素
- Firebase Authentication
- Typescript
- React
- React Hooks
- Material UI
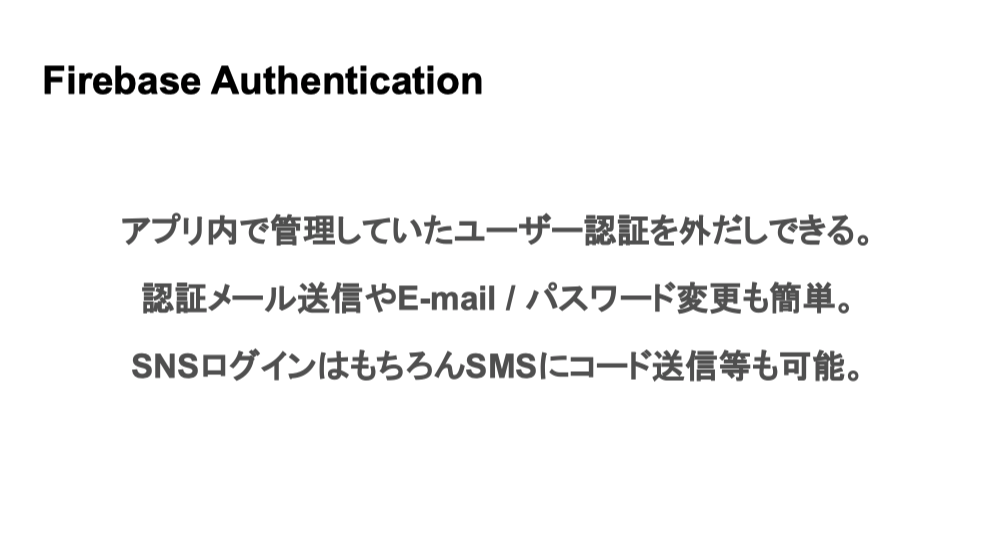
LT 資料
勉強会で Firebase Authentication の話をしたのでその時の資料を貼っておきます。
今回のサンプルアプリはこの図の ↔API という部分以外を実装しています。
ソースコード
- メールアドレスでの認証に対応しています
- 3 つの画面があります
- 会員登録
- ログイン
- ホーム
- ログイン状態に応じてリダイレクト/出し分けをします
- ログインしているとホーム画面へリダイレクト
- ログインしていないとログイン画面へリダイレクト
- ホーム画面では Firebase から取得したユーザー情報を表示
デモ
会員登録して登録されたユーザー情報を閲覧。ログアウトして再度ログインしています。
動かし方
- github からソース取得
- Firebase でプロジェクトを作成し、Authentication の設定を行う
- 作成した Firebase プロジェクトから config 情報を取得し、
./src/firebase.tsファイルを編集 -
yarn startコマンドで React アプリを起動 - http://localhost:3000/ へアクセス
Firebase プロジェクトの作成と React アプリでキーになるポイントを簡単に解説します。
Firebase プロジェクトの作成
- https://firebase.google.com/ にアクセスしてプロジェクトを作成

- 適当なプロジェクト名をつけて続行

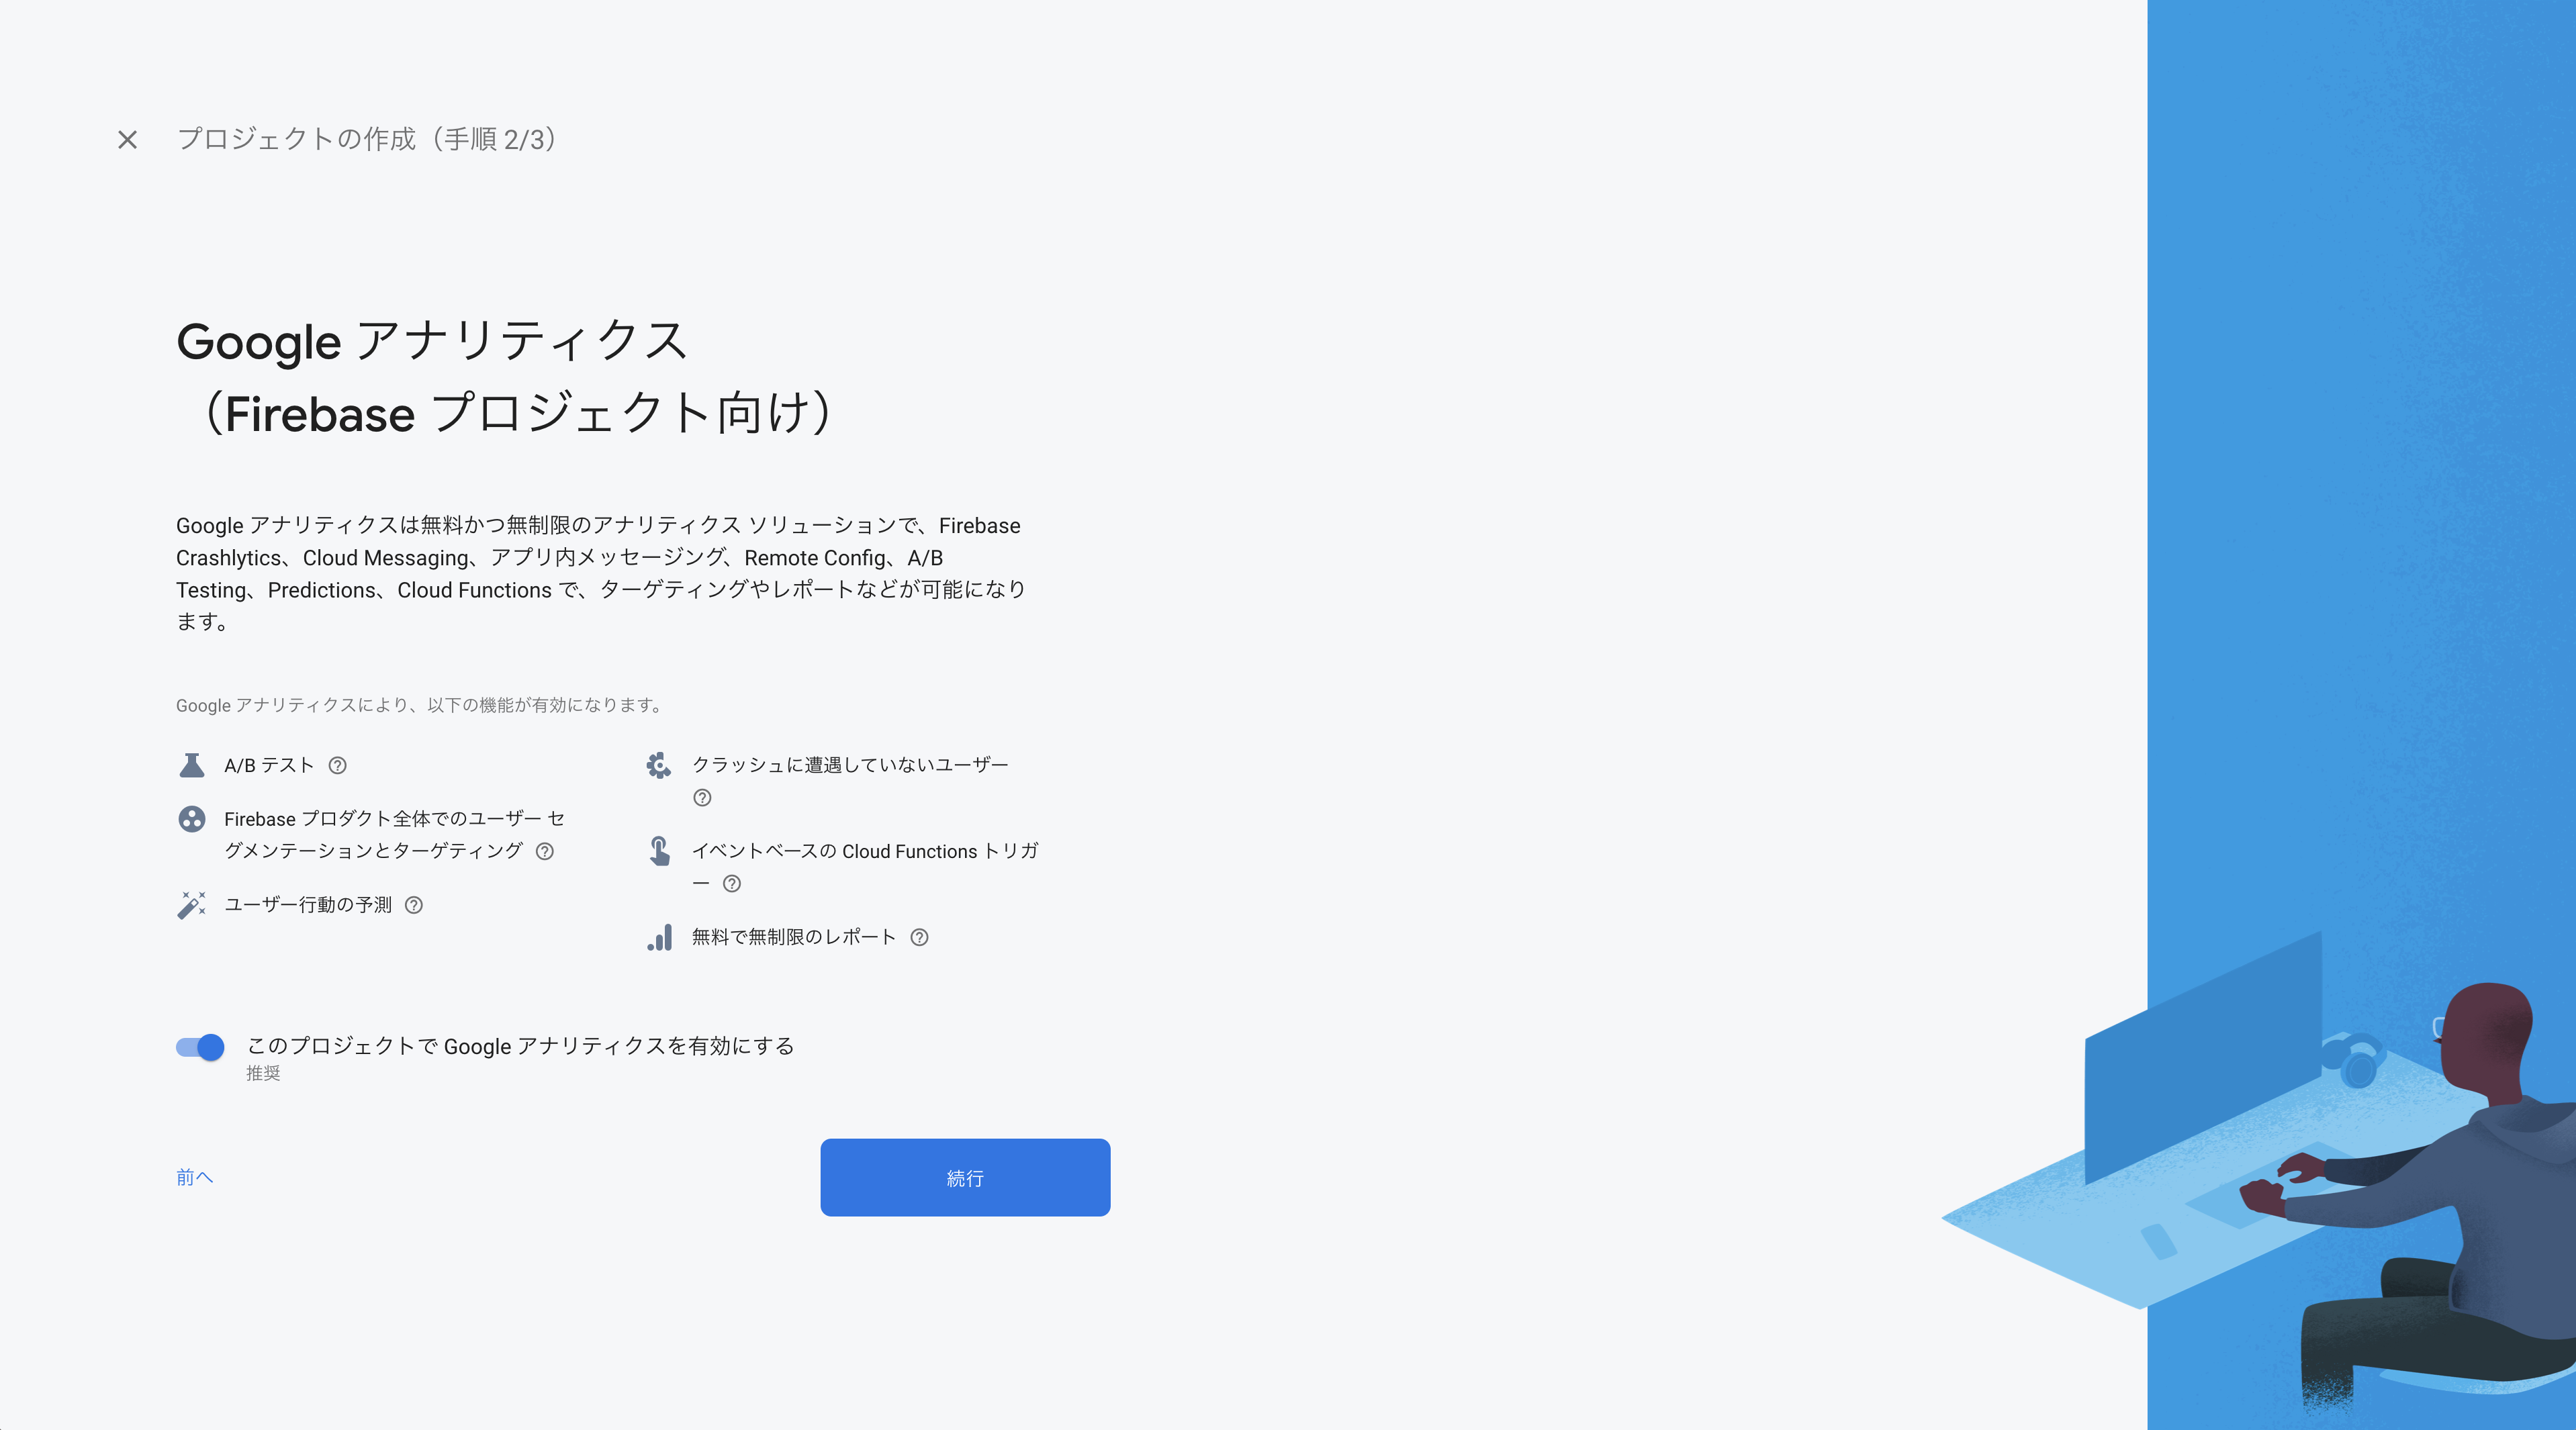
- Google アナリティクスの設定は今回は関係無いのでどちらでも

- しばらくするとプロジェクトが出来上がる

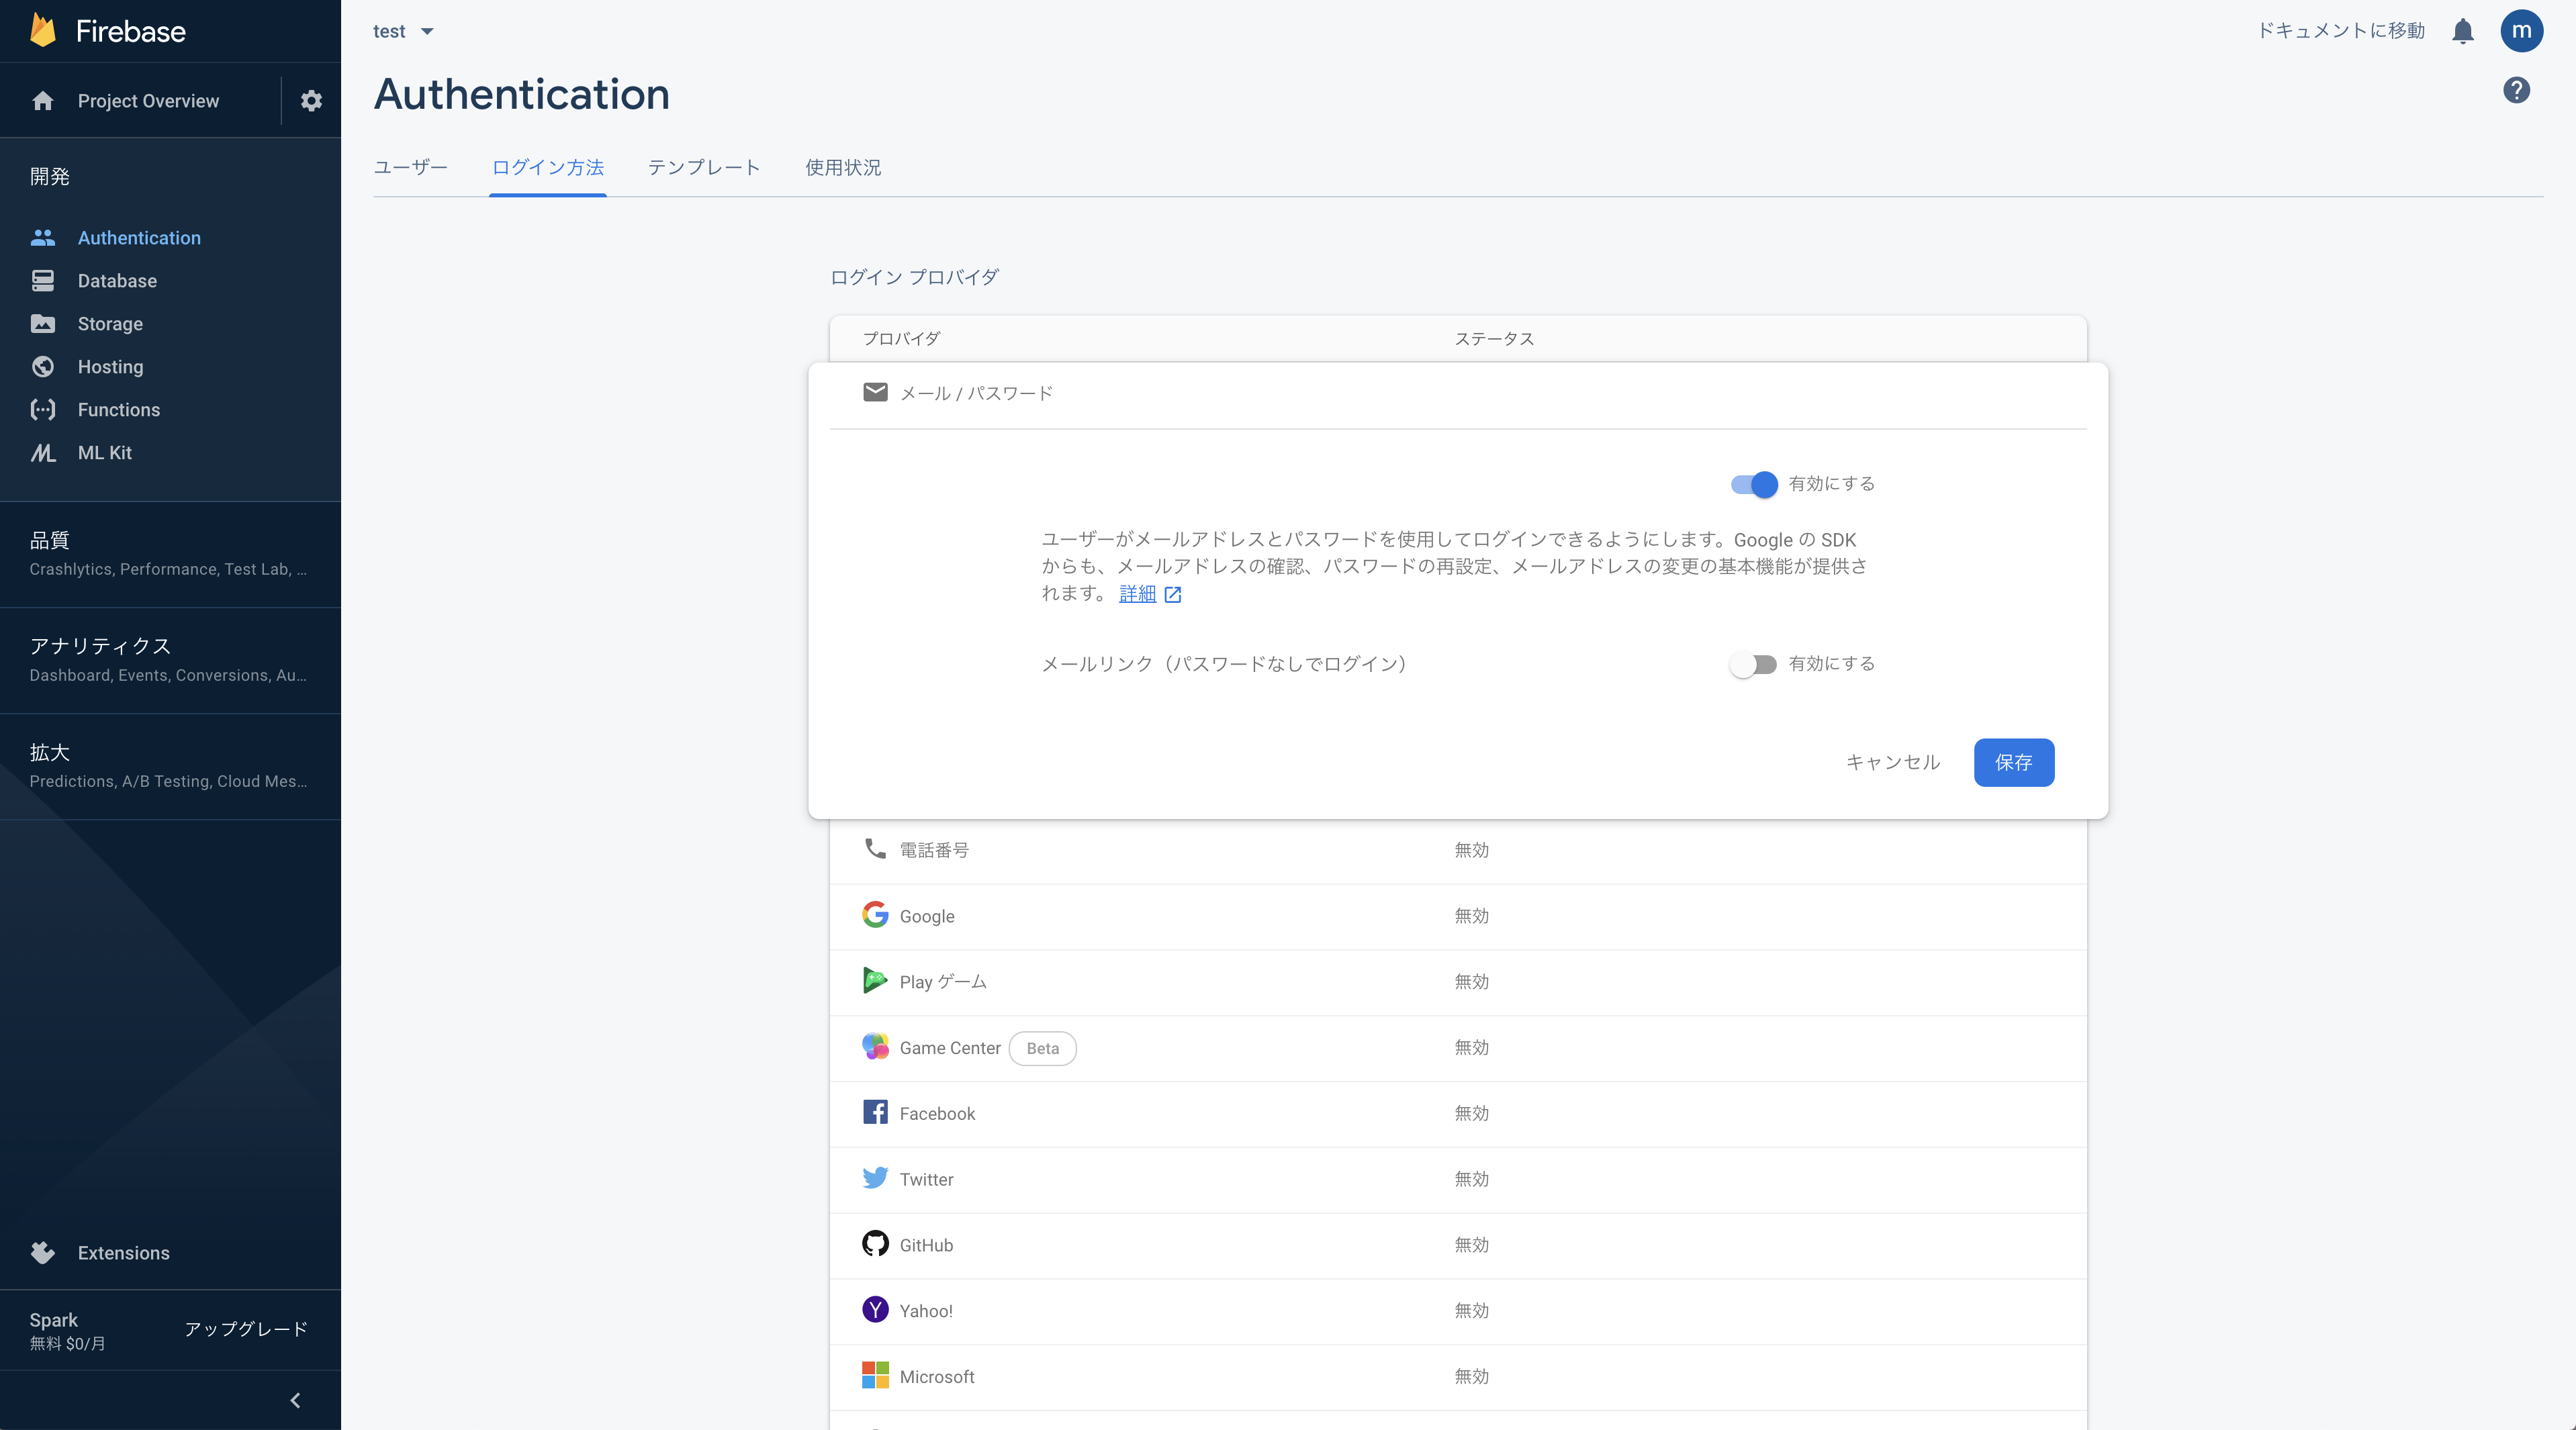
- メニュー > Authentication > ログイン方法
- メール / パスワード を有効にする

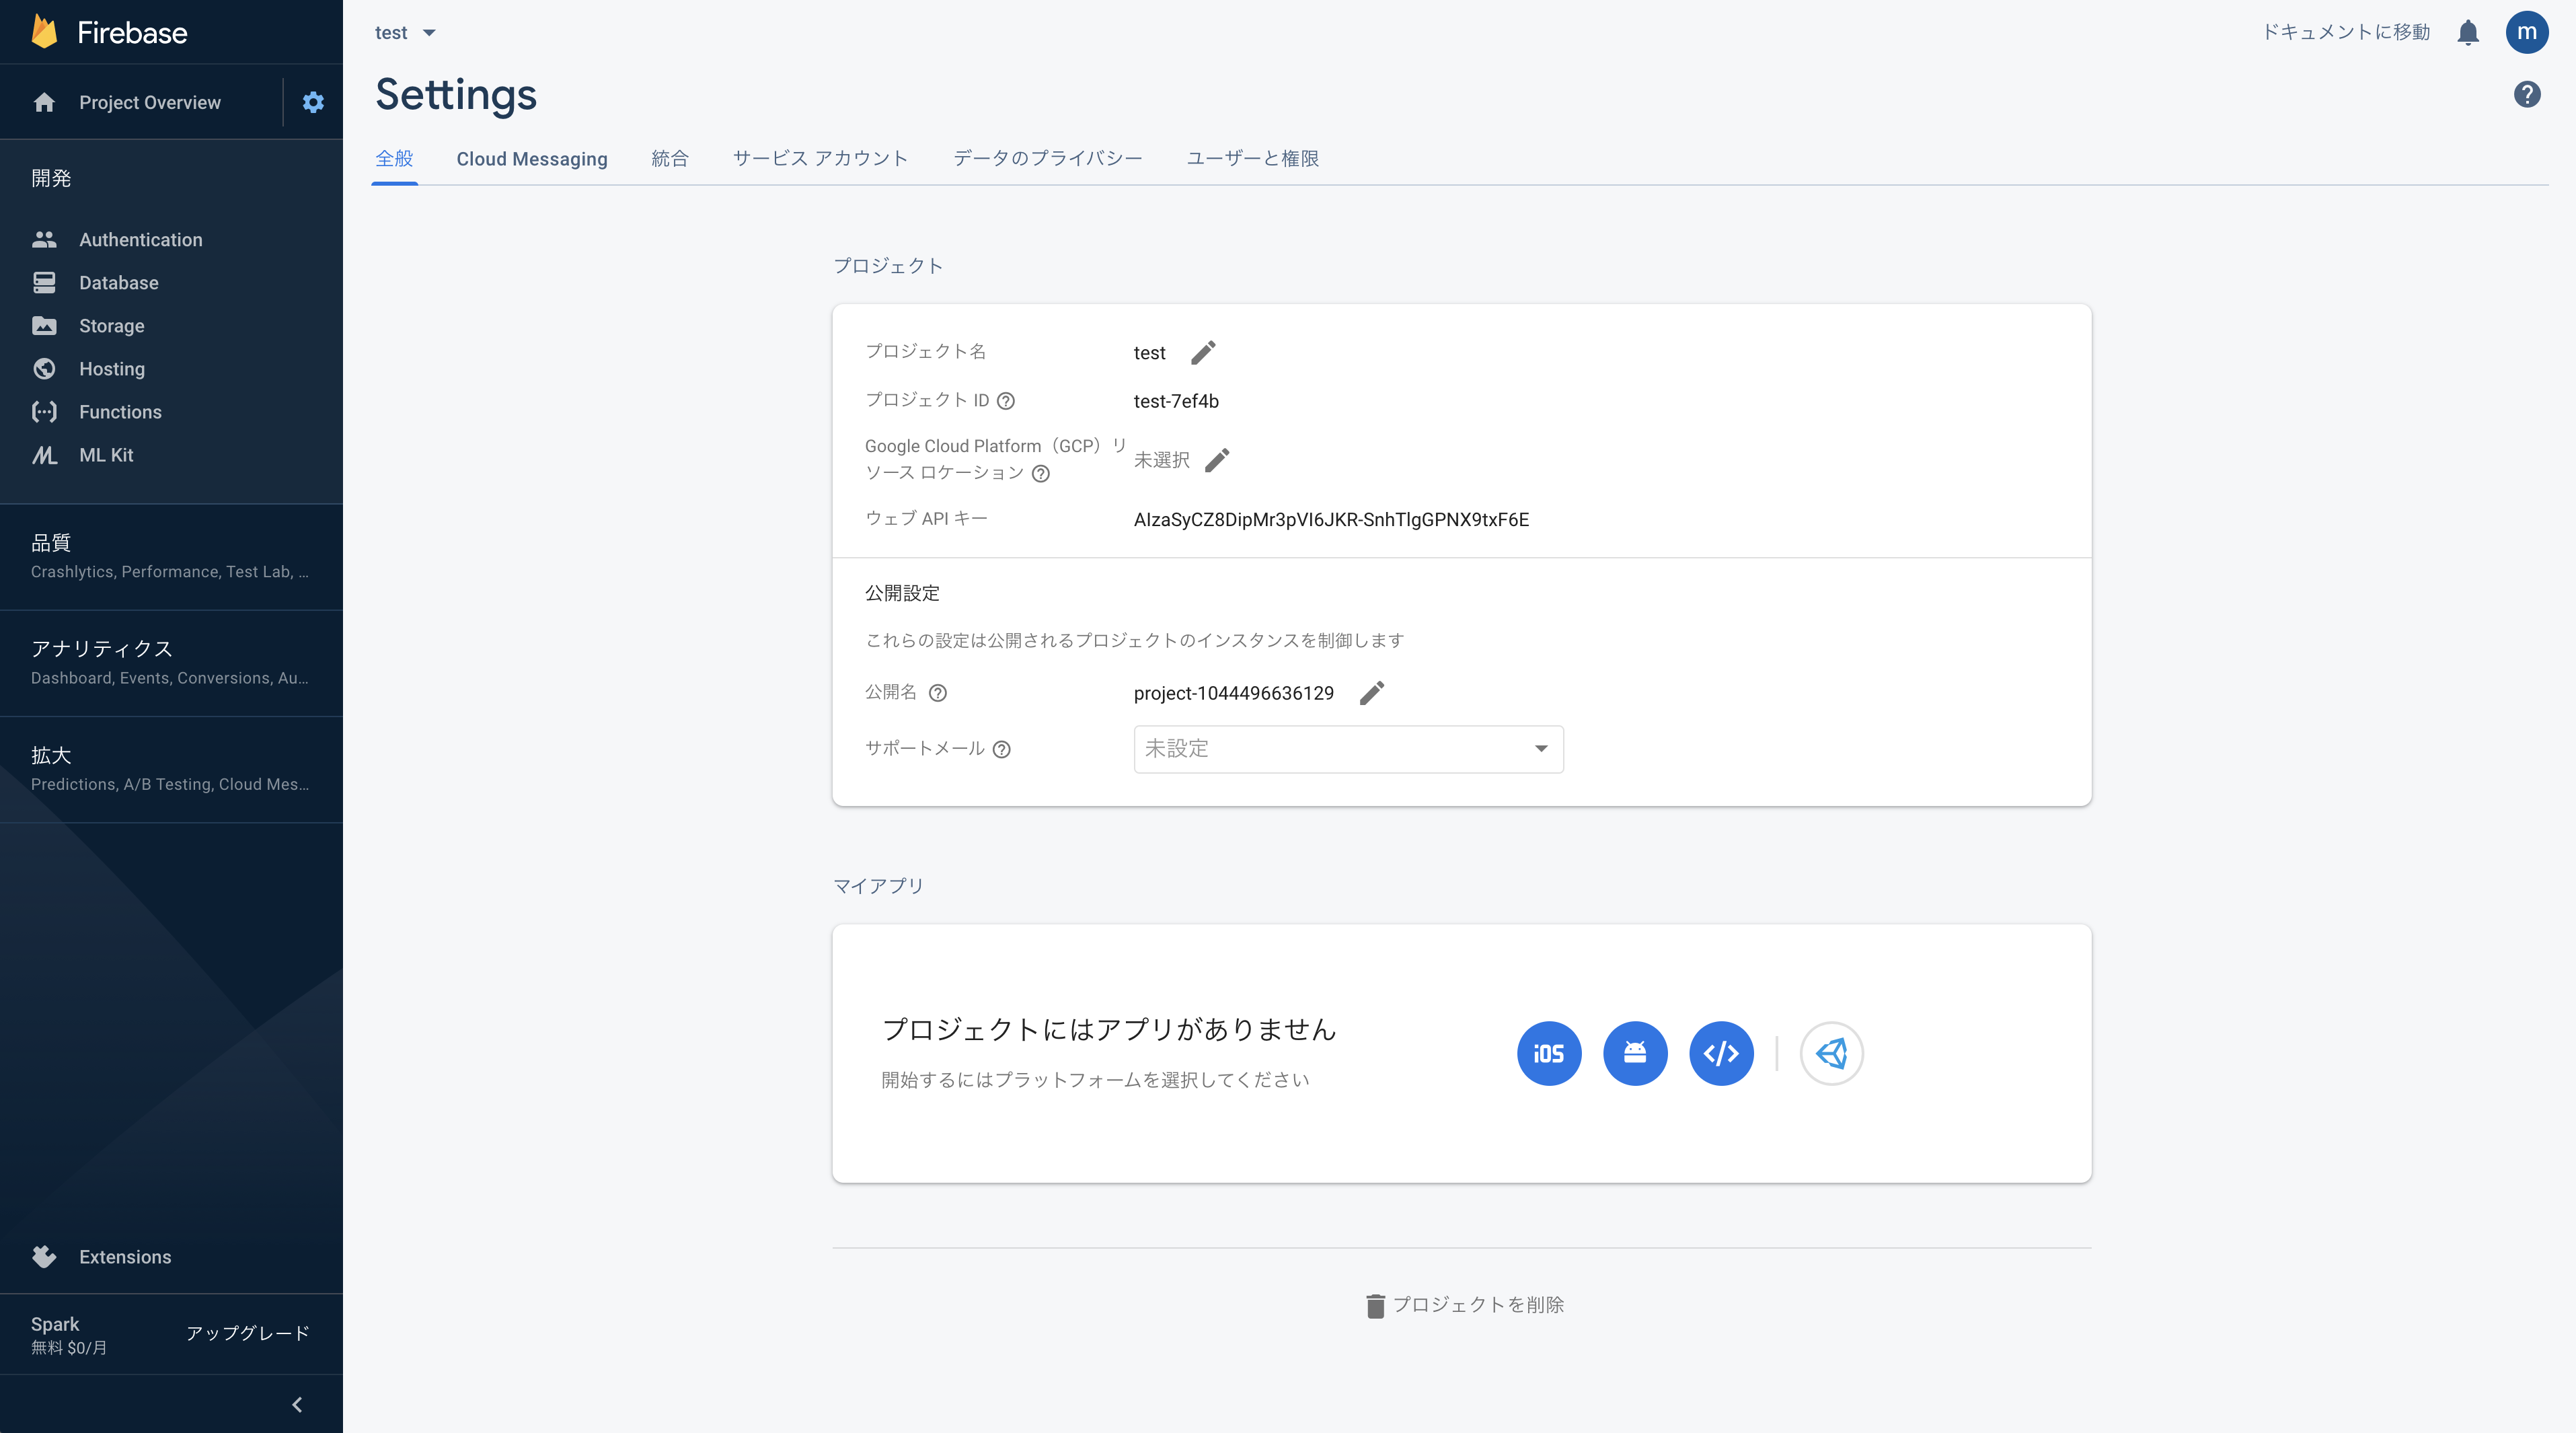
- 歯車アイコン > プロジェクトの設定 > 全般
- マイアプリから Web アプリを追加

- 適当な名前をつけてアプリを登録

- React アプリから Firebase の API を叩くための接続情報が表示される

React アプリのポイント解説
今回作成したアプリケーションでいくつかポイントになる部分があるので簡単に解説します。
- github のコード をそのまま利用してもらえば動くので、Create React App コマンドによる React アプリ作成や各種ライブラリのインストール部分は端折っています
- Firebase Authentication の各機能(signup や login)はかなり簡単に利用できます
- React Hooks を利用しています。Hooks に慣れていなくてもなんとなくわかると思います
まず、Firebase の API を叩くために、先程 Firebase のコンソールで取得した接続情報を利用する部分です。
import "firebase/auth";
import "firebase/firebase-firestore";

import firebase from "firebase";

// Firebaseの接続情報をconfigオブジェクトに保持
const config = {
  apiKey: "AIzaSyCZ8DipMr3pVI6JKR-SnhTlgGPNX9txF6E",
  authDomain: "test-7ef4b.firebaseapp.com",
  databaseURL: "https://test-7ef4b.firebaseio.com",
  projectId: "test-7ef4b",
  storageBucket: "test-7ef4b.appspot.com",
  messagingSenderId: "1044496636129",
  appId: "1:1044496636129:web:d21b7763773a509473ffa0"
};
firebase.initializeApp(config);

// Authサービスを作ってエクスポート。各画面でこれを利用する
const auth = firebase.auth();
export default auth;
続いて会員登録です。
import React, { Fragment, useEffect, useState } from "react";

import {
  Button,
  Container,
  FormControl,
  Grid,
  Link,
  TextField,
  Typography
} from "@material-ui/core";

// authサービスをインポート
import auth from "../firebase";

const Signup = (props: any) => {
  // ここではuseStateというHooksの機能を利用している
  // フォームに入力された値を保持する変数を宣言する形
  const [email, setEmail] = useState<string>("");
  const [password, setPassword] = useState<string>("");

  // useEffectもHooksの機能。ここではページがロードされたタイミングで
  // ログイン状態かどうかを判定するイベントを発動する
  useEffect(() => {
    auth.onAuthStateChanged(user => {
      // ログインしている場合、ホームへリダイレクト
      user && props.history.push("/");
    });
  }, []);

  return (
    <Fragment>
      <Container>
        <Grid container>
          <Grid item md={4}></Grid>
          <Grid item md={4}>
            <FormControl margin="normal" fullWidth>
              <TextField
                style={{ marginTop: "0.5em", marginBottom: "0.5em" }}
                name="email"
                label="E-mail"
                fullWidth
                variant="outlined"
                value={email}
                onChange={(event: React.ChangeEvent<HTMLInputElement>) => {
                  setEmail(event.target.value);
                }}
              />
            </FormControl>
            <FormControl fullWidth>
              <TextField
                style={{ marginTop: "0.5em", marginBottom: "0.5em" }}
                name="password"
                label="Password"
                fullWidth
                variant="outlined"
                type="password"
                value={password}
                onChange={(event: React.ChangeEvent<HTMLInputElement>) => {
                  setPassword(event.target.value);
                }}
              />
            </FormControl>
            <FormControl fullWidth>
              <Button
                fullWidth
                onClick={async () => {
                  try {
                    // Firebaseにユーザーを作成する
                    await auth.createUserWithEmailAndPassword(email, password);
                    // sendSignInLinkToEmail() を利用すると、メールアドレス認証のためのメールを送信することも可能
                    props.history.push("/login");
                  } catch (error) {
                    // ユーザー作成が失敗するとその内容をアラート表示
                    alert(error.message);
                  }
                }}
                style={{ marginTop: "0.5em", marginBottom: "0.5em" }}
              >
                Sign up
              </Button>
              <Typography align="center">
                <Link href="/login">to login</Link>
              </Typography>
            </FormControl>
          </Grid>
          <Grid item md={4}></Grid>
        </Grid>
      </Container>
    </Fragment>
  );
};

export default Signup;
これだけでユーザーが作成できます。
ログイン画面も会員登録画面と似ているので、見ると何をしているかわかると思います。
最後にホーム画面です。ログイン状態だとこの画面にリダイレクトされます。
import React, { Fragment, useEffect, useState } from "react";

import { Button, Container, Grid, Typography } from "@material-ui/core";

// authサービスをインポート
import auth from "../firebase";

const Home = (props: any) => {
  const [currentUser, setCurrentUser] = useState<null | object>(null);

  useEffect(() => {
    auth.onAuthStateChanged(user => {
      // ログイン状態の場合、currentUserというステート(変数)にAPIから取得したuser情報を格納
      // ログアウト状態の場合、ログインページへリダイレクト
      user ? setCurrentUser(user) : props.history.push("/login");
    });
  }, []);

  return (
    <Fragment>
      <Container>
        <Grid container style={{ marginTop: "1em" }}>
          <Grid item md={4}></Grid>
          <Grid item md={4}>
            <Typography>Here is the user information</Typography>
            <Typography
              variant="caption"
              style={{
                paddingTop: "2em",
                paddingBottom: "2em",
                whiteSpace: "pre"
              }}
            >
              // 格納されたuser情報を画面上に表示
              {currentUser && JSON.stringify(currentUser, null, 4)}
            </Typography>
            <Button
              fullWidth
              onClick={async event => {
                try {
                  // ログアウト処理。成功するとログイン画面へ遷移
                  await auth.signOut();
                  props.history.push("/login");
                } catch (error) {
                  alert(error.message);
                }
              }}
              style={{ marginTop: "0.5em", marginBottom: "0.5em" }}
            >
              Logout
            </Button>
          </Grid>
          <Grid item md={4}></Grid>
        </Grid>
      </Container>
    </Fragment>
  );
};

export default Home;
次回
今回は紹介したものはわかりやすさのために最低限の実装しかしていません。
次回は Context を利用してアプリの状態管理ができるようにしていきます。


