1
2

Delete article

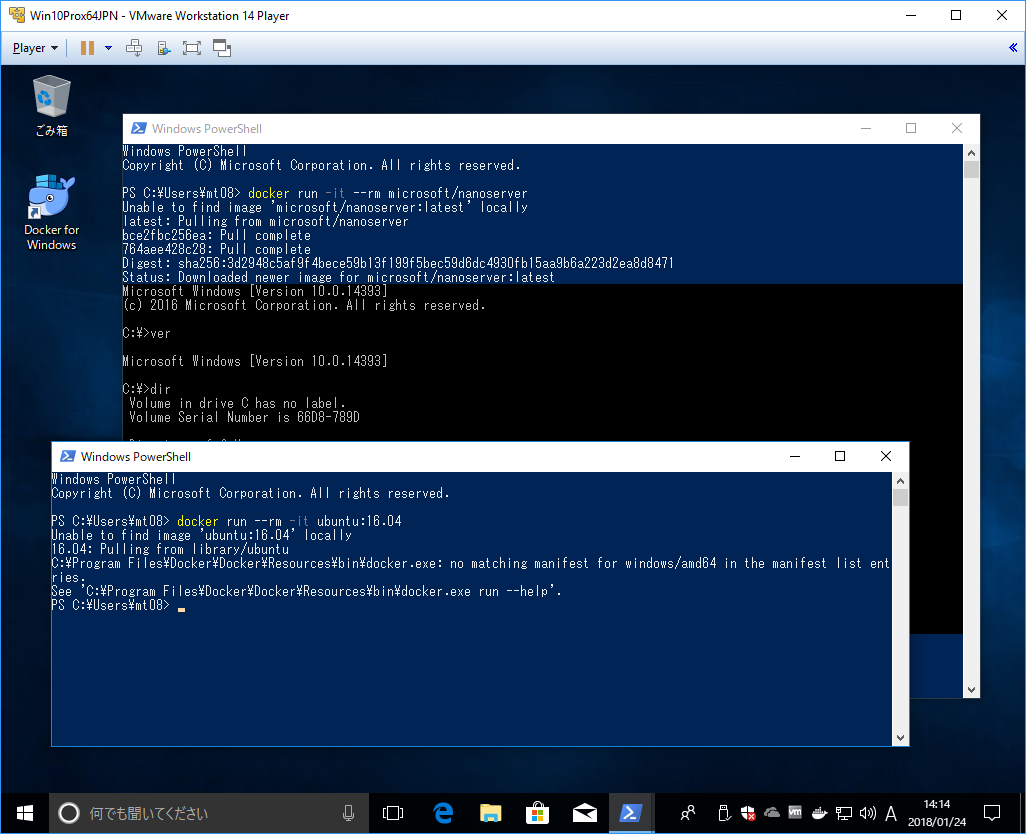
Deleted articles cannot be recovered.

Draft of this article would be also deleted.

Are you sure you want to delete this article?

More than 5 years have passed since last update.

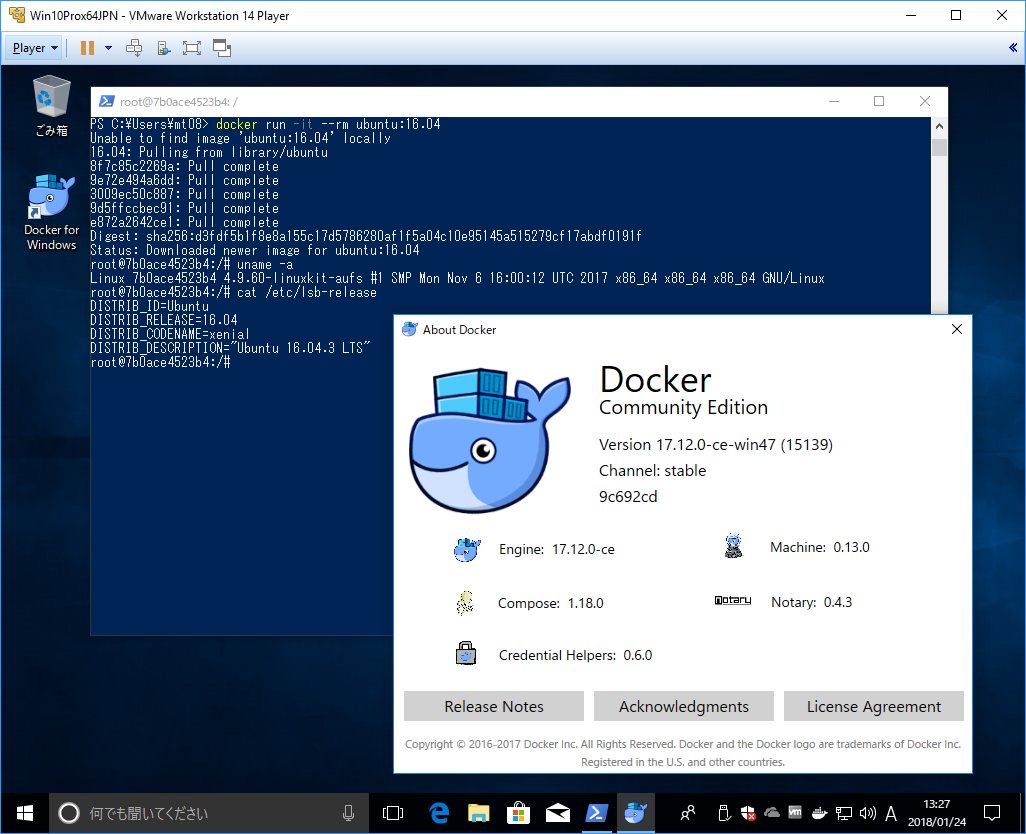
[メモ] "ubuntu:16.04" on "Docker" on "Hyper-V" on "Windows 10 Pro(VM)" on "VMwarePlayer" on "Windows 10(PM)"

Last updated at Posted at 2018-01-24

image.png

概要

  • "Ubuntu" on "Docker" on "Hyper-V" on "Windows 10 Pro(VM)" on "VMwarePlayer" on "Windows 10(PM)"
    => Windows 10(物理マシン)上の、VMwarePlayer上の、Windows 10 Pro(仮想マシン)の、Hyper-V(のLinux)で、Dockerのubuntu:16.04 コンテナを動かす。

  • Nested Virtualizationを使用するメモで、VMware上のWindowsで、Hyper-Vを使ってみる、ついでにDockerという感じ...

    .vmxファイルに追記する
     hypervisor.cpuid.v0 = "FALSE"
     mce.enable = "TRUE"
     vhu.enable = "TRUE"
    
  • Docker for Windowsは、chocolateyパッケージマネージャで、インストール。

  • Windowsコンテナ(microsoft/nanoserver)も動いたよ

環境

  • ホスト機: i7-4790 / 32GB / Win10 64bit
  • 仮想機: Win10Pro (ライセンス有)

手順

VMware Workstation 14 Playerのインストール

  • 普通にインストールしてください...

仮想んマシンの設定・準備

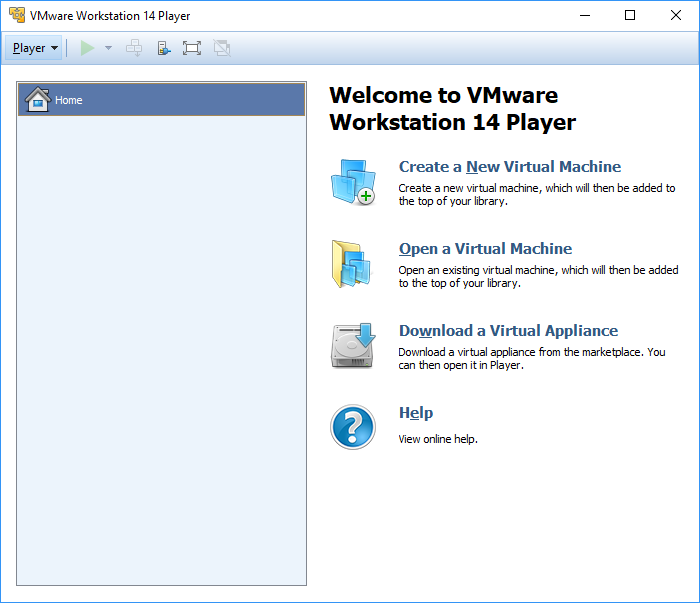
  1. 仮想マシン作成. Create a New Virtual Machine
    image.png

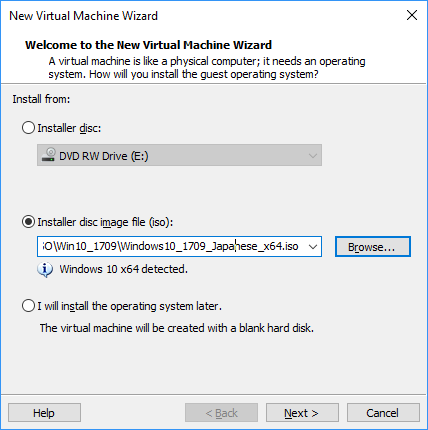
  2. Disc Imageを選択 (Win10 1709の日本語ISO)
    image.png

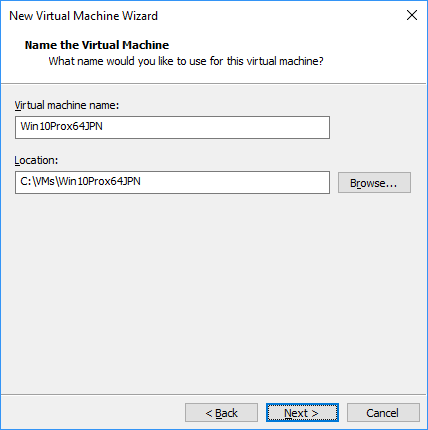
  3. 名前と場所
    image.png

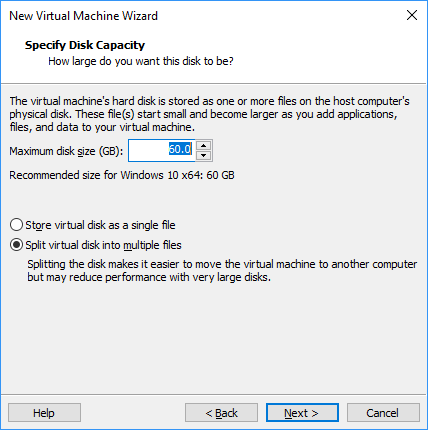
  4. ディスクサイズと形態(お好みで)
    image.png

  5. Custumize Hardware...を押す
    image.png

  6. 構成を変更

    Memory: 8GB (8192MB)
    Processors: 2
    [✔] Virtualize Intel VT-x/EPT or AMD-v/RVI
    [✔] Virtualize CPU performance counters
    Network Adapter: Bridged
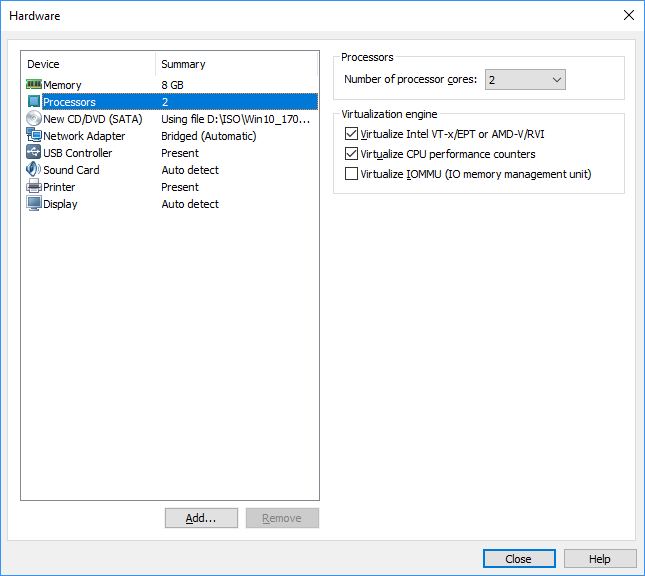
    image.png

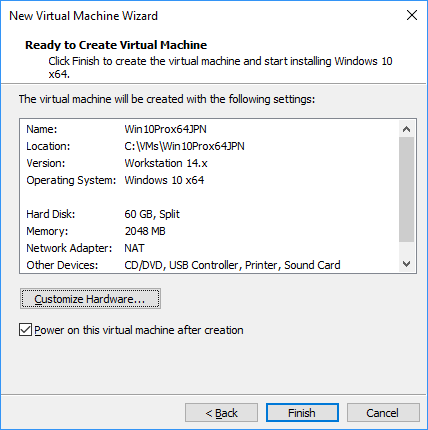
  7. Power in this virtual machine after creationのチェックを外して、[Finish]
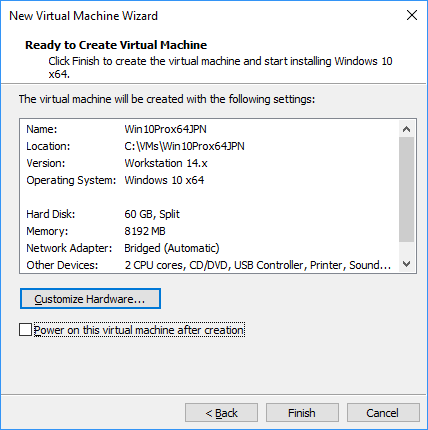
    image.png

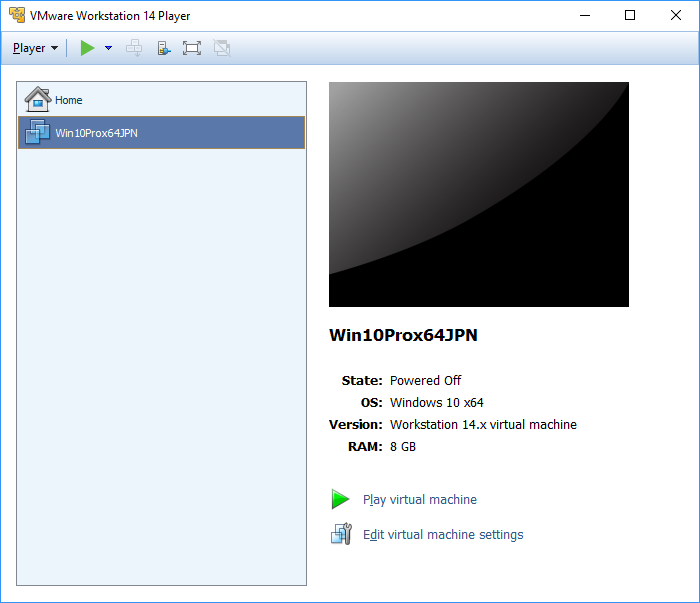
  8. 一旦、VMware WS Playerを閉じる

  9. VMのフォルダの中の、Win10Prox64JPN.vmxをテキストエディタで開いて、以下を最後に追加

    Win10Prox64JPN.vmx
    hypervisor.cpuid.v0 = "FALSE"
    mce.enable = "TRUE"
    vhu.enable = "TRUE"
    

仮想マシンへ、Windows 10 Pro 64bitのインストール

  • 普通にインストールする。
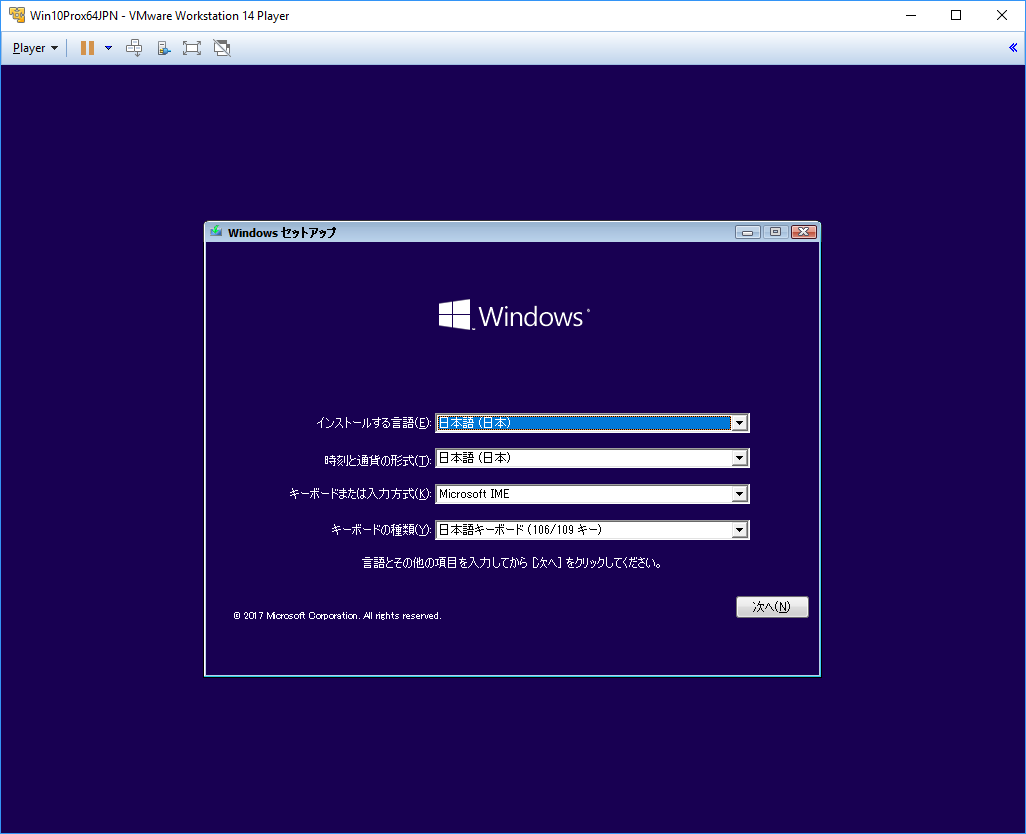
  1. 起動

    image.png

  2. キーボードなど選択して

    image.png

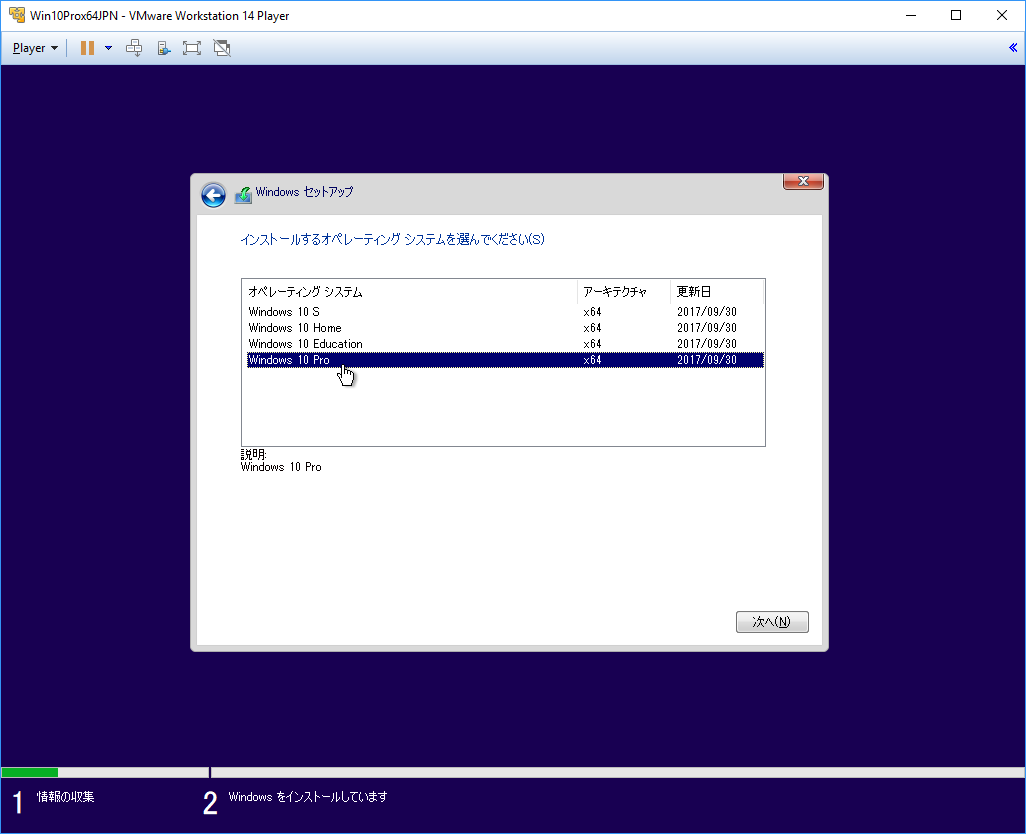
  3. Proじゃないと、Hyper-Vが使えない

    image.png

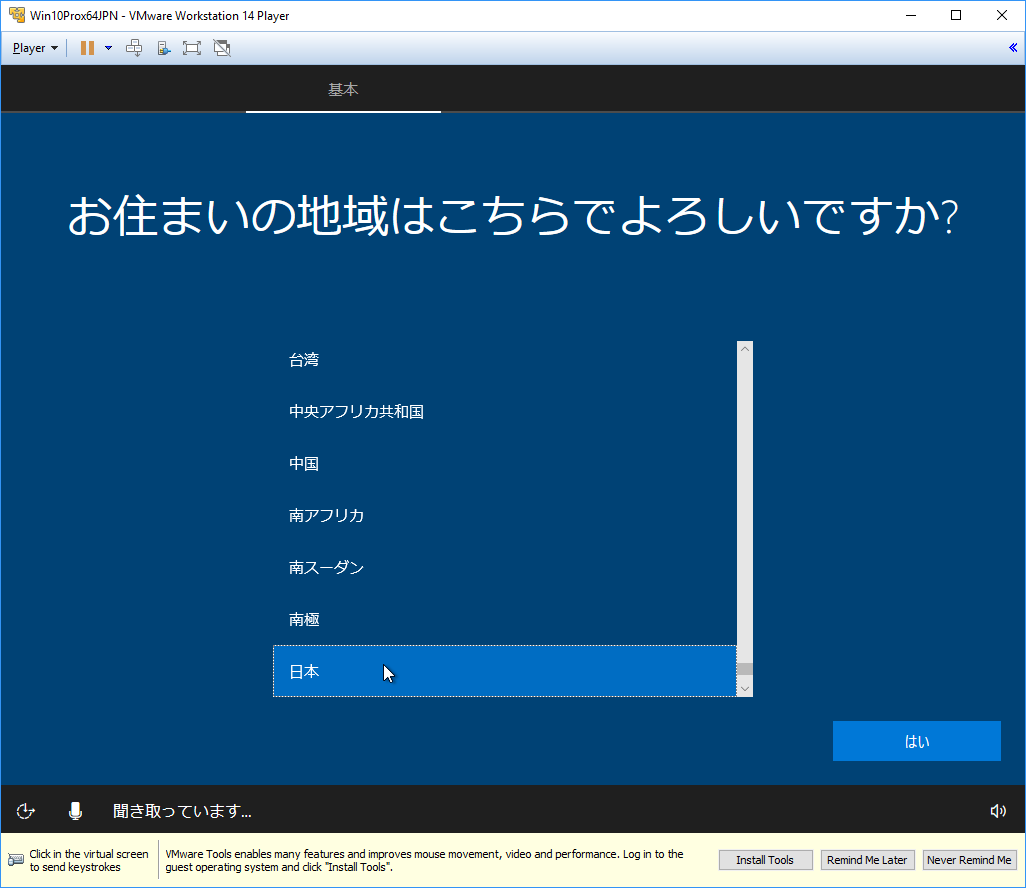
  4. お住まい... などきかれて、

    image.png

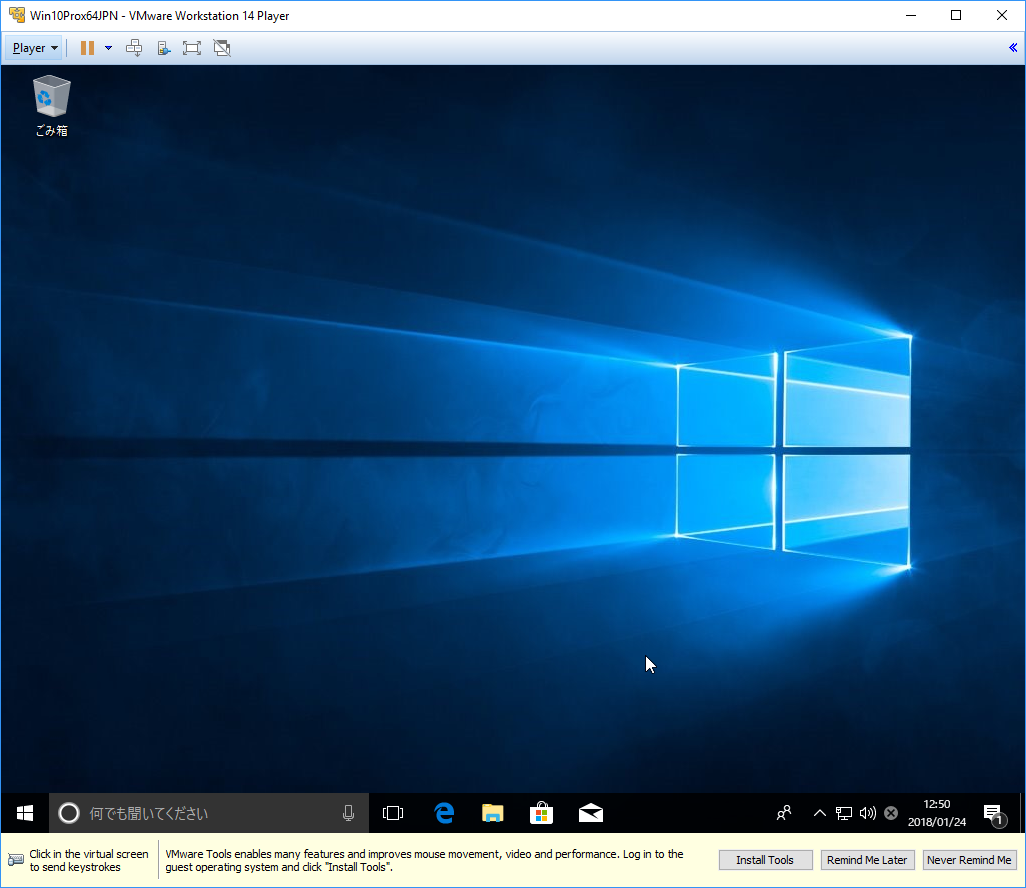
  5. なんやかんやで、インストール終了

    image.png

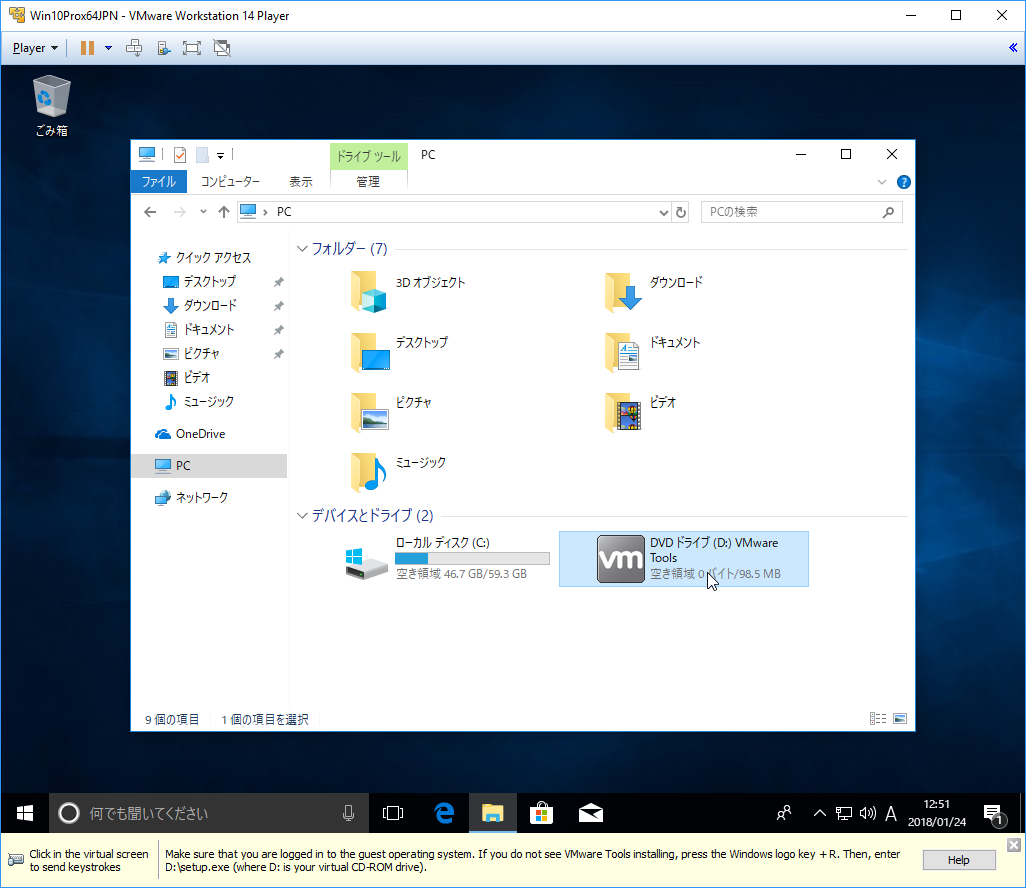
VMWare Toolsのインストール

  1. 下のほうの Install Toolsを押す、か、Player => Manage => Install VMWare Tools...

    image.png

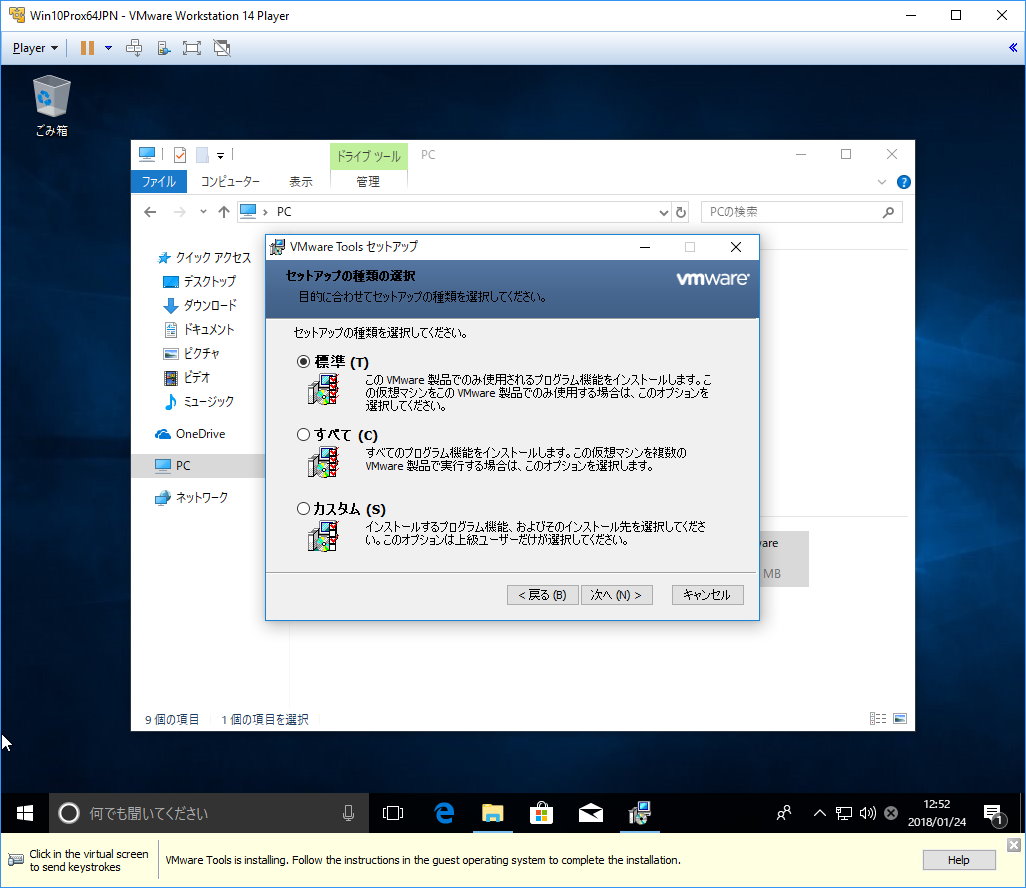
  2. セットアップを開始して、次へを押しまくる

    image.png

  3. インストール後再起動

Docker for Windowsのインストール

Chocolateyのインストール

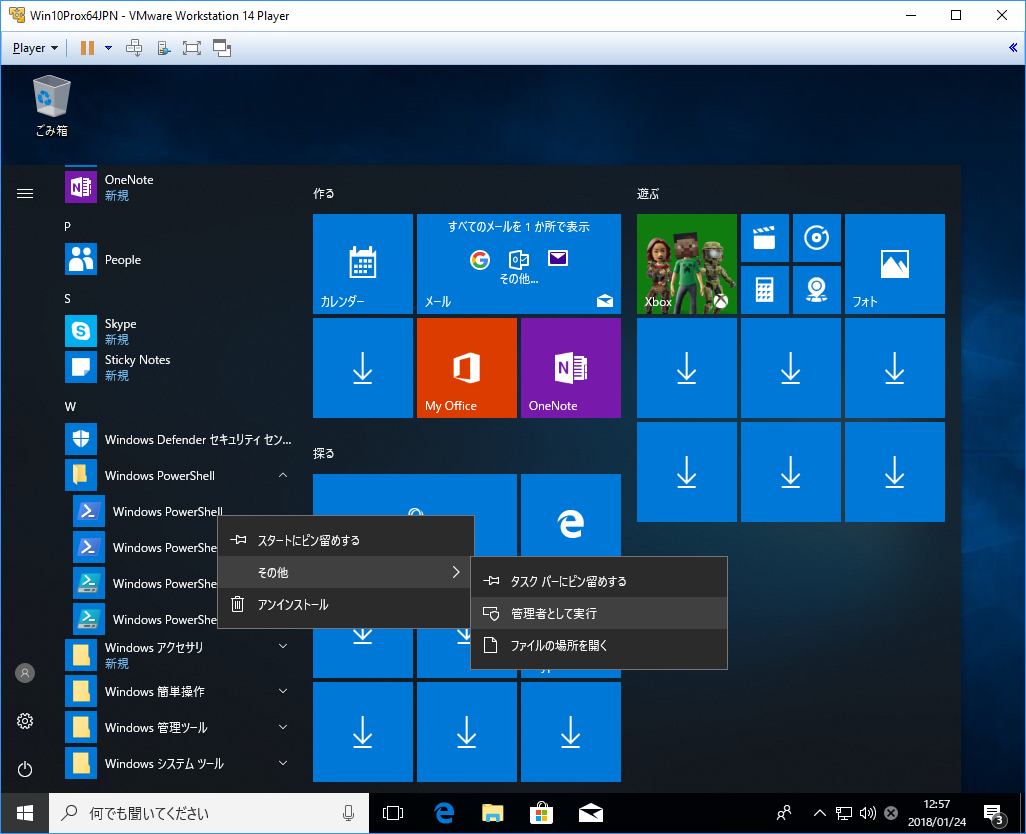
  1. PowerShellを管理者で開く
    image.png

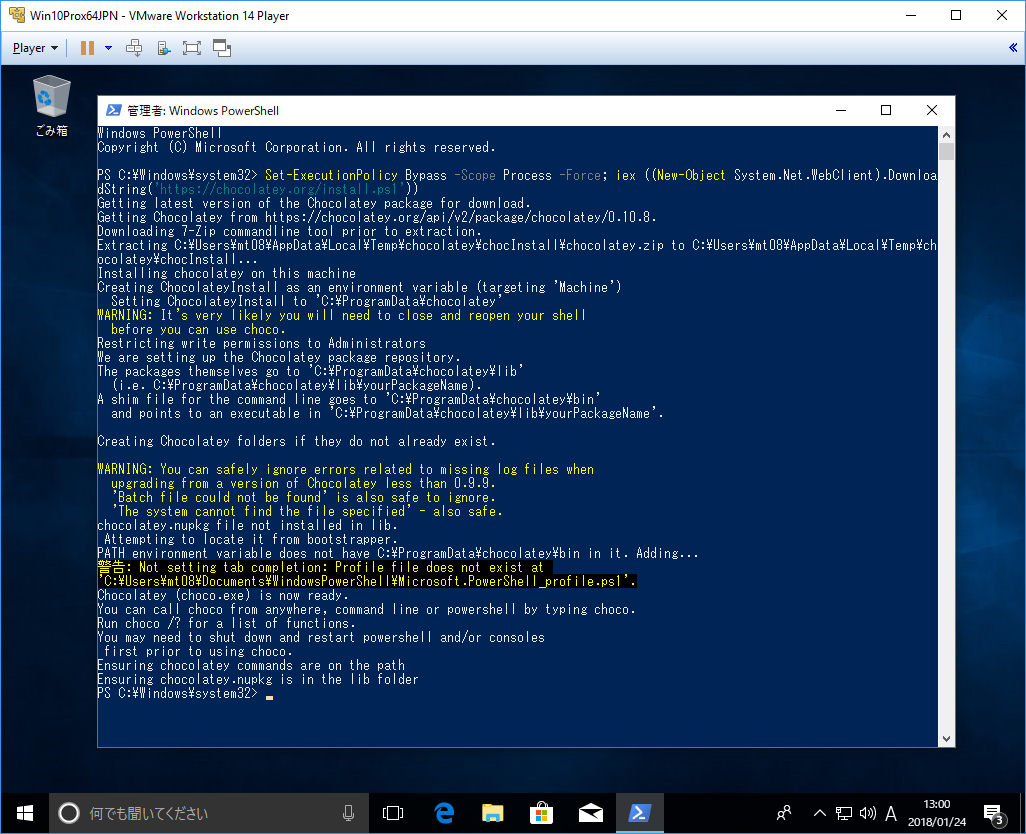
  2. 以下ぴぺ

    コピペ
    Set-ExecutionPolicy Bypass -Scope Process -Force; iex ((New-Object 
    System.Net.WebClient).DownloadString('https://chocolatey.org/install.ps1'))
    

    image.png

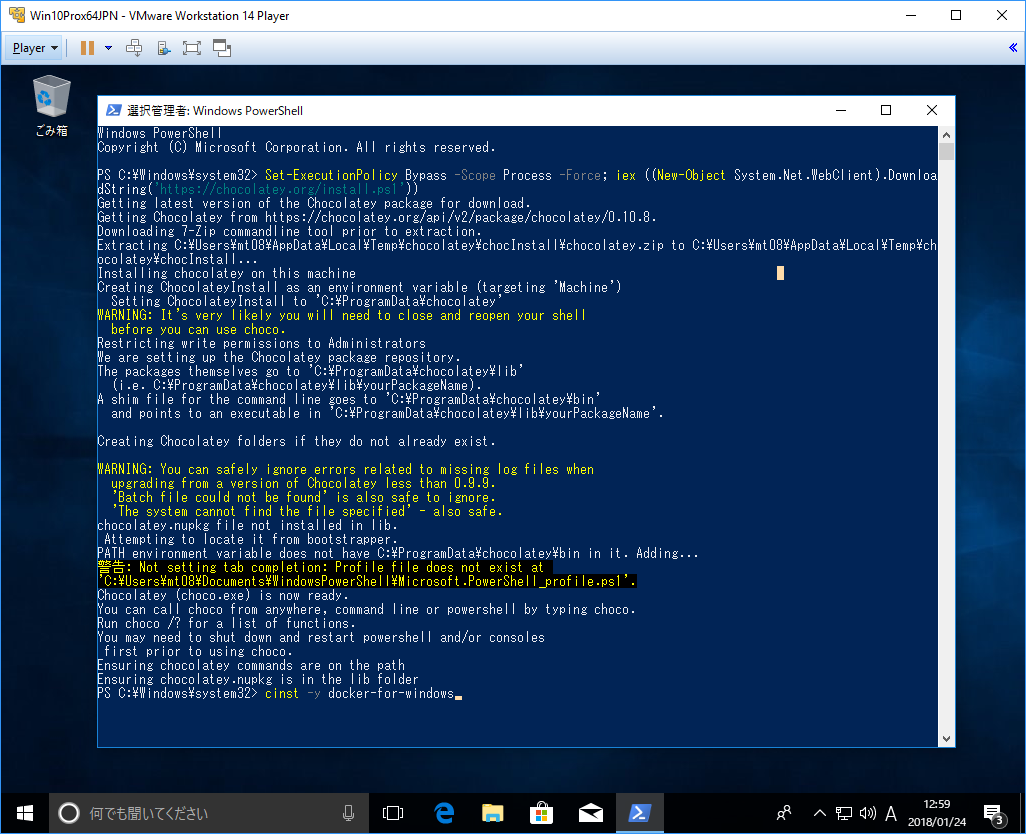
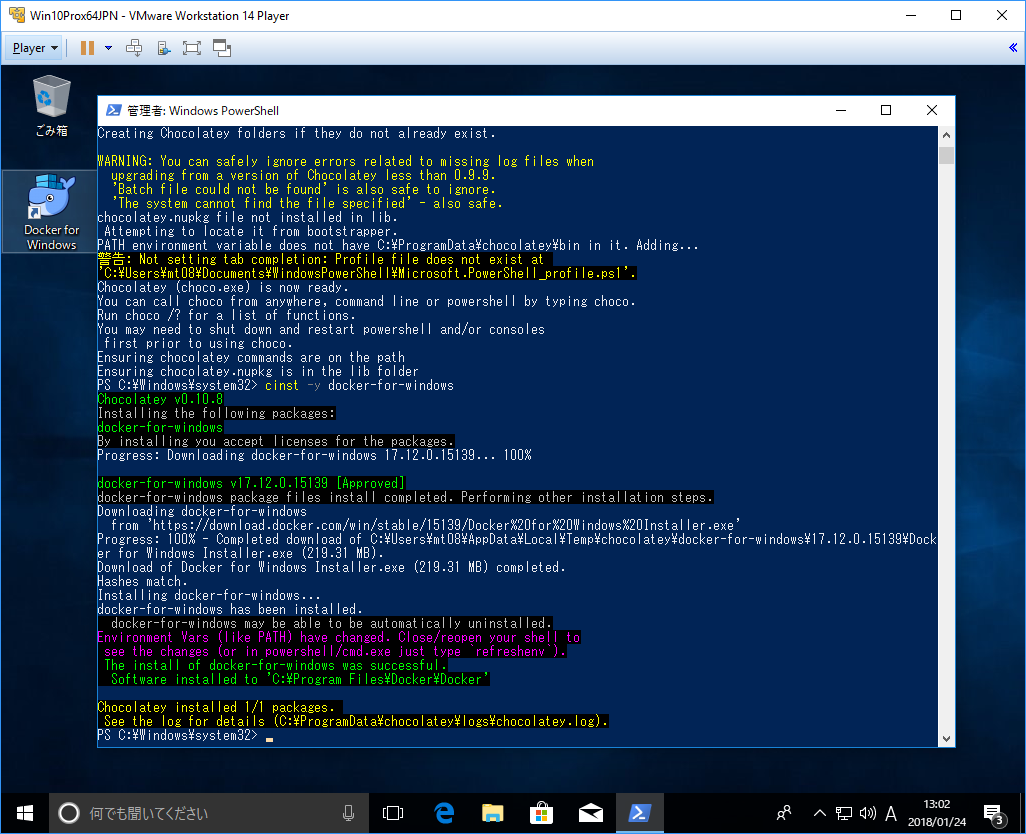
  3. Docker for Windowsのインストール

    cinit -y docker-for-windows
    

    image.png
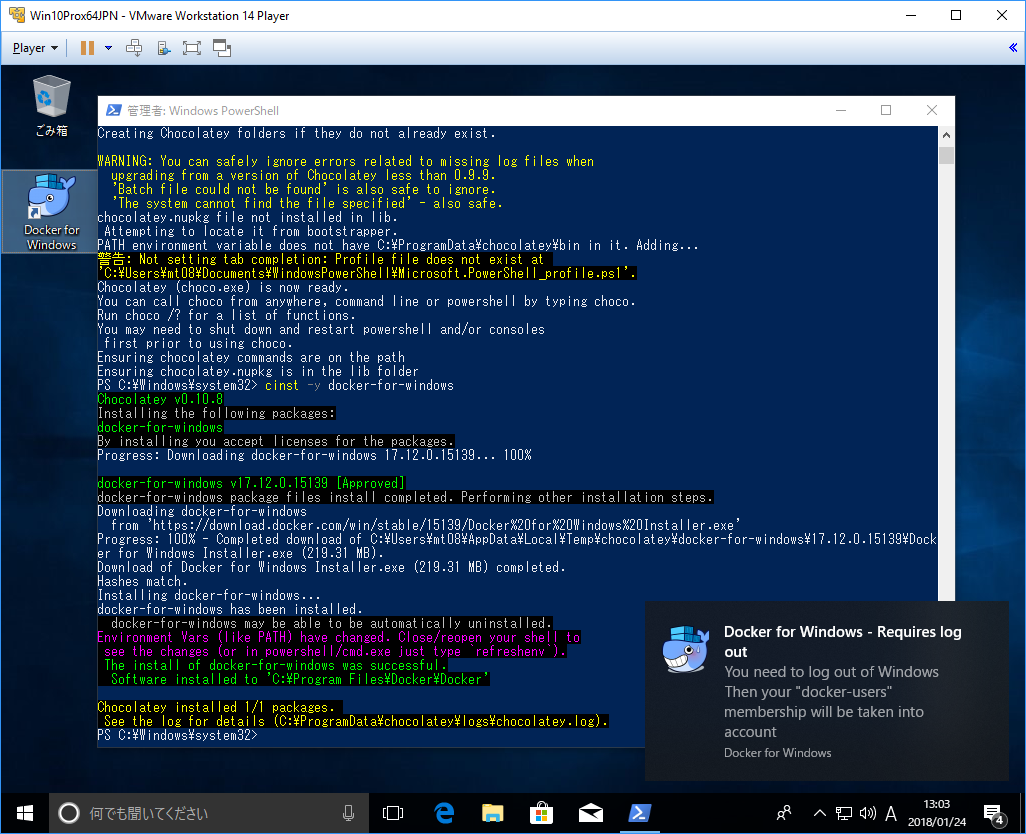
    image.png

  4. Docker for Windowsをダブルクリックすると、ログオフしないといけない、というので、再起動する

    image.png

    再起動: shutdown -r -t 0

  5. 自動で、Dockerが起動されるが、Hyper-VとContainersの機能が有効になってないから、有効にするよ?
    =>[OK]をおす
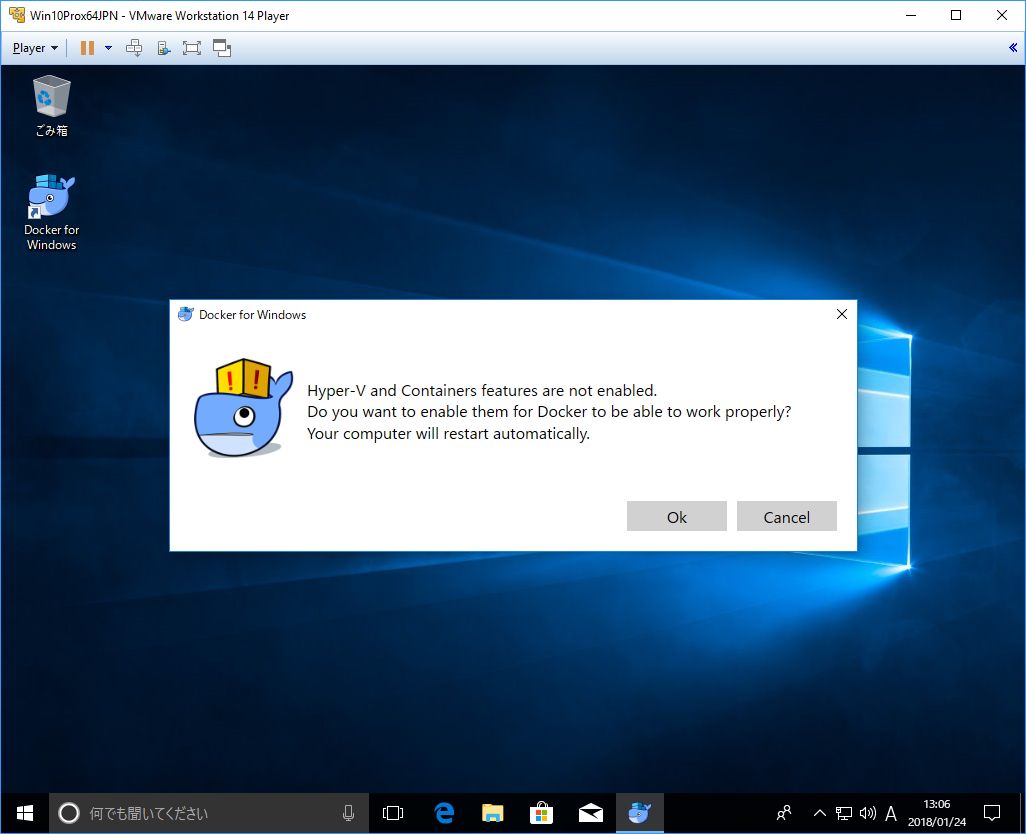
    image.png
    => 自動で再起動される

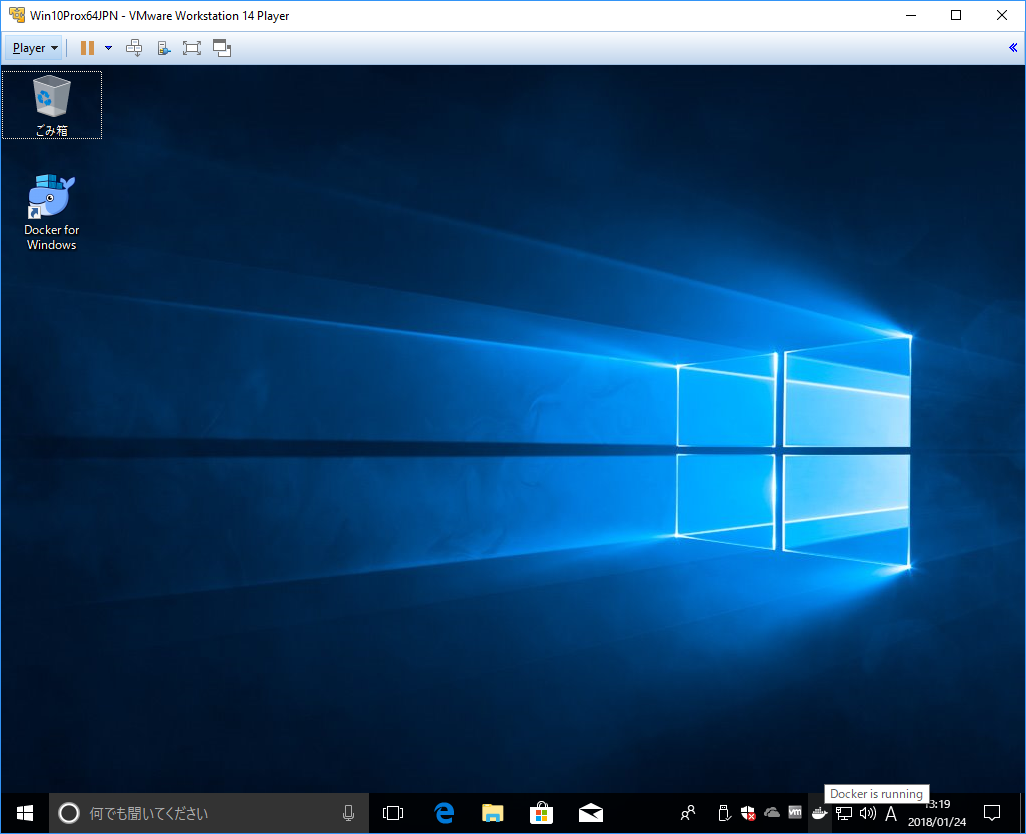
  6. ログオン後、Docker is running になる
    image.png

  7. PowerShellをひらいて、Hello World => docker run -it --rm hello-world
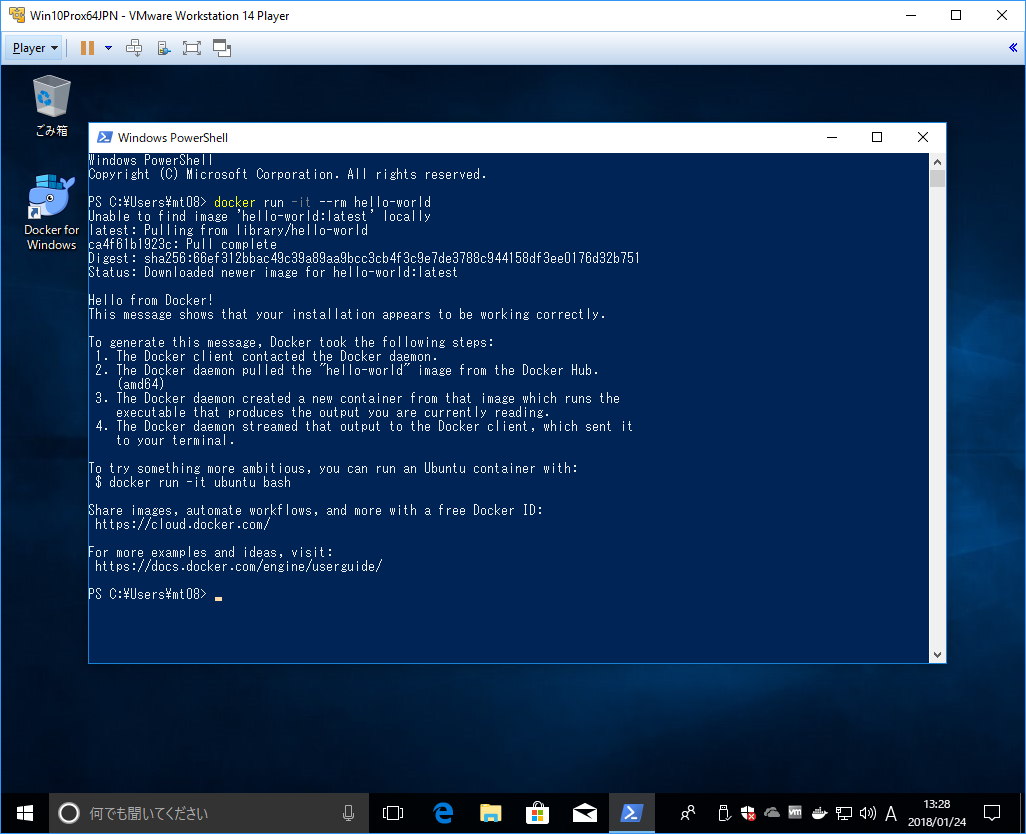
    image.png

ubuntu:16.04コンテナの実行

  • docker run -it --rm ubuntu:1604
    image.png

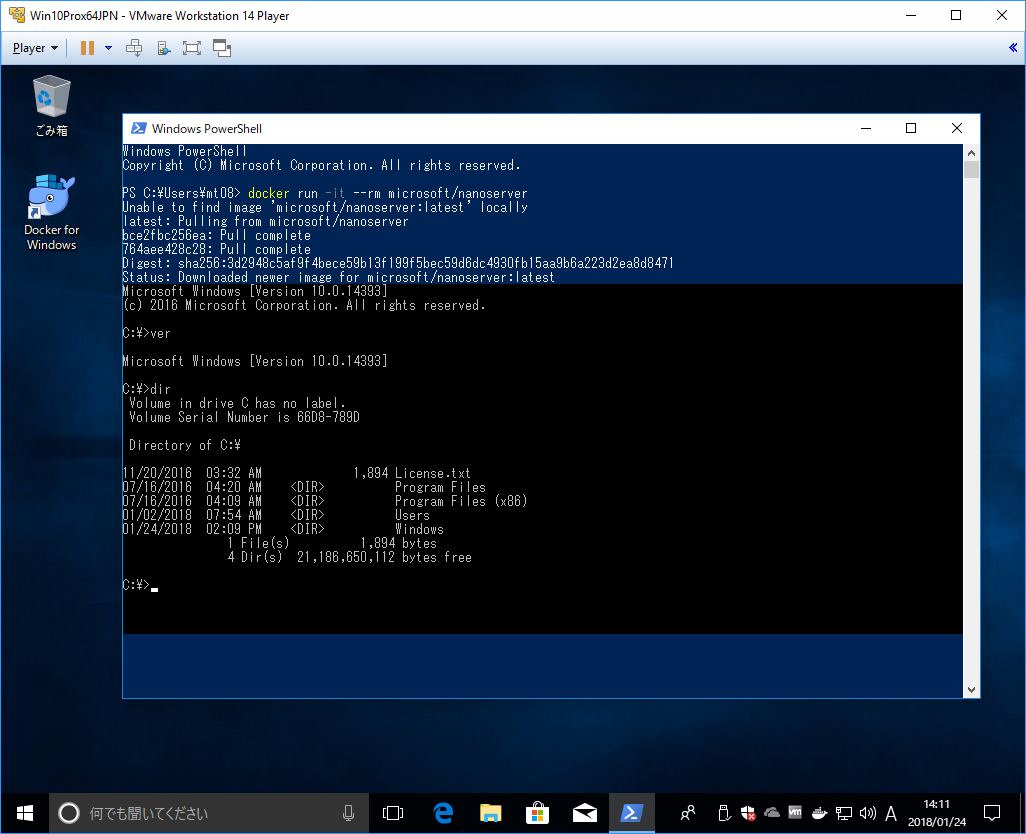
microsoft/nanoserver コンテナの実行

  1. 通知領域のクジラアイコンを右クリックして、Switch to Windows containers...

  2. PowerShellをひらいて、

    • docker run -it --rm microsoft/nanoserver

    image.png
     

  3. Windowsコンテナモードのときに、Linuxコンテナを使用しようとすると、、、エラー。逆もまた然り。
    image.png

1
2
0

Register as a new user and use Qiita more conveniently

  1. You get articles that match your needs
  2. You can efficiently read back useful information
  3. You can use dark theme
What you can do with signing up
1
2

Delete article

Deleted articles cannot be recovered.

Draft of this article would be also deleted.

Are you sure you want to delete this article?