ラズパイ向けのDockerのイメージを作成した。
TL;DR
-
ラズパイにて実行
#1. Dockerインストール curl -sSL get.docker.com | sh ### 17.11.0ってなんかおかしくない? 17.10.0にダウングレード. sudo apt install docker-ce=17.10.0~ce-0~raspbian #2. ワークフォルダ作成 mkdir -p ~/notebooks cd ~/notebooks #3. WebCamがある人のオプション OPT_VIDEO="" ; [ -e /dev/video0 ] && OPT_VIDEO='--privileged -v /dev/video0:/dev/video0' #4. Docker開始. # 'password' はお好みで # -d で、デーモン。-itにすると、ターミナルに表示される。(Dockerのキホンらしい) sudo docker run -d --rm -p 8888:8888 -p 6006:6006 -e PASSWORD='password' -v $(pwd):/notebooks ${OPT_VIDEO} mt08/rpi-tensorflow -
ブラウザ開いて、
http://raspberrypi.local:8888/または、http://<らずぱいのIP>:8888/にアクセス。 -
おかしくなったら、Kernel => Restart
-
(2017-12-1追記) [メモ] ラズパイ起動時に自動起動させる
- 名前付きコンテナを作成しておいて、systemd で、そいつを起動させる
こぴぺ# 名前を付けて、コンテナ作成 DOCKER_CONTAINER_NAME=rpi-jupyter-tensorflow sudo docker create --name ${DOCKER_CONTAINER_NAME} -p 8888:8888 -p 6006:6006 -e PASSWORD='password' -v /home/pi/notebooks:/notebooks mt08/rpi-tensorflow # systemdに登録 # /lib/systemd/system/${DOCKER_CONTAINER_NAME}.service 作成 sudo sh -c "cat <<EOF > /lib/systemd/system/${DOCKER_CONTAINER_NAME}.service [Unit] Description=Jupyter container Requires=docker.service After=docker.service [Service] Restart=always ExecStart=/usr/bin/docker start -a ${DOCKER_CONTAINER_NAME} ExecStop=/usr/bin/docker stop ${DOCKER_CONTAINER_NAME} [Install] WantedBy=multi-user.target EOF" # sudo systemctl daemon-reload sudo systemctl enable ${DOCKER_CONTAINER_NAME} sudo systemctl restart ${DOCKER_CONTAINER_NAME}
環境
-
Raspberry Pi 3 model B
-
Raspbian:
2017-09-07-raspbian-stretch-lite -
Webcam: Buffalo BSW32K01H (いつの時代のだ??)
-
Dockerイメージ
-
ベース:
resin/rpi-raspbian:stretch -
aptパケージにて導入
-
python3 3.5.3-1
python3-dev 3.5.3-1
python3-pip 9.0.1-2+rpt1
python3-setuptools 33.1.1-1
python3-wheel 0.29.0-2
python3-numpy 1:1.12.1-3
python3-scipy 0.18.1-2
python3-pandas 0.19.2-5.1+rpi1
python3-matplotlib 2.0.0+dfsg1-2
    - OpenCV 3.3.1 ([自前でビルドしたやつ](https://qiita.com/mt08/items/e8e8e728cf106ac83218))
    - TensorFlow 1.4.0 (ab0fcaceda001825654424bf18e8a8e0f8d39df2) <br>Nightly build:  http://ci.tensorflow.org/view/Nightly/job/nightly-pi-python3/51/ の[tensorflow-1.4.0-cp34-none-any.whl](http://ci.tensorflow.org/view/Nightly/job/nightly-pi-python3/51/artifact/output-artifacts/tensorflow-1.4.0-cp34-none-any.whl)を使用。
    Python 3.5と3.4でバージョンがマッチしないという警告がでる。(たぶん、だいじょぶ...)

        ```py
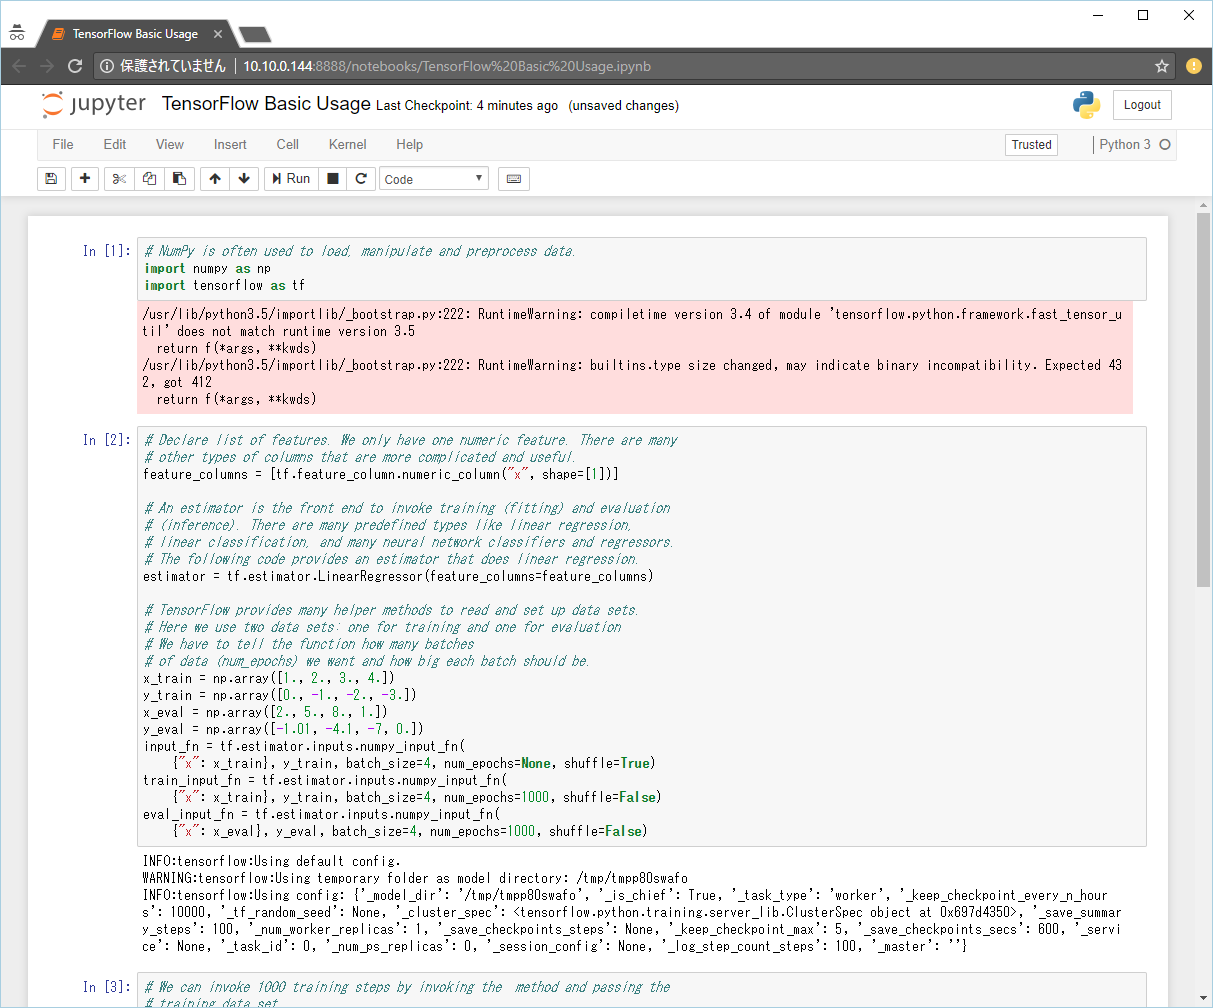
/usr/lib/python3.5/importlib/_bootstrap.py:222: RuntimeWarning: compiletime version 3.4 of module 'tensorflow.python.framework.fast_tensor_util' does not match runtime version 3.5
  return f(*args, **kwds)
/usr/lib/python3.5/importlib/_bootstrap.py:222: RuntimeWarning: builtins.type size changed, may indicate binary incompatibility. Expected 432, got 412
  return f(*args, **kwds)
実行例
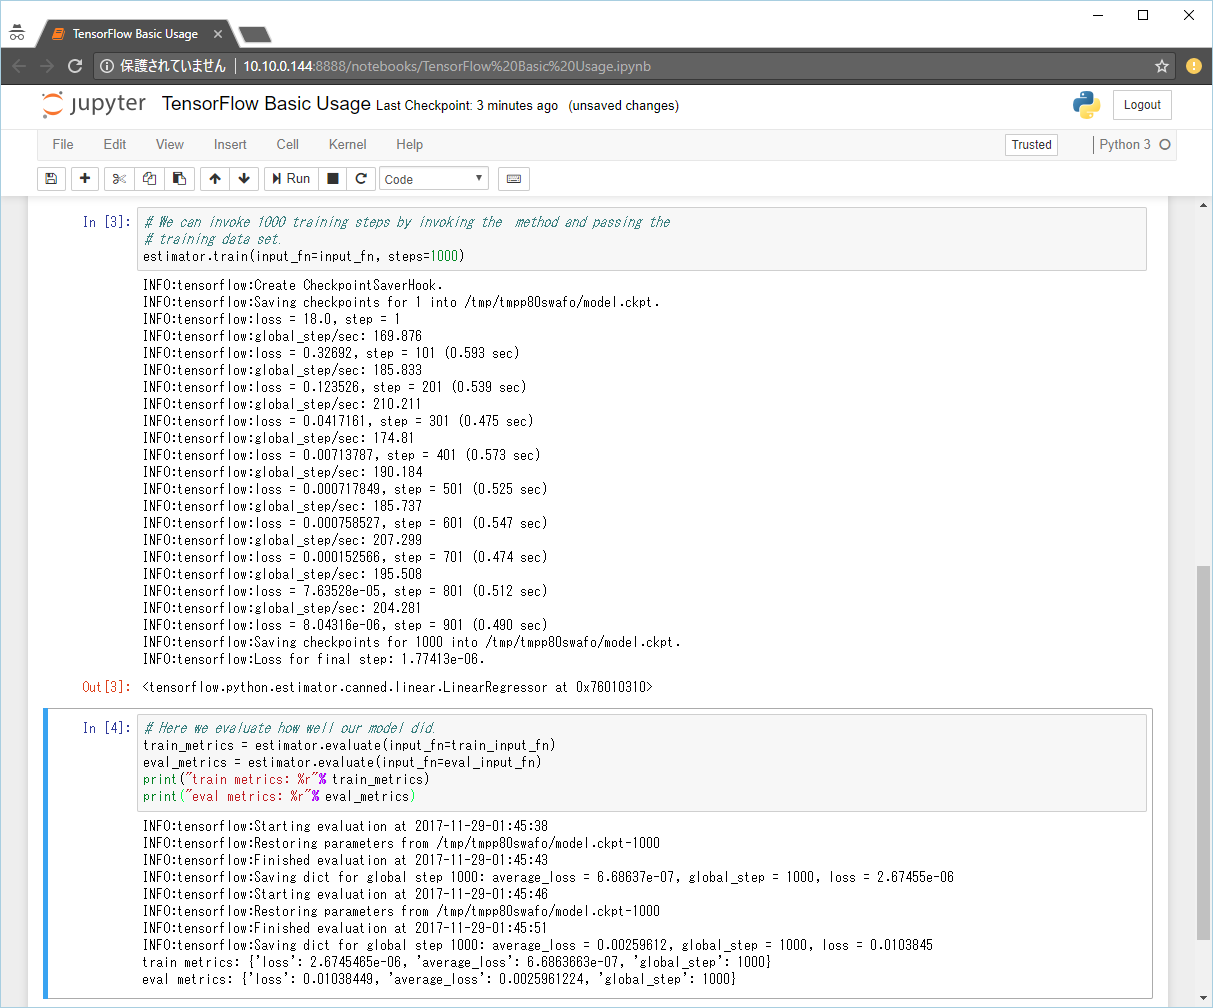
TensorFlow
-
Getting Started With TensorFlowのBasic usageから

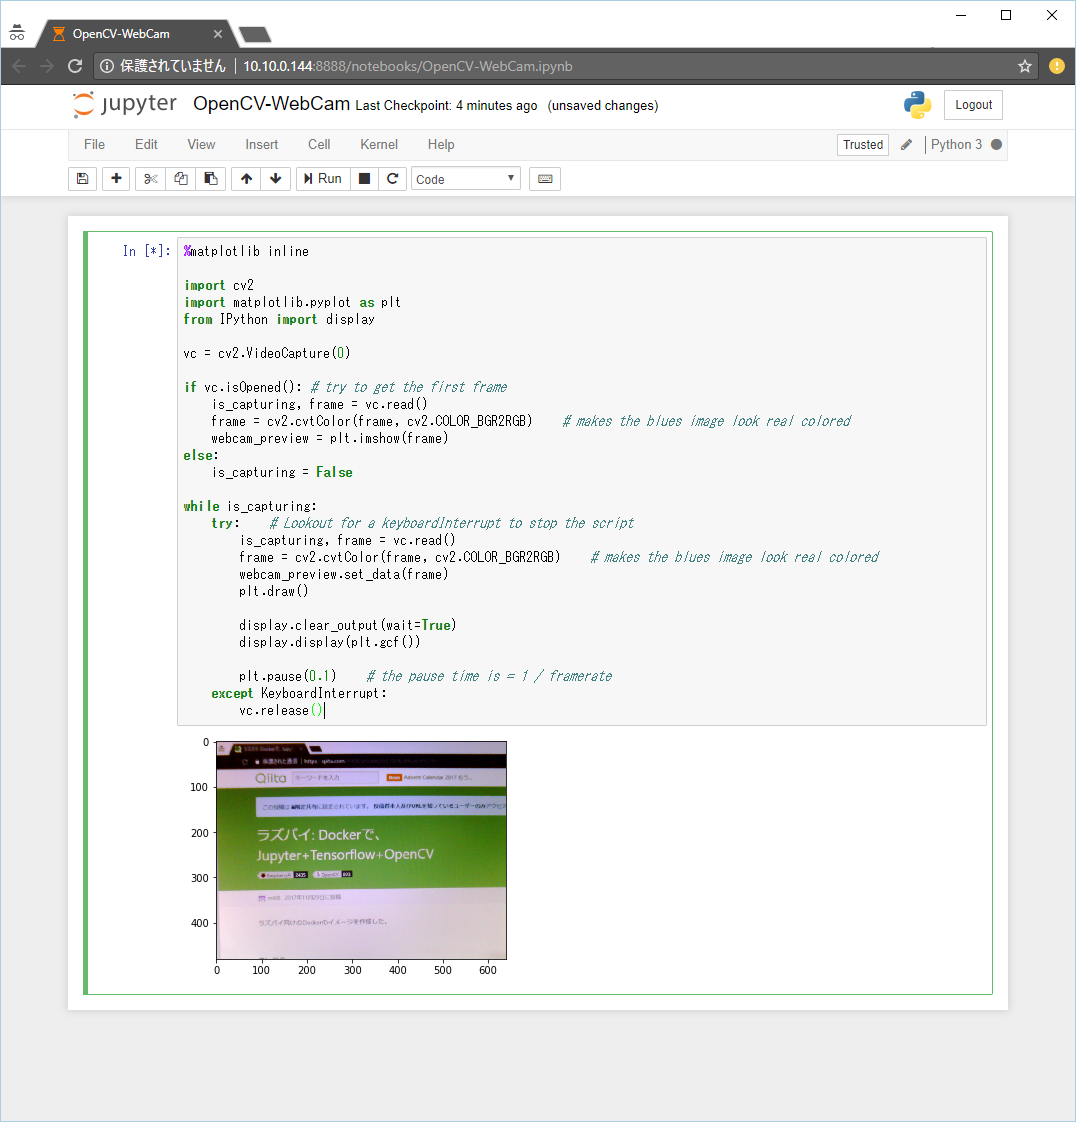
OpenCV
-
WebCam(
/dev/video0)
Webcam based image processing in iPython notebooksから、コードを拝借。

%matplotlib inline

import cv2
import matplotlib.pyplot as plt
from IPython import display

vc = cv2.VideoCapture(0)

if vc.isOpened(): # try to get the first frame
	is_capturing, frame = vc.read()
	frame = cv2.cvtColor(frame, cv2.COLOR_BGR2RGB)    # makes the blues image look real colored
	webcam_preview = plt.imshow(frame)
else:
	is_capturing = False

while is_capturing:
	try:    # Lookout for a keyboardInterrupt to stop the script
		is_capturing, frame = vc.read()
		frame = cv2.cvtColor(frame, cv2.COLOR_BGR2RGB)    # makes the blues image look real colored
		webcam_preview.set_data(frame)
		plt.draw()

		display.clear_output(wait=True)
		display.display(plt.gcf())

		plt.pause(0.1)    # the pause time is = 1 / framerate
	except KeyboardInterrupt:
		vc.release()
その他
- WebCamの反応速度、フレームレートは上げらるのだろうか.
-
tensorboard --log=/path/to/dirだと、エラーが出る。python3 /usr/local/lib/python3.5/dist-packages/tensorboard/main.py --logdir=/path/to/dirとやるといける。
関連: #14855
