はじめに
オンプレミスで動いているシステム向けで負荷の影響から、パフォーマンスが劣化している可能性があることがわかりましたので、まずは測定しよう!ということで、監視ツールの「Prometheus」を導入しました!
Zabbixとどちらを入れようか悩んだのですが、シンプルそうという理由からPrometheusにしました。
Zabbix使ってるよーとか、他なにか使っている人あれば教えてください・・・
Prometheusとは
Prometheus(プロメテウス)は、サーバーのCPUやRAM、トラフィックを始めとした各リソースの監視を行うアプリケーションです。Go言語により実装されていることで、バイナリファイル1つで動作する上に、DBの用意も不要、簡単な可視化ツールもついてます。
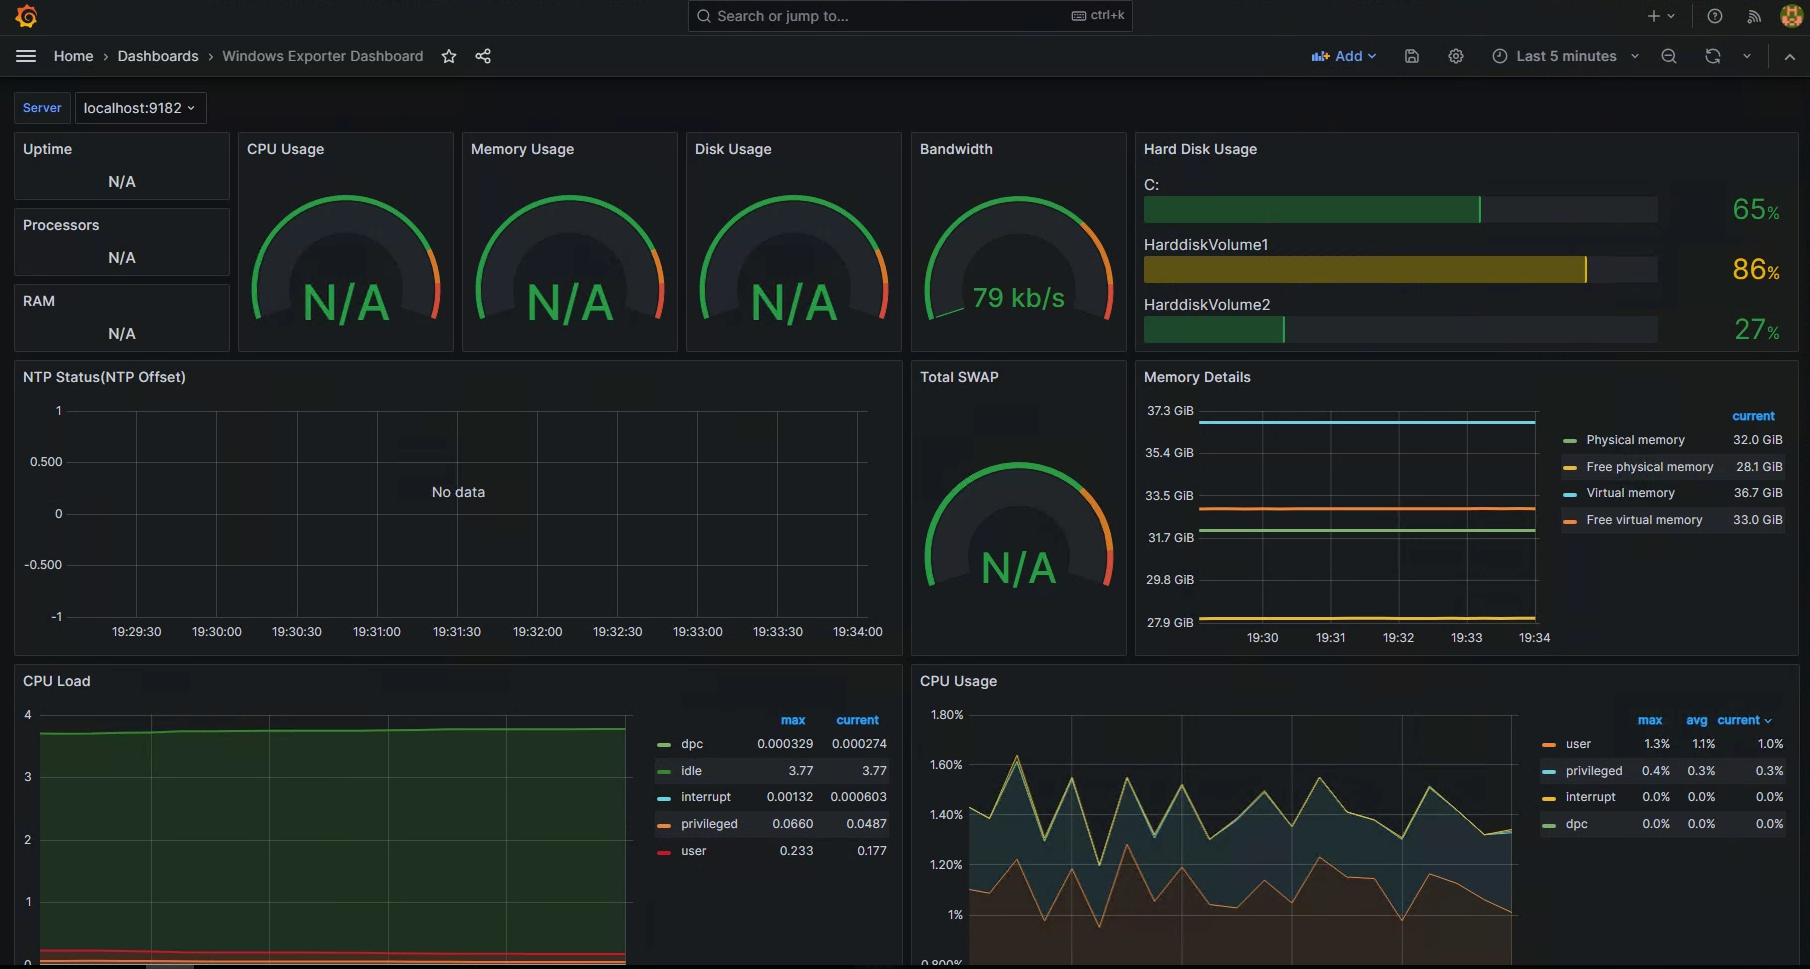
また、Grafanaとの連携も簡単にできるので、オシャレな可視化も可能です。
Prometheusは以下の要素に分かれます。
・Exporter: メトリックスを収集し、サーバーに連携します。
・Prometheus: 監視を行うサーバーとなり、各Exporterからデータを収集し、保存します。
・AlertManager:収集したメトリックスを元に、メールの送信などルールを作成し、通知を実行します。
構成
- OS: Windows Server 2019
導入手順
1. Prometheusのインストール
-
Prometheusの公式ページから、対象OS向けの実行ファイルをダウンロードします。
今回はWindowsServerなので、下記を選択します。- Operating System:「windows」
- Architecture:「amd64」
公式ページ
Prometheus - Monitoring system & time series database
-
とりあえず起動してみる。
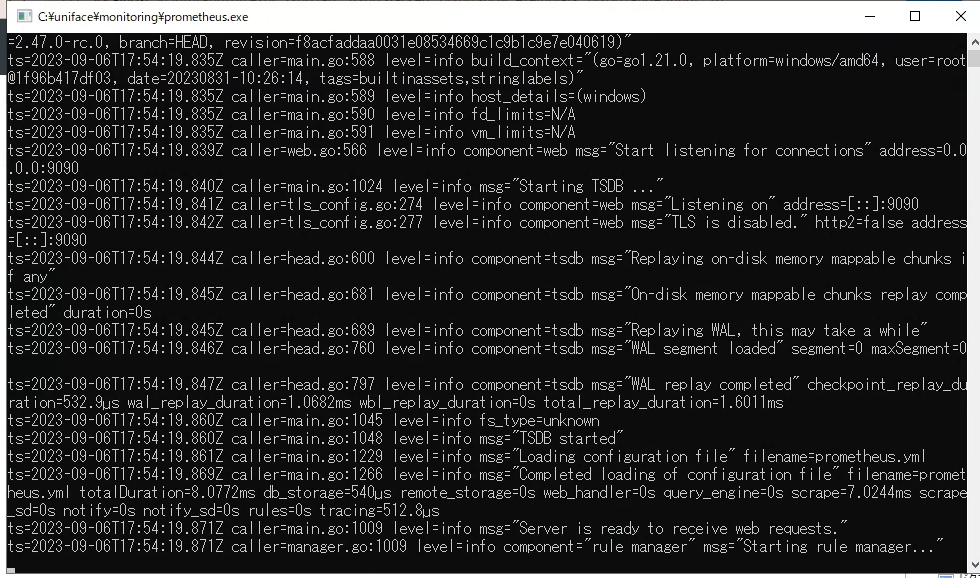
ダウンロードしたファイルを展開した中に、prometheus.exeがあるので、実行します。
Server is ready to receive web requestsというメッセージが表示されたら、起動完了です。

-
アクセスしてみる。
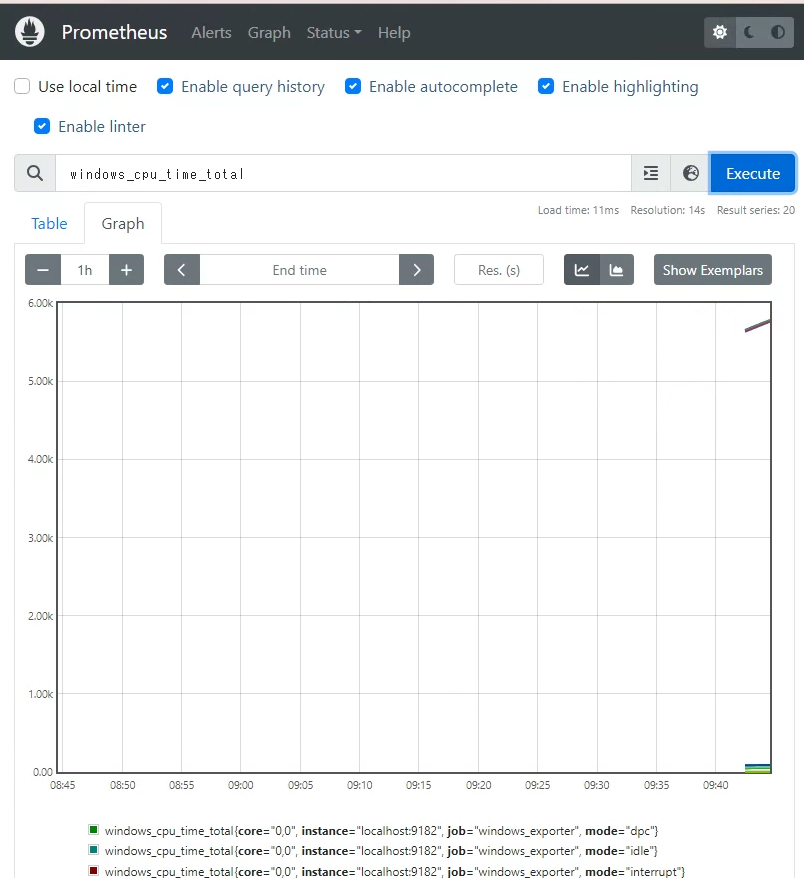
ブラウザで、http://localhost:9090にアクセスすると、Prometheusの画面が表示されます。

2. Exporterのインストール
今回は、WindowsServerのメトリックスを収集したいので、windows_exporterを利用します。
-
Githubから実行ファイルをダウンロードします。
https://github.com/prometheus-community/windows_exporter/releases -
ダウンロードした実行ファイルを起動し、インストールします。
-
収集対象に追加する。
-
でダウンロードし、展開したファイルの中にあるprometheus.ymlに収集対象として追加します。
scrape_configs:
  # The job name is added as a label `job=<job_name>` to any timeseries scraped from this config.
  - job_name: "prometheus"

    # metrics_path defaults to '/metrics'
    # scheme defaults to 'http'.

    static_configs:
      - targets: ["localhost:9090"]

  - job_name: "windows_exporter"
    static_configs:
      - targets: ['localhost:9182']
Tips
データの保持する期間を設定する
prometheus.exeのオプションに-storage.tsdb.retention.timeを指定することで、保持する期間を指定できます。(デフォルトは、15日)
利用可能なフォーマットは、y、w、d、h、m、s、msです。
さいごに
Grafanaと連携すると、カッコイイ画面となるのですが、この説明はいつかやります。
Windowsに付属しているパフォーマンスモニタでも構わないのですが、なんかUI的に見る気がしないんですよね・・・
アプリケーションがちゃんと動いているか監視することは大事なので、ぜひぜひ試してみてください!

参考文献
-
Prometheus(公式)
https://prometheus.io/ -
Prometheus+Grafanaを自分のWindows PCだけで15分で体感する
Prometheus+Grafanaを自分のWindows PCだけで15分で体感する - Qiita -
Prometheusのストレージのドキュメントをさらっと読んでみて、retentionの設定もしてみる
Prometheusのストレージのドキュメントをさらっと読んでみて、retentionの設定もしてみる - CLOVER🍀 (hatenablog.com)
