TouchDesignerとArduinoを連携させて、息を吹きかけると揺れる炎を作ってみました。
炎をつくる
まず、TouchDesignerでこのような炎の作り方を説明していきます。

1. 動きをつくる
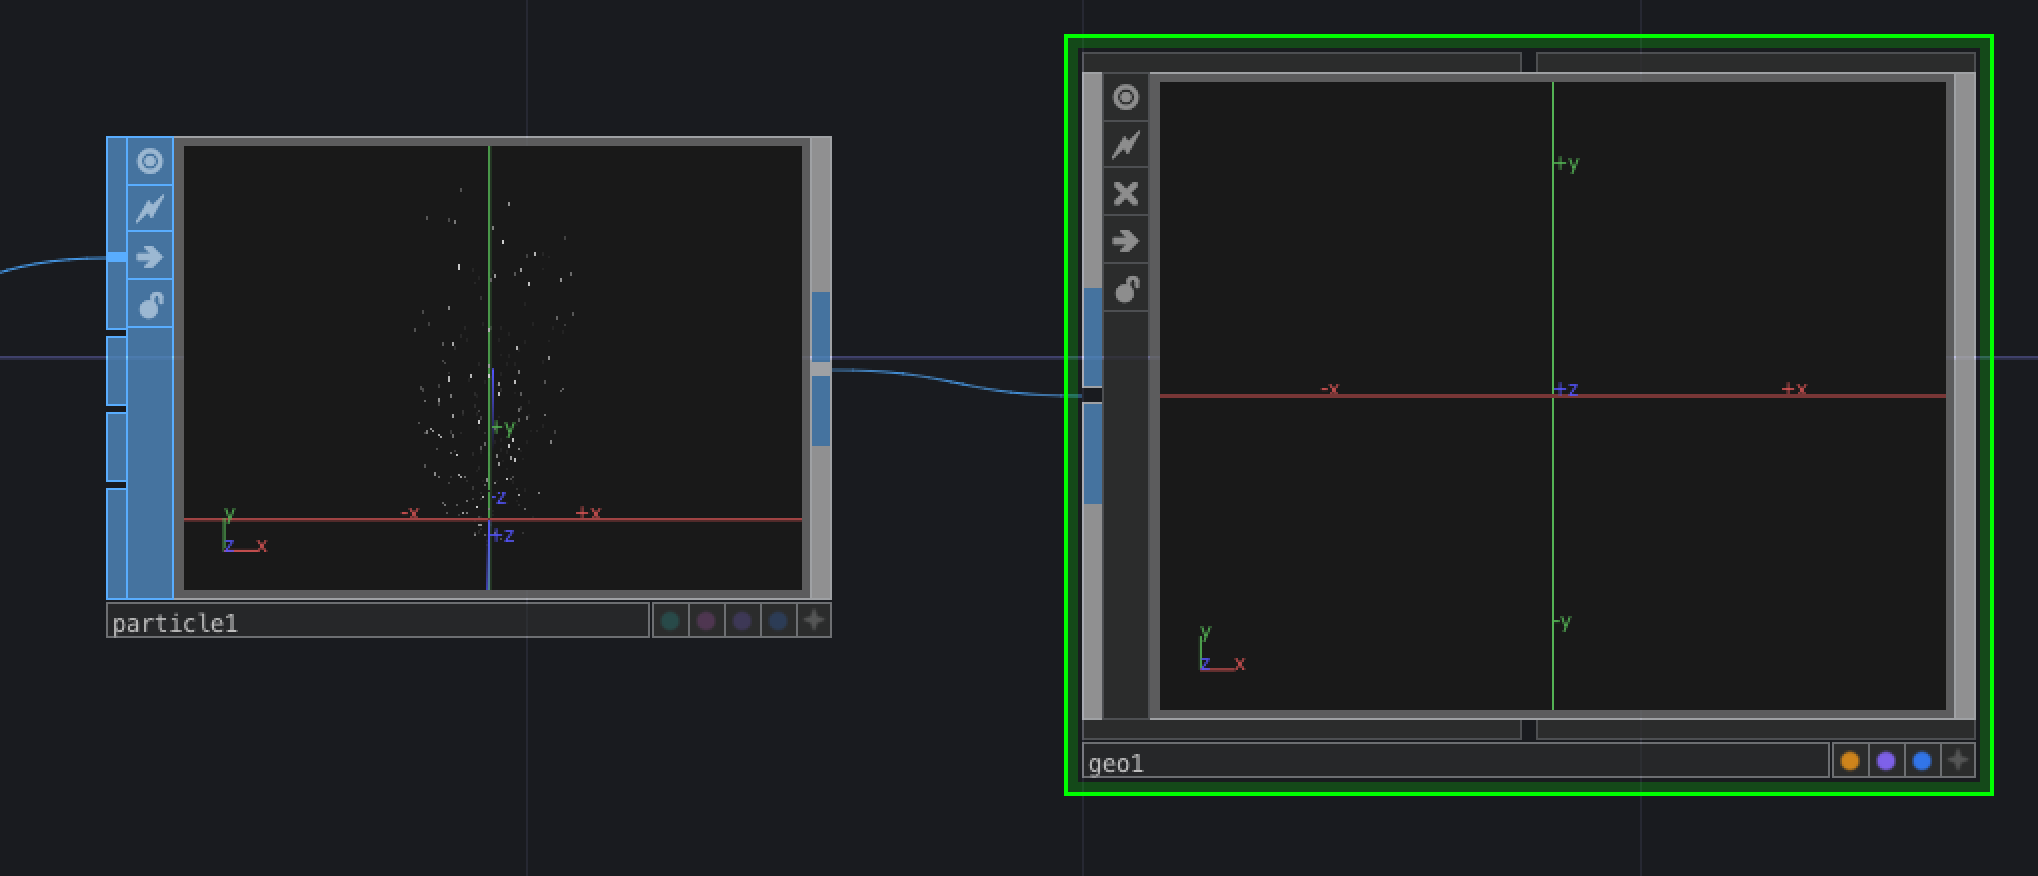
Particle SOPを使って、炎の動きをつくっていきます。
まず、以下のようにノードを組みます。
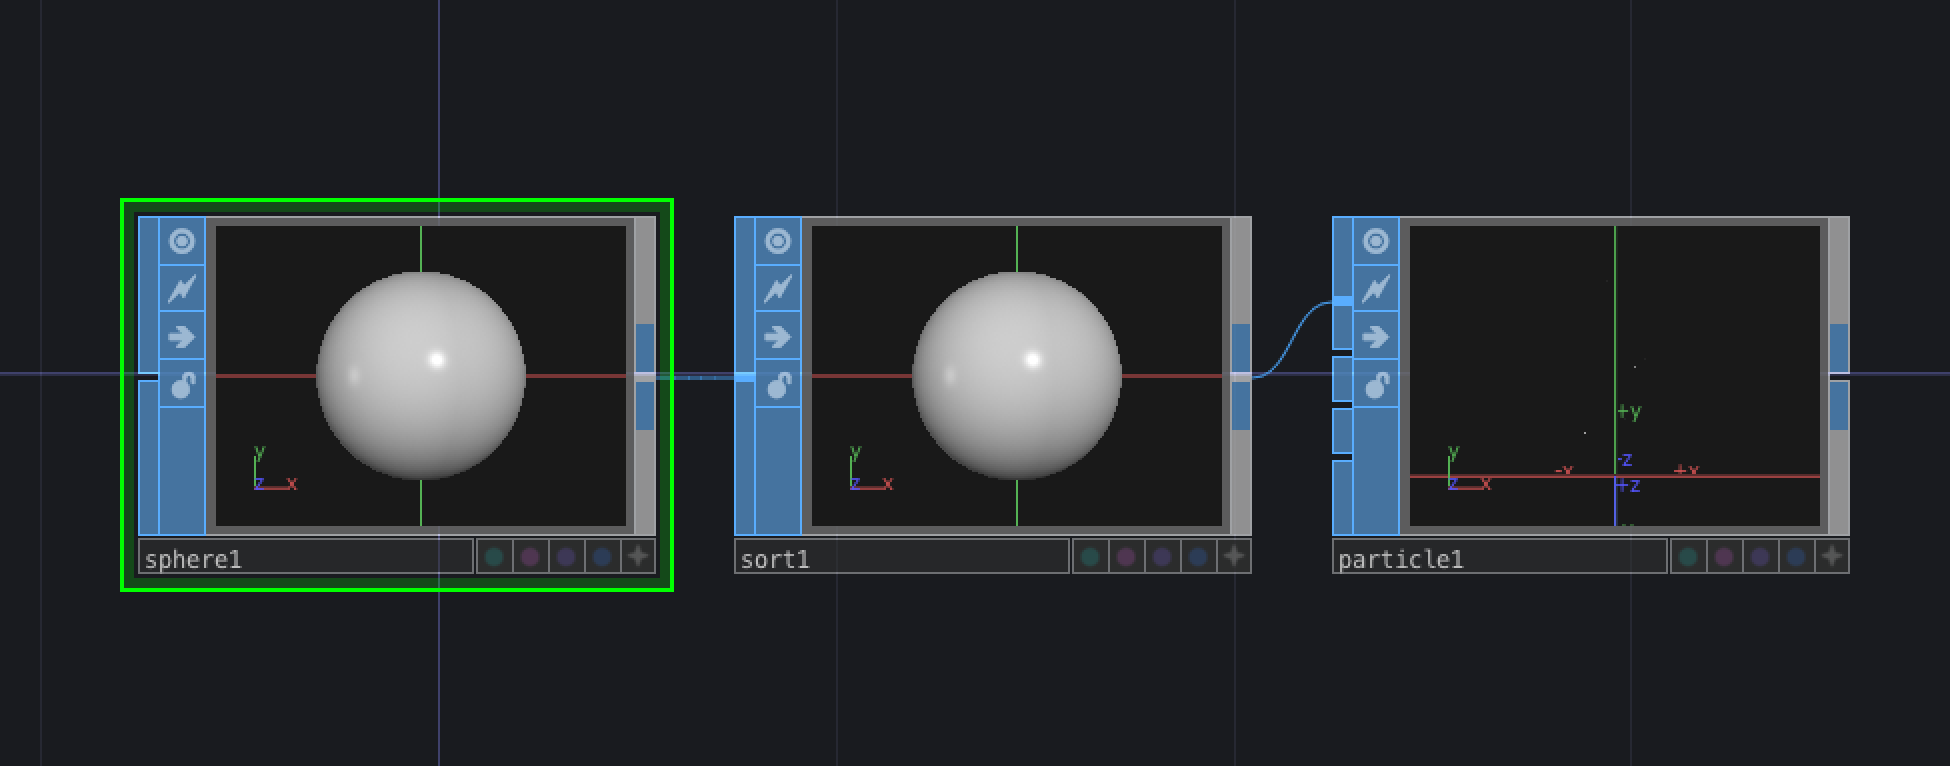
各オペレータのパラメータは以下のように設定します。
- ▶︎sphere1
- Radius(xyz):0.1
- ▶︎sort1
- Point Sort:Random
- ▶︎particle1
- Stateページ > Particle Type:Render as Point Sprites
- Forcesページ > External Force(y):1.5
- Particlesページ > Birth:80
Sort SOPでRandomを選択することで、sphereの頂点番号をランダムに変えることができます。
したがって、particleの発生源がランダムになり自然な発生になります。
2. 質感をつける
Ramp TOPとPoint Sprite MATを使って、質感をつけていきます。
まず、ramp1を以下のように設定します。
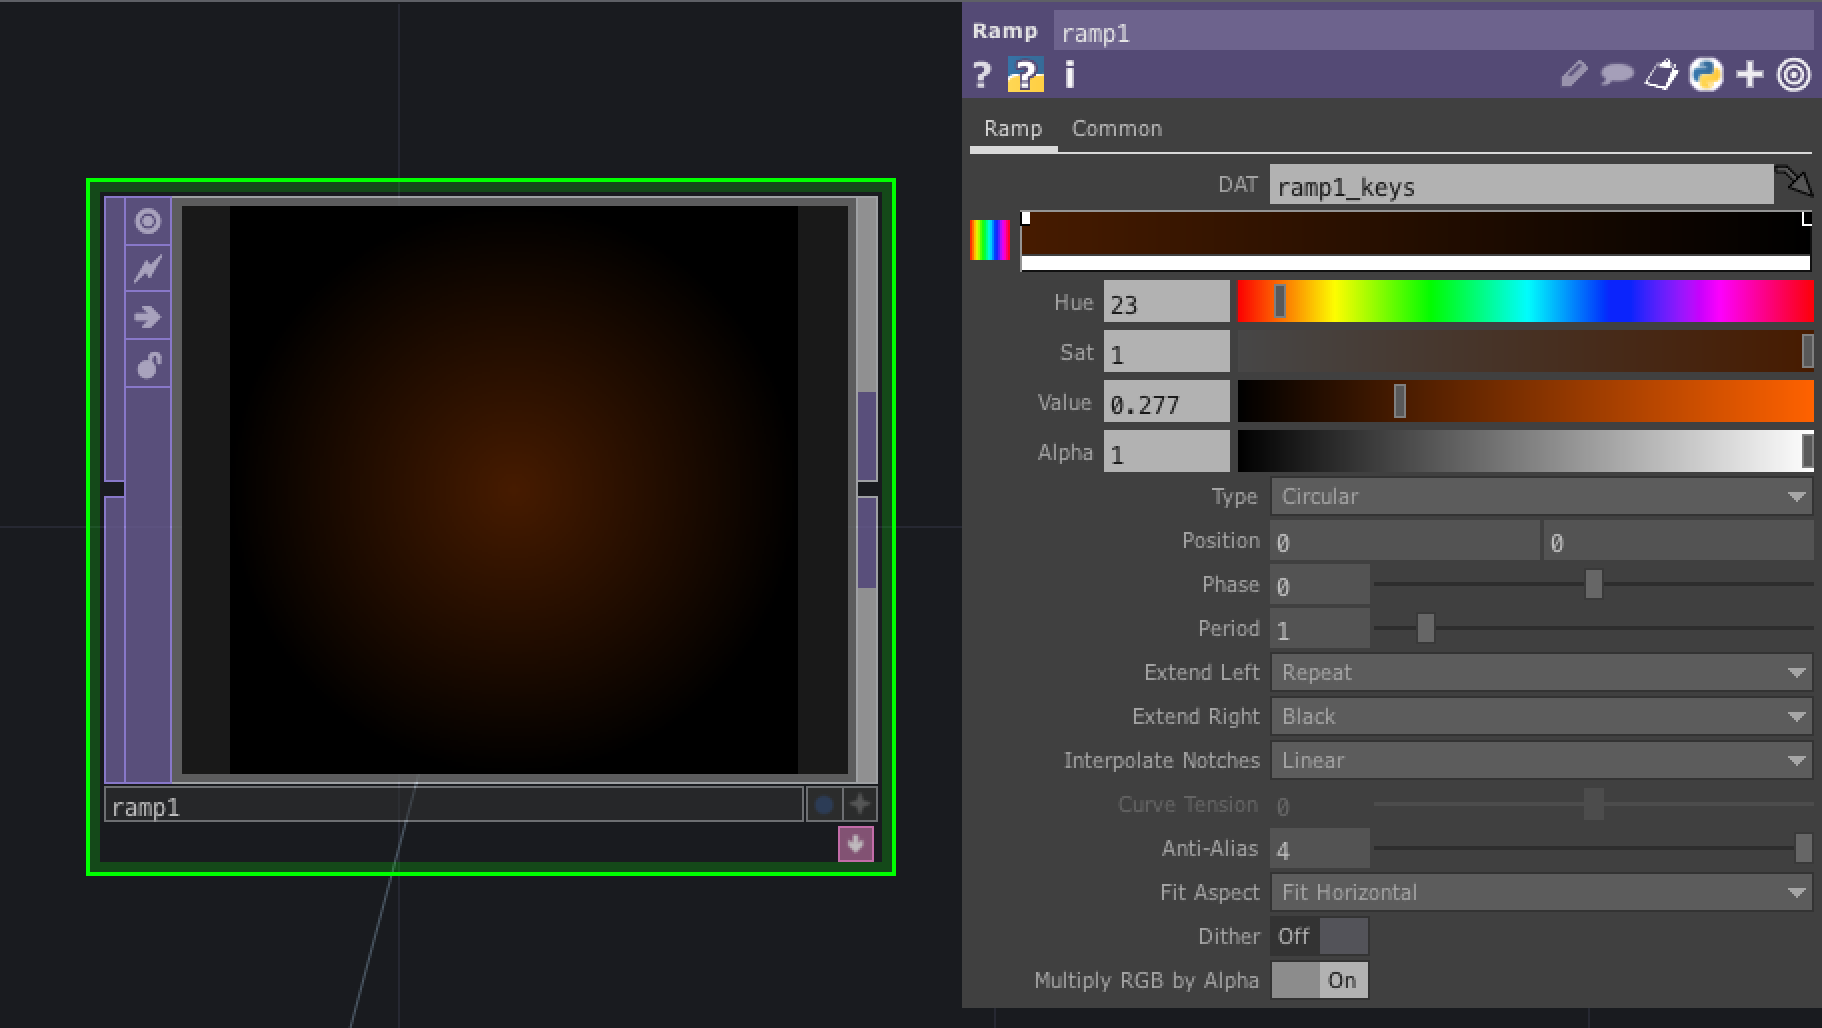
- ▶︎ramp1
- Type:Circular
- Extend Right:Black
- Hue, Sat, Valueは上の画像を参考にしてください
次に、Point Sprite MATを追加します。
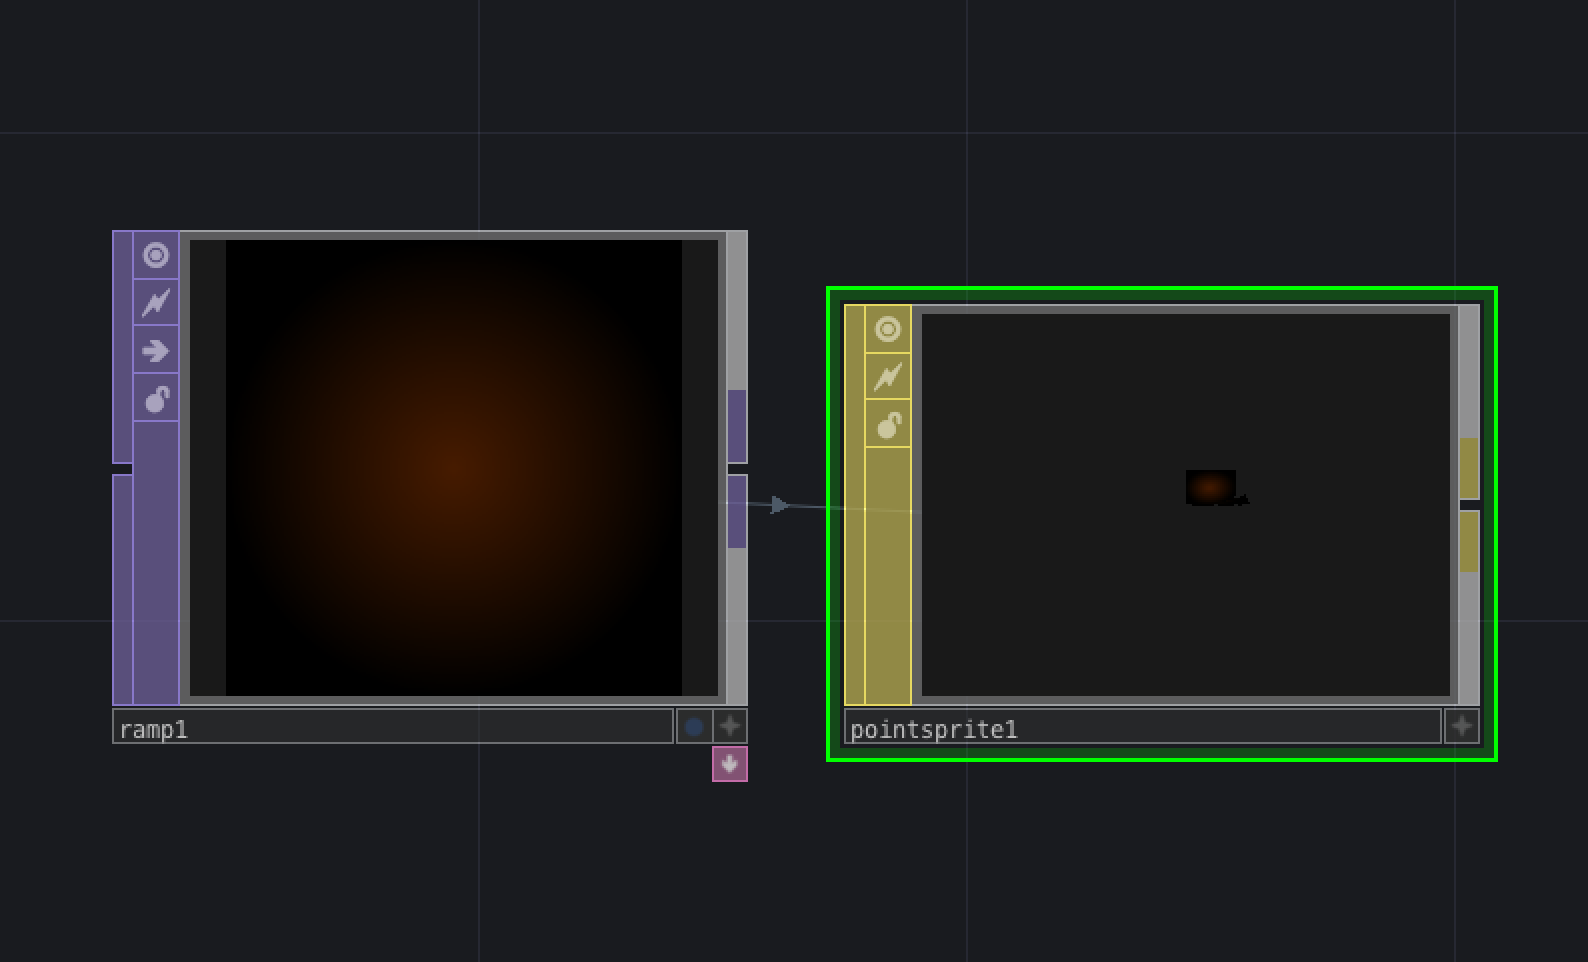
- ▶︎pointsprite1 (Point Spriteページは適当に設定してください)
- Point Spriteページ > Color Map:ramp1
- Point Spriteページ > Attenuate Point Scale:1
- Point Spriteページ > Attenuate Near Distance:0
- Point Spriteページ > Attenuate Far Distance:0
- Point Spriteページ > Near Point Scale:1
- Point Spriteページ > Far Point Scale:95
- Commonページ > Blending:On
- Commonページ > Source Color:One
- Commonページ > Destination Color:One
- Commonページ > Write Depth Values:Off
そして、Geometry COMPを追加します。
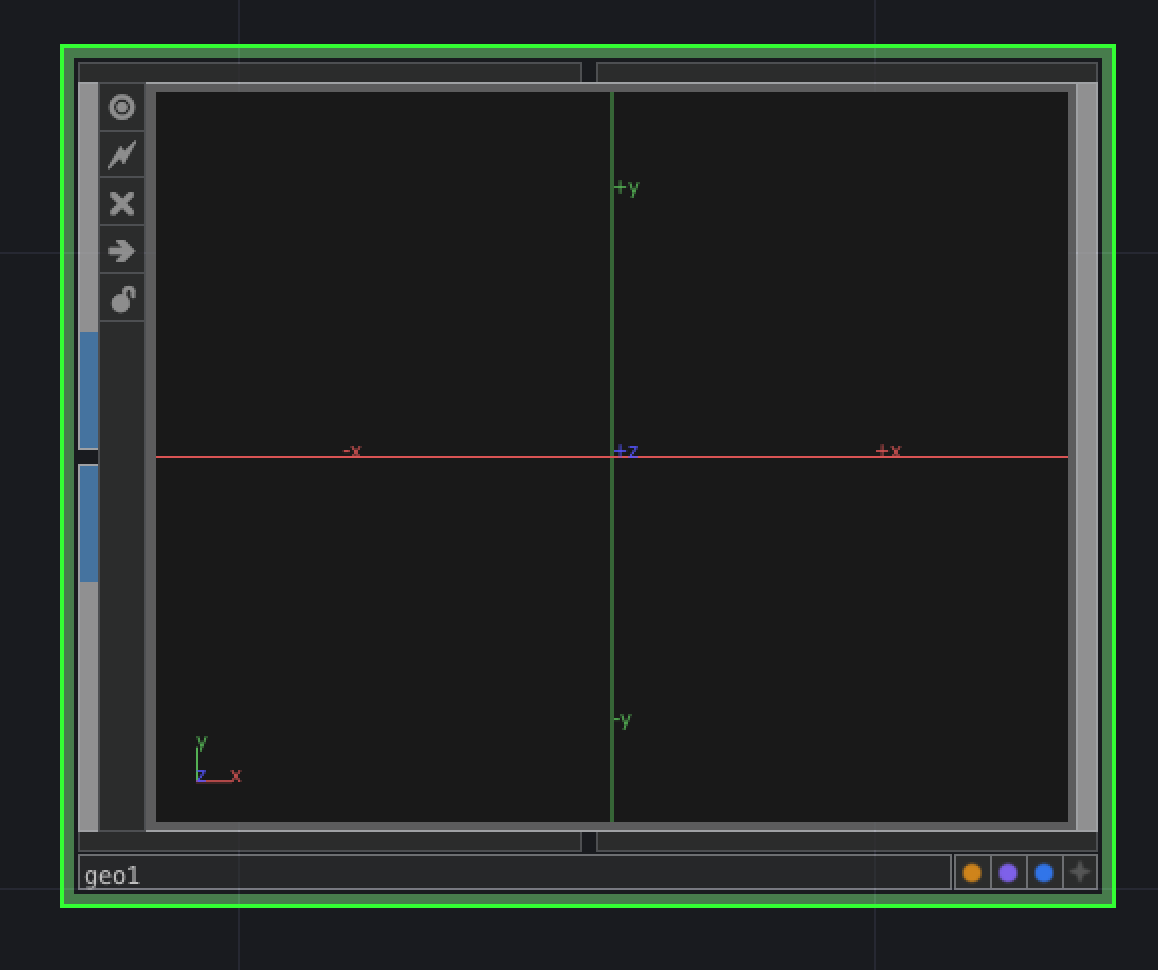
中身はデフォルトで入っているものを消して、以下のようにIn SOPだけにします。
ここで、右下のRenderボタン(紫)がonになっていないとレンダリングされないので注意してください。

先ほどのparticle1にGeometry COMPをつなげます。
pointsprite1をgeo1にドラッグ&ドロップすると以下のような画面が出てくるので、Materialを選択します。

3. レンダリングする
Camera COMP, Light COMP, Render TOPを並べます。
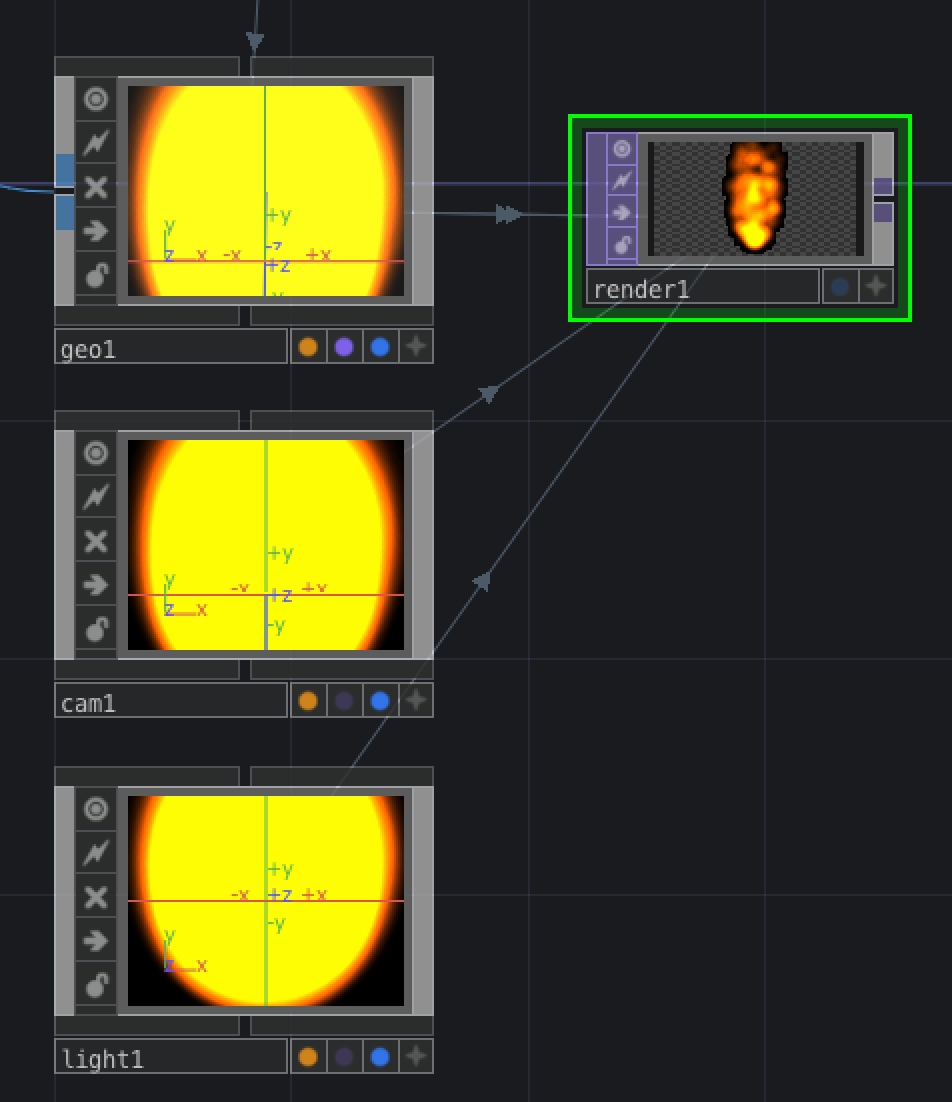
- ▶︎camera1
- Translate(y):1.5
- Translate(z):10
4. ノイズをのせる
Displace TOP, Noise TOP, Blur TOPを使って、炎にノイズをのせていきます。
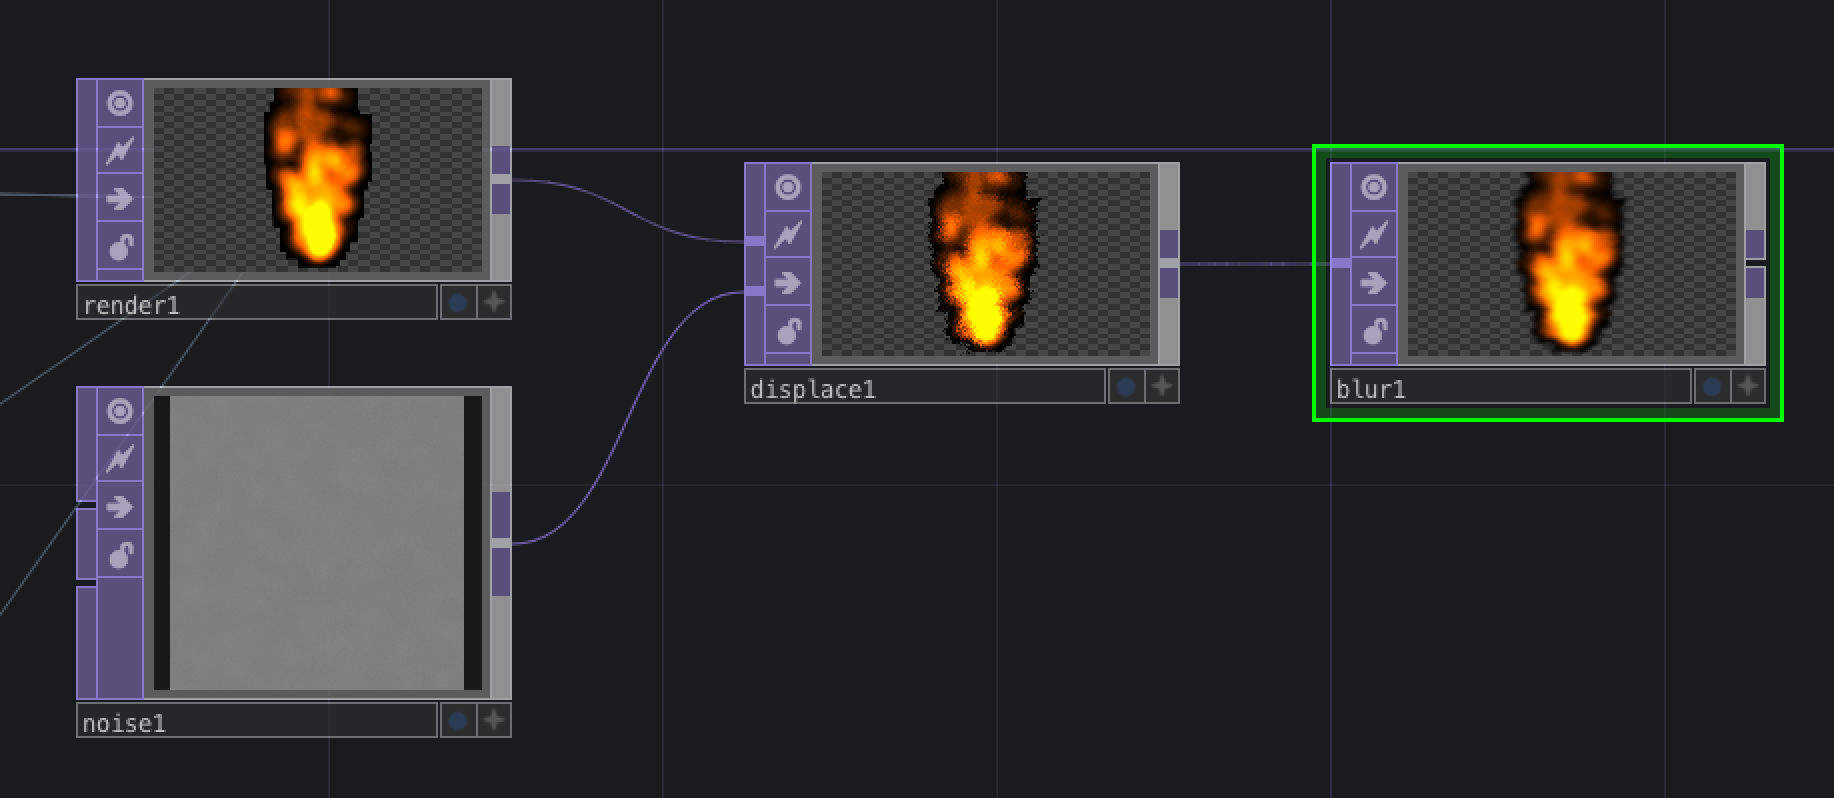
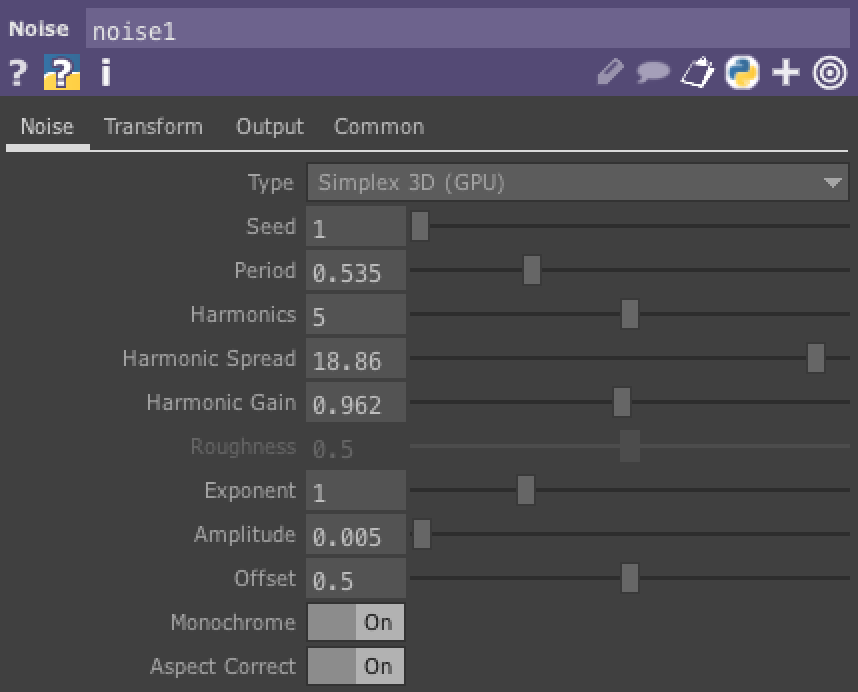
noise1のパラメータを変えることで炎の形状がかなり変わるので、色々試してみてください。
例として、ここでは以下のように設定しています。
また、blur1は以下のようにパラメータを設定しています。
- ▶︎blur1
- Blurページ > Pre-Shrink:3
- Blurページ > Filter Size:15