Gemfileをインストール
Gemfile
group :development, :test do
   # Call 'byebug' anywhere in the code to stop execution and get a debugger console
   gem 'byebug', platforms: [:mri, :mingw, :x64_mingw]
   gem 'rspec-rails', '~> 4.0.0'
 end
bundle install実行
ターミナル
bundle install
RSpecの設定を行う
ターミナル
rails g rspec:install
実行すると、以下のようにディレクトリやファイルが生成されます。
ターミナル
create  .rspec
 create  spec
 create  spec/spec_helper.rb
 create  spec/rails_helper.rb
.rspecに以下を追加
.rspecというファイルをテキストエディタで開き、以下のように記述します。この記述は、テストコードの結果をターミナル上で可視化するための記述です。
.rspec
--require spec_helper
--format documentation
これでRSpecの設定は完了。
テストコードを各ファイルの生成
ターミナル
% rails g rspec:model user
spec/models/user_spec.rb
require 'rails_helper'
 RSpec.describe User, type: :model do
   describe 'ユーザー新規登録' do
     it "nicknameが空だと登録できない" do
     end
     it "emailが空では登録できない" do
     end
   end
 end
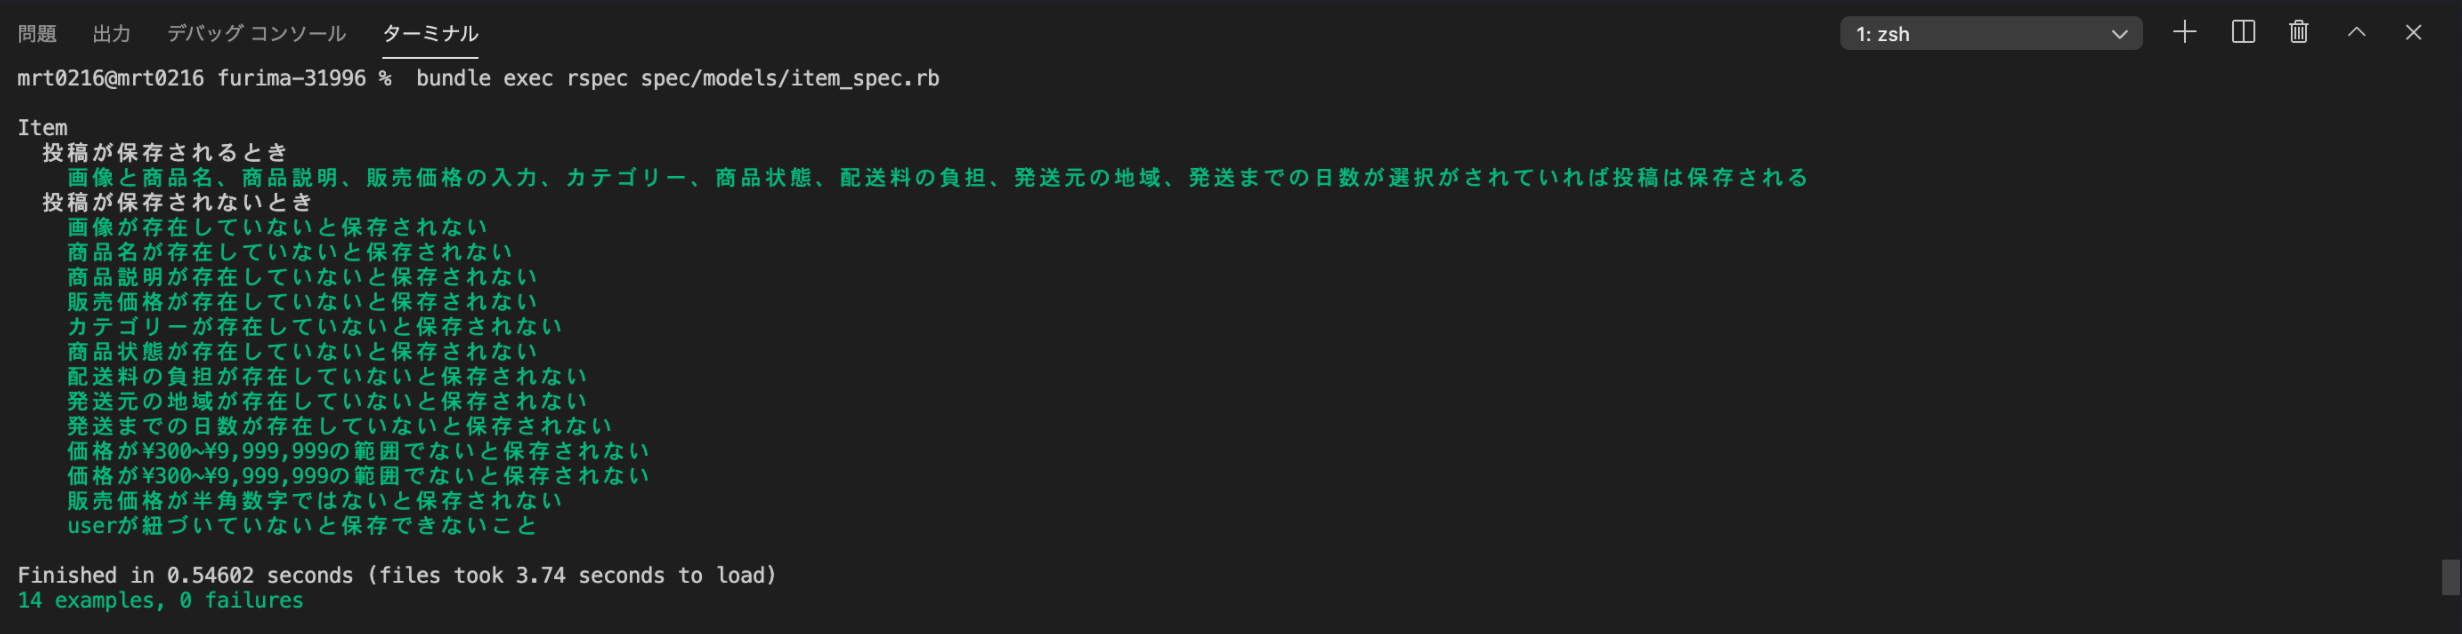
テストコード実行
ターミナル
bundle exec rspec spec/models/hoge_spec.rb
以下のようにテストコードの結果が緑(エディタの設定によって色は異なります。)になっていればテスト終了。