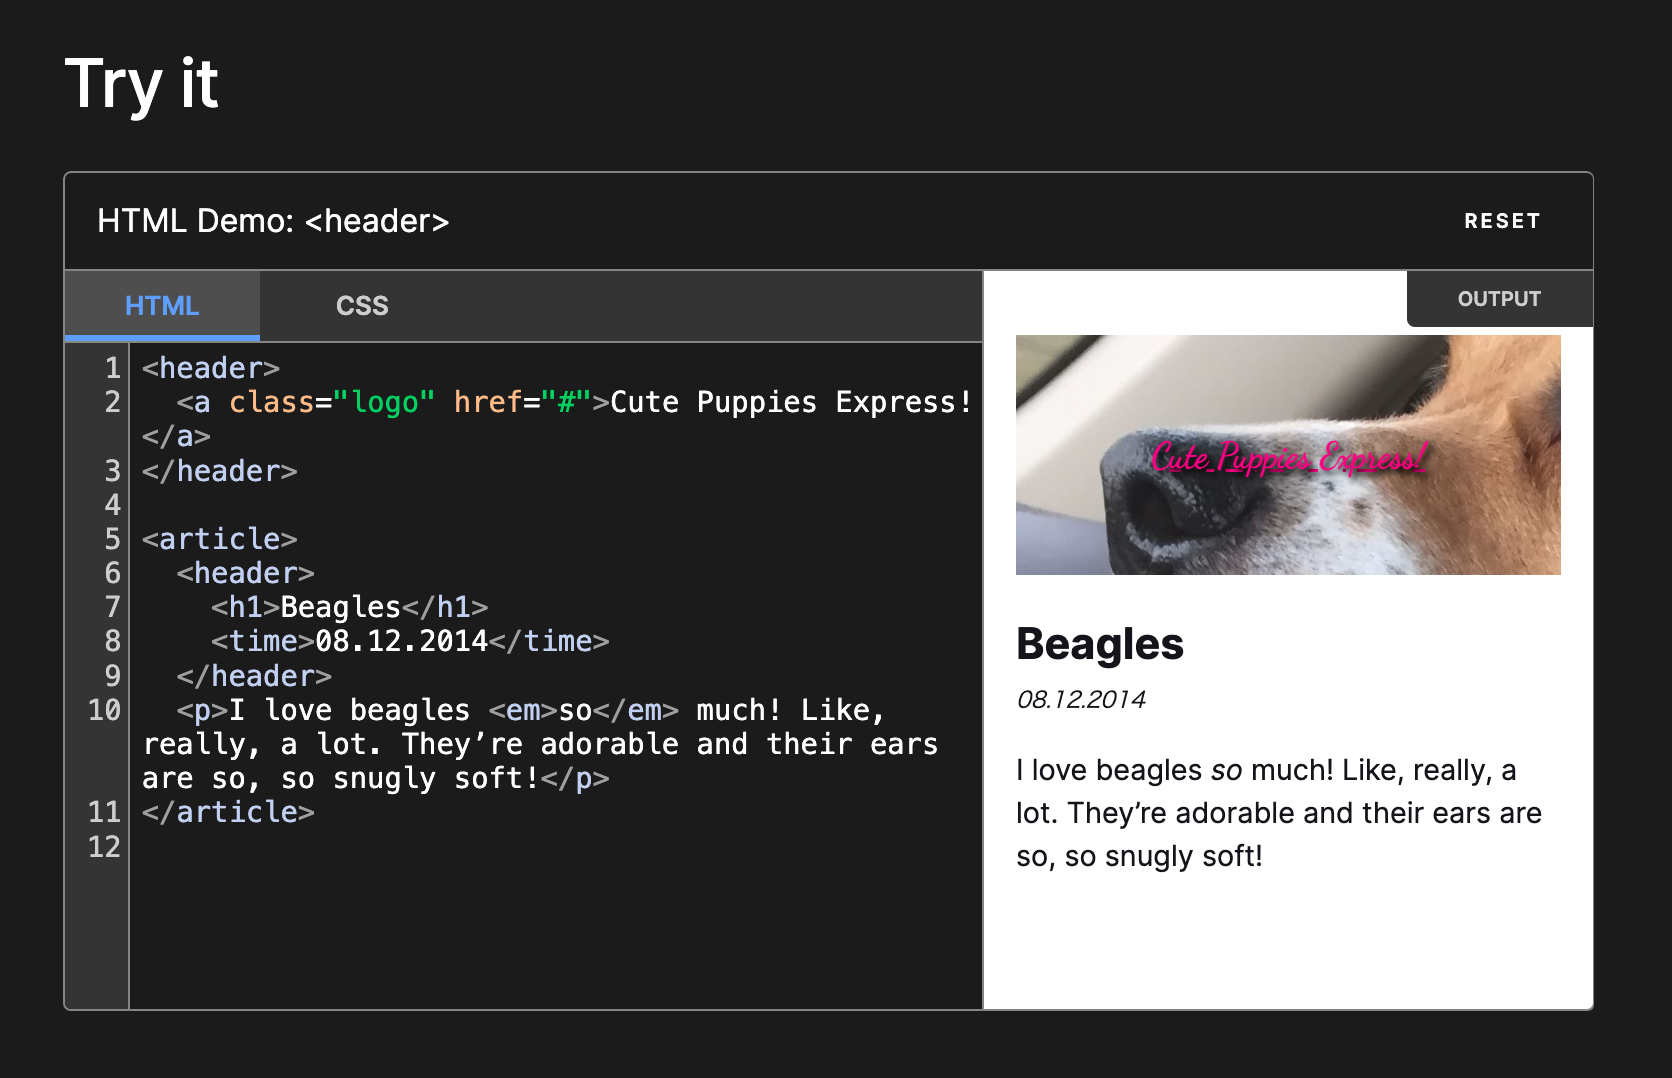
マークダウンファイルでコンテンツ管理する静的サイトを作る時、コードブロックとは別にHTMLプレビューを埋め込みたい時があるかと思います。
MDNの記事冒頭によくあるプレビューのようなイメージです。
CodePenなどのサービスを使う手もありますが記事との二重管理になってしまうため、できるだけそれは避けたいです。
そこで今回はこのプレビュー機能をAstroで実現すべく、remarkプラグインを実装してみます。
```html preview
<div>...</div>

<style>...</style>
<script>...</script>
目指すものとして、上記のように言語をhtml、コードブロックにpreviewというメタデータを付与した際にプレビューとして描画させるようにします。
1. unist-util-visitをインストール
npm i unist-util-visit
unistのユーティリティモジュールunist-util-visitをインストールします。
import {fromMarkdown} from 'mdast-util-from-markdown'
import {visit} from 'unist-util-visit'

const tree = fromMarkdown('Some *emphasis*, **strong**, and `code`.')

visit(tree, 'text', function (node, index, parent) {
  console.log([node.value, parent ? parent.type : index])
})
上記は公式READMEの例ですが、提供されるvisitを呼び出すことでhastをwalkすることができます。
2. コードブロック → <iframe>に変換
import type { Root } from 'mdast';
import { visit } from 'unist-util-visit';

export default function remarkHtmlPreview() {
  return (tree: Root) => {
    visit(tree, 'code', (node) => {
      if (node.lang !== 'html' || node.meta !== 'preview') return;

      node.data = {
        hName: 'iframe',
        hProperties: {
          title: 'HTMLのプレビュー',
          class: '',
          srcdoc: node.value,
        },
      };
    });
  };
}
unist-util-visitのvisitを使うことで対象の要素に絞ってwalkすることができます。
コードブロックかつhtml previewの時にのみ、<iframe>を挿入。srcdocを指定することでコードをそのまま埋め込みます。
import type { Root } from 'mdast';
import { visit } from 'unist-util-visit';

export default function remarkHtmlPreview() {
  return (tree: Root) => {
    visit(tree, 'code', (node) => {
      if (node.lang !== 'html' || node.meta !== 'preview') return;

      node.data = {
        hName: 'iframe',
        hProperties: {
           title: 'HTMLのプレビュー',
           class: '',
           srcdoc: node.value,
+          loading: 'lazy',
+          onload: "this.style.height=this.contentWindow.document.body.scrollHeight+16+'px'",
        },
      };
    });
  };
}
適宜プロパティを追加します。今回は遅延読み込みとコンテンツに応じた高さの調整を加えています。
3. Astroの設定ファイルに追記
import { defineConfig } from 'astro/config';
import remarkHtmlPreview from './remark-html-preview.ts';

export default defineConfig({
+  markdown: {
+    remarkPlugins: [remarkHtmlPreview],
+  },
});
実装した関数をmarkdown.remarkPluginsに指定します。
4. スタイリング
<style>
  iframe {
    width: 100%;
    background-color: white;
    box-sizing: border-box;
    border: none;
  }
</style>
<iframe>のデフォルトスタイルを打ち消したり、適宜調整します。これで実装完了です。
```html preview
<div>
  <span></span>
  <span></span>
  <span></span>
</div>

<style>
  div {
    display: flex;
  }

  span {
    width: 80px;
    height: 80px;

    &:nth-of-type(1) {
      background-color: red;
    }

    &:nth-of-type(2) {
      background-color: green;
    }

    &:nth-of-type(3) {
      background-color: blue;
    }
  }
</style>
試しに上記のようにコードブロックを書いてみます。
すると<iframe>が描画され対象のHTMLが埋め込まれました!
これで開発環境上ですぐに確認できるだけでなく管理も楽になりますね。

