melonJS
- JavaScript製のゲームエンジン!
- 2Dゲームの開発に適している!
- HTML5が動作するブラウザでゲームが動く!軽い!
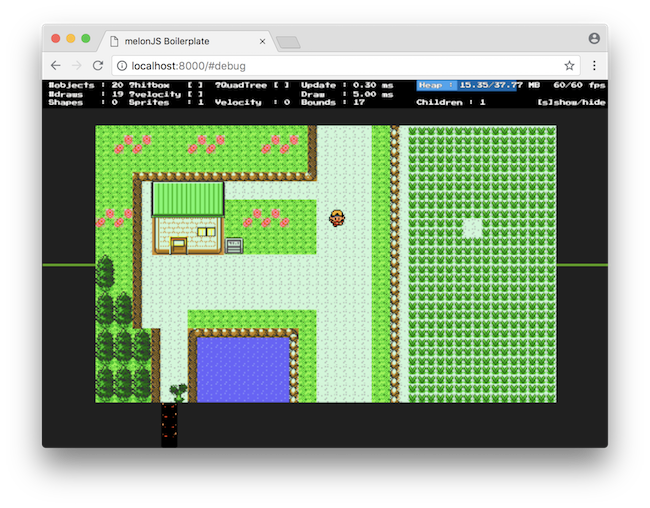
こんなのが作れちゃう!!
筆者の作品
github => mqtsuo02/melonjs-town-sample
公式には色んなサンプルが公開されてるよ => made-with-melonJS
いますぐ始めたい!!
その情熱、メロンにぶつけろ!!
必要なものは2つだけ!
- nodeの開発環境
- Tiled Map Editor(無料)
まずは土台を作るよ〜
だまってコマンドを打て!!
# grunt入ってない人はインストール
npm install -g grunt-cli

# 公式のBoilerplateをclone
git clone https://github.com/melonjs/boilerplate.git
cd boillerplate

# npm install
npm install

# ローカル環境立ち上げ
grunt serve
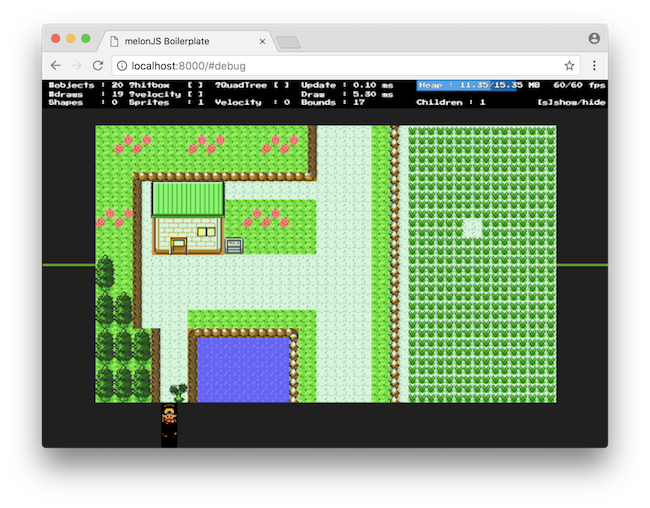
ブラウザからhttp://localhost:8000/にアクセスして黒い画面が見えればOK!!
ちなみにhttp://localhost:8000/#debugとアクセスすればデバッグモードでみれるよ!!
ビルドコマンドその他はmelonjs/boilerplateのREADMEを参照 => melonjs/boilerplate
ちなみにBoilerplateにはデフォルトでElectronが入っているので、コマンド一つでWindows/macOS/Linux向けにデスクトップアプリがビルドできる。すごい。
画面をつくるよ〜
芸術性がとわれる!!(ははは)
使いたい素材をここに入れておく => data/img/(今回はcapsulemonsters/newbarkのassetsを使わせてもらった)
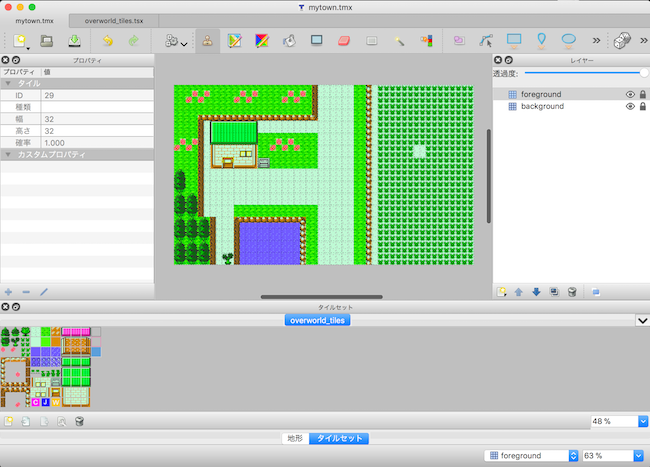
Tiledマップエディタを起動 & 新規マップの作成 => data/map/に保存
1マス:32 x 32、800 x 480になるように設定(好きにやって良い)

タイルセットの読み込み => data/img/に置いたマップ素材を選択

タイルセットを読み込んだら、あとはマップを描くのみ!!(芸術性)
レイヤーを前面と背面分けて作るといい(物が前面、地面/水面が背面)
左側を描いたら力尽きた図
ロジックを書くよ〜
コピペだって立派なプログラミングさ!!
js/game.js => 画面サイズをマップに合わせる / autoscale追加
js/screens/play.js => マップデータの読み込み(data/map/*.tmxのファイル名を設定)
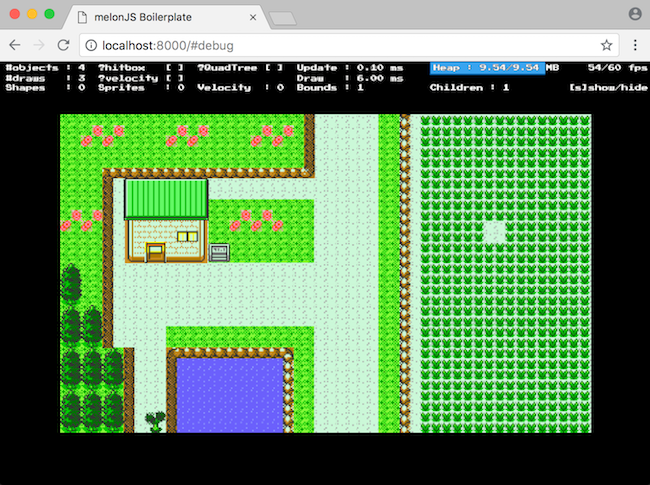
ここまででgrunt serve => ブラウザにマップが表示されていればOK
ここまでやると結構満足感がある
主人公を召喚するよ〜
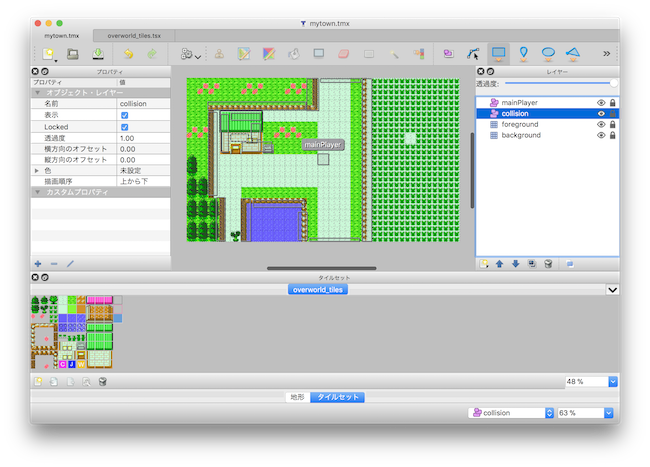
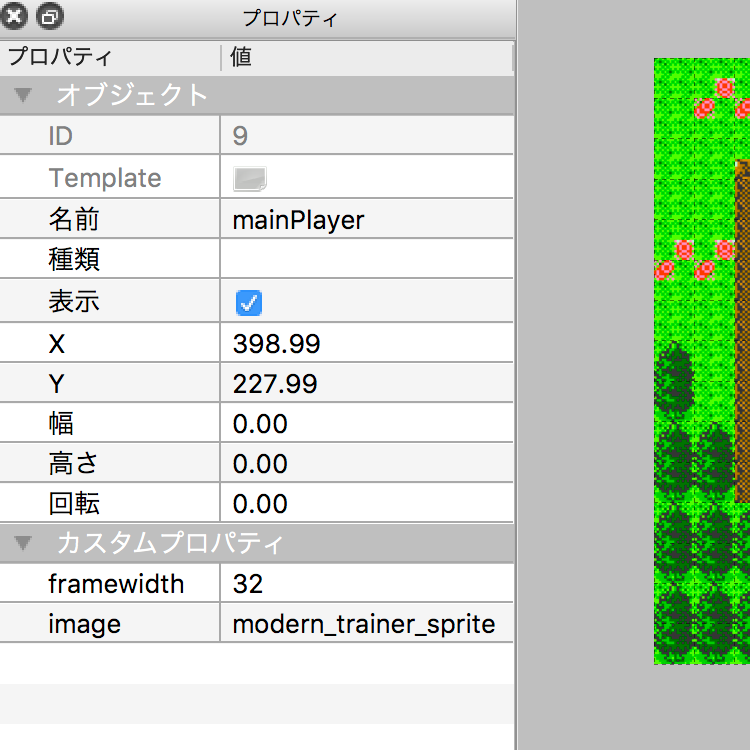
TiledMapEditorでmainPlayerっていうオブジェクトレイヤをつくって、そこに長方形ツールで箱を書く
作った箱オブジェクトにカスタムプロパティを追加する => imageはdata/img/に置いたファイル名を設定する
 |
|---|
js/game.jsにキーボード設定を書く
こんな感じで上下左右
// enable the keyboard
me.input.bindKey(me.input.KEY.LEFT, "left")
me.input.bindKey(me.input.KEY.RIGHT, "right")
me.input.bindKey(me.input.KEY.UP, "up")
me.input.bindKey(me.input.KEY.DOWN, "down")
js/entities/entities.jsに主人公の動作を書く
こんな感じでアニメーションを定義
// define a basic walking animation (using all frames)
this.renderable.addAnimation("leftWalk", [3, 4])
this.renderable.addAnimation("rightWalk", [1, 2])
this.renderable.addAnimation("upWalk", [8, 9, 8, 10])
this.renderable.addAnimation("downWalk", [5, 6, 5, 7])

// define a standing animation (using the first frame)
this.renderable.addAnimation("stand", [5])
this.renderable.addAnimation("standLeft", [3])
this.renderable.addAnimation("standRight", [1])
this.renderable.addAnimation("standUp", [8])
とりあえずif文で動かしてみる
if (me.input.isKeyPressed("left")) {
  // update the entity velocity
  this.body.vel.x -= this.body.accel.x * me.timer.tick

  // change to the walking animation
  if (!this.renderable.isCurrentAnimation("leftWalk")) {
    this.renderable.setCurrentAnimation("leftWalk")
  }
} else if (me.input.isKeyPressed("right")) {
  // update the entity velocity
  this.body.vel.x += this.body.accel.x * me.timer.tick

  // change to the walking animation
  if (!this.renderable.isCurrentAnimation("rightWalk")) {
    this.renderable.setCurrentAnimation("rightWalk")
  }
}
ちゃんと設計して良いものを作ろう!!(白目)
見えない壁をつくる
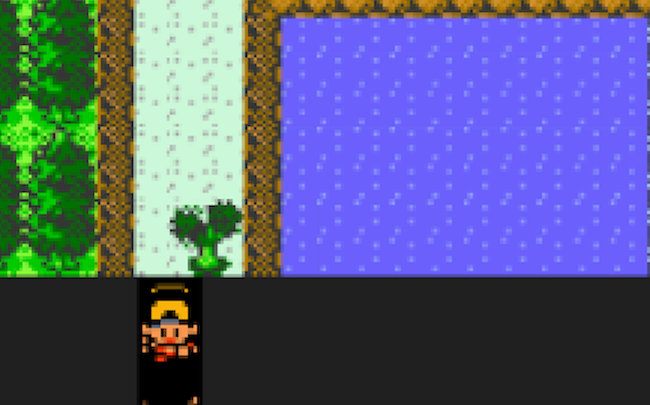
collisionって名付けたオブジェクトレイヤを作って、長方形ツールで壁を書く
それだけでOK!!主人公がちゃんとぶつかるか確認しよう!!
......ん???
 |
|---|
シャバの空気はうめぇ〜!!!!
できたかな?
今回は公式のtutorial-platfomerを参考にして作ったので、分からないところはそっちで解決できるかも
とりあえず筆者が徹夜で作ったものはここ(ひどい作り) => mqtsuo02/melonjs-town-sample
以上、ありがとうございました。

