環境
vCenter:7.0.3.00800
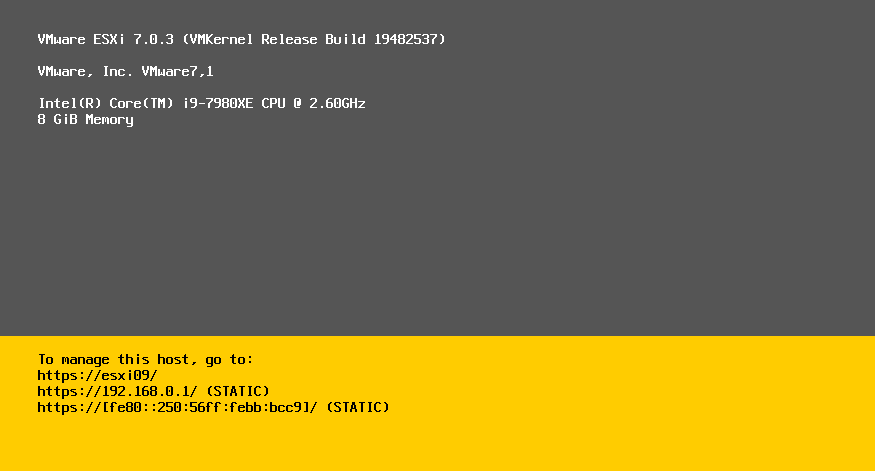
ESXi:7.0.3
TFTP:CentOS7
DHCP:CentOS7
手順
①ホストプロファイル作成
1台手作業でESXiをデプロイし、vCenterに紐づける
ポリシーおよびプロファイル
⇒ホストプロファイル
にて、「ホストプロファイルの抽出」

構築したESXiを選択して実行
作成したホストプロファイルを押下し、構成タブの「ホストプロファイルの編集」

必要な設定をしたら「保存」
※最低でも以下は必要か
1.パスワード設定
セキュリティおよびサービス
⇒セキュリティ設定⇒セキュリティ
⇒ユーザー設定⇒root

2.ステートフルインストール設定
詳細設定⇒システムイメージキャッシュ設定

※ステートフルにしないとディスクにインストールされず、メモリ上で展開されての起動になる
②DHCPサーバー構築
Firewalld / SELINUX無効化
DHCPインストール
yum -y install dhcp
DHCP設定
subnet 192.168.0.0 netmask 255.255.255.0 {
range 192.168.0.150 192.168.0.200;
option domain-name-servers 8.8.8.8;
option routers 192.168.0.254;
default-lease-time 300;
max-lease-time 600;
next-server 192.168.0.251;
filename "snponly64.efi.vmw-hardwired";
}
・autodeploy用セグメント:192.168.0.0/24のうち、DHCP用として150~200を割り当て。
・デプロイの中でstaticIPを割り当てるのでリース時間を短く、IPレンジも少なくしている。
・next-serverにてFTPサーバーのIPを指定
・filenameでは、以下を指定。(参考リンク)
UEFI:snponly64.efi.vmw-hardwired
BIOS:undionly.kpxe.vmw-hardwired
サービスの起動と自動起動設定
systemctl enable dhcpd
systemctl start dhcpd
③TFTPサーバー構築
Firewalld / SELINUX無効化
TFTPインストール
yum -y install xinetd tftp-server
TFTP設定
# default: off
# description: The tftp server serves files using the trivial file transfer \
#       protocol.  The tftp protocol is often used to boot diskless \
#       workstations, download configuration files to network-aware printers, \
#       and to start the installation process for some operating systems.
service tftp
{
        socket_type             = dgram
        protocol                = udp
        wait                    = yes
        user                    = root
        server                  = /usr/sbin/in.tftpd
        server_args             = -s /var/lib/tftpboot
        disable                 = no
        per_source              = 11
        cps                     = 100 2
        flags                   = IPv4
}
※disable=noに変更するだけ
vCenterからTFTPサーバー配置用ファイルをダウンロード
vSphereクライアントにログイン
⇒AutoDeploy⇒設定⇒TFTP ZIPファイルのダウンロード

※この画面がでたら青字の「AUTO DEPLOYおよびIMAGE BUILDERの有効化」をクリック

そして、vCenterが再起動してもサービスが上がるように、VAMI(https://{vCenterIP}:5480)にて以下2つの起動タイプを自動に設定
Auto Deploy / ImageBuilder Service

zipファイルをTFTPサーバーの/var/lib/tftpboot配下にて展開

サービスの起動と自動起動設定
systemctl enable xinetd
systemctl start xinetd
④スクリプトバンドル作成
設定したい内容のスクリプトを作成
#!/bin/ash
esxcli network ip dns server add -s 192.168.0.210
esxcli network ip dns server add -s 8.8.8.8
esxcli system hostname set --fqdn=esxi09.vsphere.local
esxcli network ip interface ipv4 set -i vmk0 -I 192.168.0.1 -N 255.255.255.0 -t static -g 192.168.0.254
vCenterへインポートできるように形式変更
tar -zcvf autodeploy.tgz autodeploy.sh
⑤autodeployルール作成
vSphere clientにログイン
⇒Autodeployを選択
1.イメージプロファイル
ソフトウェアタブのインポートを選択

名前入力、ファイル選択してアップロードを実施
※ファイルはISO形式ではなくzip形式を準備しておく必要がある
アップロードされていることを確認

2.スクリプトバンドル
スクリプトバンドルタブのアップロードを選択
autodeploy.tgzを選択してアップロード
3.ルール作成
デプロイルールタブにて、「新しいデプロイルール」

サーバーベンダーやシリアル名、IPアドレスなど毎のルールを作成したい場合はここでパターン追加

必要なアイテムを選択
後続では、
追加したいクラスター、利用するイメージプロファイル/ホストプロファイル/スクリプトバンドルを選択してOK
「ルールの有効化/無効化」を選択
作成したルールを選択し「↑有効化」を押下して、上欄に移ったことを確認して「OK」
テスト

autodeployが成功して、しっかりとvCenterに登録される