はじめに
Macを使用しRails6の開発環境構築時に行った手順の備考録です。
手順
1.Homebrewのインストール
ソフトウェアのインストールやアンインストールを管理してくれるシステム
https://brew.sh/index_ja
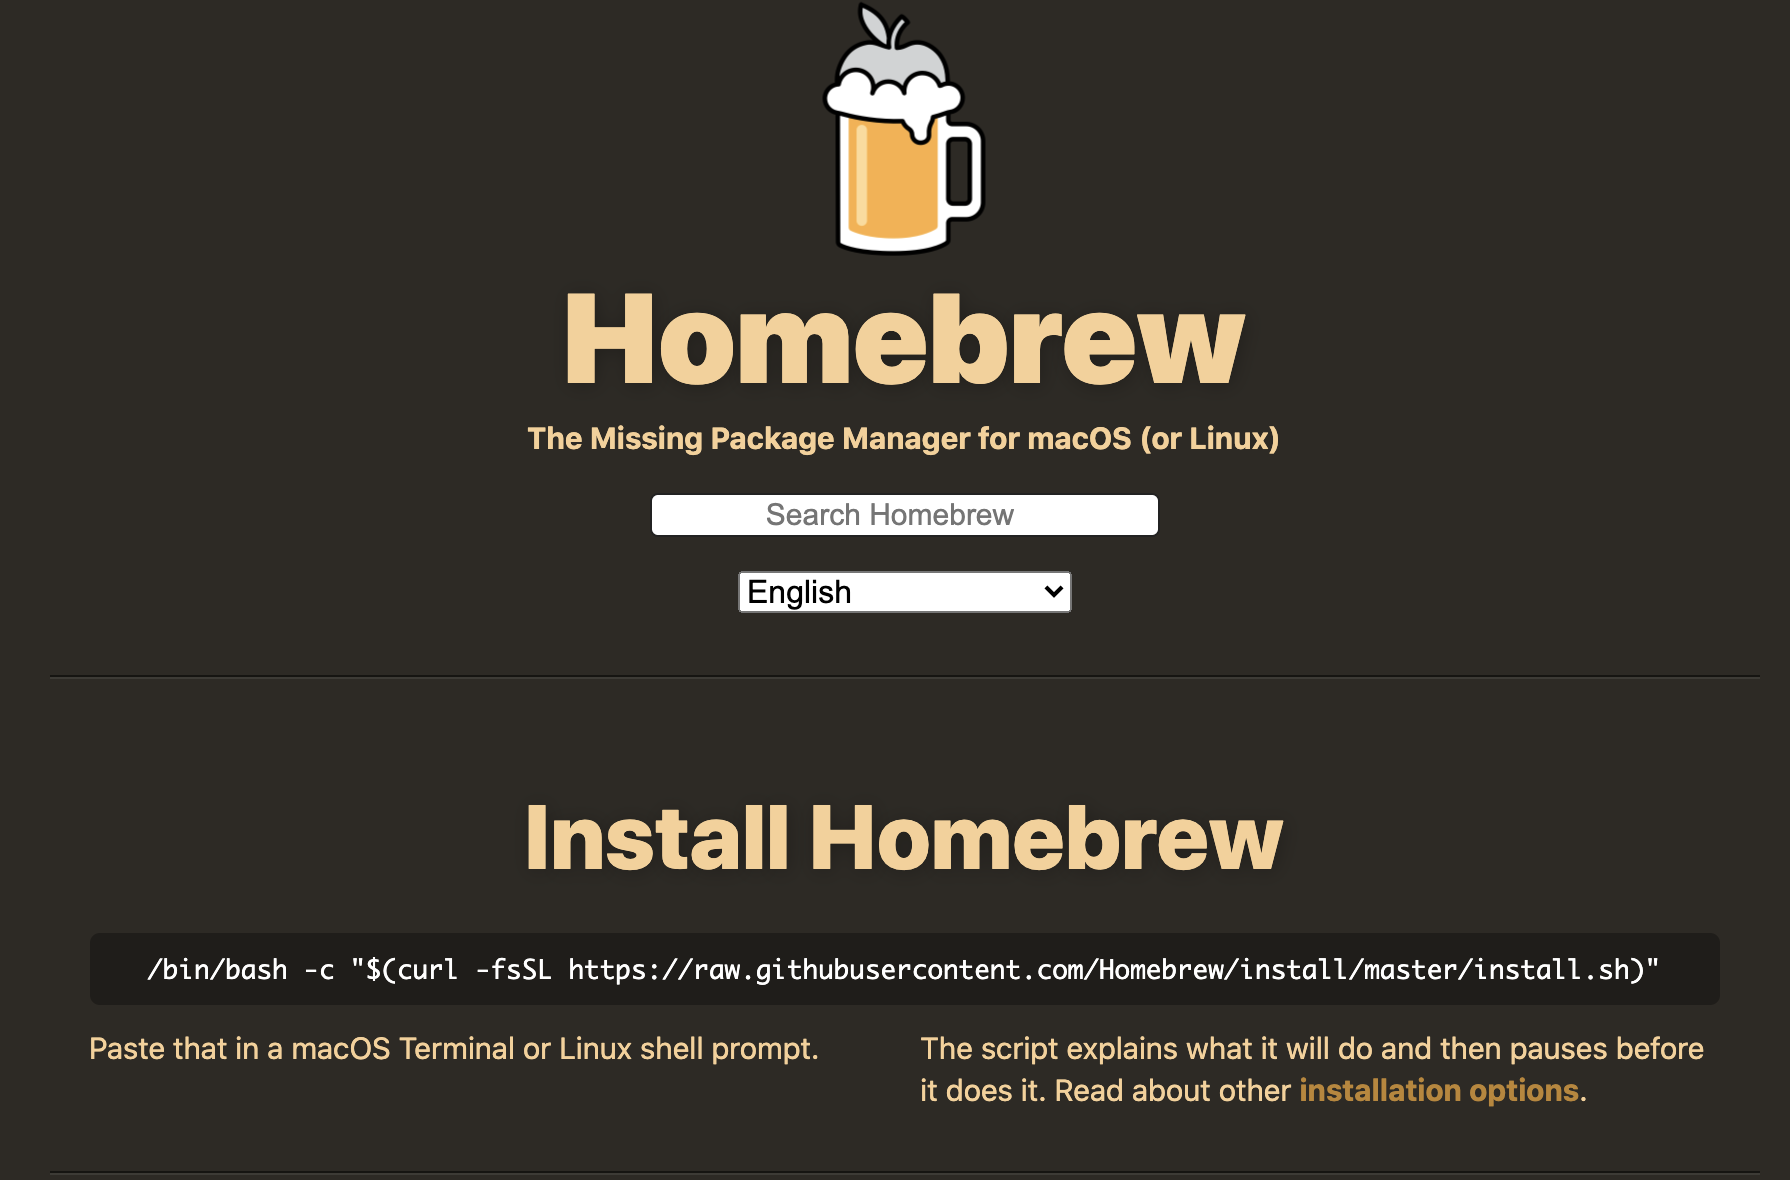
Install Homebrew下部のコマンドをコピーしターミナルで実行
$ /bin/bash -c "$(curl -fsSL https://raw.githubusercontent.com/Homebrew/install/master/install.sh)"
passwordを求められるので、Mac起動時のpasswordを入力
続いて、Homebrewのパスを通す為、下記コマンド入力し実行
$ echo ‘export PATH=/usr/local/bin:$PATH’ >> .bash_profile source .bash_profile
最後に、確認の為下記コマンド実行
$ brew -v
Homebrew ○.○.○
のようにバージョン表示がされれば完了
2.rbenvのインストール
Rubyのバージョン管理を切り替えるツール
Homebrewを使用しインストール
# 初期設定
$ echo 'eval "$(rbenv init -)"' >> ~/.bash_profile

# 初期設定を反映
$ source ~/.bash_profile

# rbenvのインストール
$ brew install rbenv ruby-build

# Rubyのバージョン一覧表示
$ rbenv install -l
2.5.8
2.6.6
2.7.1
...

# 指定したRubyのバージョンをインストール
$ rbenv install 2.7.1


# 新しいRubyやgemをインストールしたときに実行、使用可能な状態にする
$ rbenv rehash
使用するRubyのバージョン設定
$ rbenv global 2.7.1
3.Bundlerのインストール
gemの依存関係とバージョンを管理するためのツール
$ gem install bundler
4.Railsのインストールする
$ gem install rails
5.yarnのインストール
webpackerのインストールの為に必要
brew install yarn
6.webpackerのインストール
Rails6からwebpackerが標準仕様になった為、yarnのインストールが必要
$ rails webpacker:install
7.動作確認
# Railsプロジェクトを作成
$ rails new sample

# Railsプロジェクトに移動
$ cd sample

# Railsプロジェクトを起動
$ rails server
http://localhost:3000/
Railsのページが表示できていたら完了