はじめに
サーバーサイドのバックエンド作成では、いろいろなフレームワークを選択できますが、
今回はAndroid開発者大好き💕Kotlinが使えるKtorを使ってみようと思います😁
環境
- macOS Monterey Ver12.3.1
- IntelliJ IDEA 2022.1.2 (Community Edition)
手順
-
IntelliJ IDEA 2022.1.2 (Community Edition)のインストール
IntelliJ IDEA の「ダウンロード」から無料のCommunity版をダウンロードします。 -
プロジェクト作成
Ultimate版はKtor pluginを導入して新規プロジェクトを作成すればいいのですが、Community版ではKtor pluginは導入できないようです。
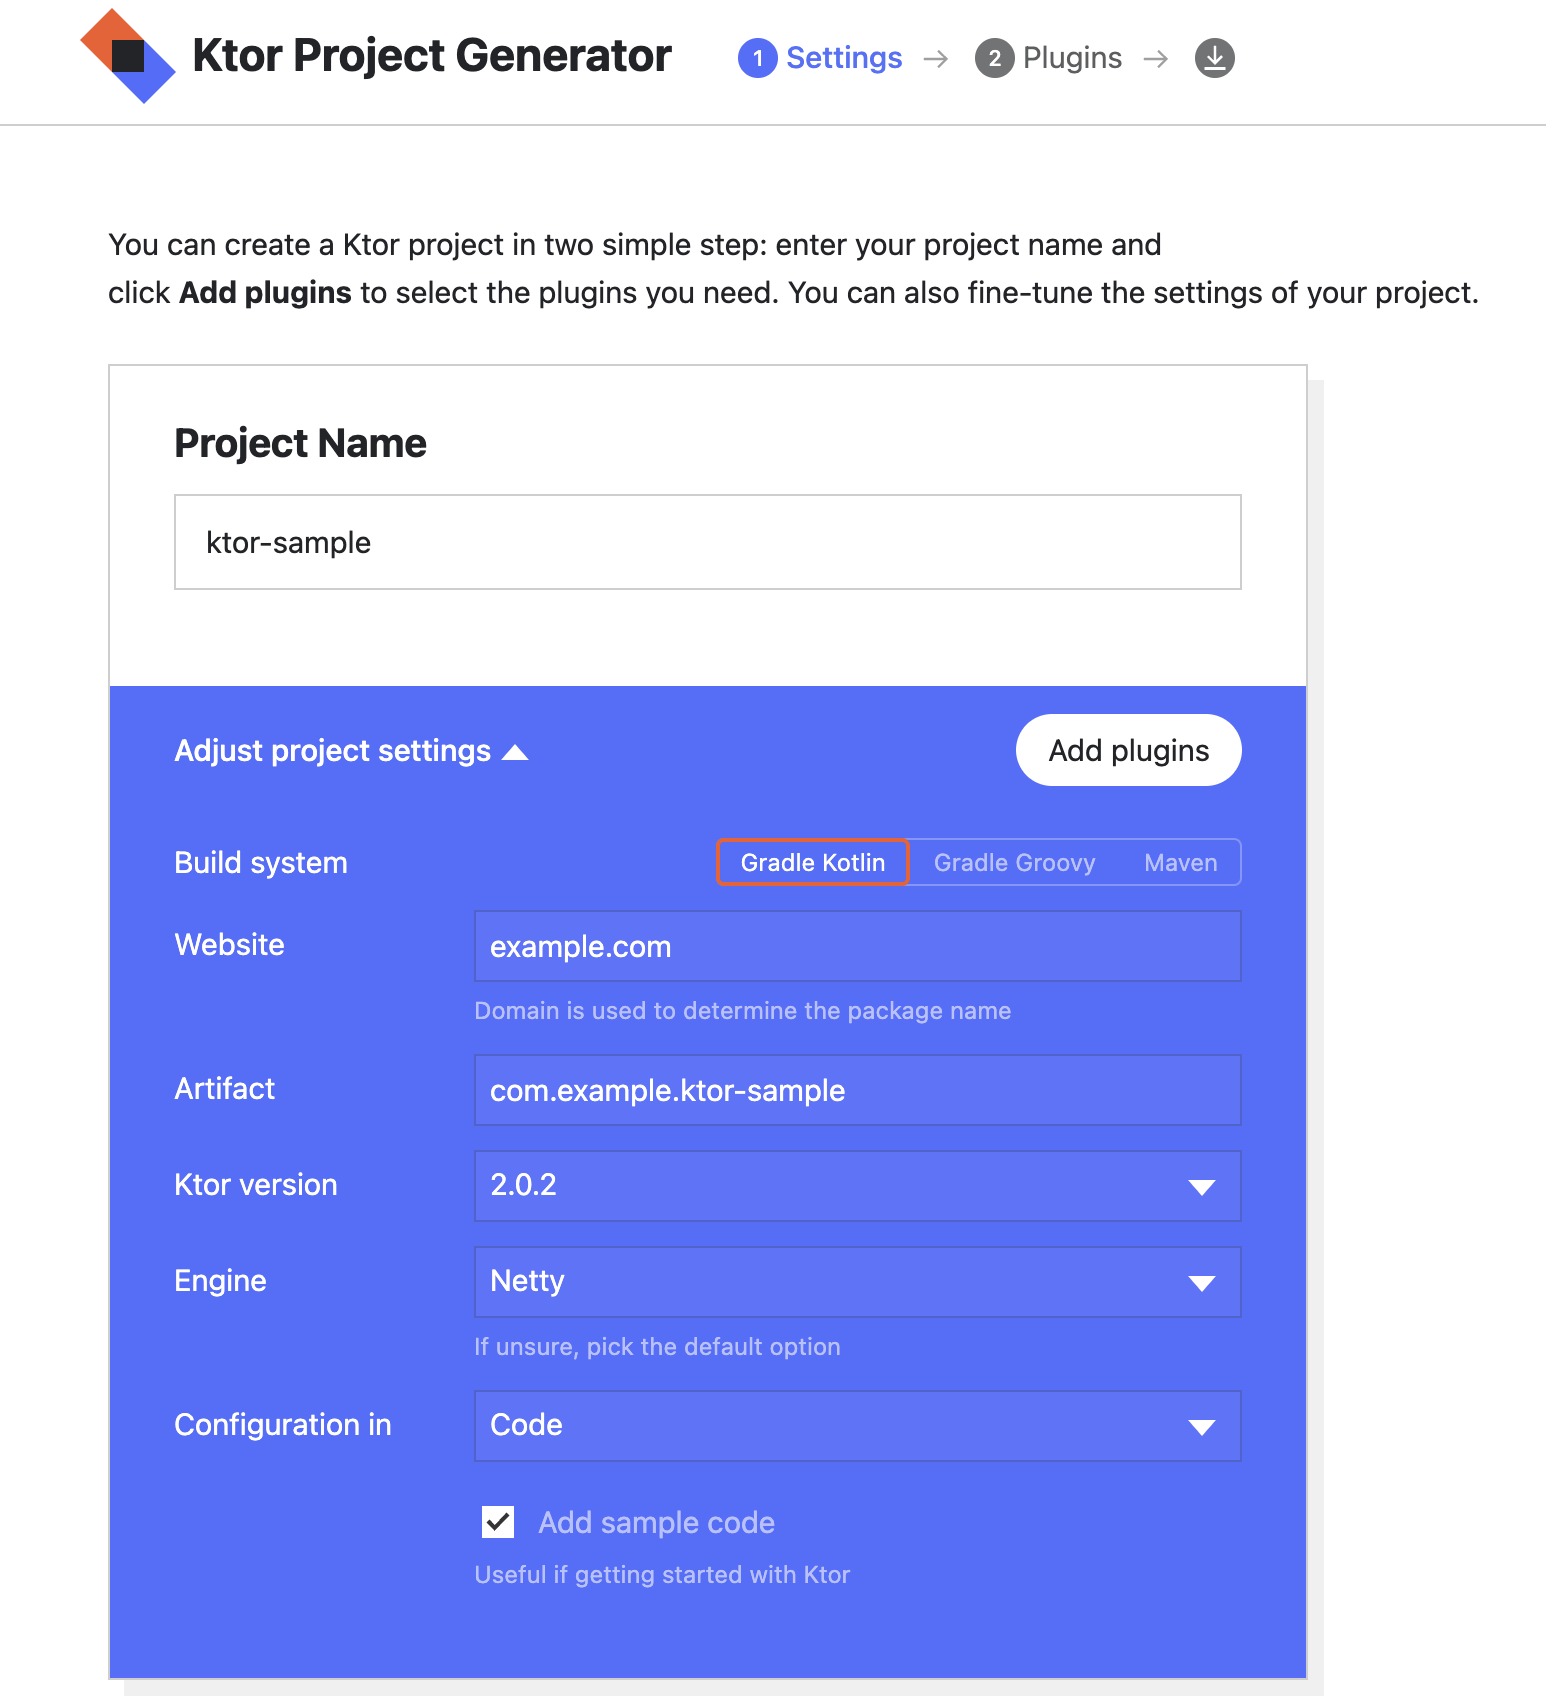
なので、Ktor Project GeneratorというProject Generatorを使ってプロジェクトを作成します。

Project Nameは好きに付けましょう。
今回はktor-sampleとしました。
Adjust project settingsは変更しませんでした。

Add plugins を押下すると、

のように展開されます。

今回はRoutingをaddしてGenerate projectをポチります。
※ 何もaddしないでGenerateすると後で自前でいろいろ修正することになるので注意。
するとktor-sample.zipがダウンロードされるので、お好きなフォルダで解凍してください。
解凍したktor-sampleフォルダをIntelliJ IDEAで開いて見ましょう。
- 実行
Application.ktのfun main()の左側に▶マークついています、これをクリックするとメニューが展開されます。
このRun ApplicationKtを選択してみます。

ビルドが終わってからhttp://0.0.0.0:8080へアクセスすると、ブラウザに「Hello World!」が表示されるハズです。
最後に
とりあえず、今回はここまで。
次は、RESTful APIを作ってみようと思います。