つくるもの
コード内に記述したArray型の文字列をUITableViewに反映させる
let dataList = ["テスト1","テスト2","テスト3","テスト4"]
UI
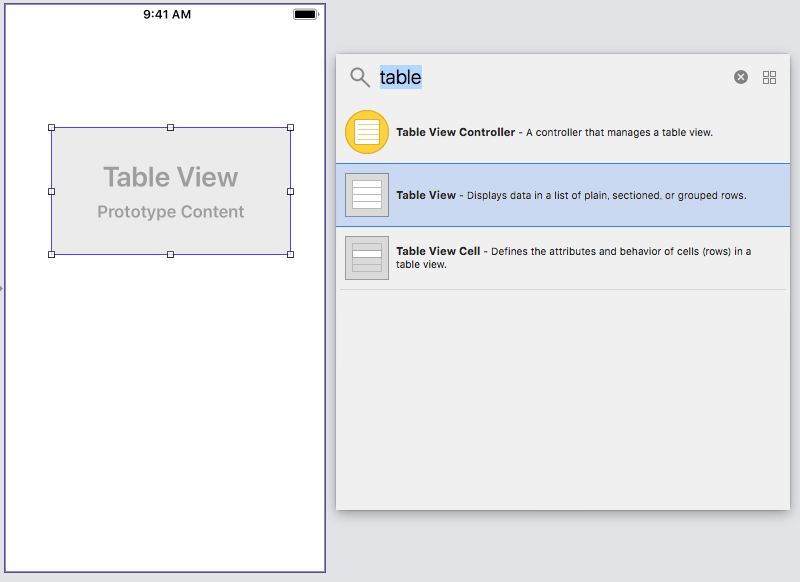
Table Viewを置きます。
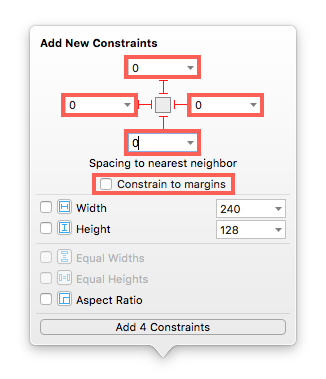
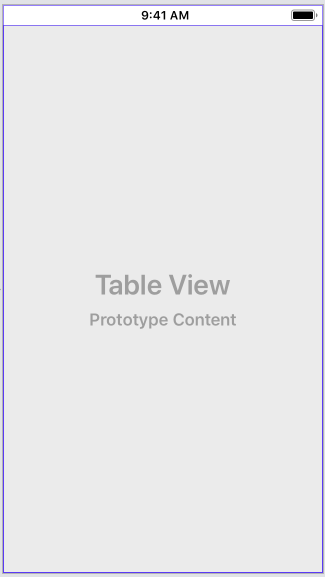
"Add New Constrains"で全てのSpacingを0にし、"Constrain to margins"をオフにするとTable Viewが全体に広がります。
次にTable Viewの上にTable View Cellをドラッグ&ドロップすると、中にセルが作られます。
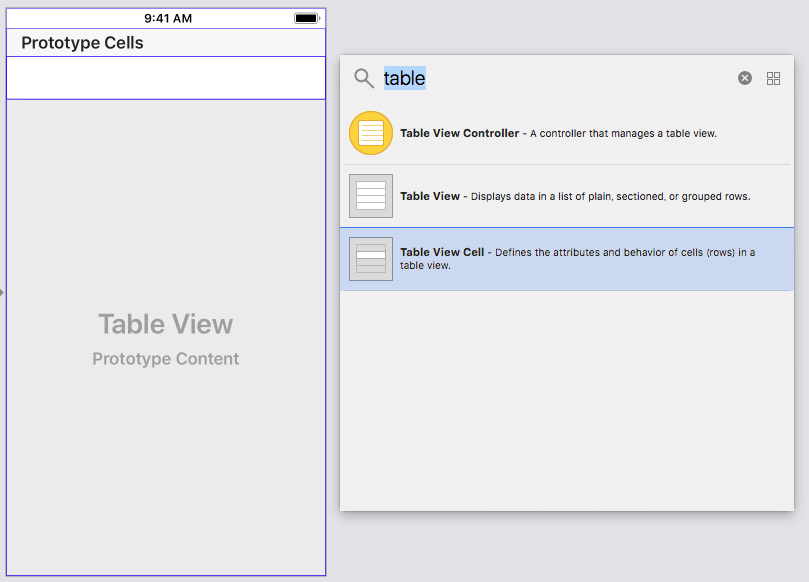
最終的にいくつものセルを表示させたい場合でも、1つだけ配置すればOK。
次にセルに名前をつけ、あとでコード内から編集できるようにする。
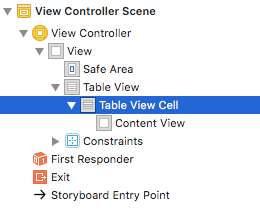
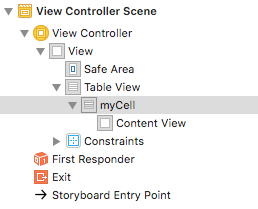
View Controller Sceneのツリーから"Table View Cell"を選択。Attributes Inspectorの"identifier"を"myCell"にする。

Enterを押して、ツリー内の"Table View Cell"が"myCell"になったか確認
プロトコルの関連づけ
UITableViewを扱うためにUITableViewDataSourceとUITableViewDelegateというプロトコルを使います。
~DataSourceはテーブルの表示にどんなデータを使うか、~Delegateはテーブルが操作されたときにどんなことをするかを定義します。
Table ViewをView Controllerと関連づける
View Controller SceneのツリーからTable Viewを選択し、
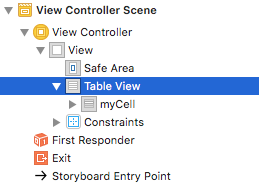
Connections Inspectorボタンから関連づけます。OutletsのdataSource, delegateの項目の右端にある○をドラッグし、StoryBoardのView Controlerにドラッグしてください。
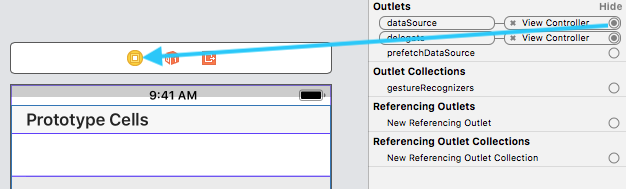
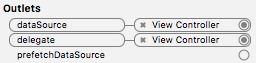
dataSourceとdelegateにView Controllerが関連づけられたことを確認してください。
コード内でプロトコルを利用する
ViewController.swiftを開き、UIViewControllerクラスにそれぞれのプロトコルを利用するよう宣言します。以下のように追記してください。
import UIKit

class ViewController: UIViewController, UITableViewDataSource, UITableViewDelegate {
    override func viewDidLoad() {
        super.viewDidLoad()
        // Do any additional setup after loading the view, typically from a nib.
    }
}
データを用意する
関連付けが終わったらまずは、Table Viewに表示するデータリストを用意します。
viewDidLoad()の前に以下を追記します。これがリスト表示されるデータです。
let dataList = ["テスト1","テスト2","テスト3","テスト4"]
Table Viewの処理する場所を作る
先ほど2つのプロトコルを追記したらエラーが出たと思います。

Fixしてしまいましょう。以下のように追記してくれます。
class ViewController: UIViewController, UITableViewDataSource, UITableViewDelegate {
    func tableView(_ tableView: UITableView, numberOfRowsInSection section: Int) -> Int {
        <#code#>
    }

    func tableView(_ tableView: UITableView, cellForRowAt indexPath: IndexPath) -> UITableViewCell {
        <#code#>
    }
少し見にくいので以下のように順序を入れ替えましょう。
class ViewController: UIViewController, UITableViewDataSource, UITableViewDelegate {
    let dataList = ["テスト1","テスト2","テスト3","テスト4"]

    override func viewDidLoad() {
        super.viewDidLoad()
        // Do any additional setup after loading the view, typically from a nib.
    }

    func tableView(_ tableView: UITableView, numberOfRowsInSection section: Int) -> Int {
        <#code#>
    }

    func tableView(_ tableView: UITableView, cellForRowAt indexPath: IndexPath) -> UITableViewCell {
        <#code#>
    }
}
テーブルの行数の指定
tableView: numberOfRowsInSection:以下のように記述します。
    func tableView(_ tableView: UITableView, numberOfRowsInSection section: Int) -> Int {
        return dataList.count
    }
テーブルに表示したい列の数を返してあげます。例えば3行だけ表示したければreturn 3にします。ここでは先ほど定義したdataListのアイテム数を返すようにしています。
セル内の文字の変更
tableView: cellForRowAt:には以下のように記述します。
    func tableView(_ tableView: UITableView, cellForRowAt indexPath: IndexPath) -> UITableViewCell {
        let cell = tableView.dequeueReusableCell(withIdentifier: "myCell", for: indexPath)
        cell.textLabel?.text = dataList[indexPath.row]
        return cell
    }

 tableView.dequeueReusableCellで再利用可能なセルを取得します。そのパラメーターとしてwithIdentifier:は先ほど名付けた"myCell"が来て、for: にはindexPathを渡します。

 cell.textLabel?.textはセル内のLabelを参照し、そこにdataListの中の[indexPath.row]番目のデータを取り出します。
完成コード
class ViewController: UIViewController, UITableViewDataSource, UITableViewDelegate {
    let dataList = ["テスト1","テスト2","テスト3","テスト4"]

    override func viewDidLoad() {
        super.viewDidLoad()
        // Do any additional setup after loading the view, typically from a nib.
    }

    func tableView(_ tableView: UITableView, numberOfRowsInSection section: Int) -> Int {
        return dataList.count
    }


    func tableView(_ tableView: UITableView, cellForRowAt indexPath: IndexPath) -> UITableViewCell {
        let cell = tableView.dequeueReusableCell(withIdentifier: "myCell", for: indexPath)
        cell.textLabel?.text = dataList[indexPath.row]
        return cell
    }
}
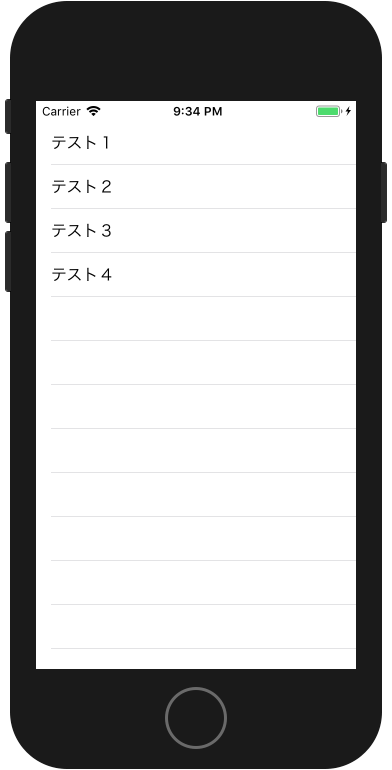
完成イメージ
ビルドしてこのように表示されれば成功です。