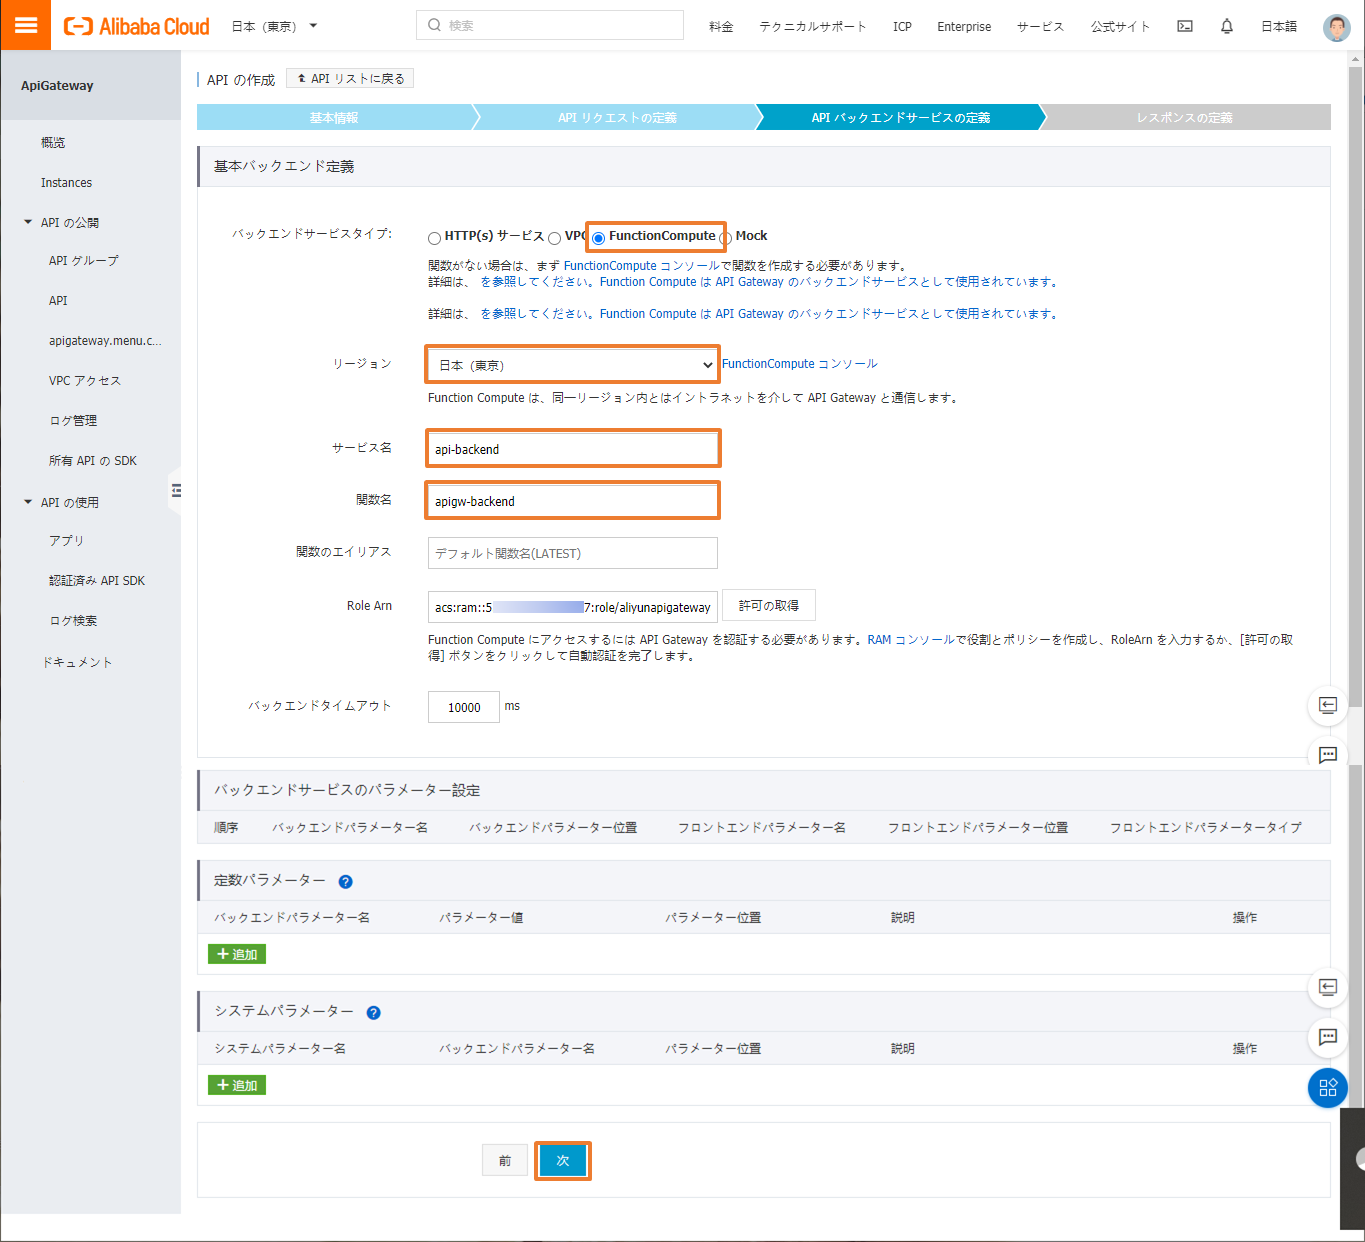
今回は、API Gatewayを使ってみます。API Gatewayのバックエンドには、Function Computeを使ってみます。
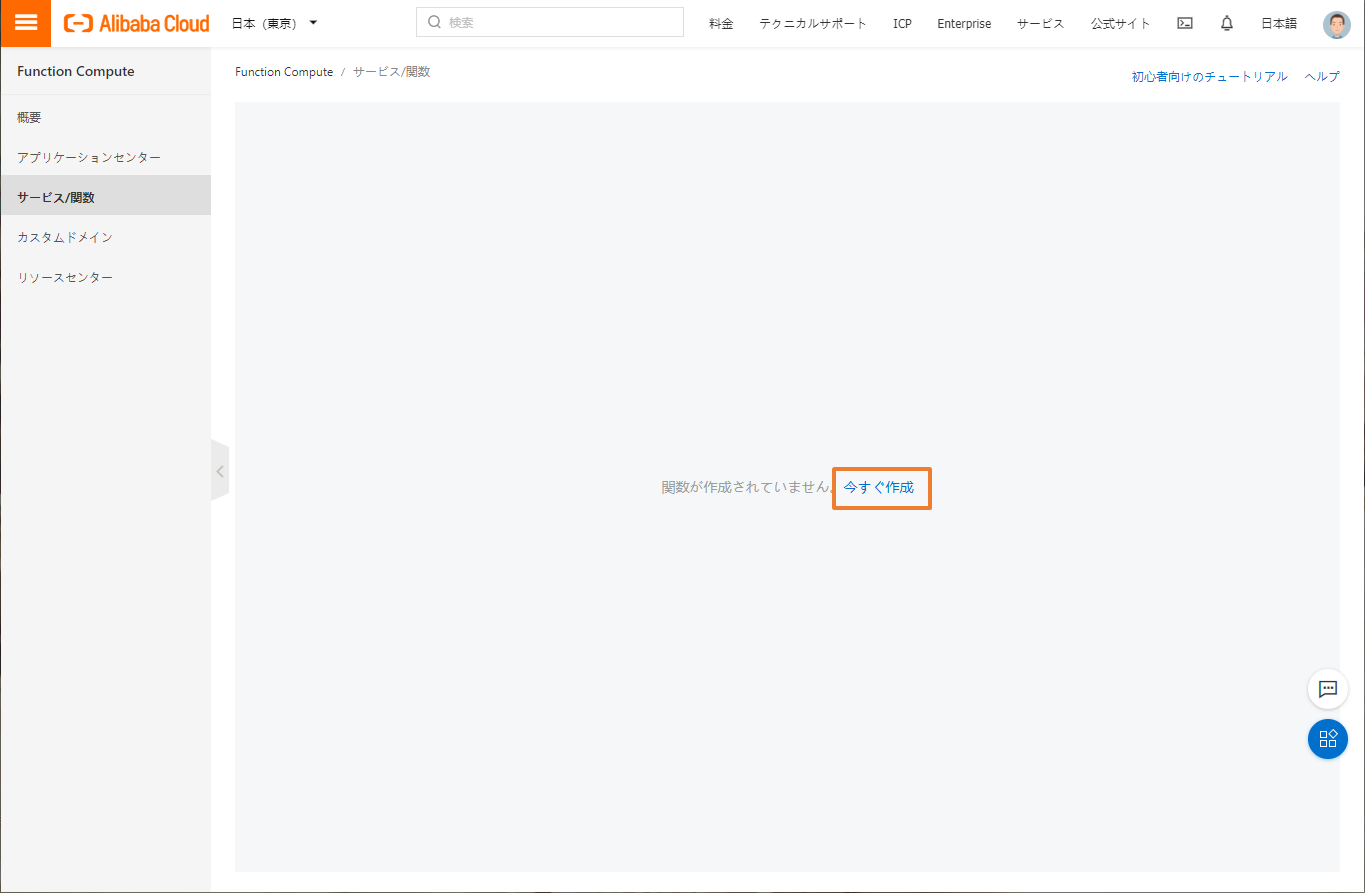
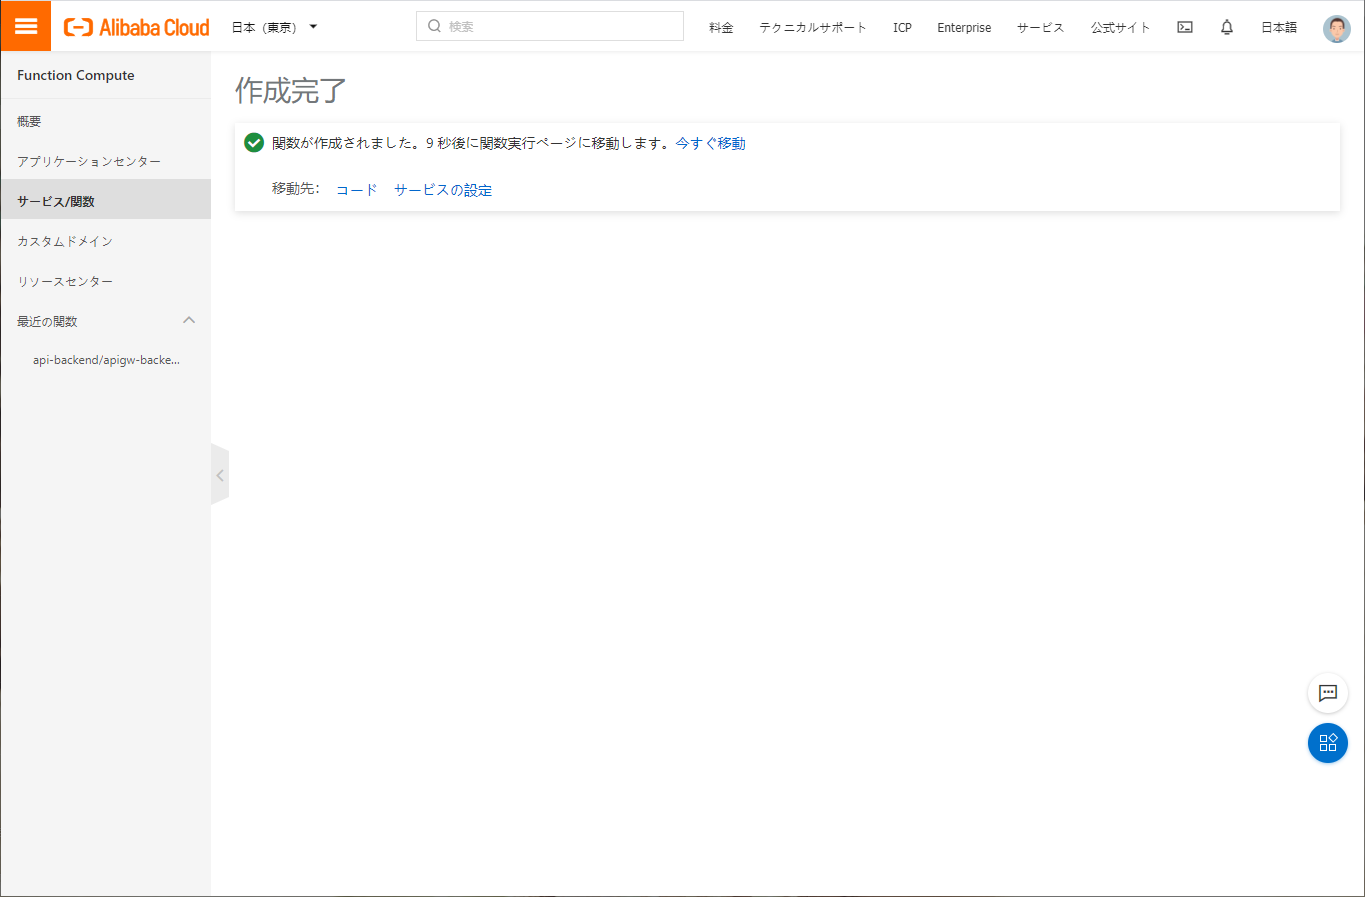
Function ComputeでバックエンドAPIの作成
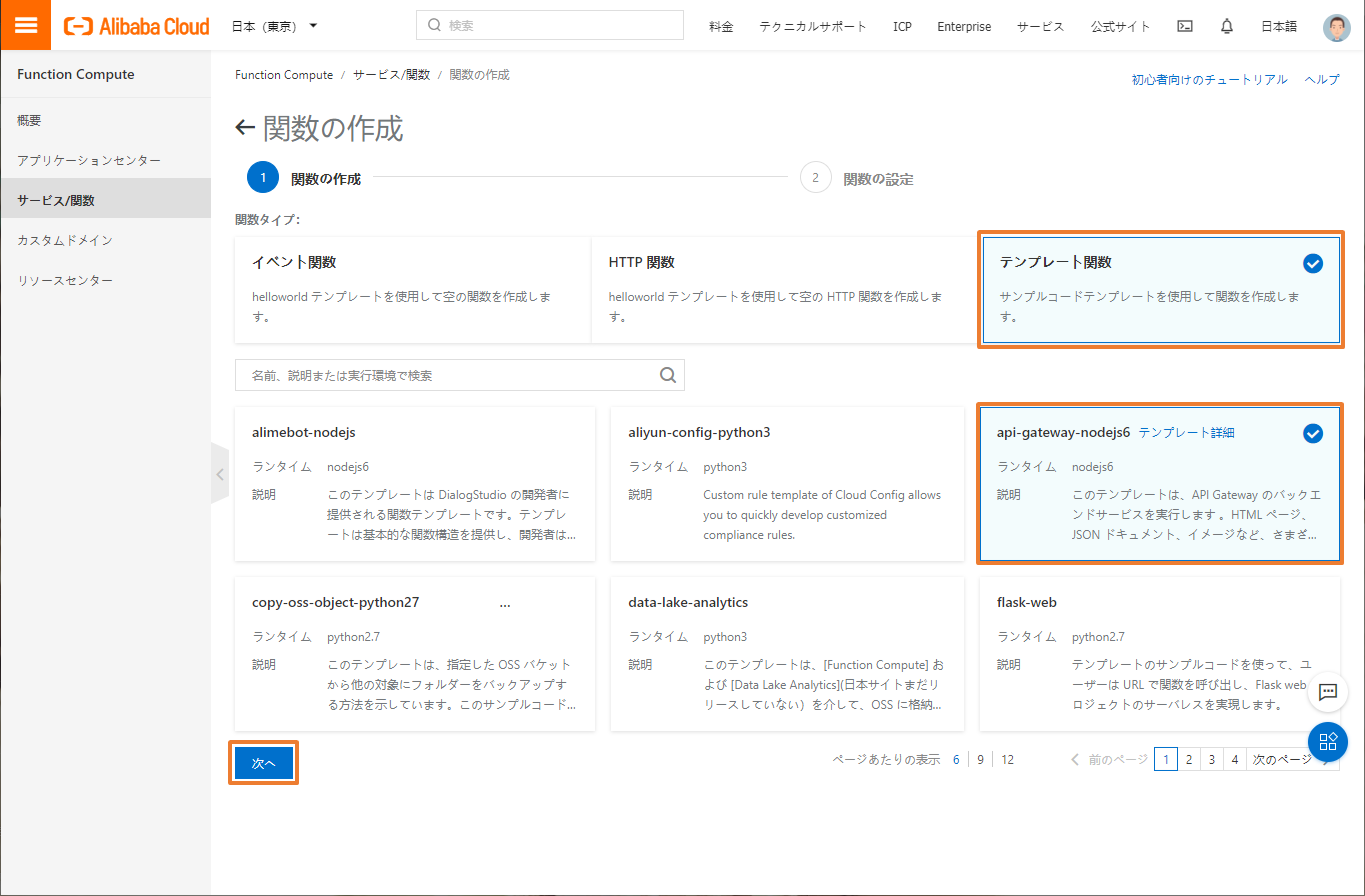
API Gatewayのトリガーを利用するには、テンプレートを使用するのが便利です。
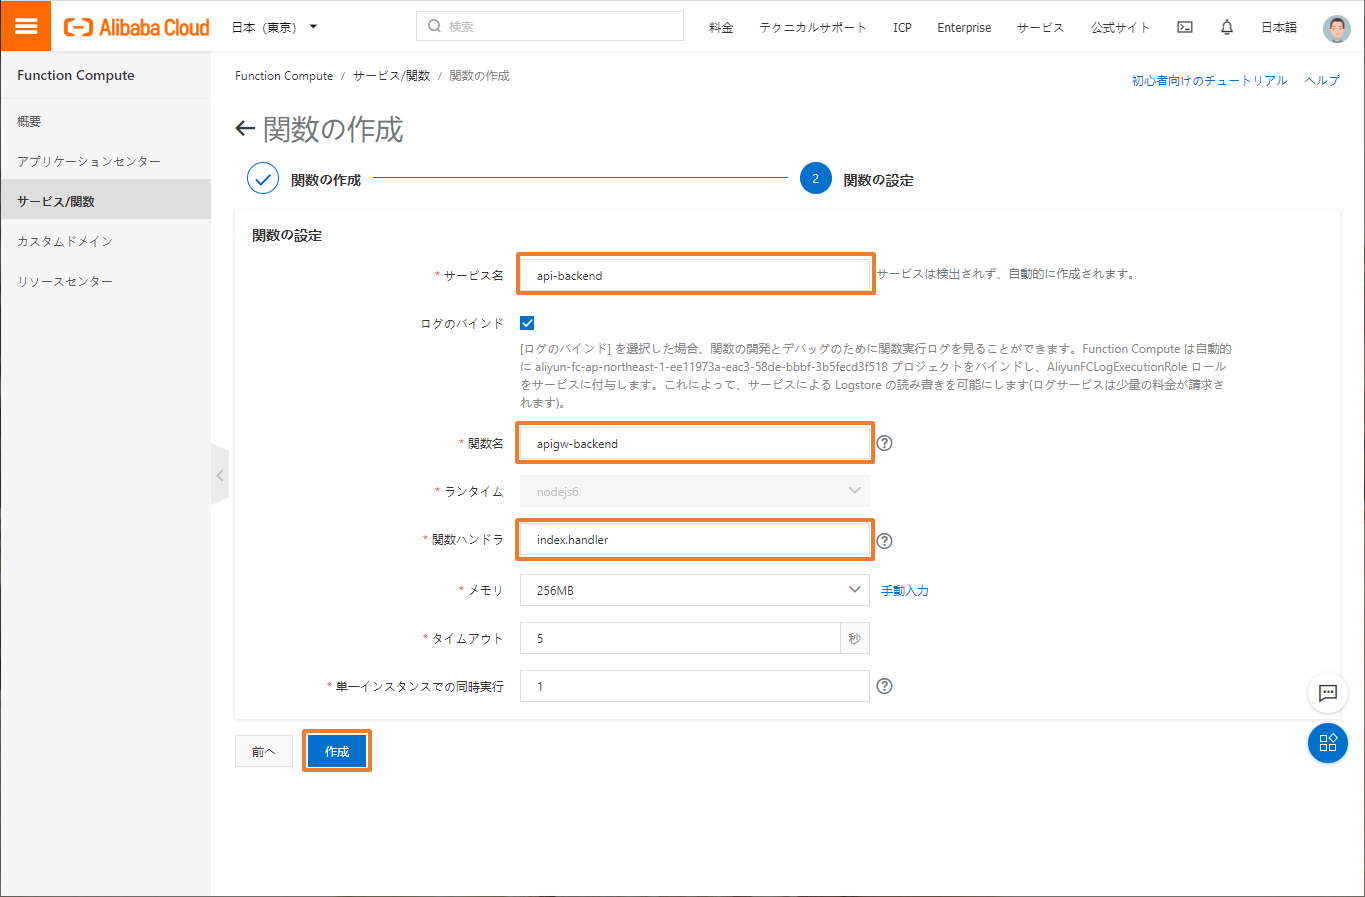
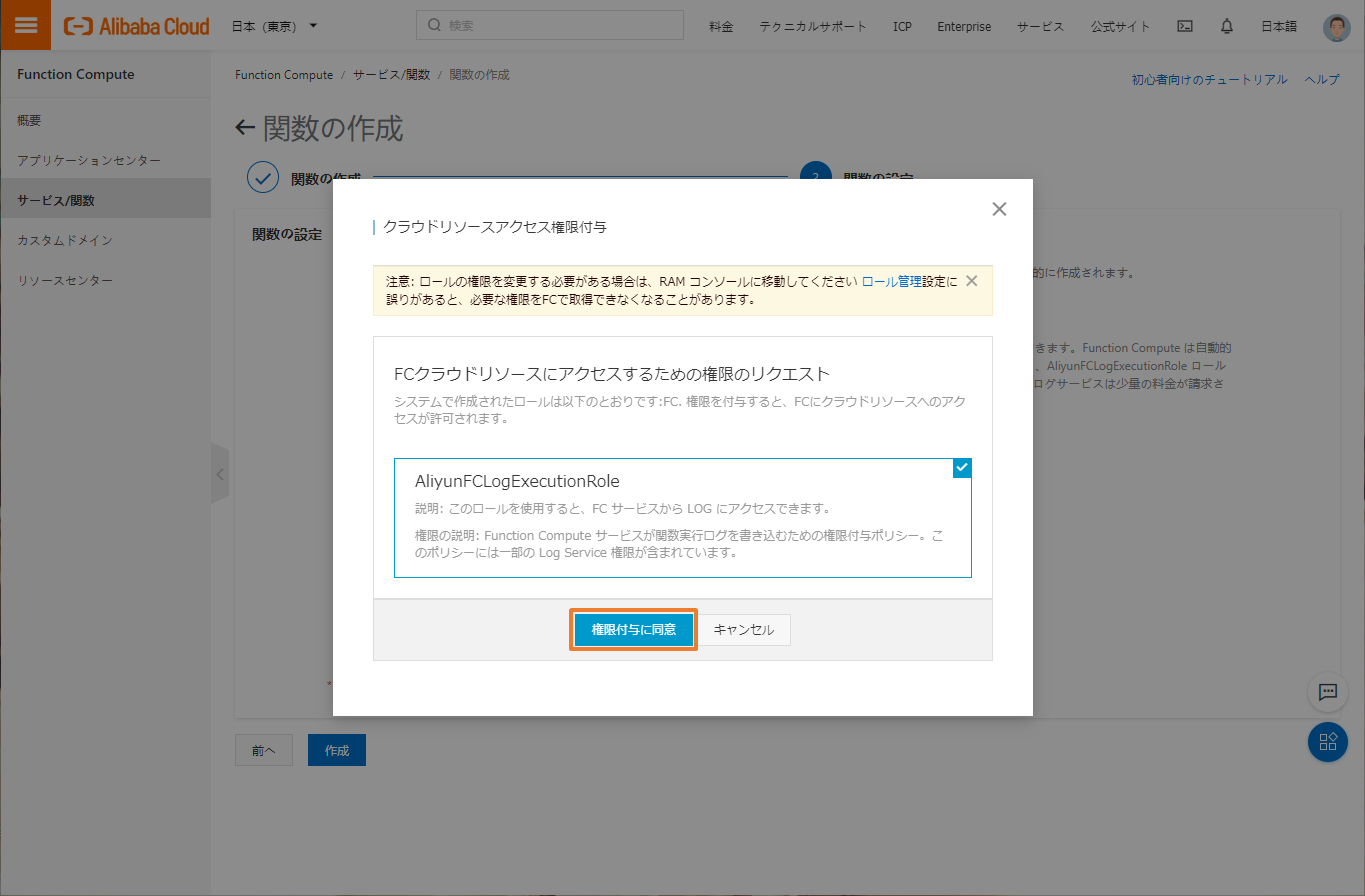
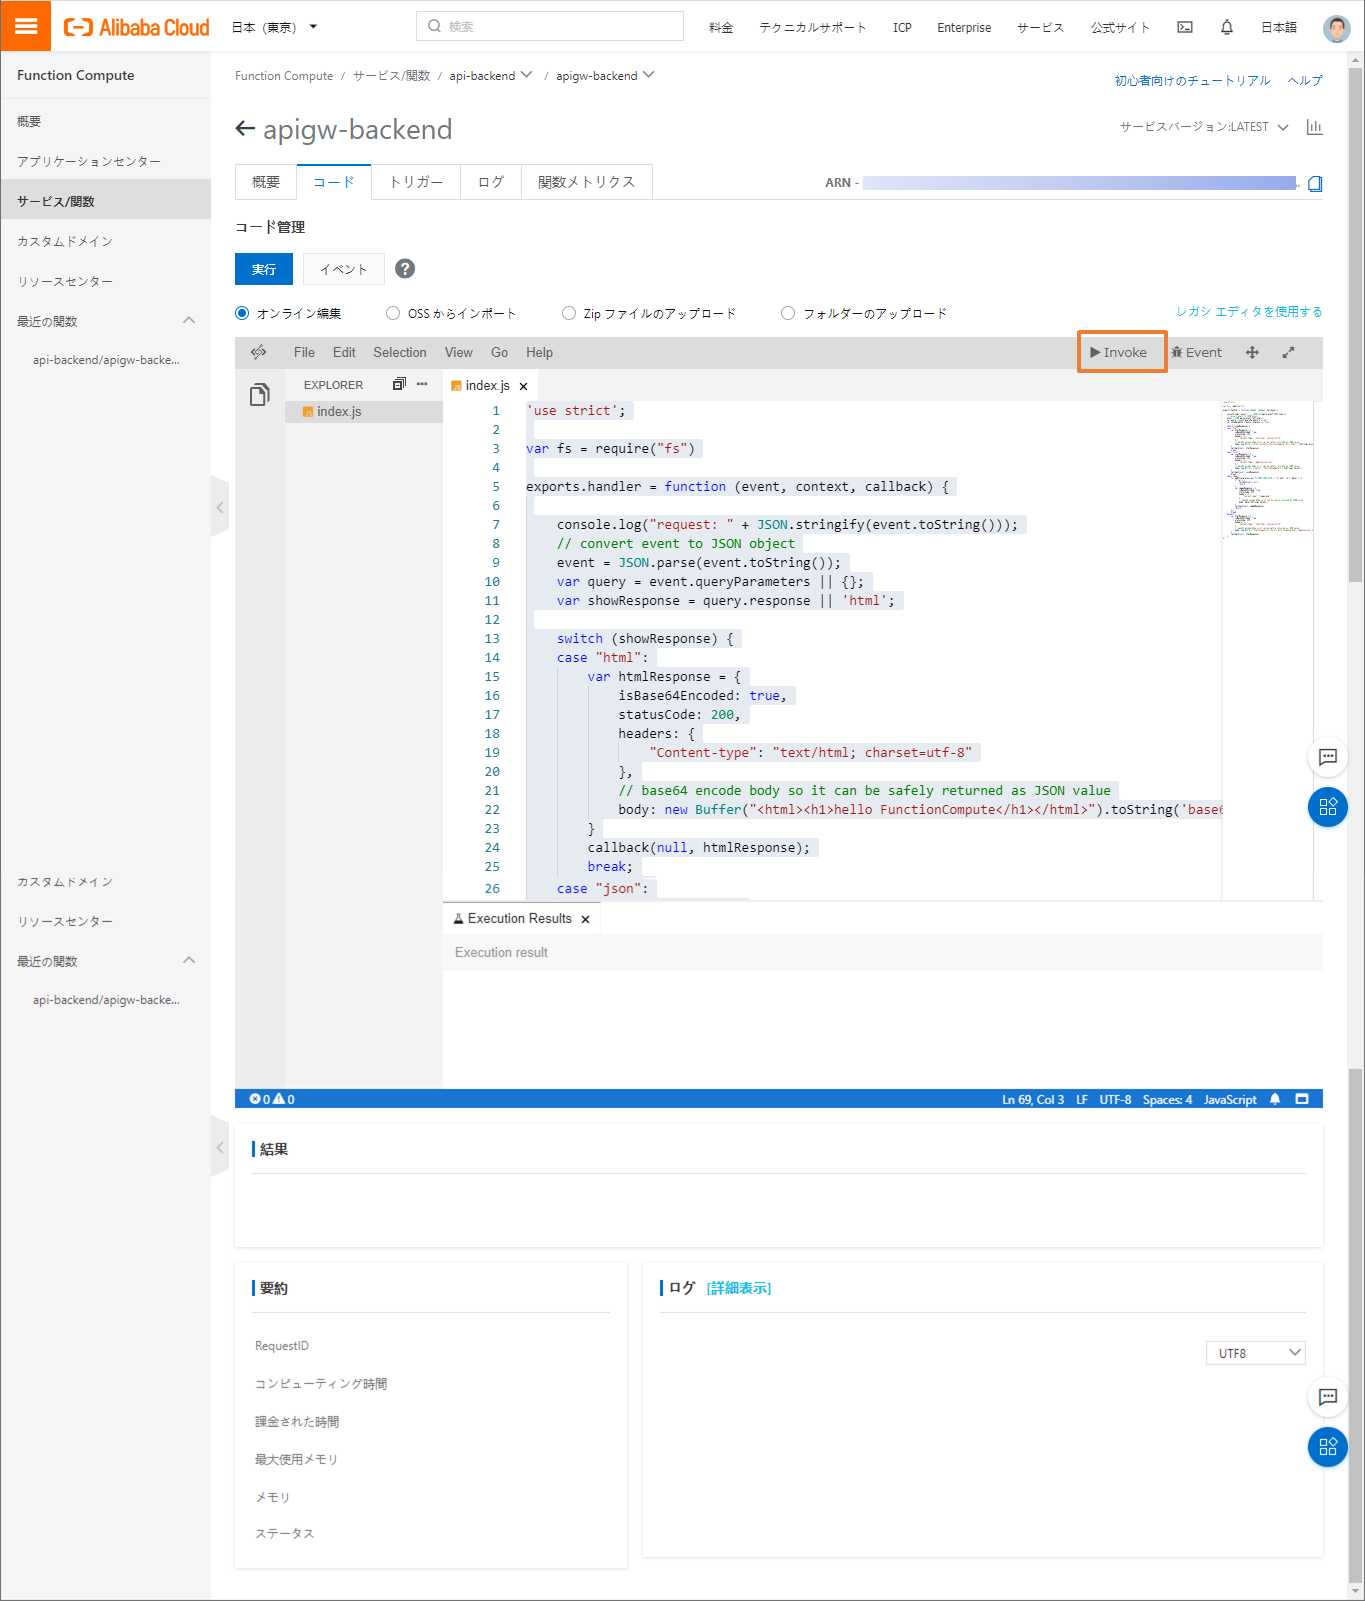
自動生成されたコードは以下の通りです。
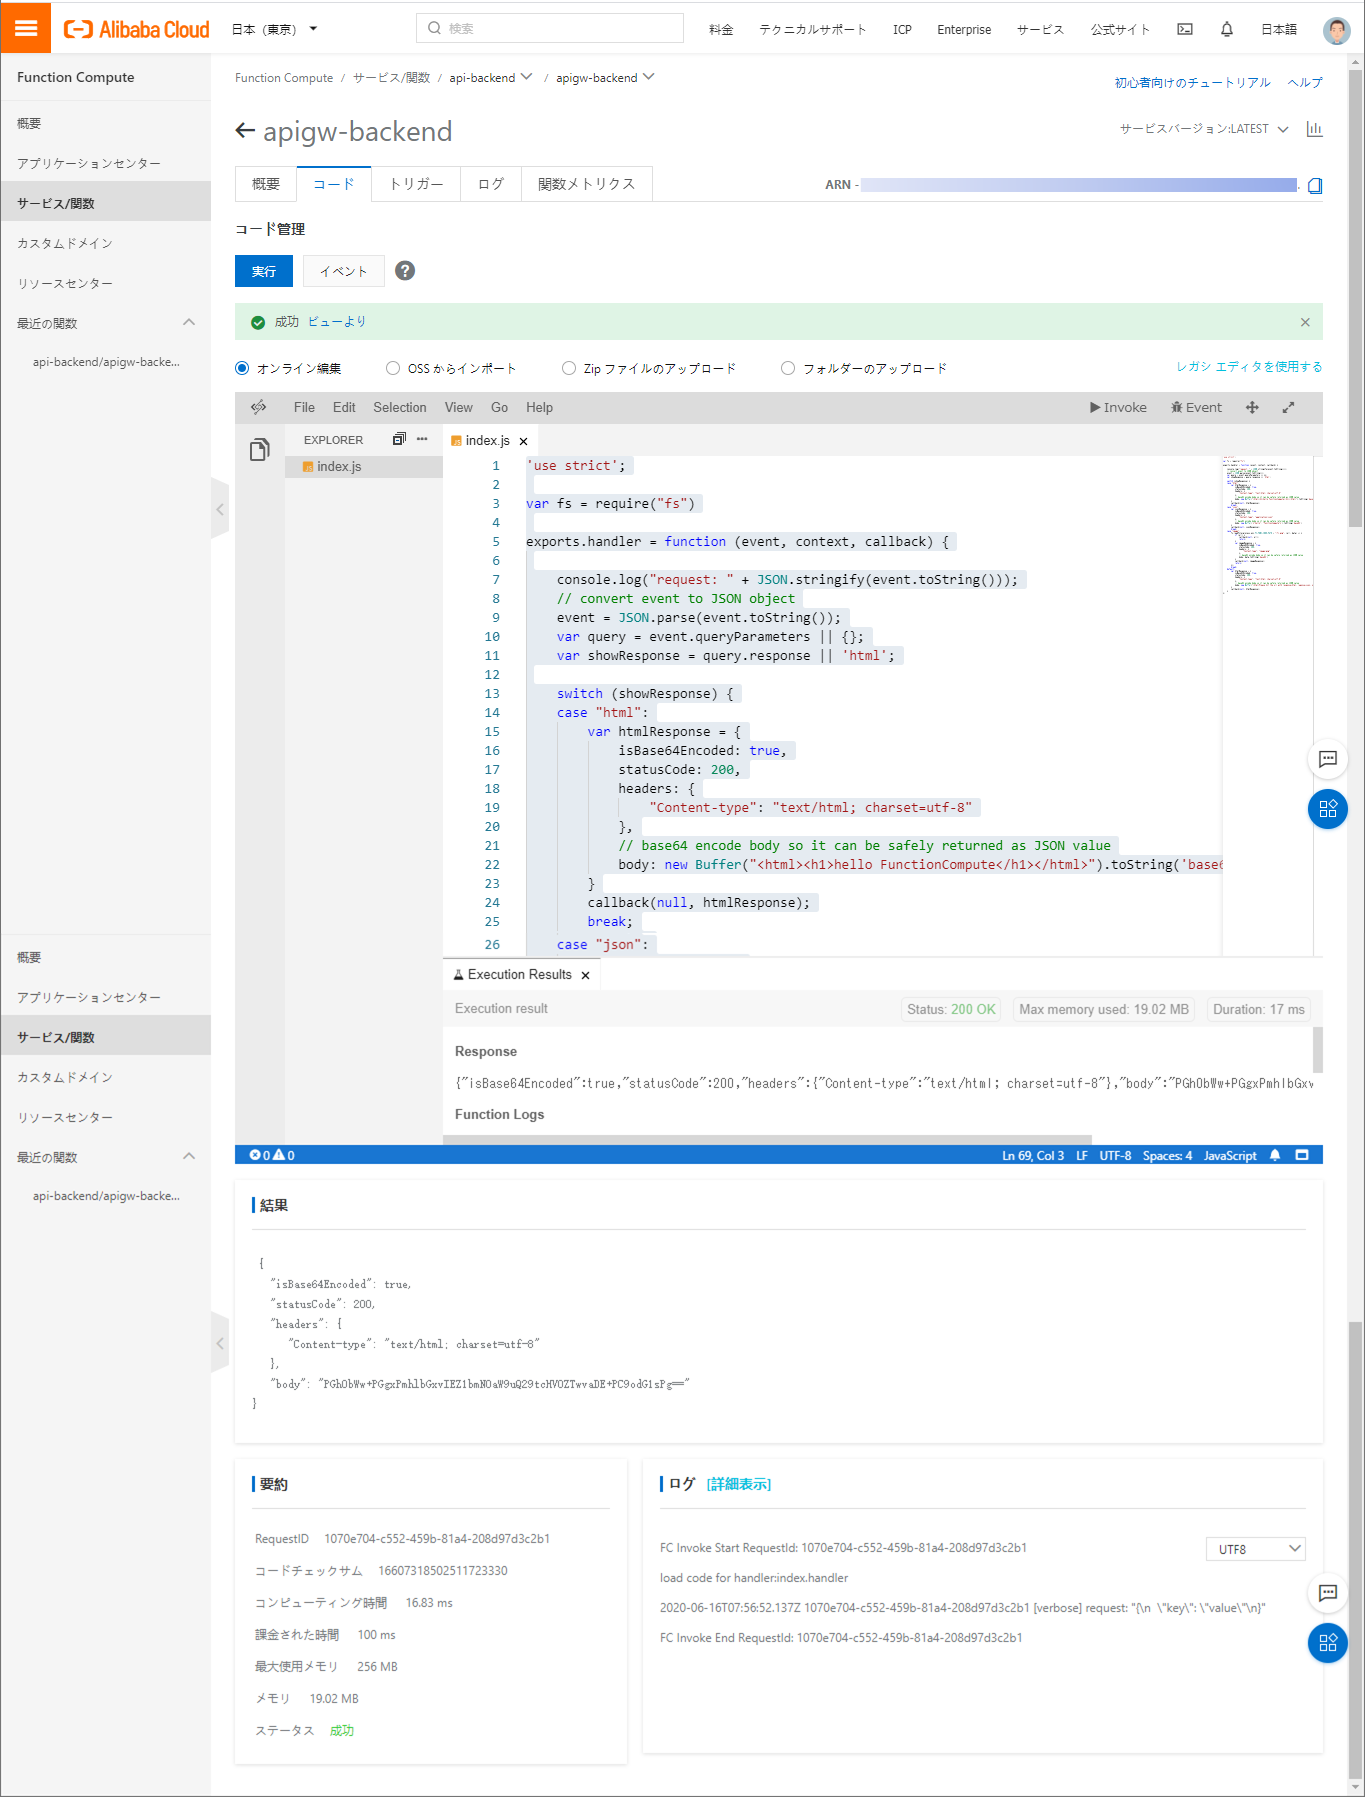
パラメータ "response" に "json" を指定するとJSONが返却されます。
index.js
'use strict';

var fs = require("fs")

exports.handler = function (event, context, callback) {

    console.log("request: " + JSON.stringify(event.toString()));
    // convert event to JSON object
    event = JSON.parse(event.toString());
    var query = event.queryParameters || {};
    var showResponse = query.response || 'html';

    switch (showResponse) {
    case "html":
        var htmlResponse = {
            isBase64Encoded: true,
            statusCode: 200,
            headers: {
                "Content-type": "text/html; charset=utf-8"
            },
            // base64 encode body so it can be safely returned as JSON value
            body: new Buffer("<html><h1>hello FunctionCompute</h1></html>").toString('base64')
        }
        callback(null, htmlResponse);
        break;
    case "json":
        var jsonResponse = {
            isBase64Encoded: true,
            statusCode: 200,
            headers: {
                "Content-type": "application/json"
            },
            // base64 encode body so it can be safely returned as JSON value
            body: new Buffer('{"hello": "FunctionCompute"}').toString('base64')
        }
        callback(null, jsonResponse);
        break;
    case "image":
        fs.readFile(process.env.FC_FUNC_CODE_PATH + "/fc.png", (err, data) => {
            if (err) {
                callback(null, err);
                return;
            }
            var imageResponse = {
                isBase64Encoded: true,
                statusCode: 200,
                headers: {
                    "Content-type": "image/png"
                },
                // base64 encode body so it can be safely returned as JSON value
                body: data.toString('base64')
            }
            callback(null, imageResponse);
            return;
        });
        break;
    default:
        var htmlResponse = {
            isBase64Encoded: true,
            statusCode: 200,
            headers: {
                "Content-type": "text/html; charset=utf-8"
            },
            // base64 encode body so it can be safely returned as JSON value
            body: new Buffer("<html>Please hit the url with response=html, reponse=json, or reponse=image</html>").toString('base64')
        }
        callback(null, htmlResponse);
    }
};
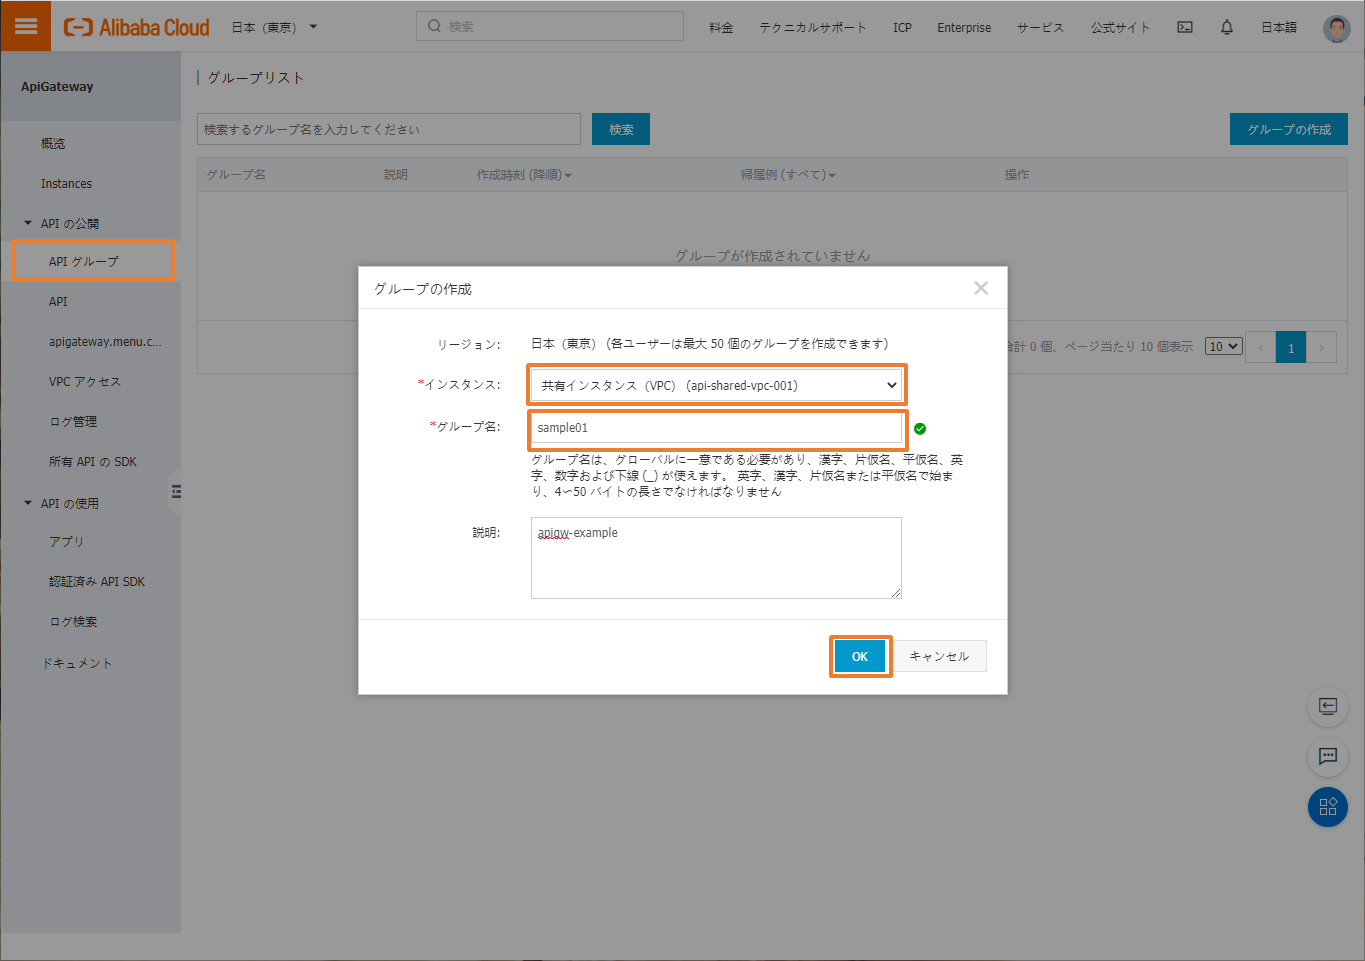
API Gateway APIグループを作成する
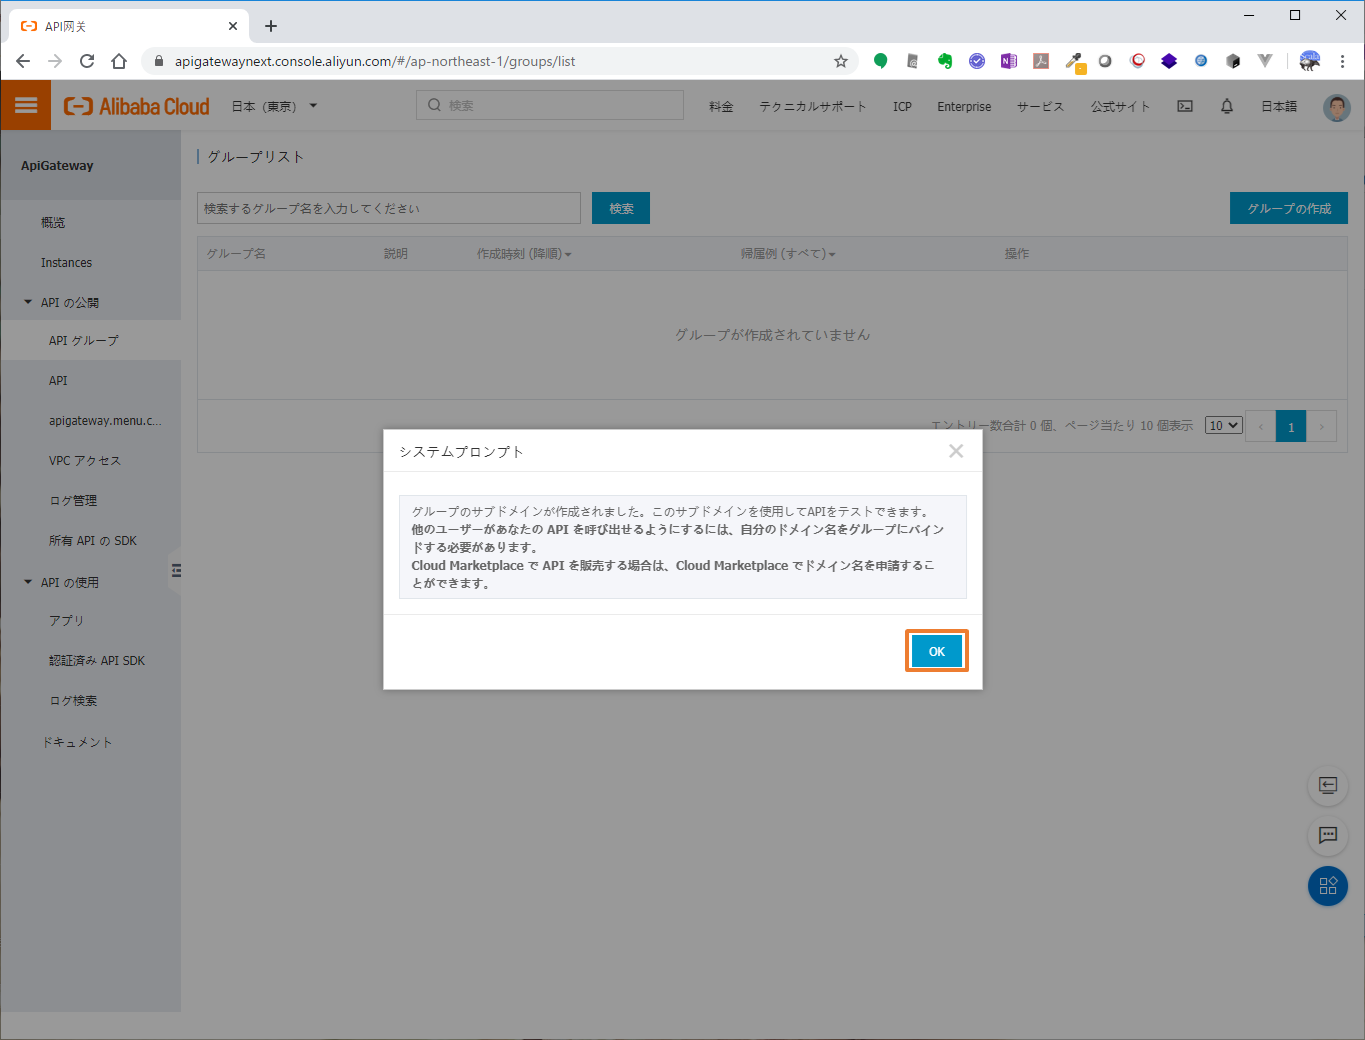
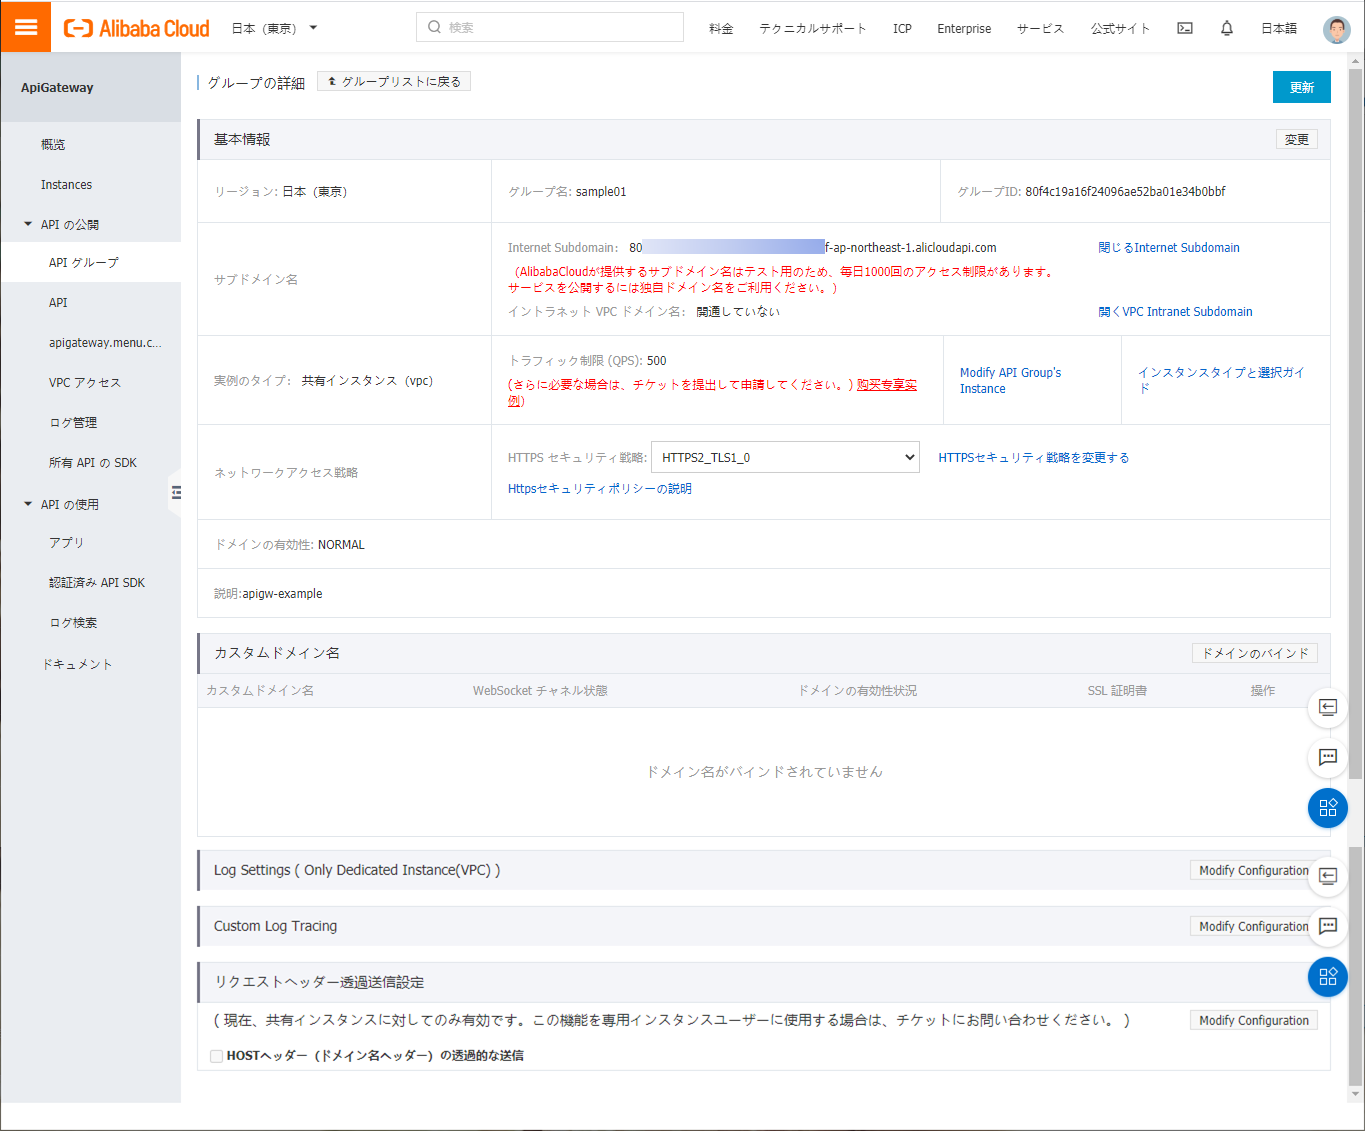
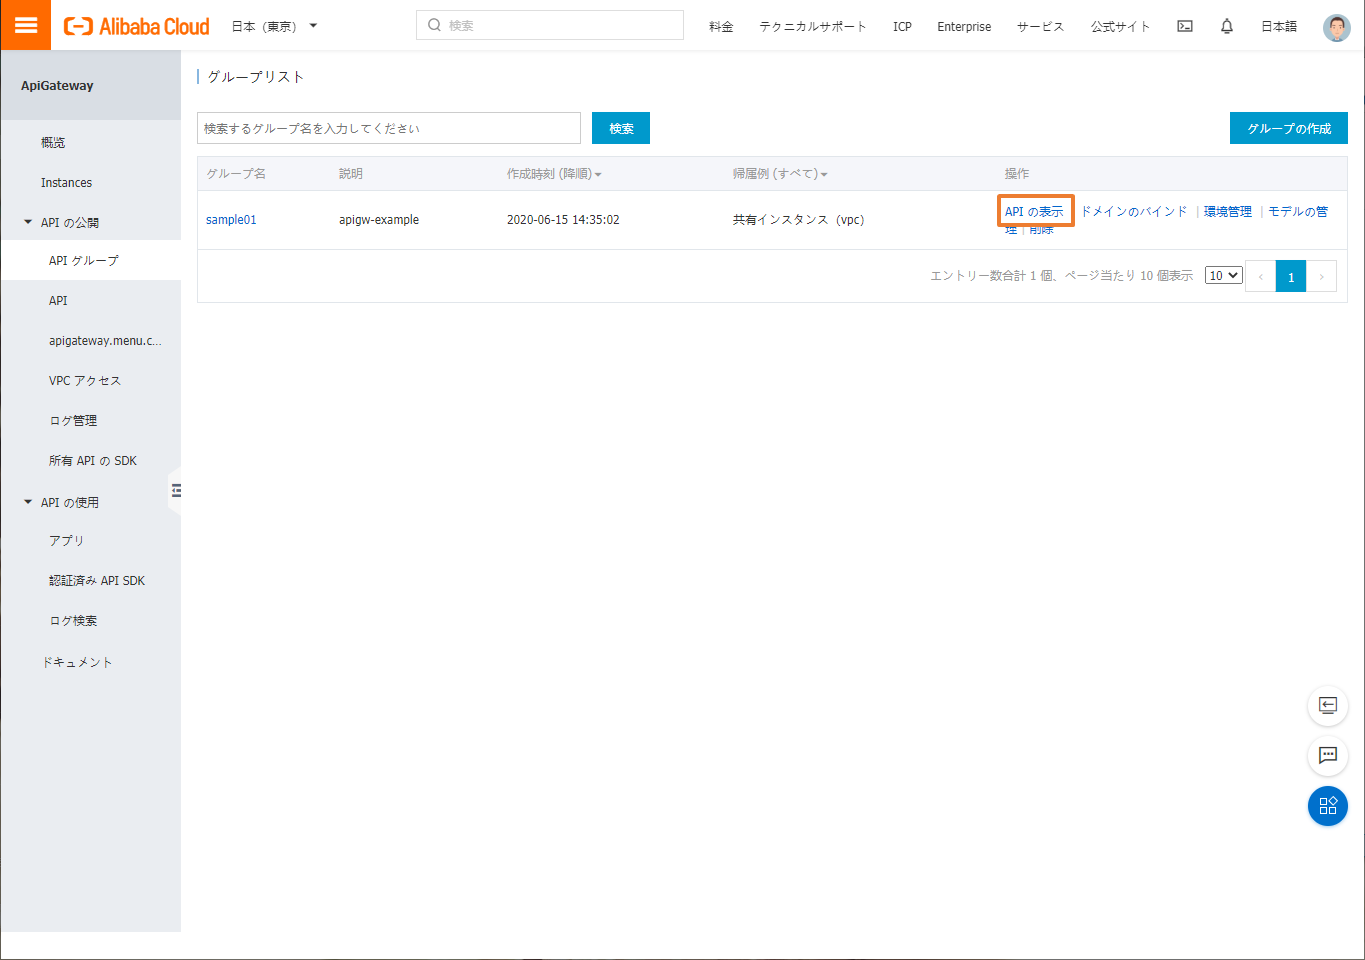
API GatewayでAPIを公開するためには、まずAPIグループの作成を行います。

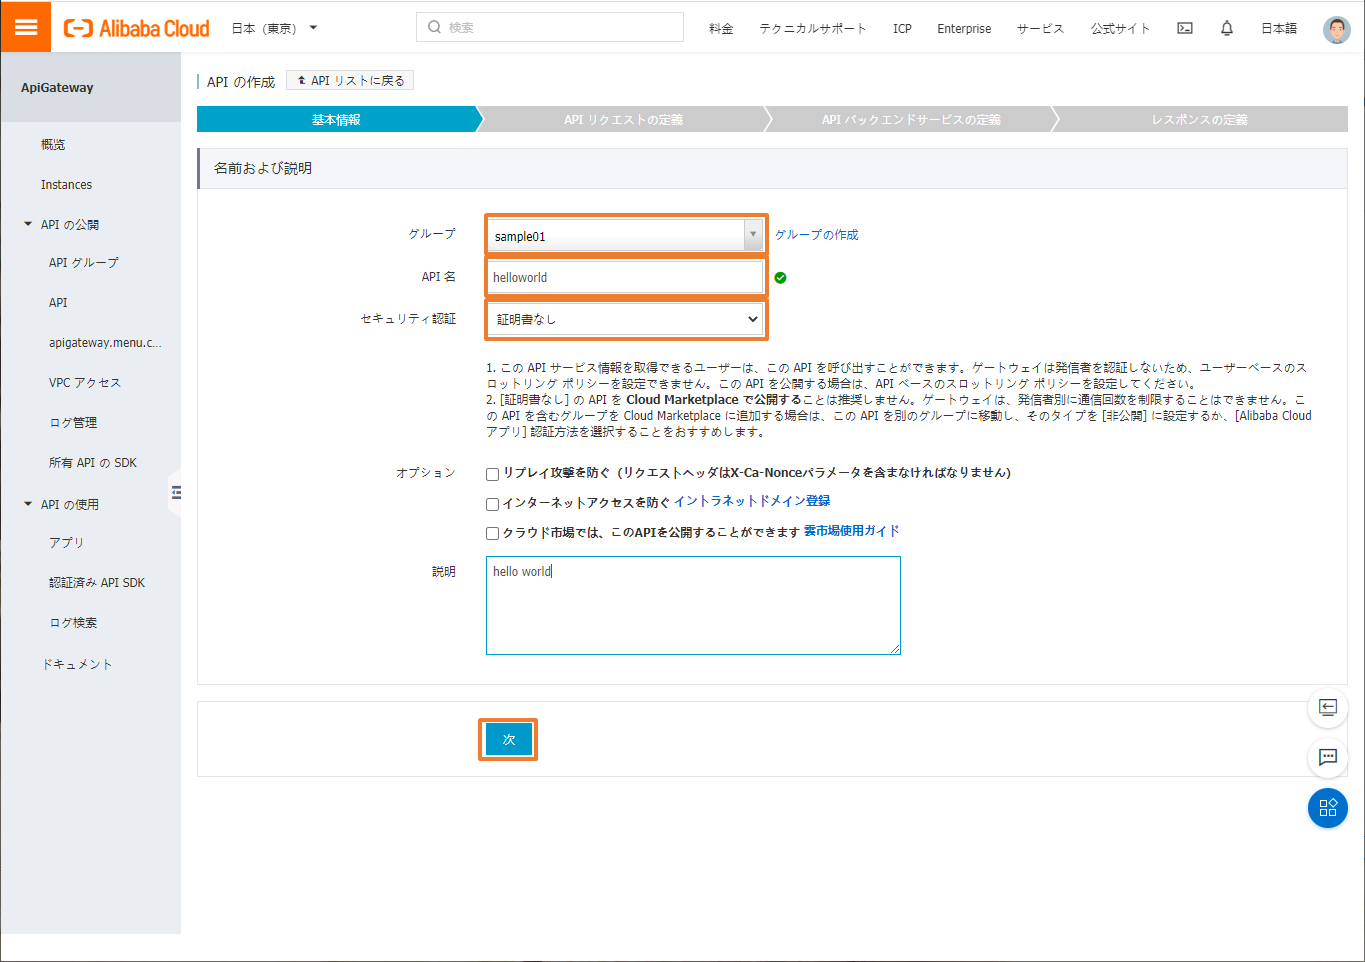
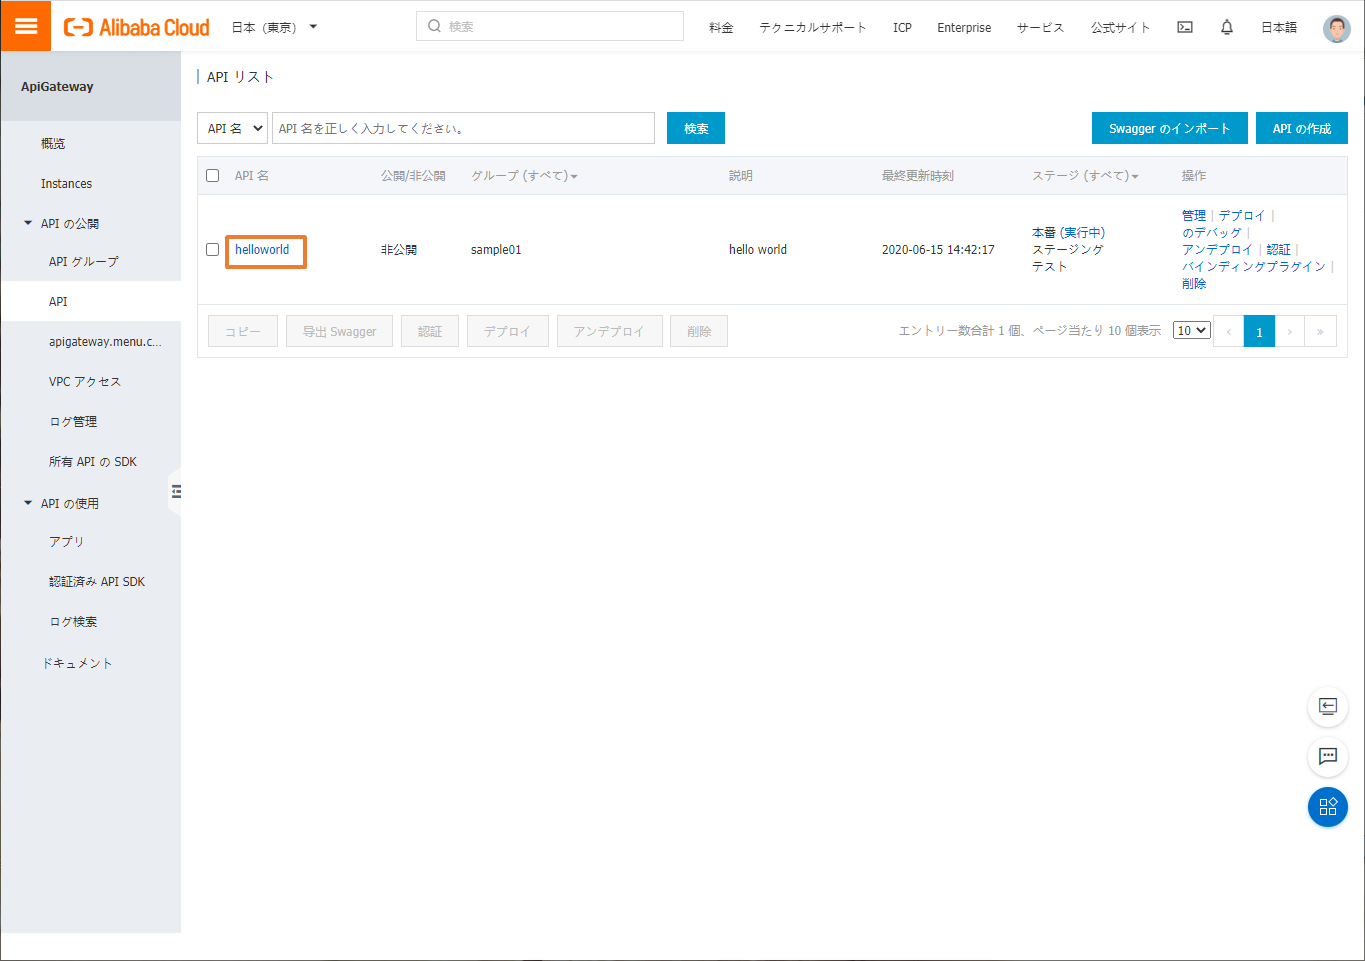
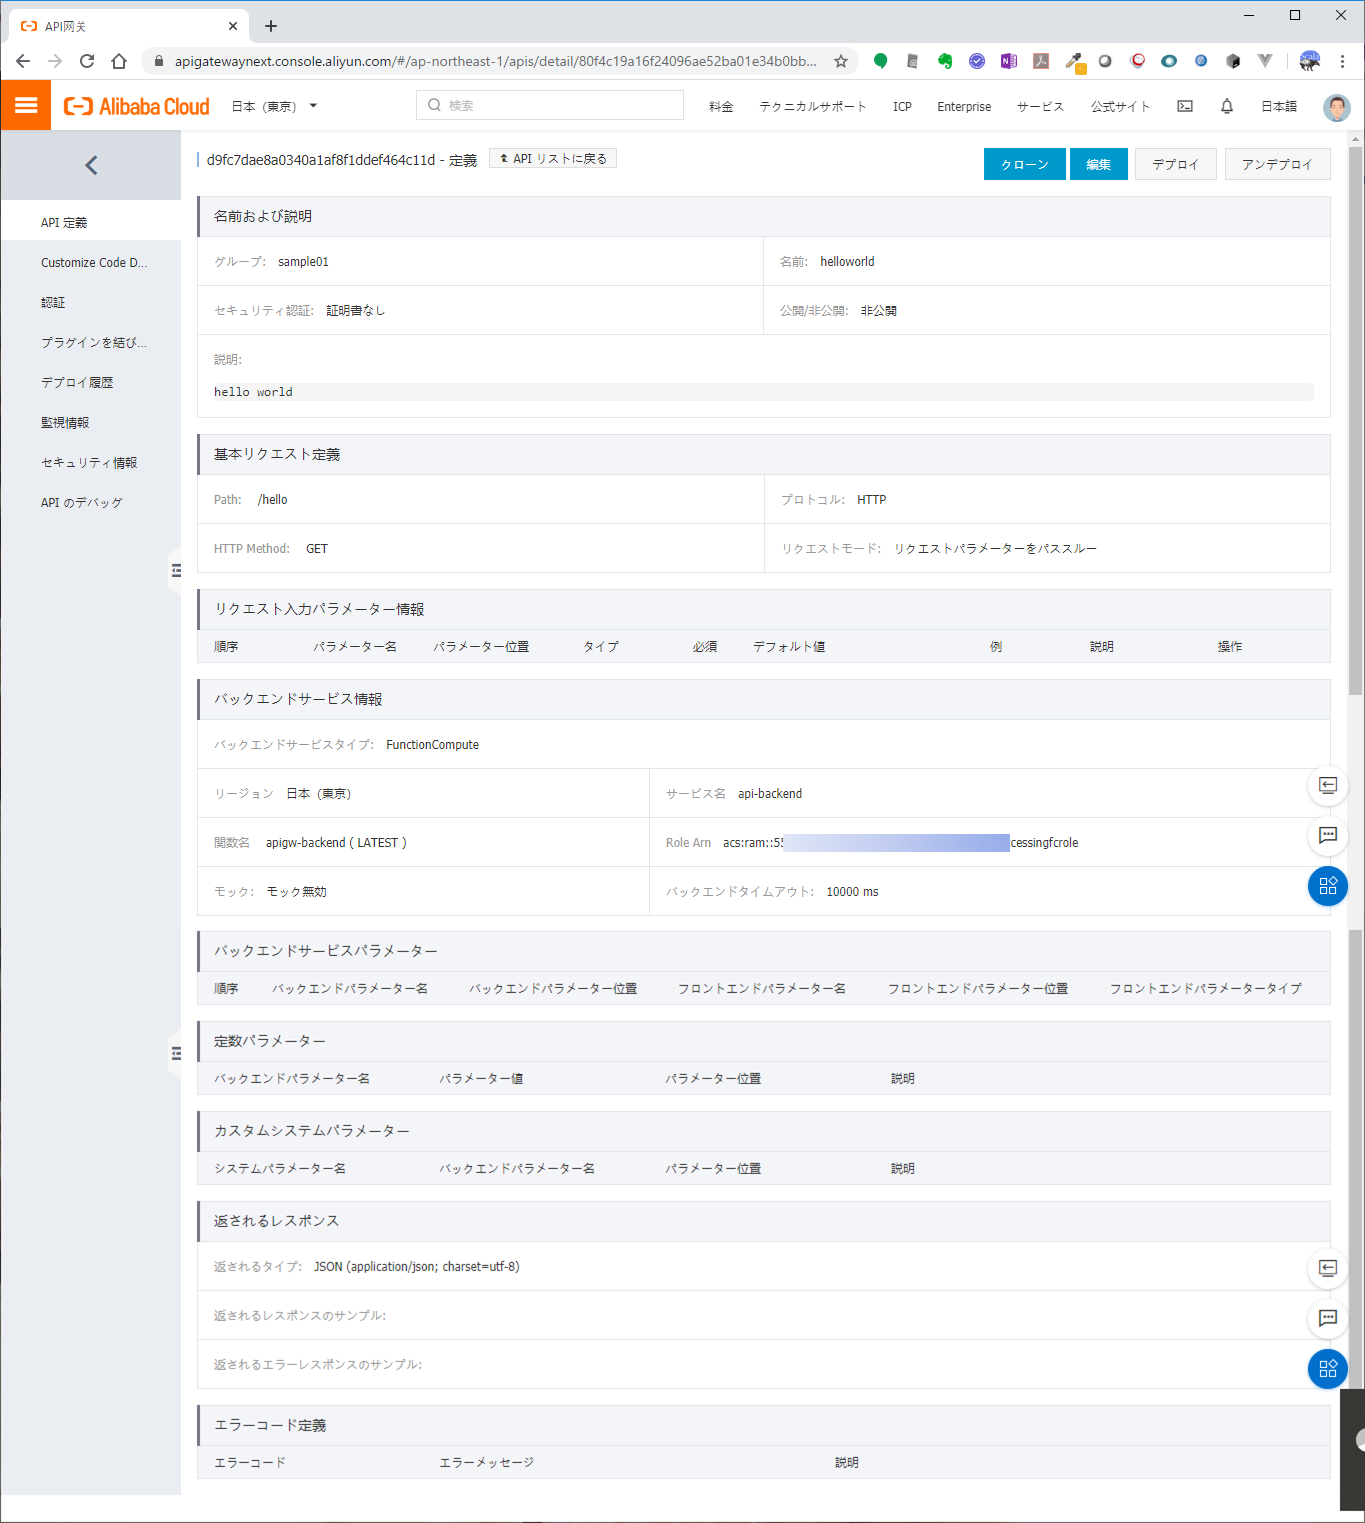
認証なしのAPIを公開する
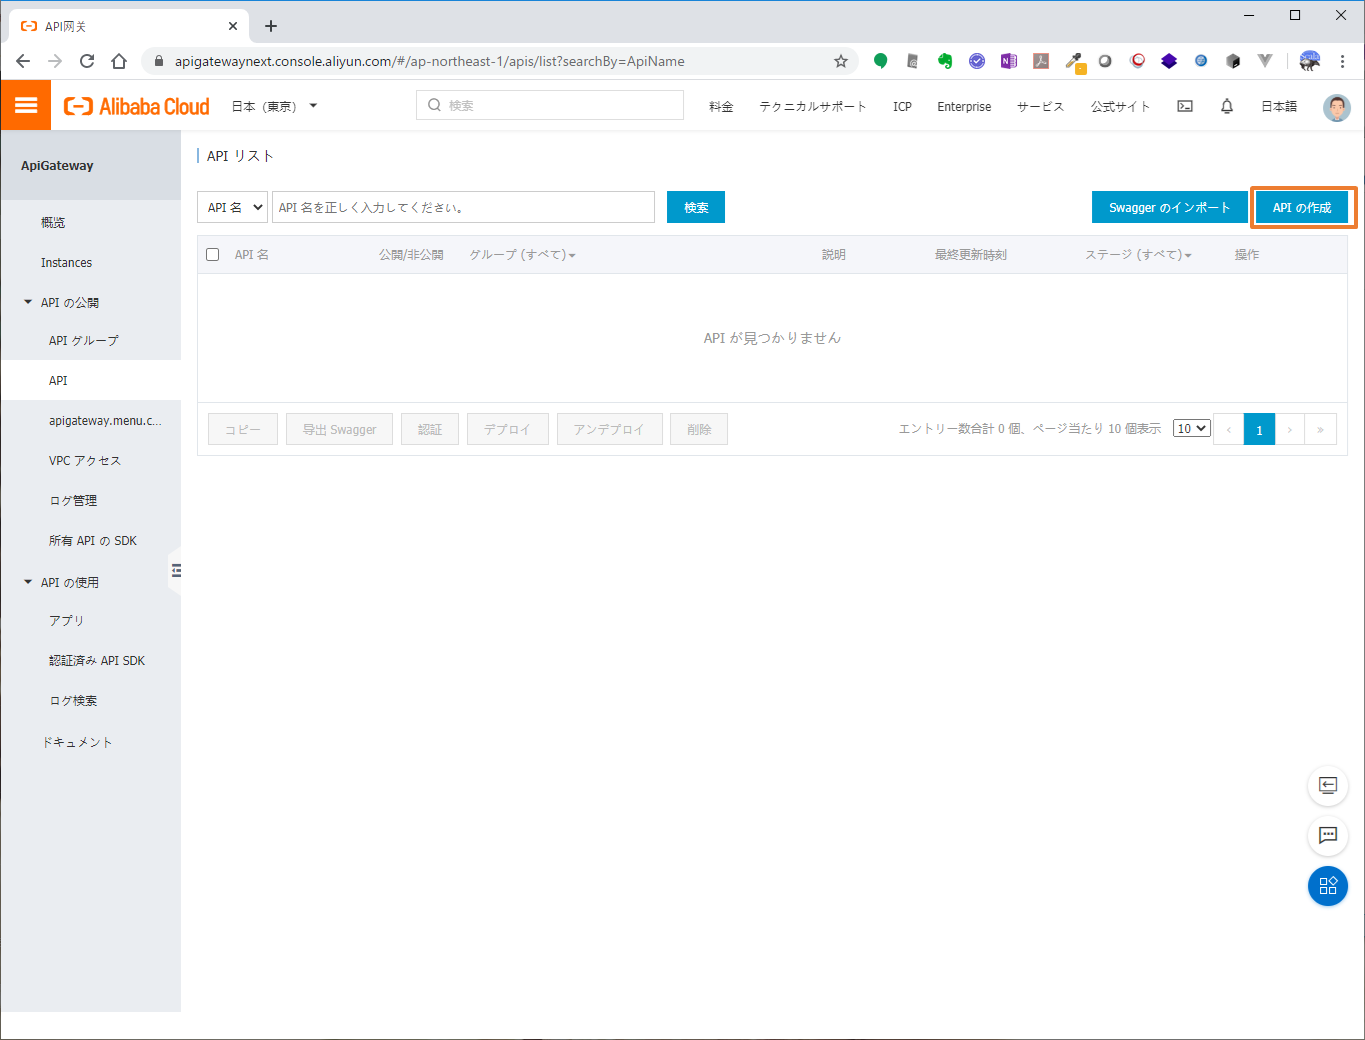
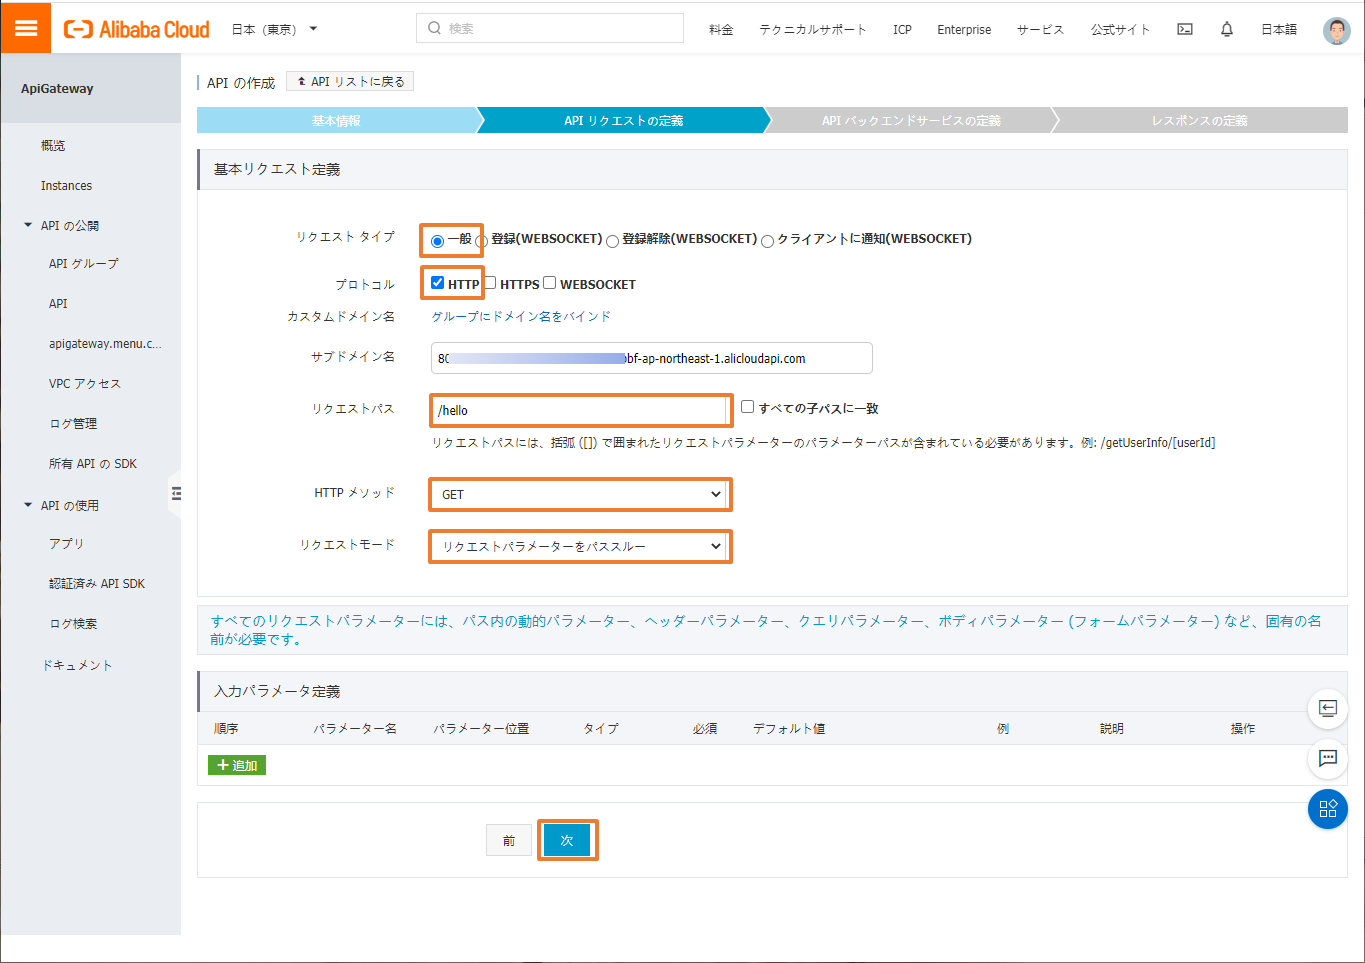
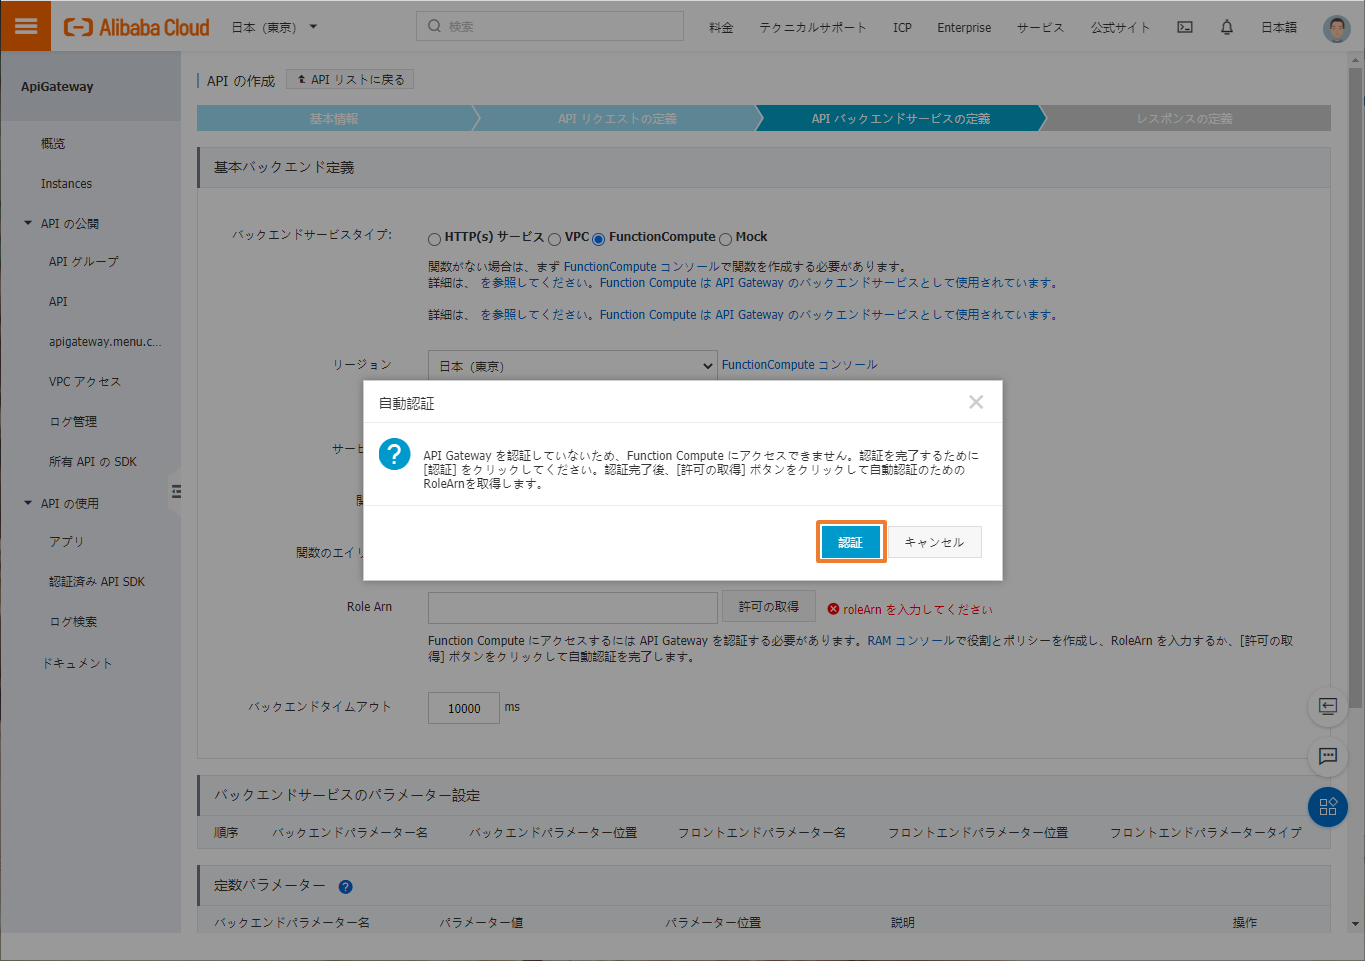
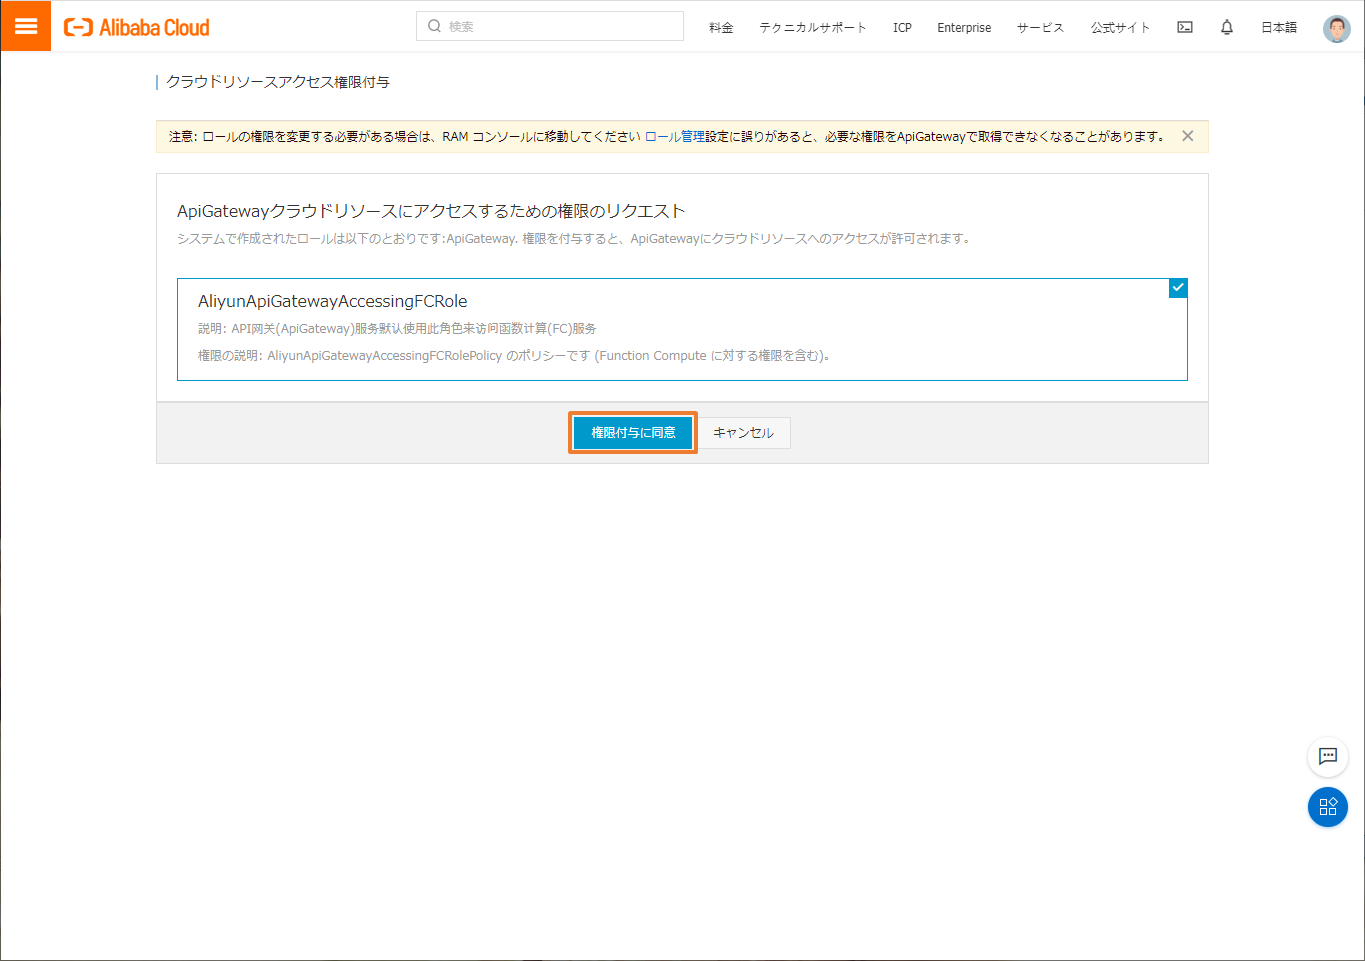
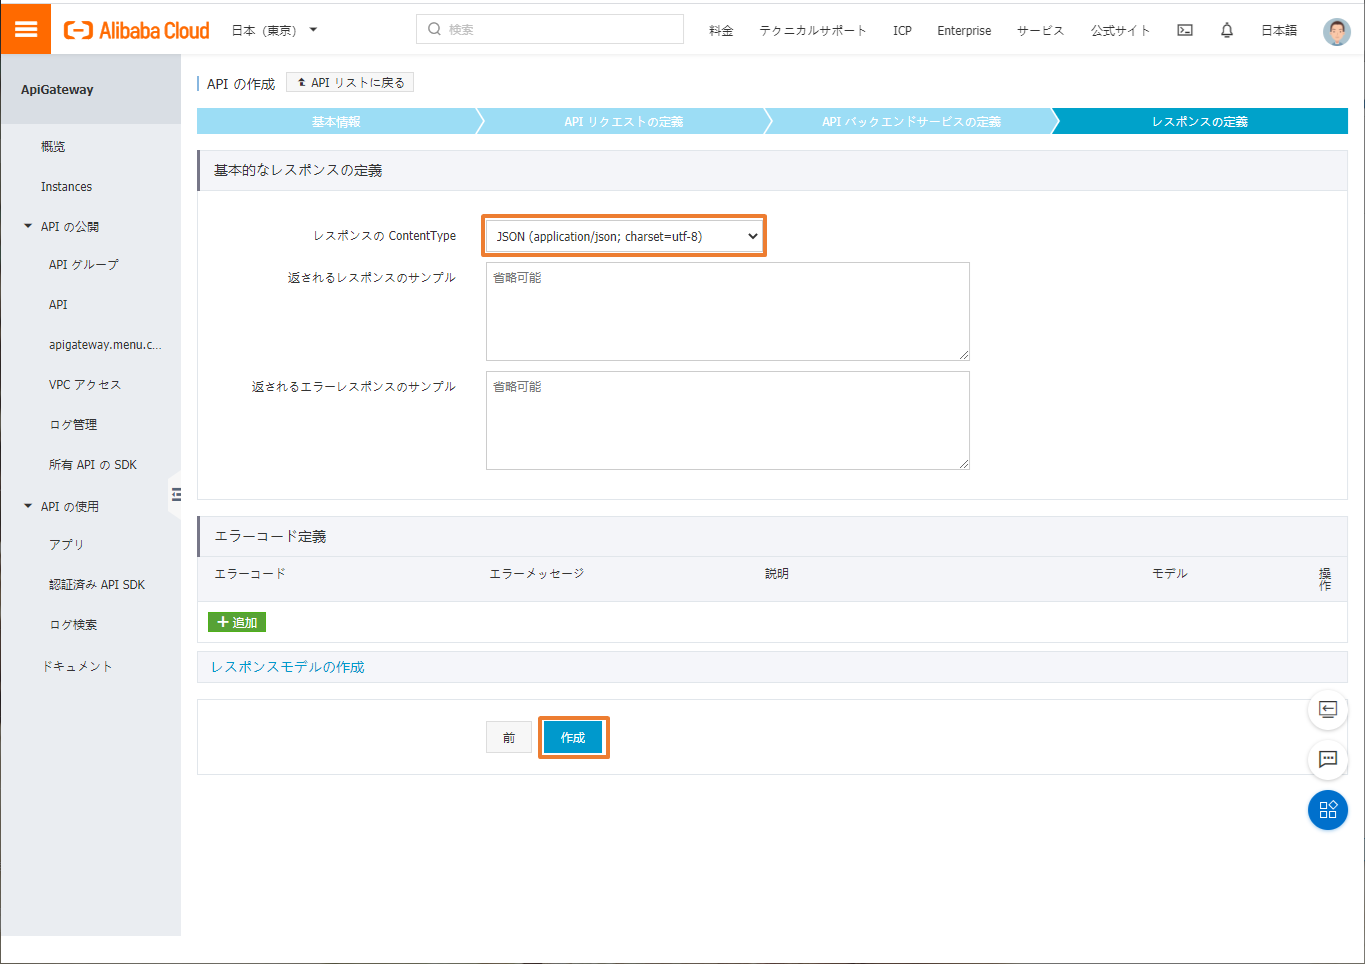
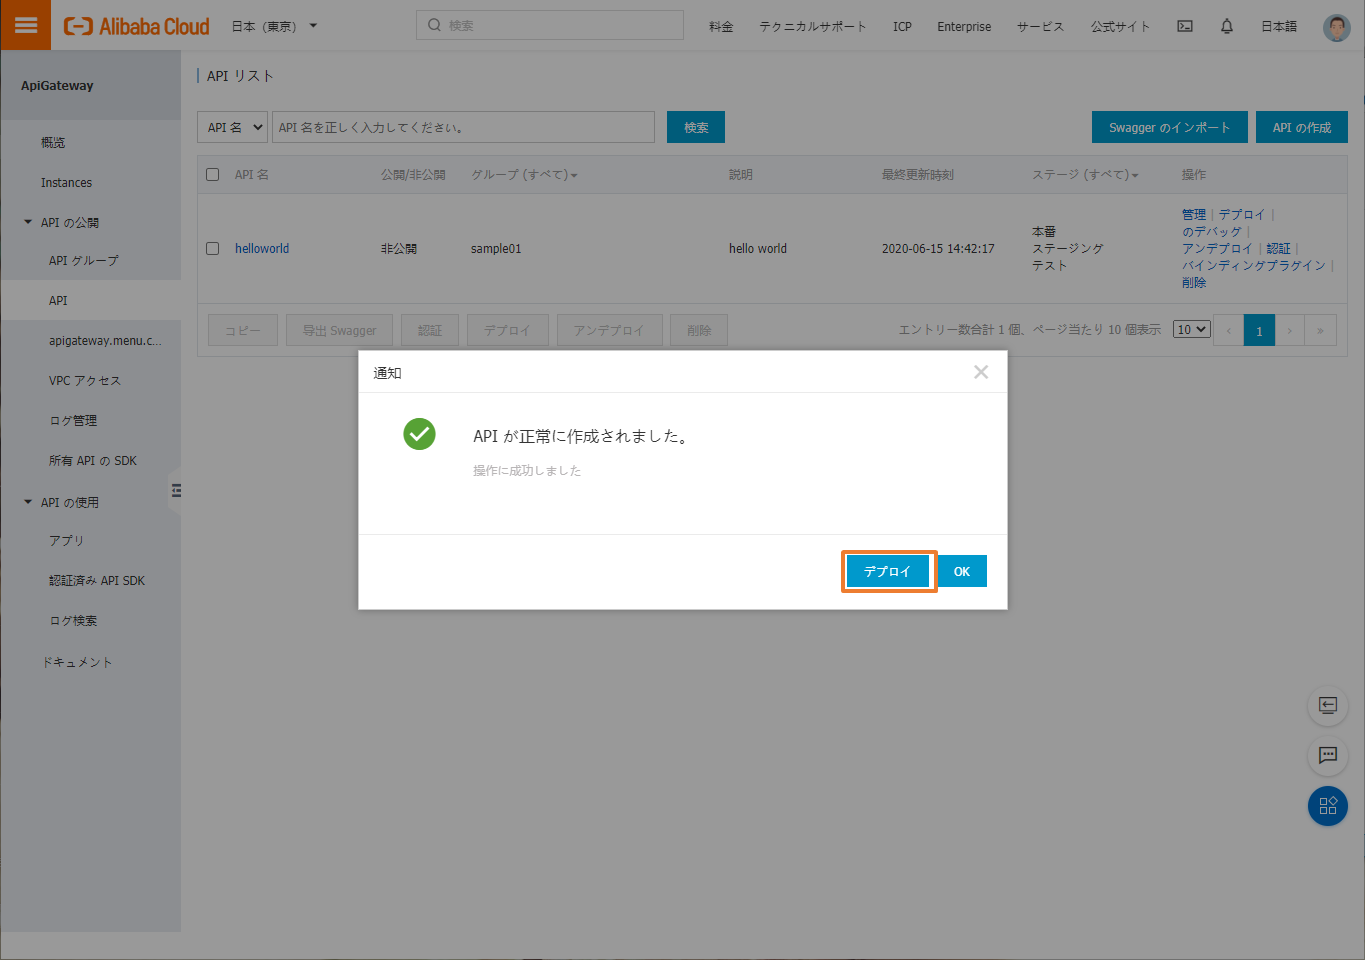
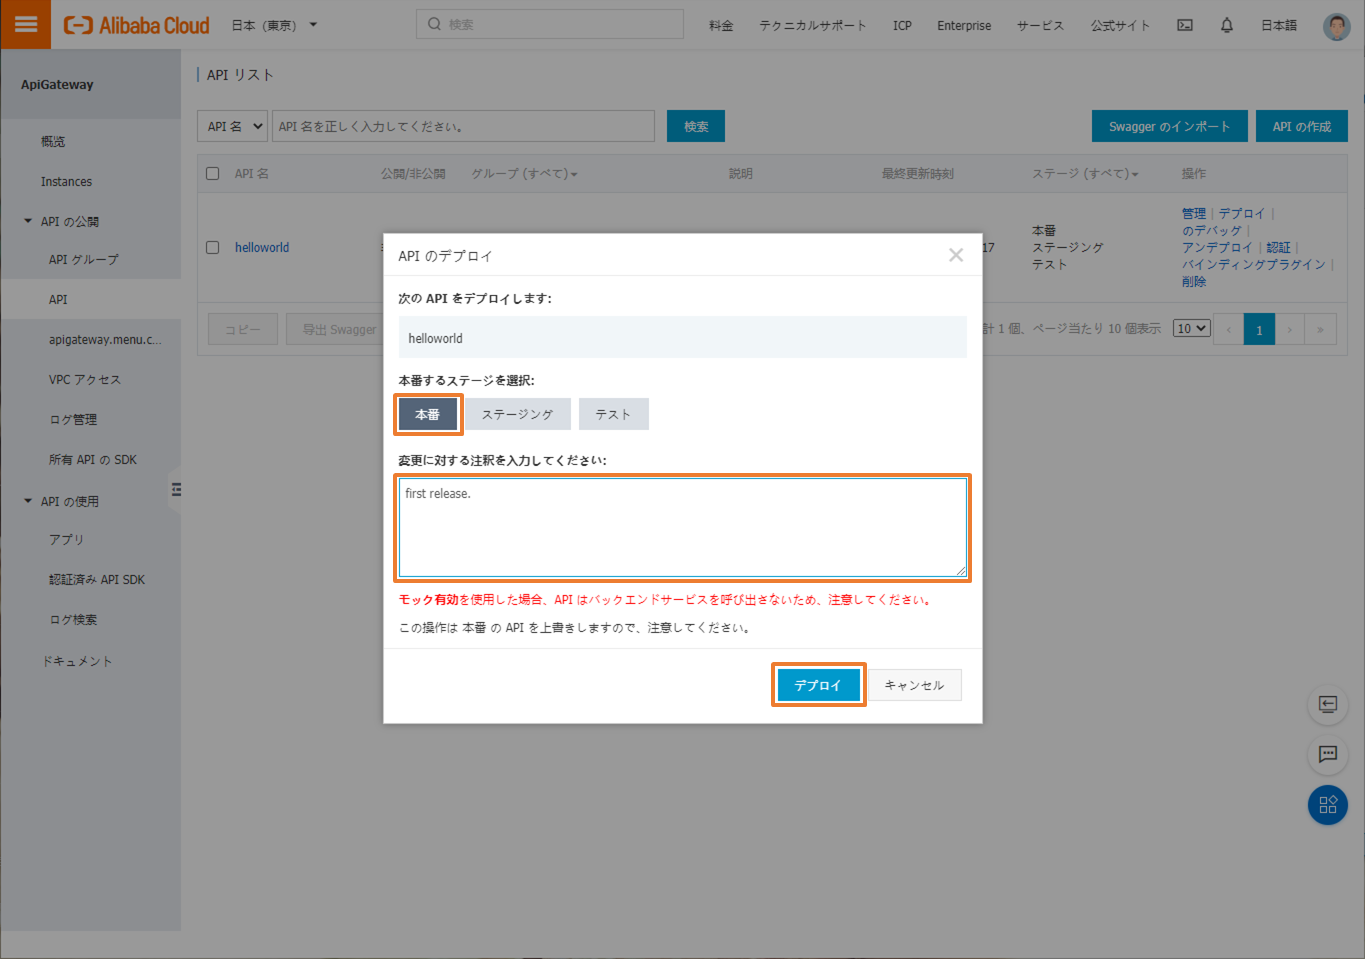
APIグループが作成できたので、公開APIを作成します。まずは、認証なしのAPIを作成してみます。
動作確認
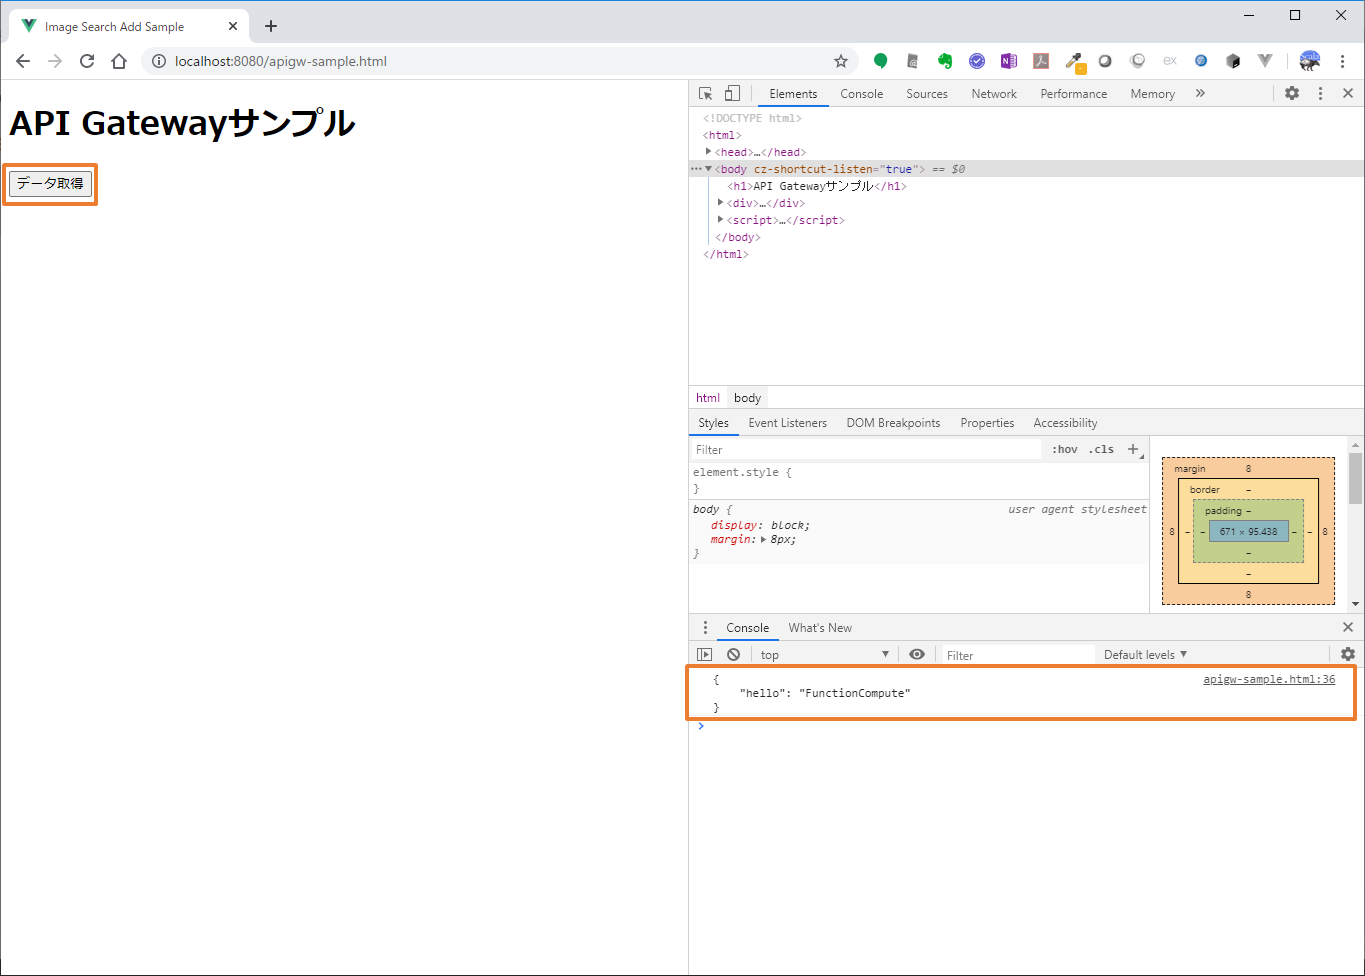
apigw-sample.html
<!DOCTYPE html>
<html>

<head>
    <title>Image Search Add Sample</title>
    <meta charset="utf-8">
</head>

<body>
    <h1>API Gatewayサンプル</h1>
    <div>
        <input id="call-gw" type="button" value="データ取得">
    </div>

    <script>
        //イベントの登録
        document.addEventListener('DOMContentLoaded', () => {
            const callgw = document.getElementById('call-gw');
            const params = {"response" : "json"}
            const qs = new URLSearchParams(params);
            callgw.addEventListener('click',(e) => {
                fetch(`http://xxxxxxxxxxxxxxx-ap-northeast-1.alicloudapi.com/hello?${qs}`, {
                    method: 'GET',
                    headers: {
                        "Content-Type": "application/json; charset=utf-8"
                    },
                })
                    .then((response) => {
                        if (response.status === 200) {
                            return response.json()
                        } else {
                            console.log('Bad')
                        }
                    })
                    .then((obj) => {
                        console.log(JSON.stringify(obj, null, 4))
                    })
                    .catch((err) => {
                        console.log('Error Occurred')
                        console.log(err)
                    })
            })
        })

    </script>
</body>

</html>
まとめ
今回は、API Gatewayを試してみました。今回はパススルーで設定してしまいましたが、パラメータやレスポンス設計はこちらでしっかりと行う必要だと思います。
また、今回は公開設定にしましたが、実際は認証処理は必要になると思います。次回は、セキュリティ認証方式の中で「Alibaba Cloudアプリ」を使ったものを紹介します。