皆さん、Bedrockしてますか??(生成系AI活用してますか??)
生成系AIを活用する際に必須なのがプロンプトエンジニアリングです。プロンプトエンジニアリングを行う際には試行錯誤が必要になりますが、チャットツールで行おうとすると入力欄が小さかったり😣、途中で間違えて送信してしまったり🤣と、なかなか効率が上がらないと思います。Streamlitでアプリを作成するのもちょっと面倒😥、、ということがあると思います。
そんなときの救世主を発見しました。
そう、みんな大好き Excel方眼紙 です。🎊
眼の前に広がる無限の入力欄!!😍
大量の関数!!😍
Ctrl+Sでいつでも保存可能!!😍
コピペ超簡単!!😍
メリットしかない!!!!!
ということで、Excel、、、ではなくGoogleスプレッドシートでプロンプトエンジニアリングしてみました。
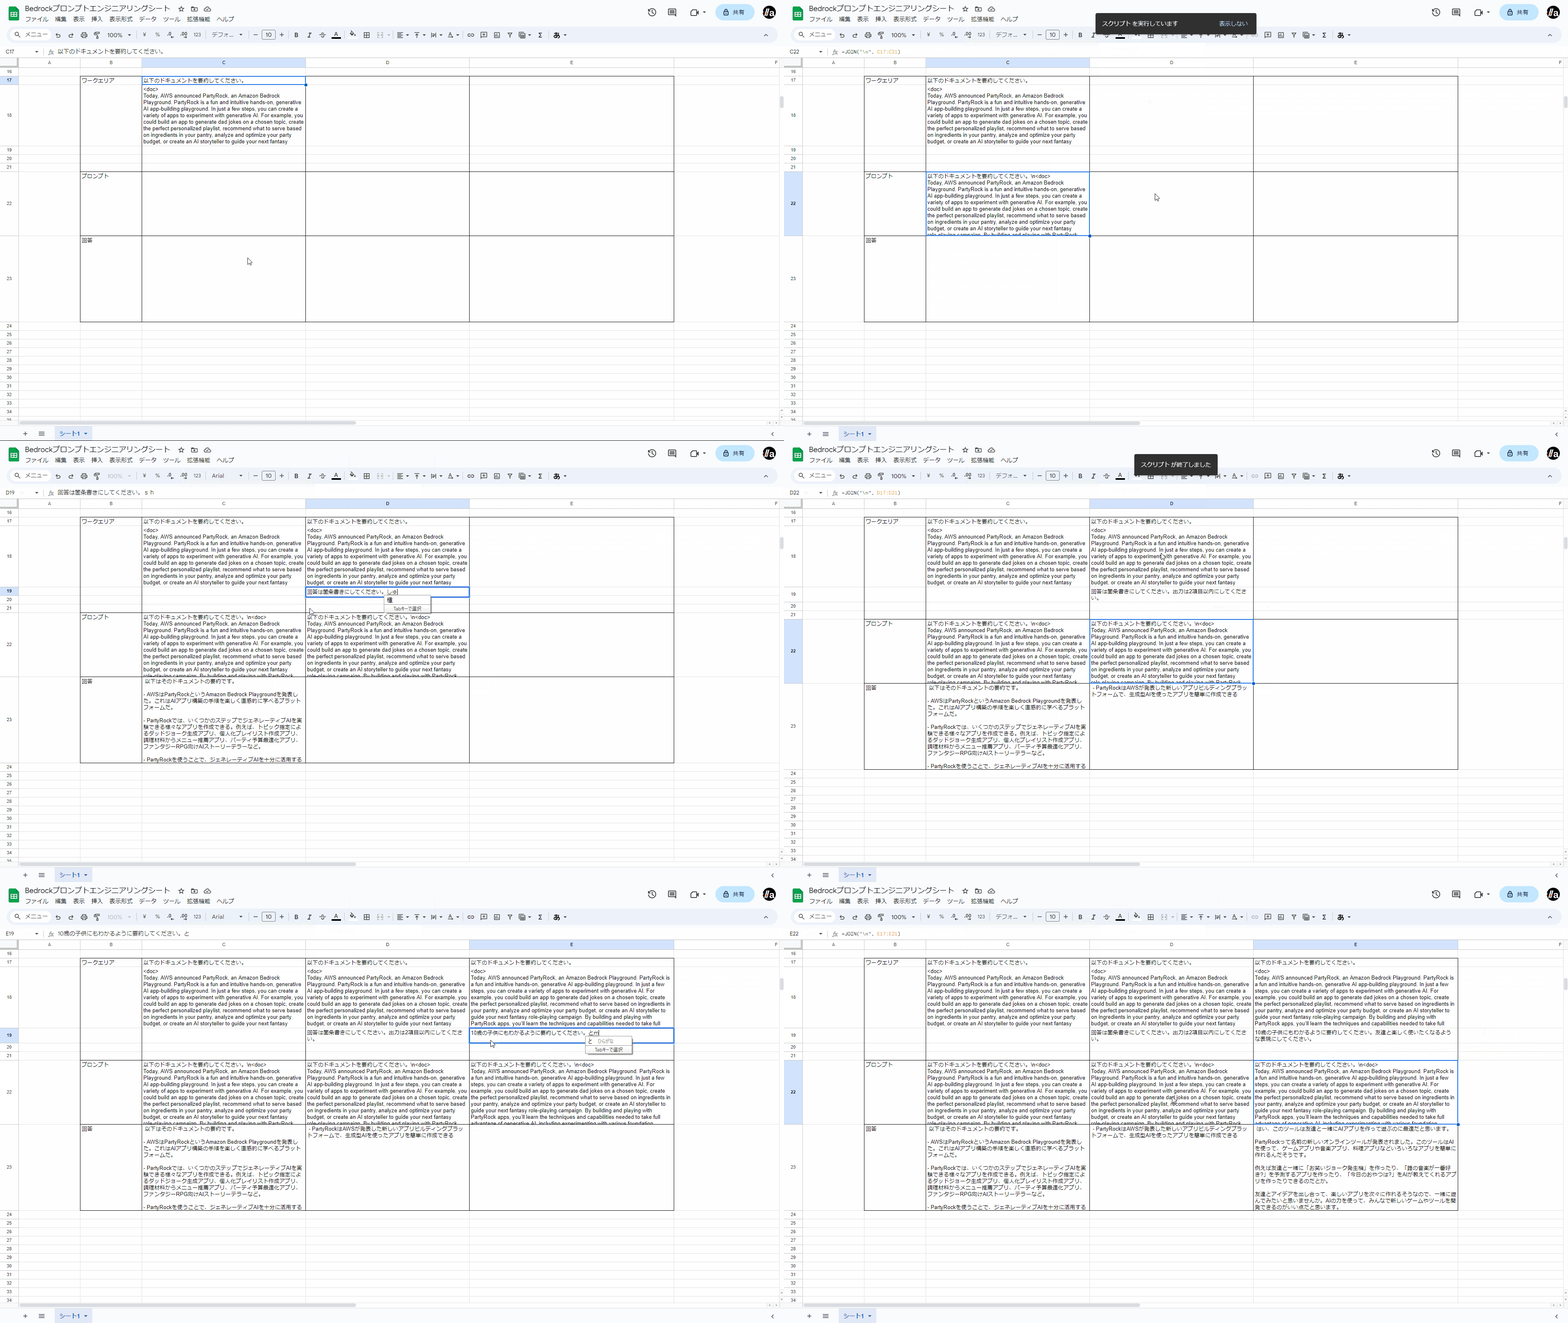
こちらを御覧ください。
どうですか! 捗ってるでしょう!!
- ワークエリアでタスクや対象の文書、出力のトーンなどを個別に入力します。
- プロンプト行には
JOIN()関数を使い、ワークエリアの文字列を連結した文字列がセットされるようにします。 - プロンプト文字列を選択した状態でマクロを実行すると、回答欄にAIで生成した文書が入ります。
すごい
PartyRockのリリース文書を使用しました。
https://aws.amazon.com/about-aws/whats-new/2023/11/partyrock-amazon-bedrock-playground/
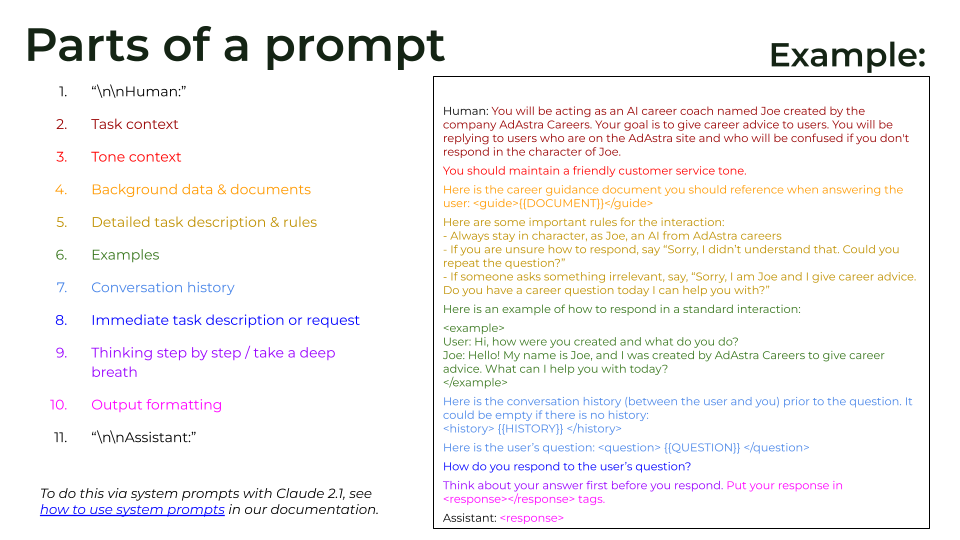
Bedrockで使用できるClaudeモデルのプロンプトエンジニアリング手法はこちらで学べます。
https://docs.anthropic.com/claude/docs
このような超絶わかりやすいスライドも用意されています。
ということで、GoogleスプレッドシートでAmazon Bedrockを呼べるようにする方法を紹介します。
モデルはもちろんClaudeです。
手順
-
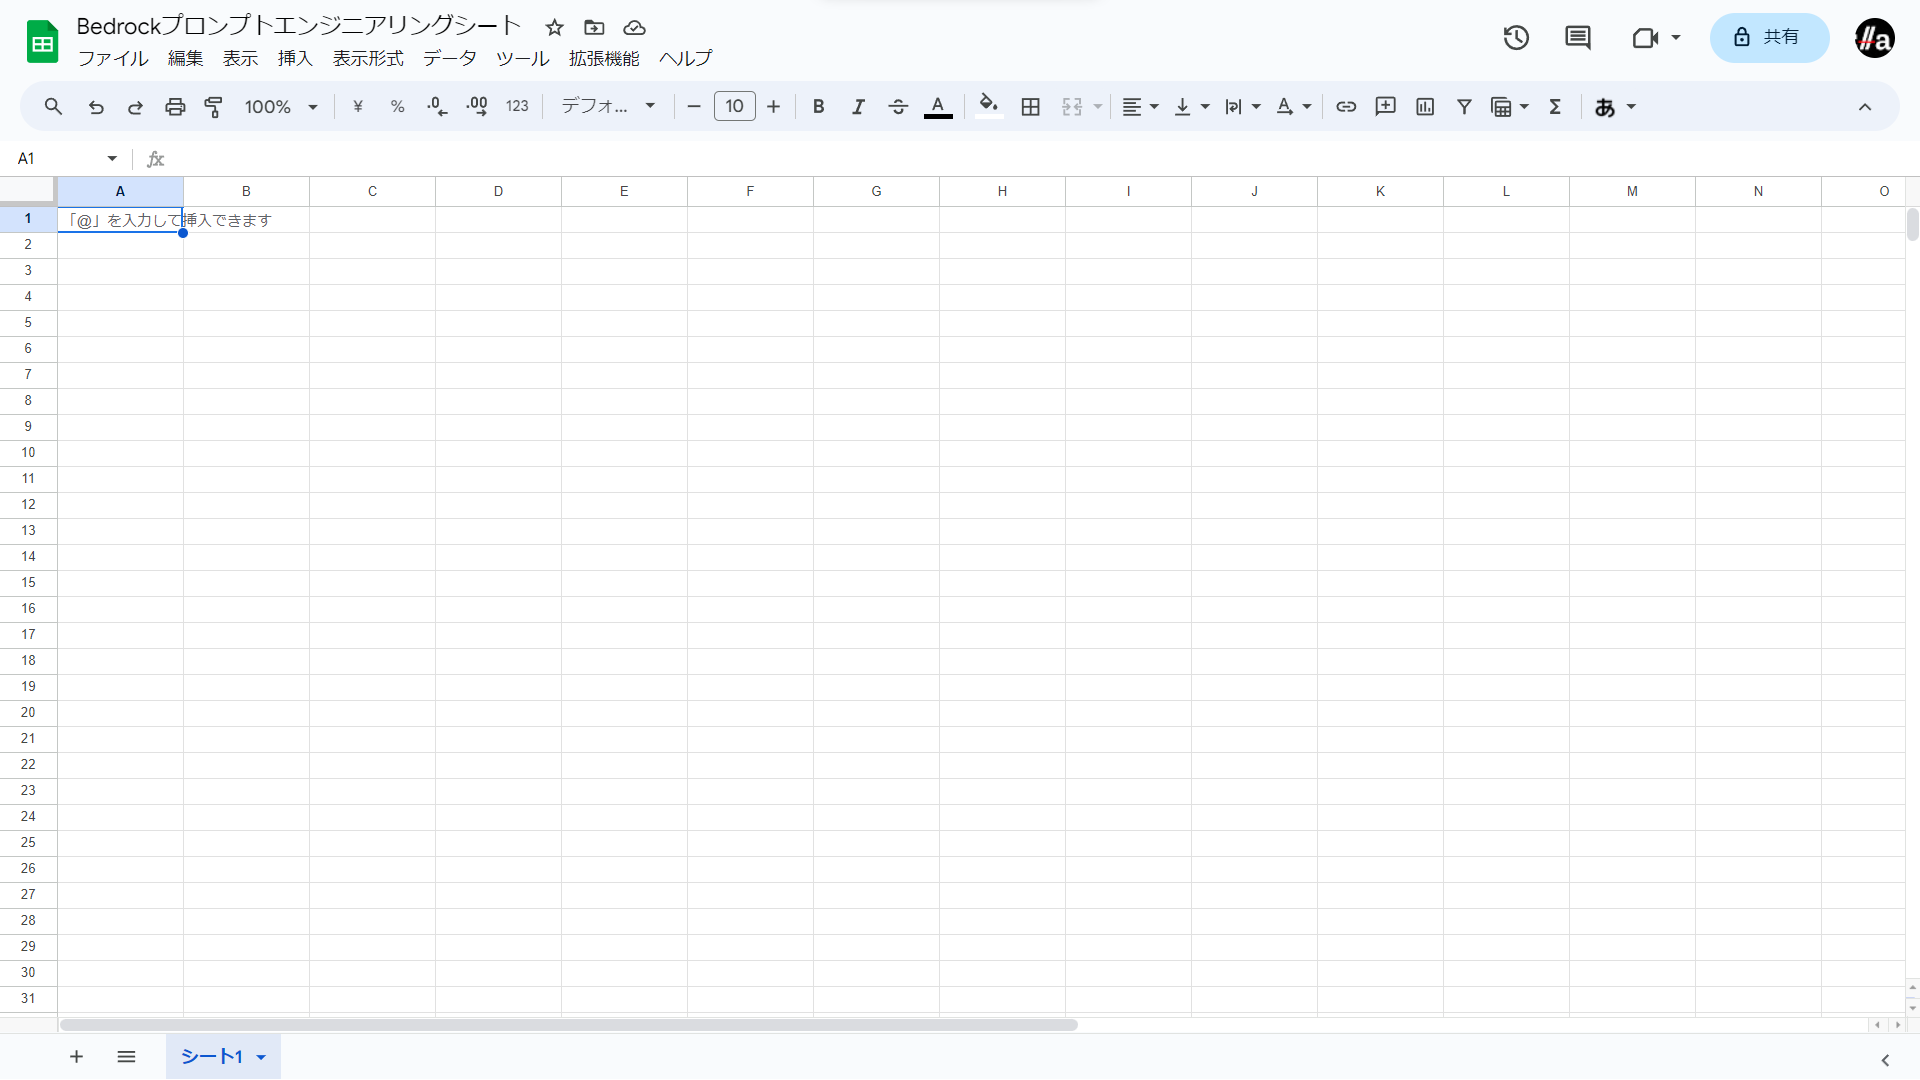
スプレッドシートを開きます。
-
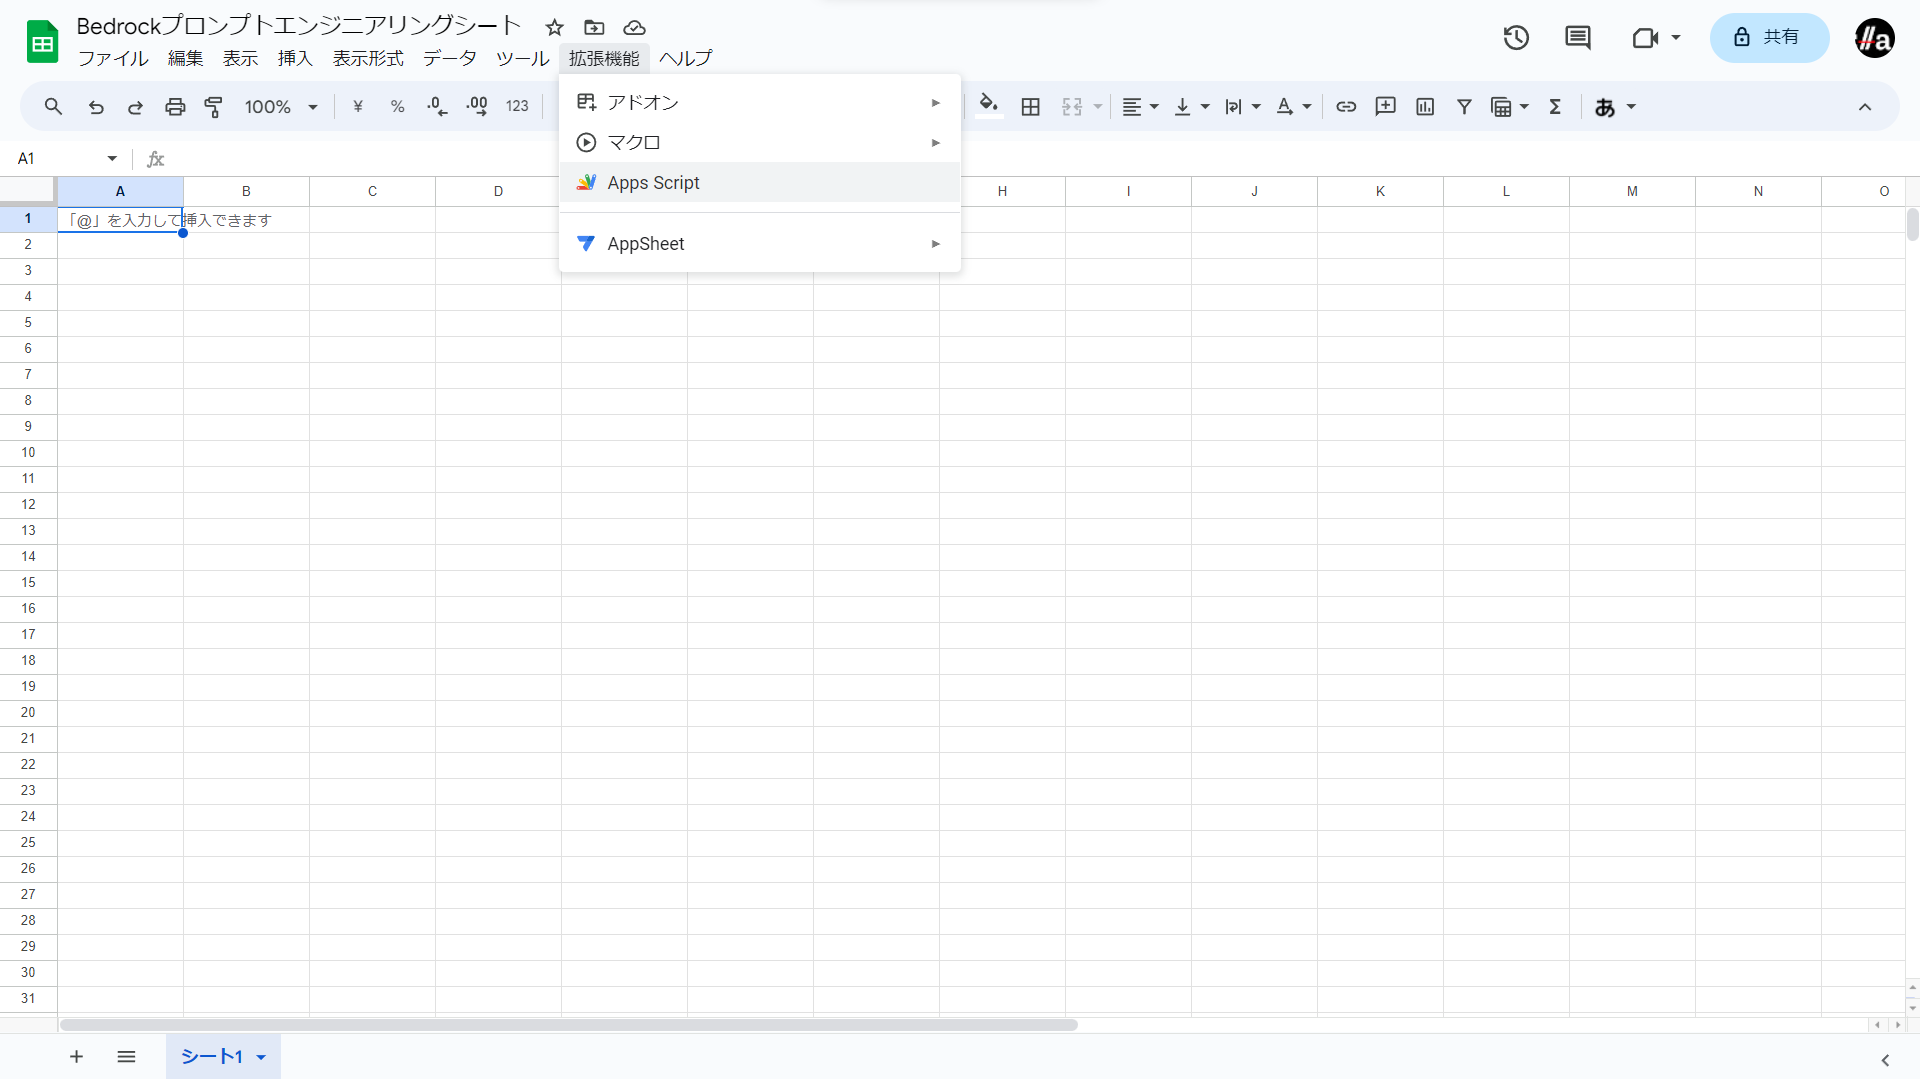
拡張機能メニューの
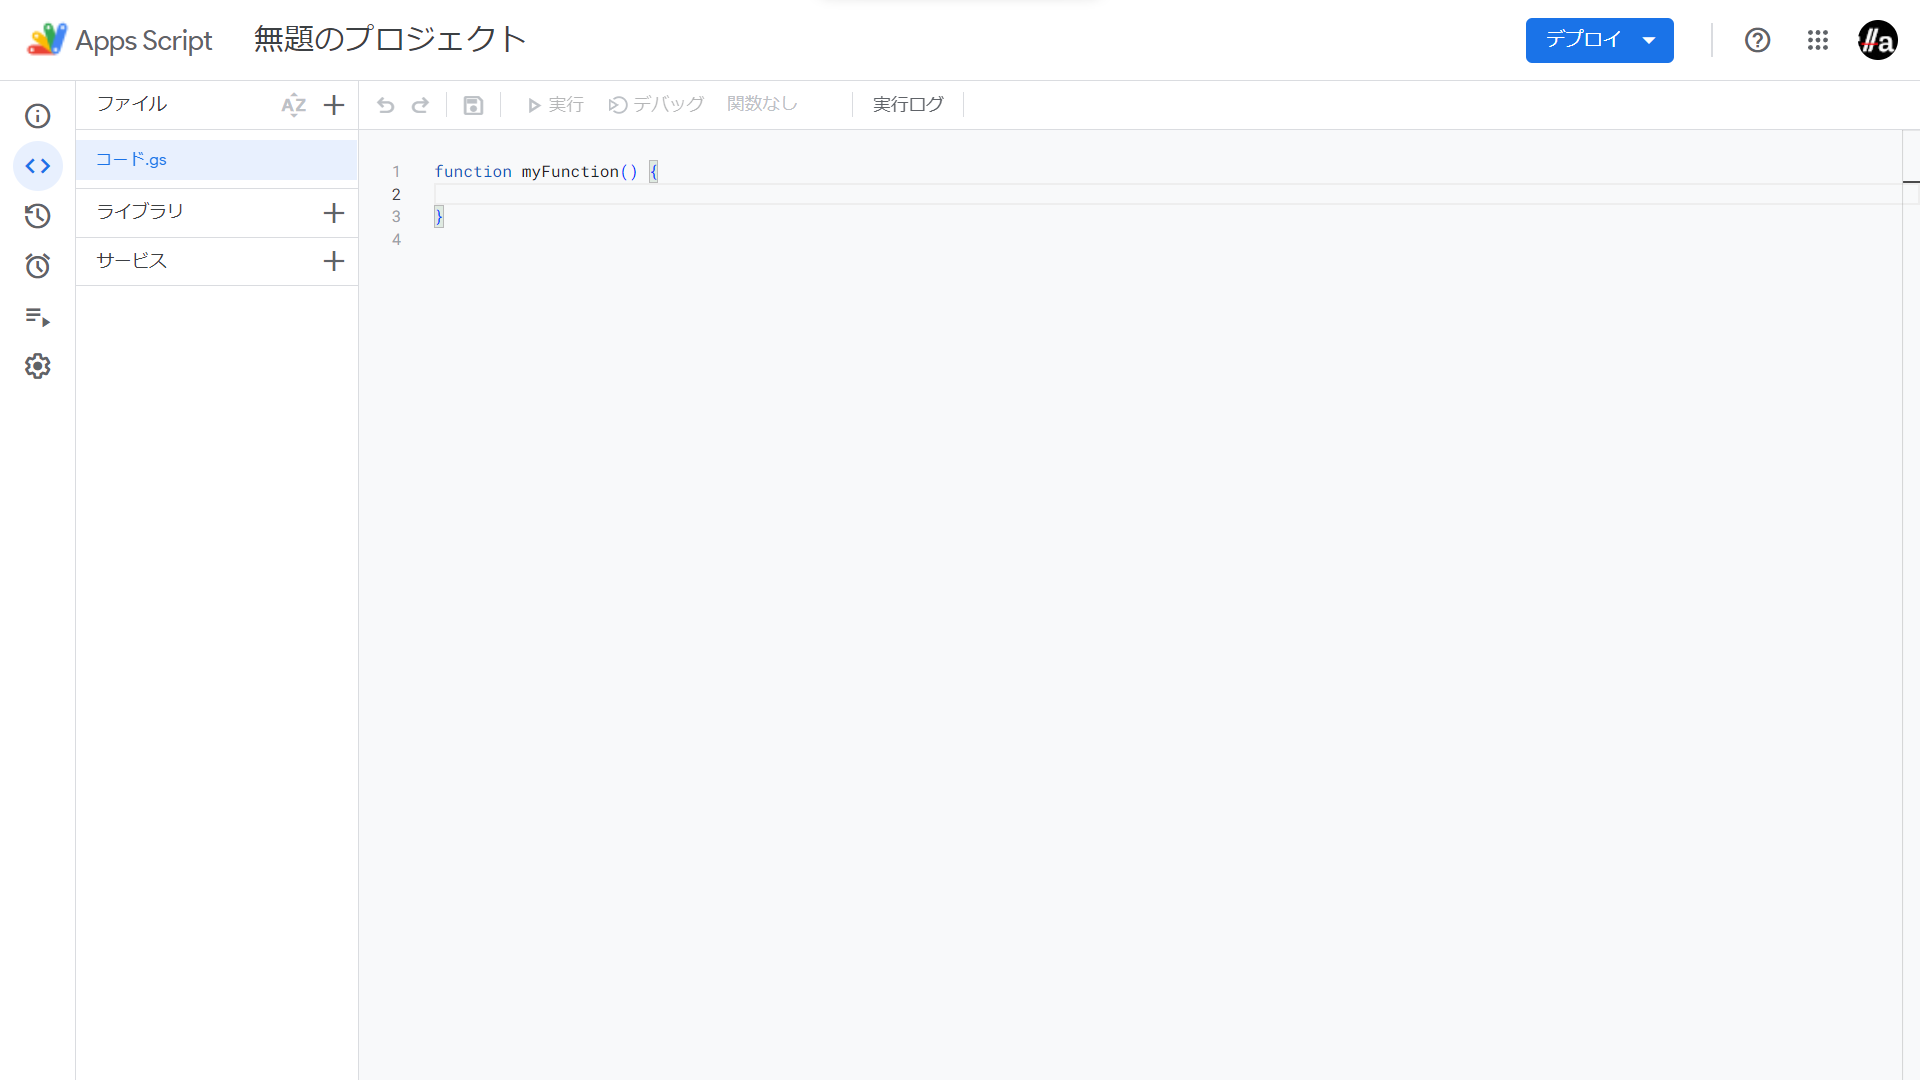
Apps Scriptを選択します。 -
Apps Scriptのエディターが開きます。
-
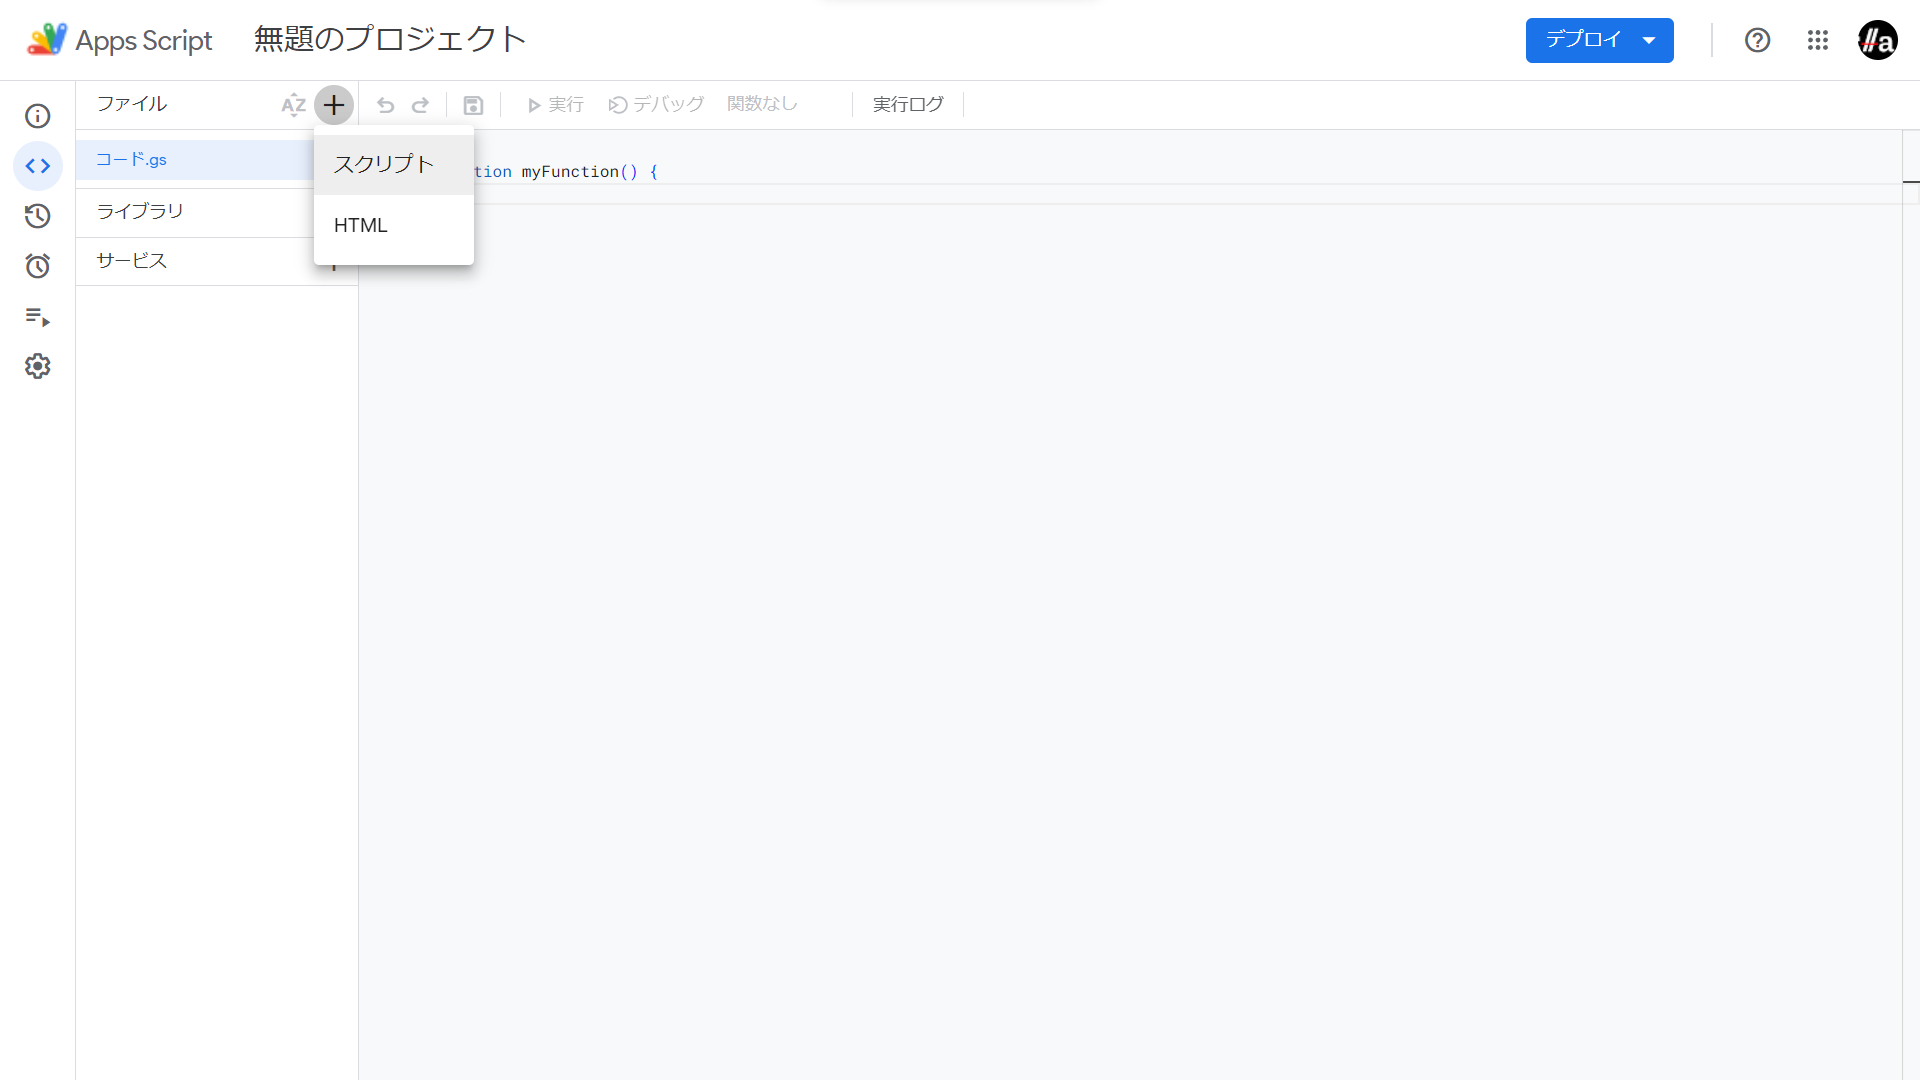
+ボタン(ファイルを追加)からスクリプトを選択します。 -
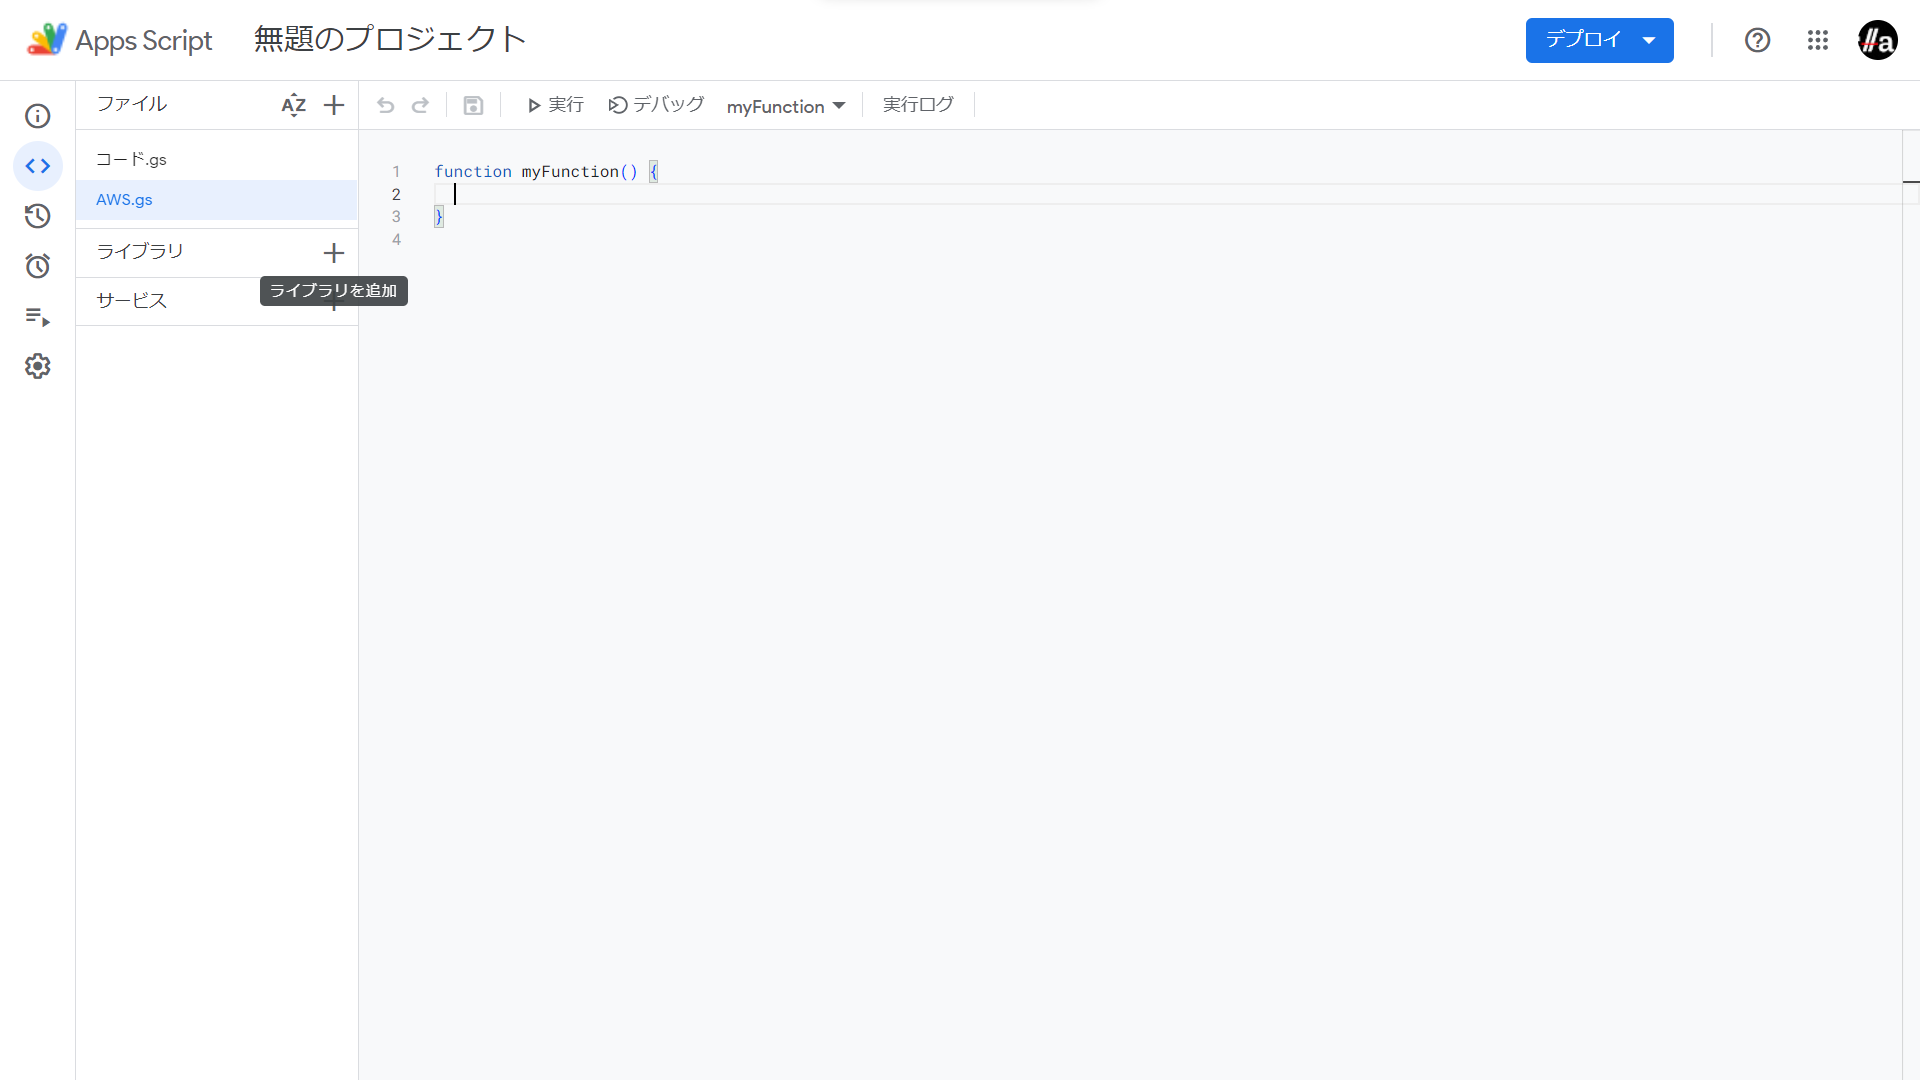
ファイル名は「
AWS」とします。拡張子は自動で付与されます。 -
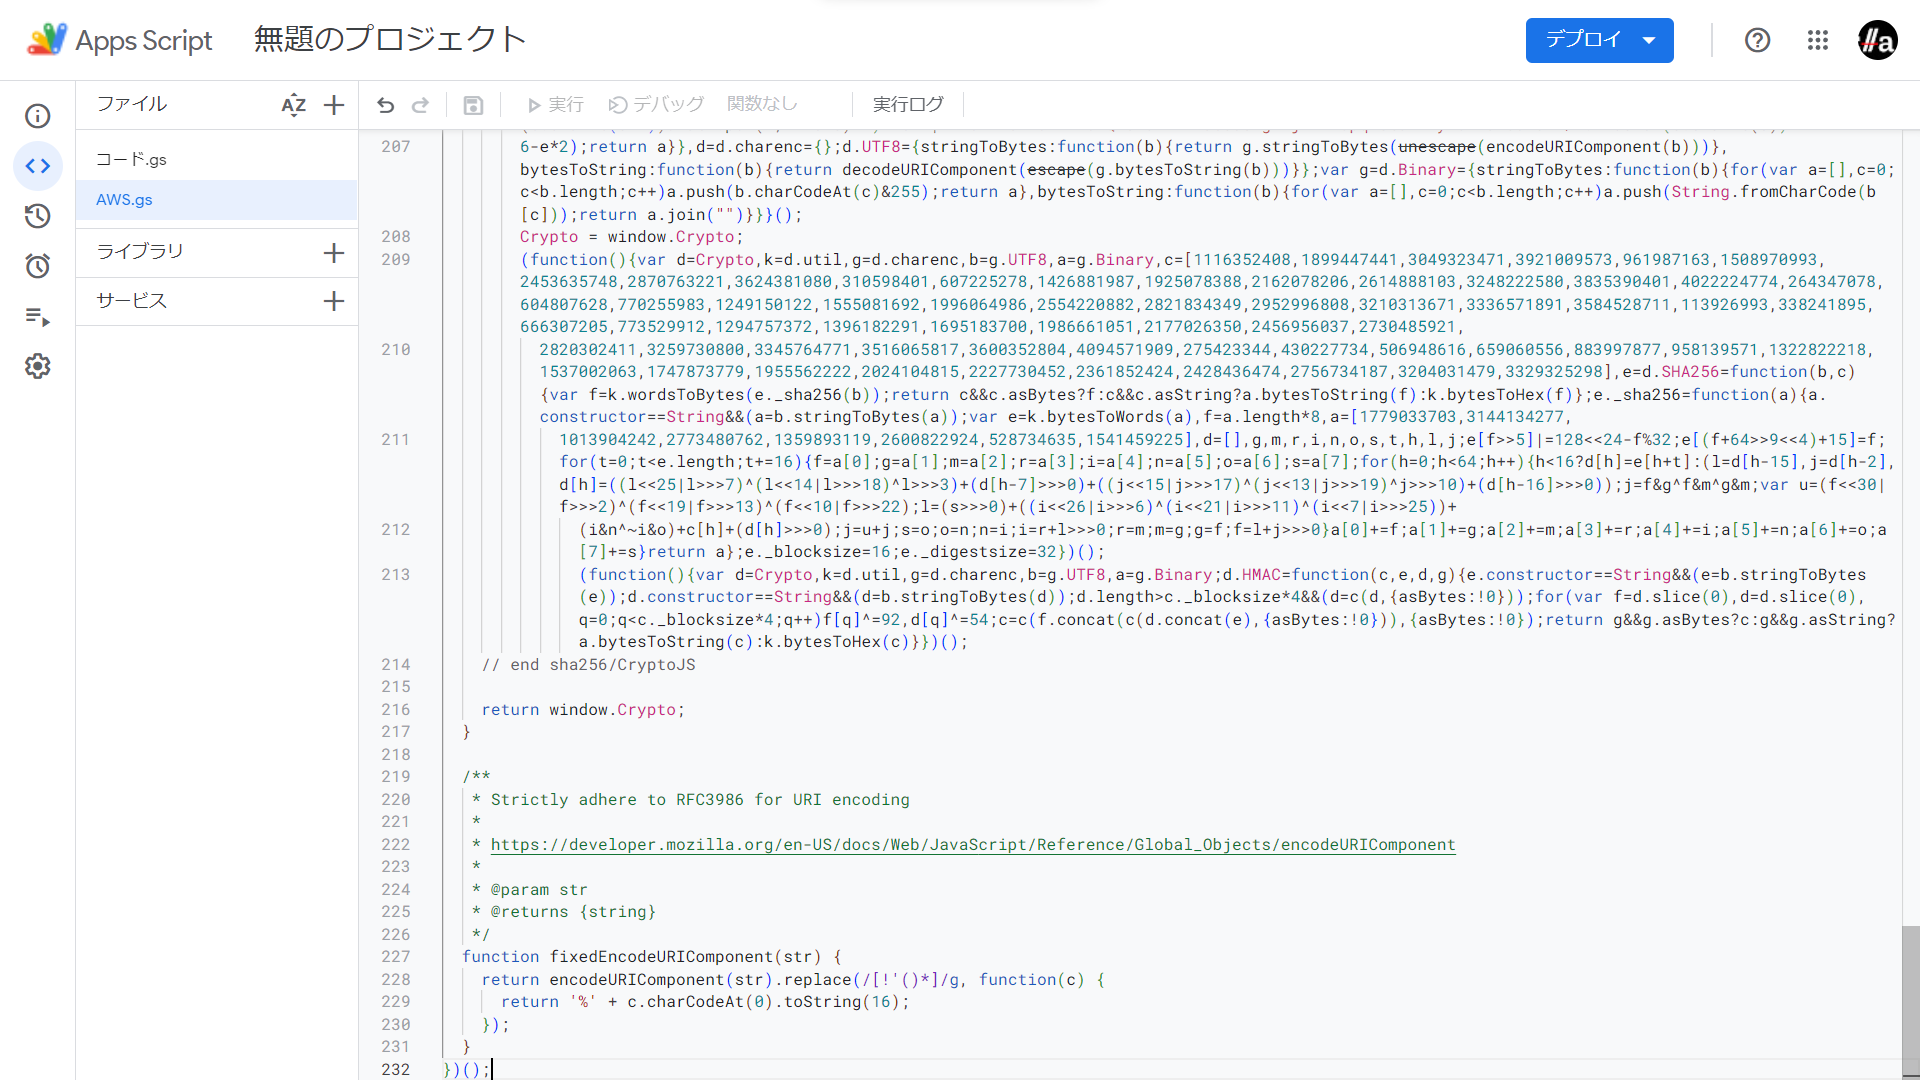
GitHubで公開されているaws-apps-scriptsのaws.jsをまるごとコピーし、AWS.gsに貼り付けます。
-
エンドポイント名を外部から指定できるようにソースを修正します。
AWSのサービスの多くのエンドポイントは
{サービス名}.{リージョン}.amazonaws.com`の書式です(例:dynamodb.us-west-2.amazonaws.com)。Bedrockは特殊で、サービス名の部分が
bedrock、bedrock-runtime、bedrock-agent、bedrock-agent-runtimeの4種類あります(2023年12月現在)。LLMモデルの呼び出しに使用するのは
bedrock-runtimeのため、エンドポイントはbedrock-runtime.{リージョン}.amazonaws.comとなります。24行目~/** * Authenticates and sends the given parameters for an AWS api request. * @param {string} service - the aws service to connect to (e.g. 'ec2', 'iam', 'codecommit') * @param {string} region - the aws region your command will go to (e.g. 'us-east-1') * @param {string} action - the api action to call * @param {Object} [params] - the parameters to call on the action. Defaults to none. * @param {string} [method=GET] - the http method (e.g. 'GET', 'POST'). Defaults to GET. * @param {(string|object)} [payload={}] - the payload to send. Defults to ''. * @param {Object} [headers={Host:..., X-Amz-Date:...}] - the headers to attach to the request. Host and X-Amz-Date are premade for you. * @param {string} [uri='/'] - the path after the domain before the action. Defaults to '/'. * @param {Object} [options] - additional service specific values + * @param {string} [host] - host * @return {string} the server response to the request */ - request: function(service, region, action, params, method, payload, headers, uri, options) { + request: function(service, region, action, params, method, payload, headers, uri, options, host) {63行目~var dateStringFull = String(d.getUTCFullYear()) + addZero(d.getUTCMonth()+1) + addZero(d.getUTCDate()) + "T" + addZero(d.getUTCHours()) + addZero(d.getUTCMinutes()) + addZero(d.getUTCSeconds()) + 'Z'; var dateStringShort = String(d.getUTCFullYear()) + addZero(d.getUTCMonth()+1) + addZero(d.getUTCDate()); var payload = payload || ''; var hashedPayload = Crypto.SHA256(payload); var method = method || "GET"; var uri = uri || "/"; - var host = getHost(service, region, bucket); + var host = host || getHost(service, region, bucket); var headers = headers || {}; var request; var query;これでAWS.gsは完成です。
-
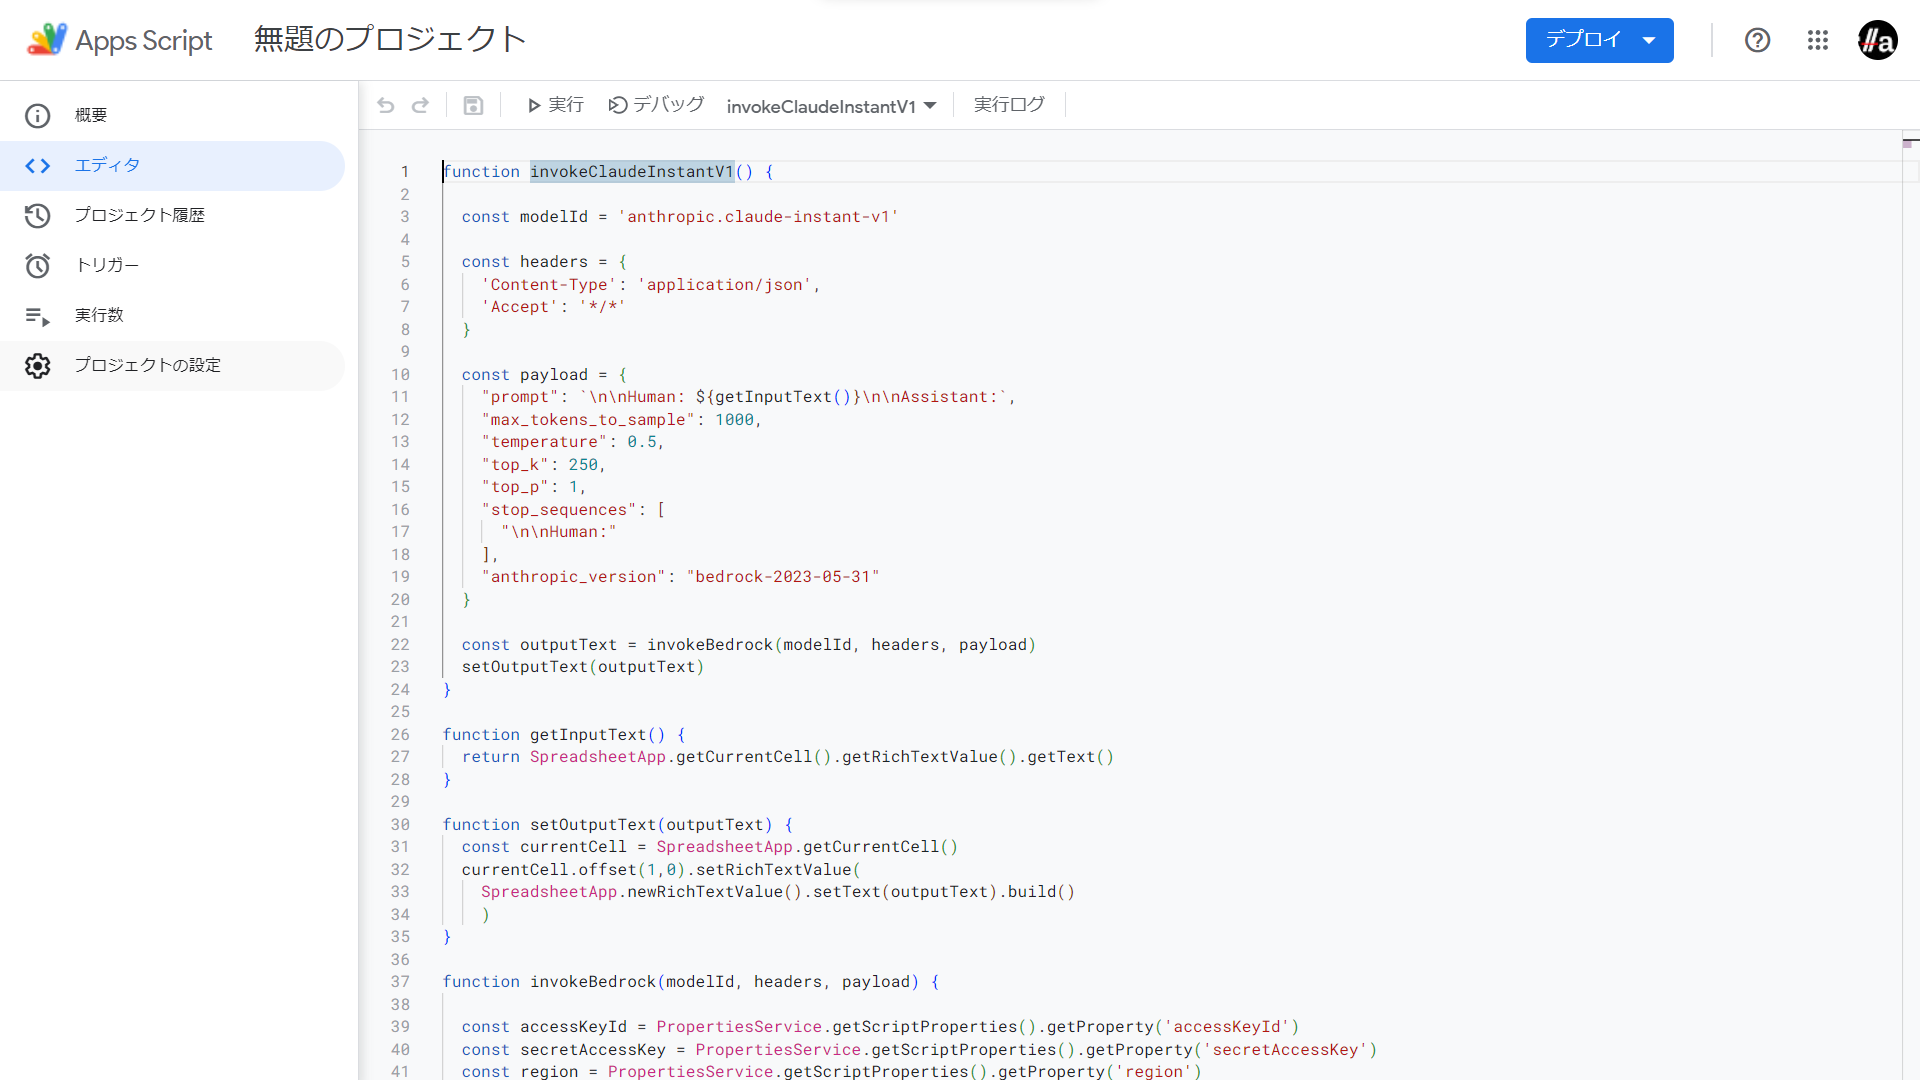
コード.gsに以下の関数を追加します。(myFunction関数は削除します)コード.gsfunction invokeClaudeInstantV1() { const modelId = 'anthropic.claude-instant-v1' const headers = { 'Content-Type': 'application/json', 'Accept': '*/*' } const payload = { "prompt": `\n\nHuman: ${getInputText()}\n\nAssistant:`, "max_tokens_to_sample": 1000, "temperature": 0.5, "top_k": 250, "top_p": 1, "stop_sequences": [ "\n\nHuman:" ], "anthropic_version": "bedrock-2023-05-31" } const outputText = invokeBedrock(modelId, headers, payload) setOutputText(outputText) } function getInputText() { return SpreadsheetApp.getCurrentCell().getRichTextValue().getText() } function setOutputText(outputText) { const currentCell = SpreadsheetApp.getCurrentCell() currentCell.offset(1,0).setRichTextValue( SpreadsheetApp.newRichTextValue().setText(outputText).build() ) } function invokeBedrock(modelId, headers, payload) { const accessKeyId = PropertiesService.getScriptProperties().getProperty('accessKeyId') const secretAccessKey = PropertiesService.getScriptProperties().getProperty('secretAccessKey') const region = PropertiesService.getScriptProperties().getProperty('region') AWS.init(accessKeyId, secretAccessKey) const response = AWS.request( 'bedrock', region, '', undefined, 'POST', payload, headers, `/model/${modelId}/invoke`, undefined, `bedrock-runtime.${region}.amazonaws.com` ) const content = JSON.parse(response.getContentText()) return content.completion } -
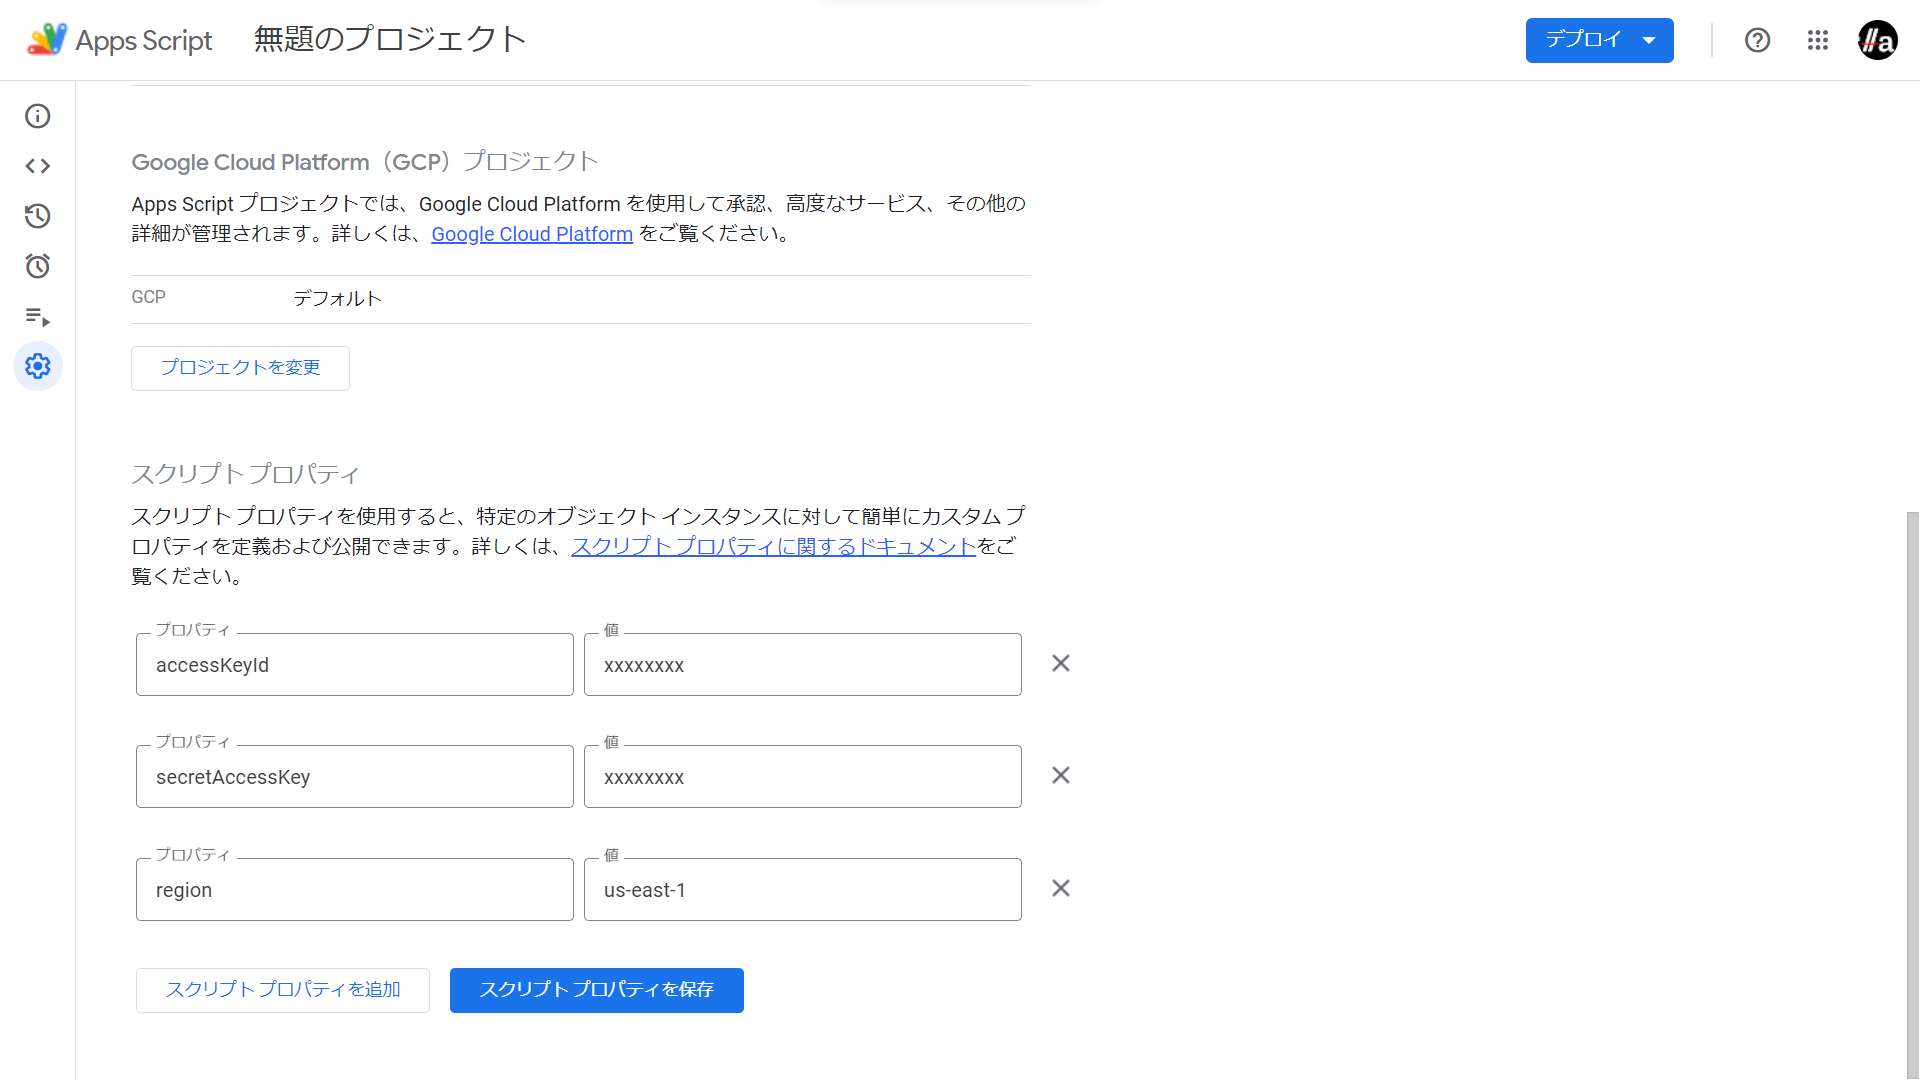
パラメーターを設定します。左のメニューの
プロジェクトの設定を選択します。スクリプトプロパティ欄に以下の値をセットします。
- accessKeyId
- secretAccessKey
- region
アクセスキー、シークレットキーを使用するので誤ってスプレッドシートを共有したりしないように注意しましょう。
これでコーディングは完了です。試しに実行してみましょう。
-
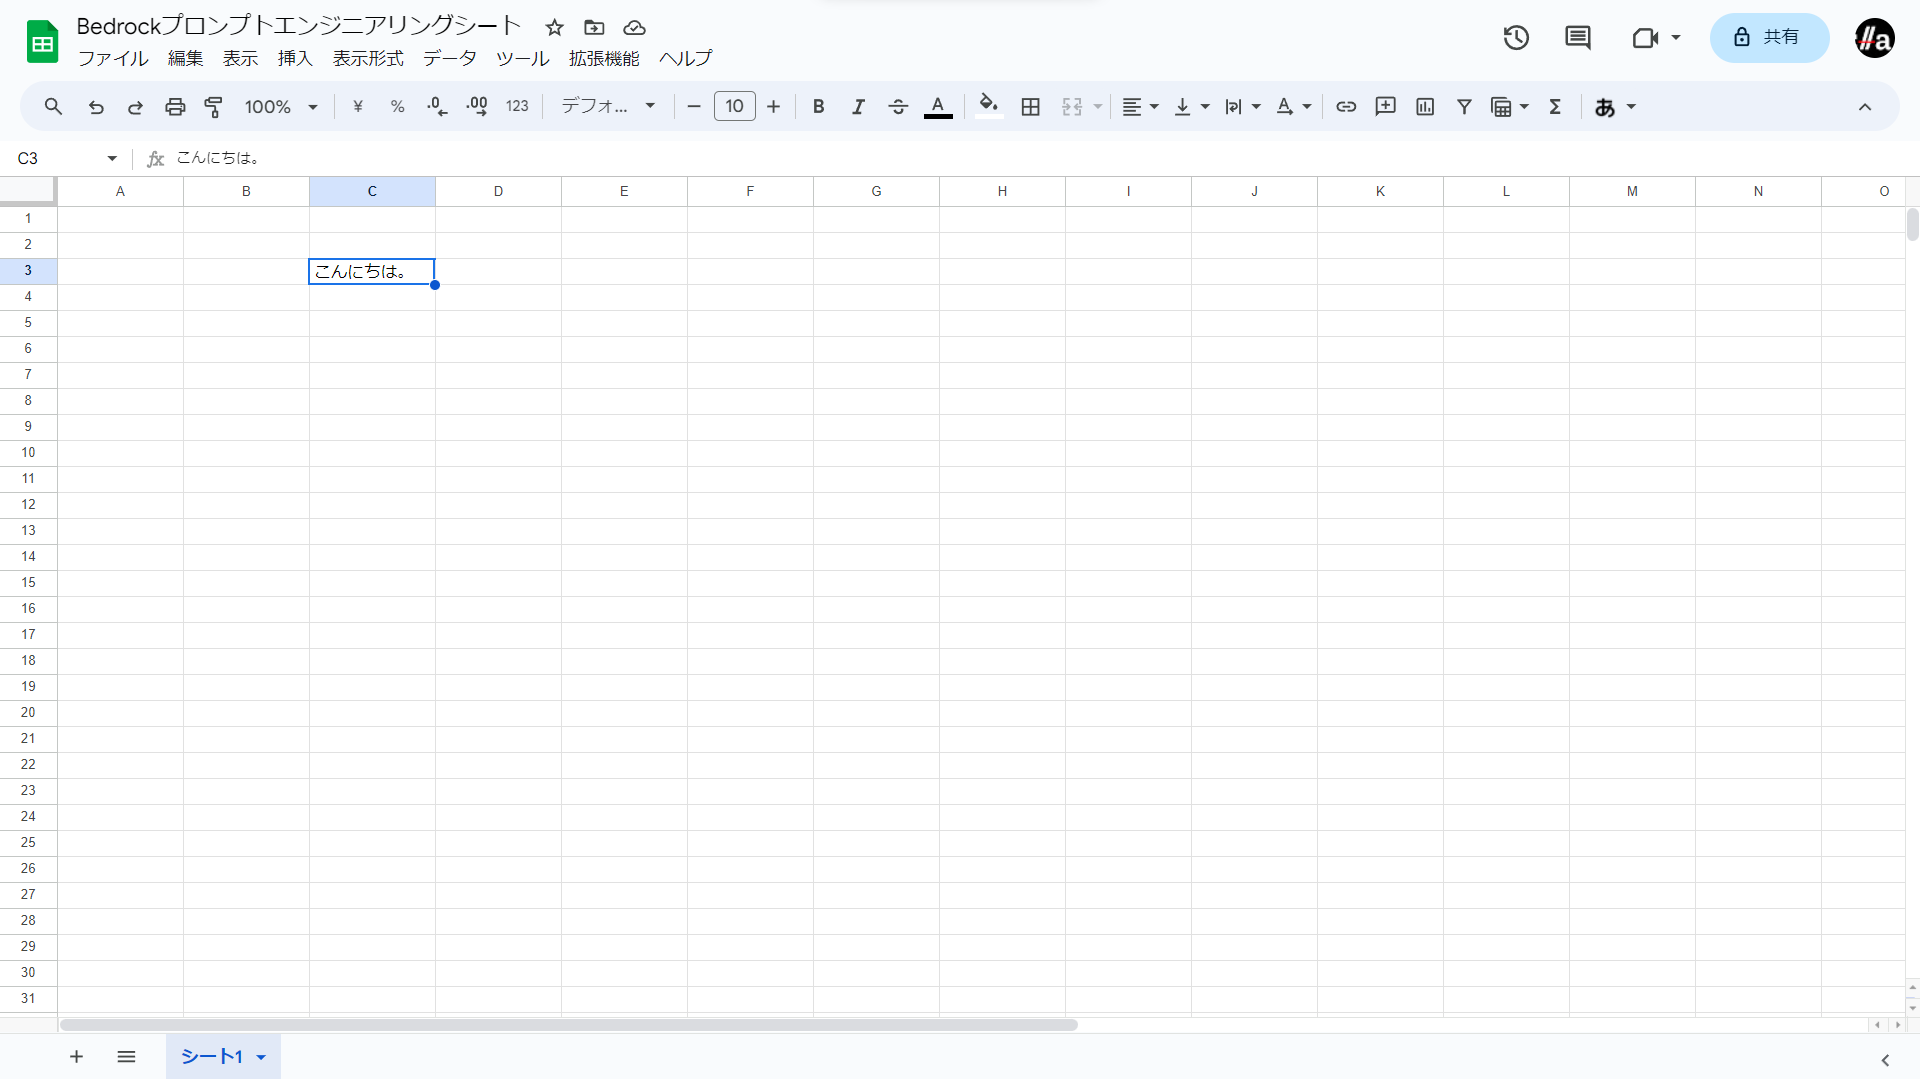
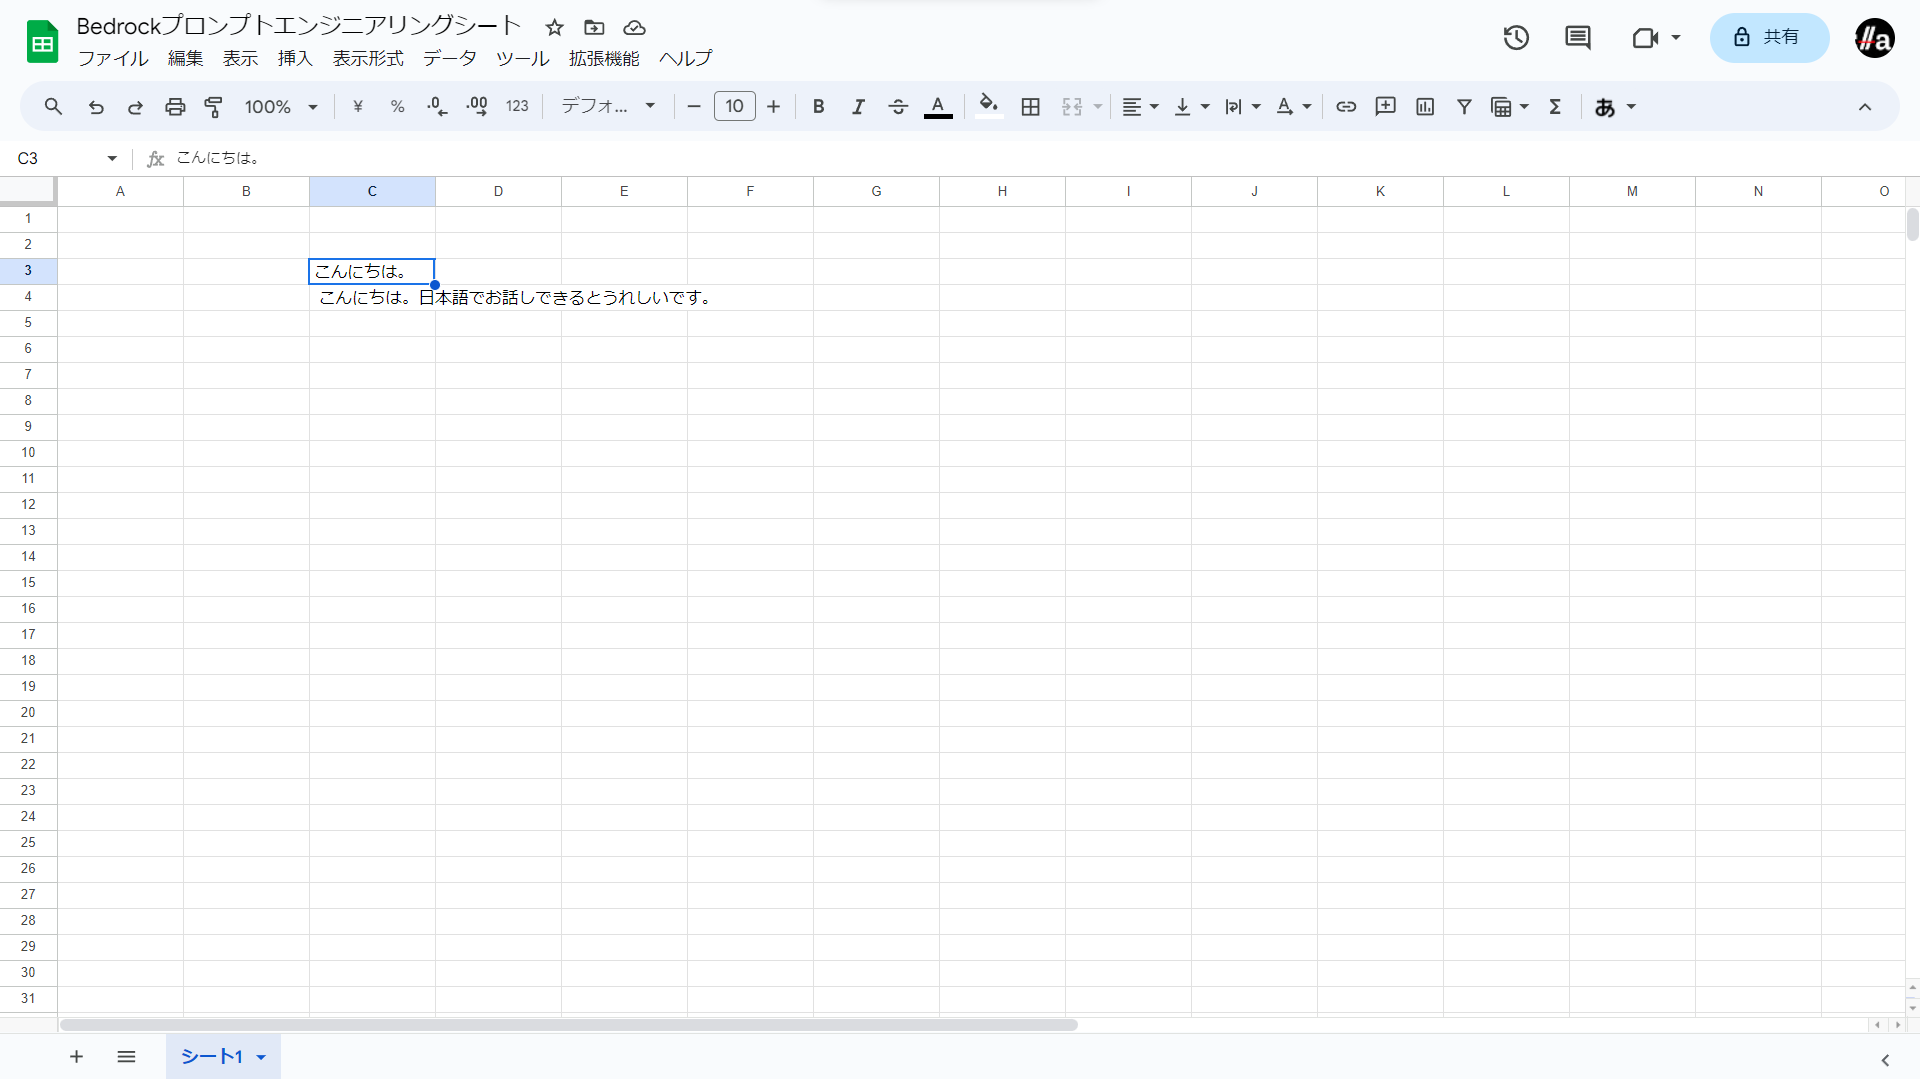
スプレッドシートのセルにプロンプトを入力します。
-
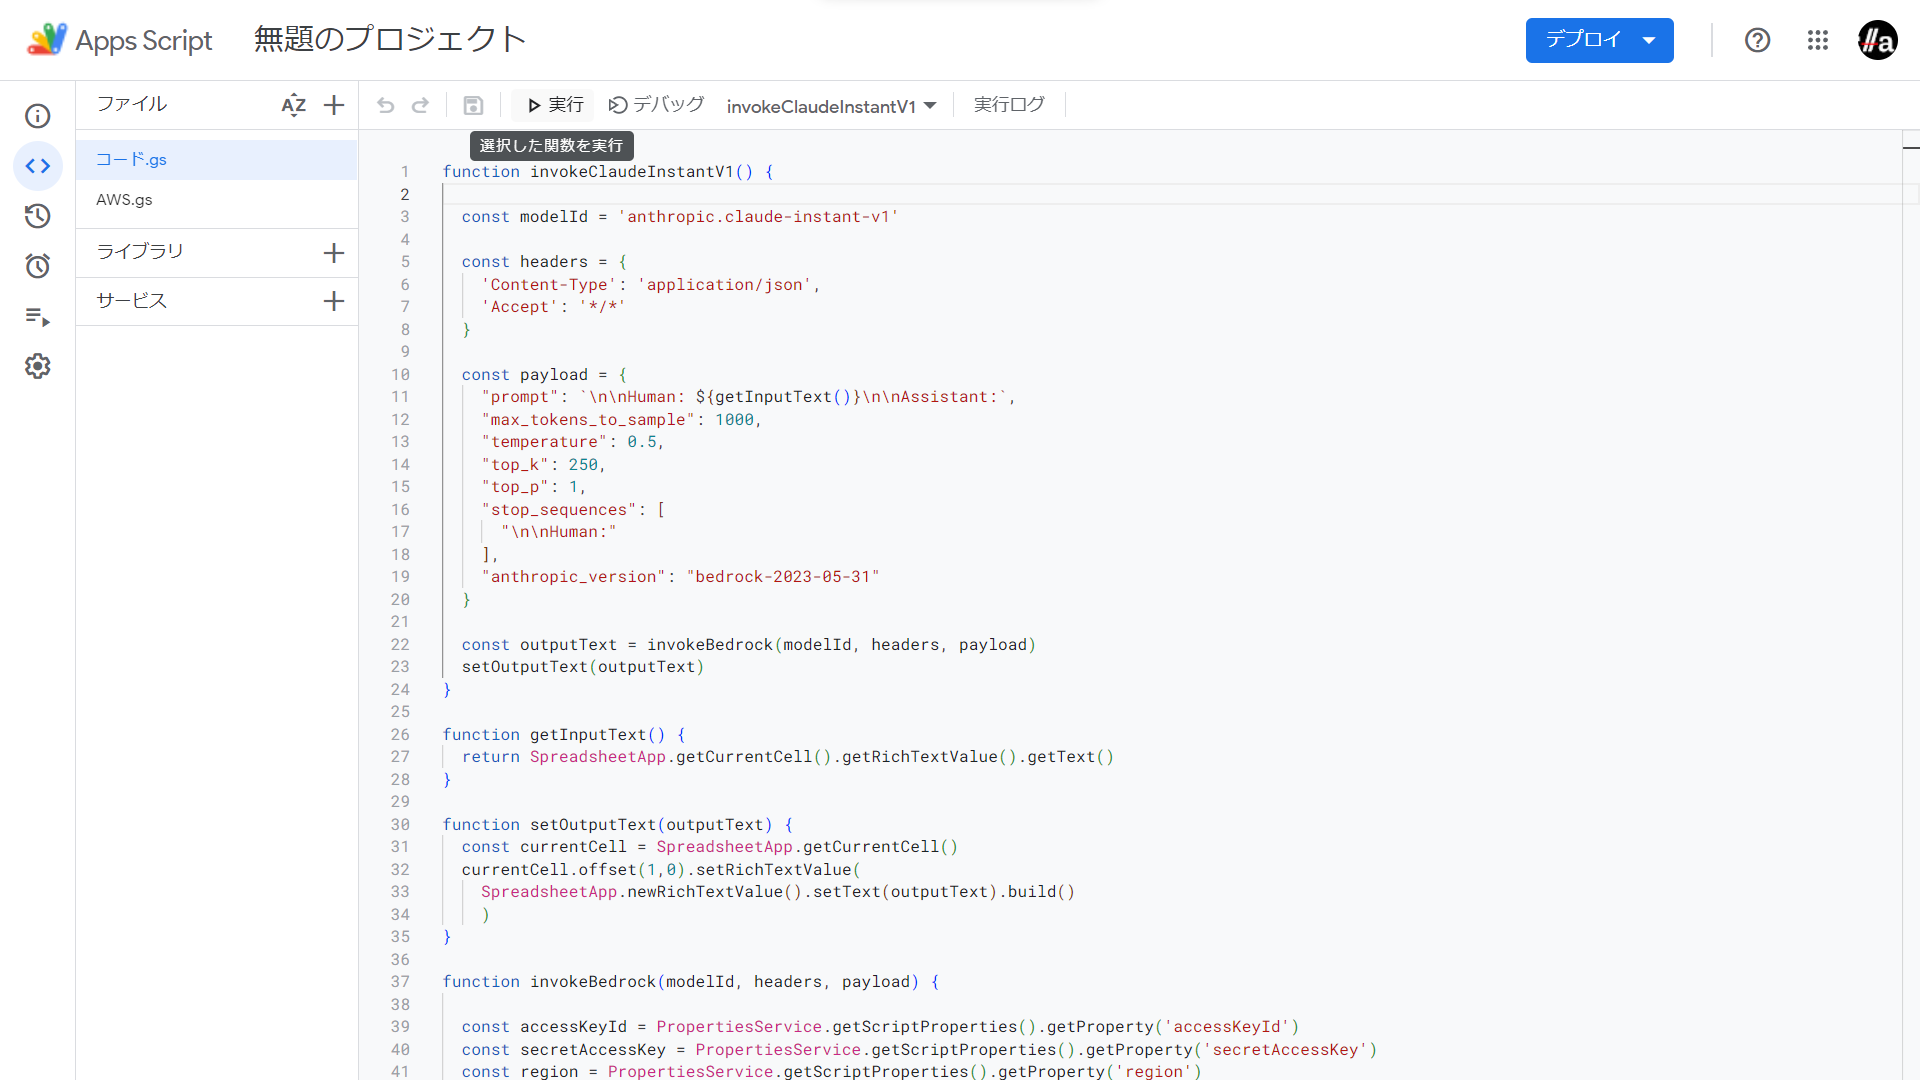
Apps Scriptのエディタに戻り、
実行ボタンをクリックします。 -
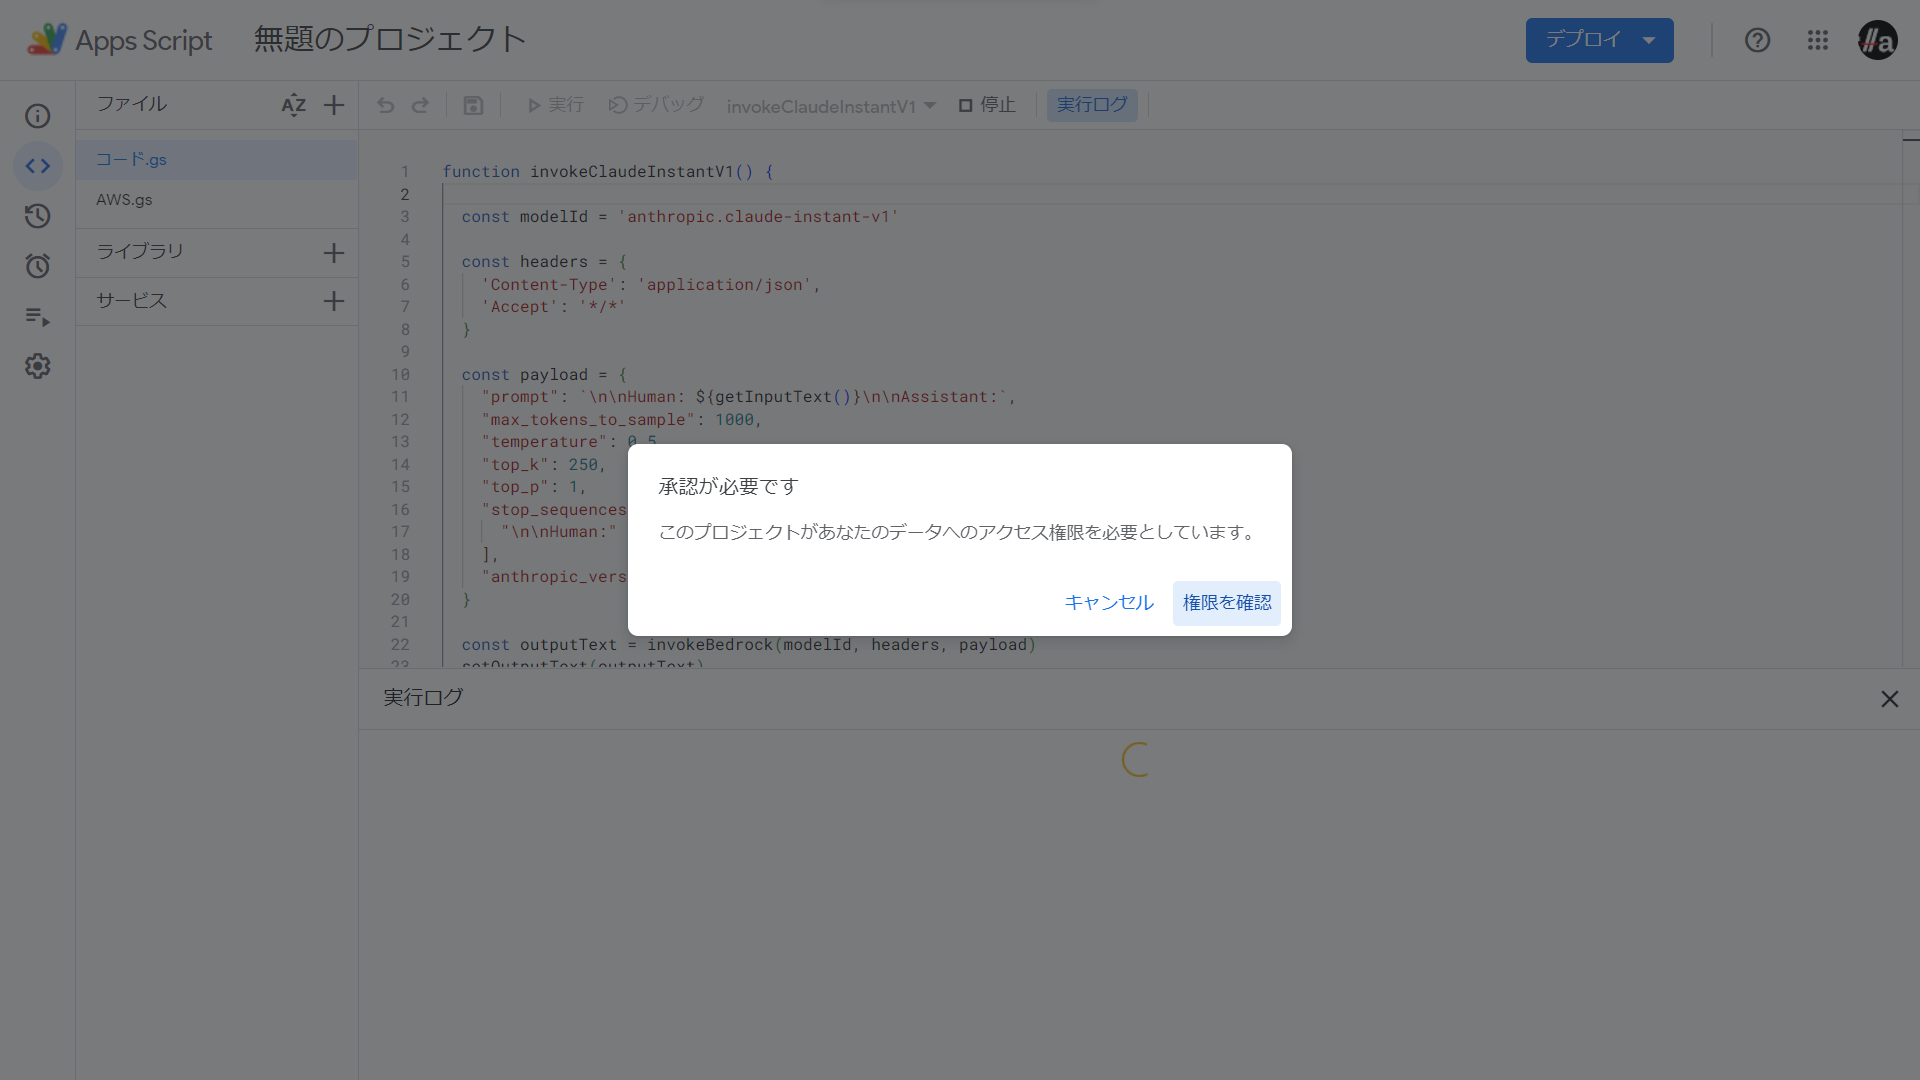
初回実行時は権限の確認を求められます。
-
内容を確認し、
許可を選択します。 -
うまく動作したら、プロンプトのひとつ下のセルに応答が入ります。
私は一つ下のセルに出力するようにしましたがお好みで改変ください。
あと少しです。
-
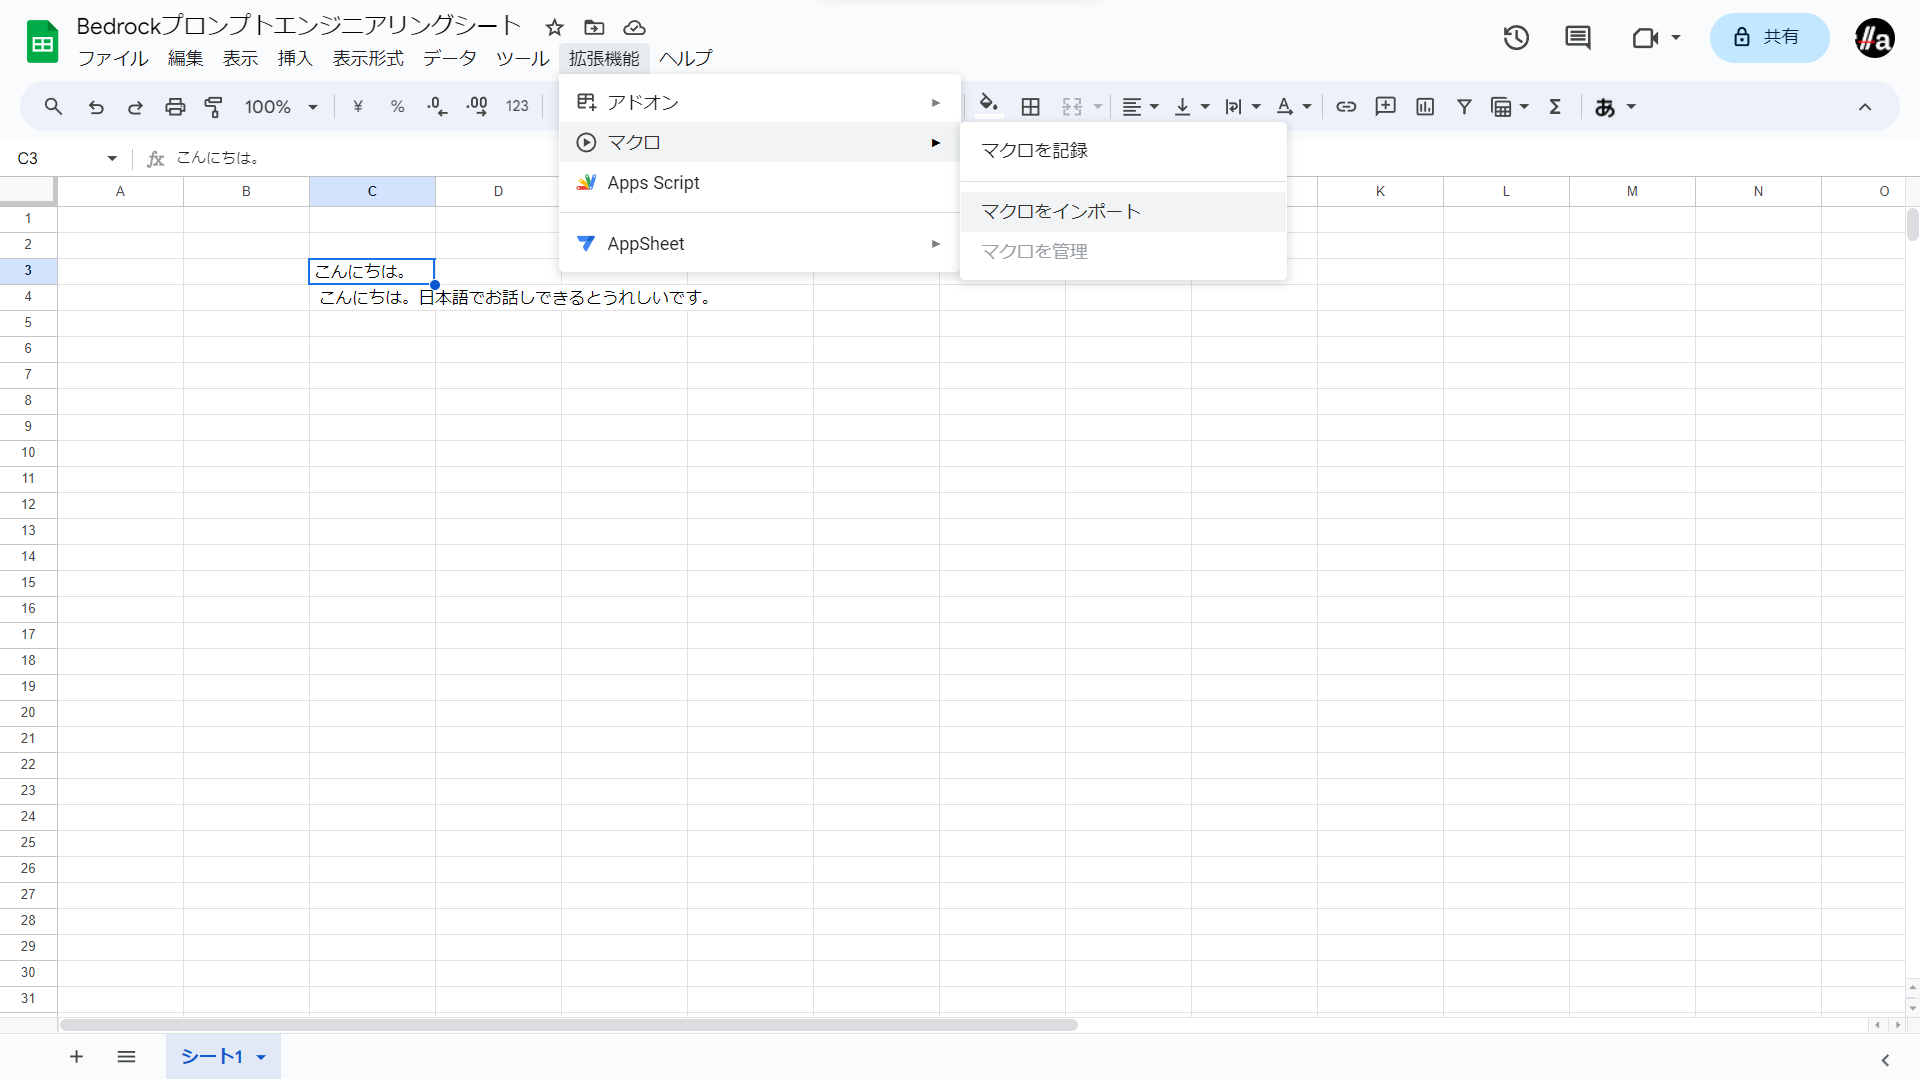
スプレッドシートの画面に戻り、
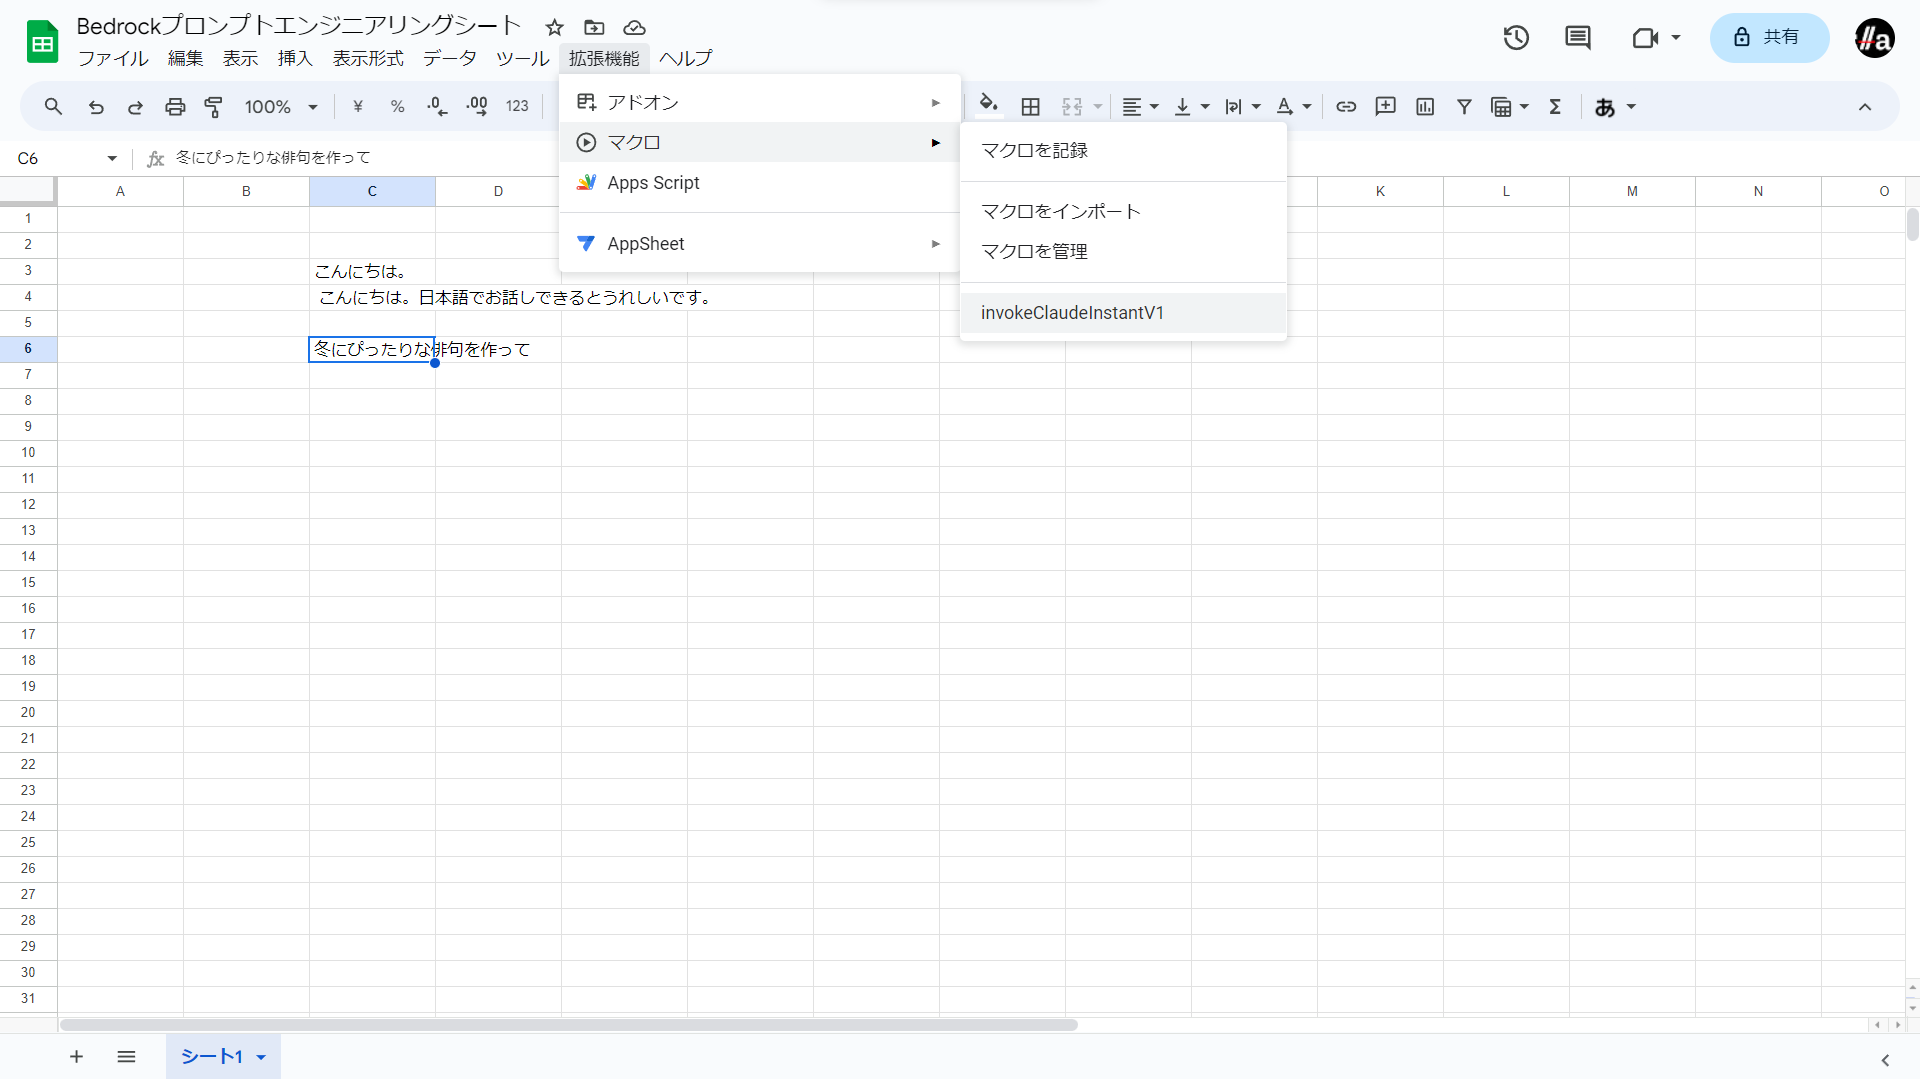
拡張機能メニューのマクロ->マクロをインポートを選択します。 -
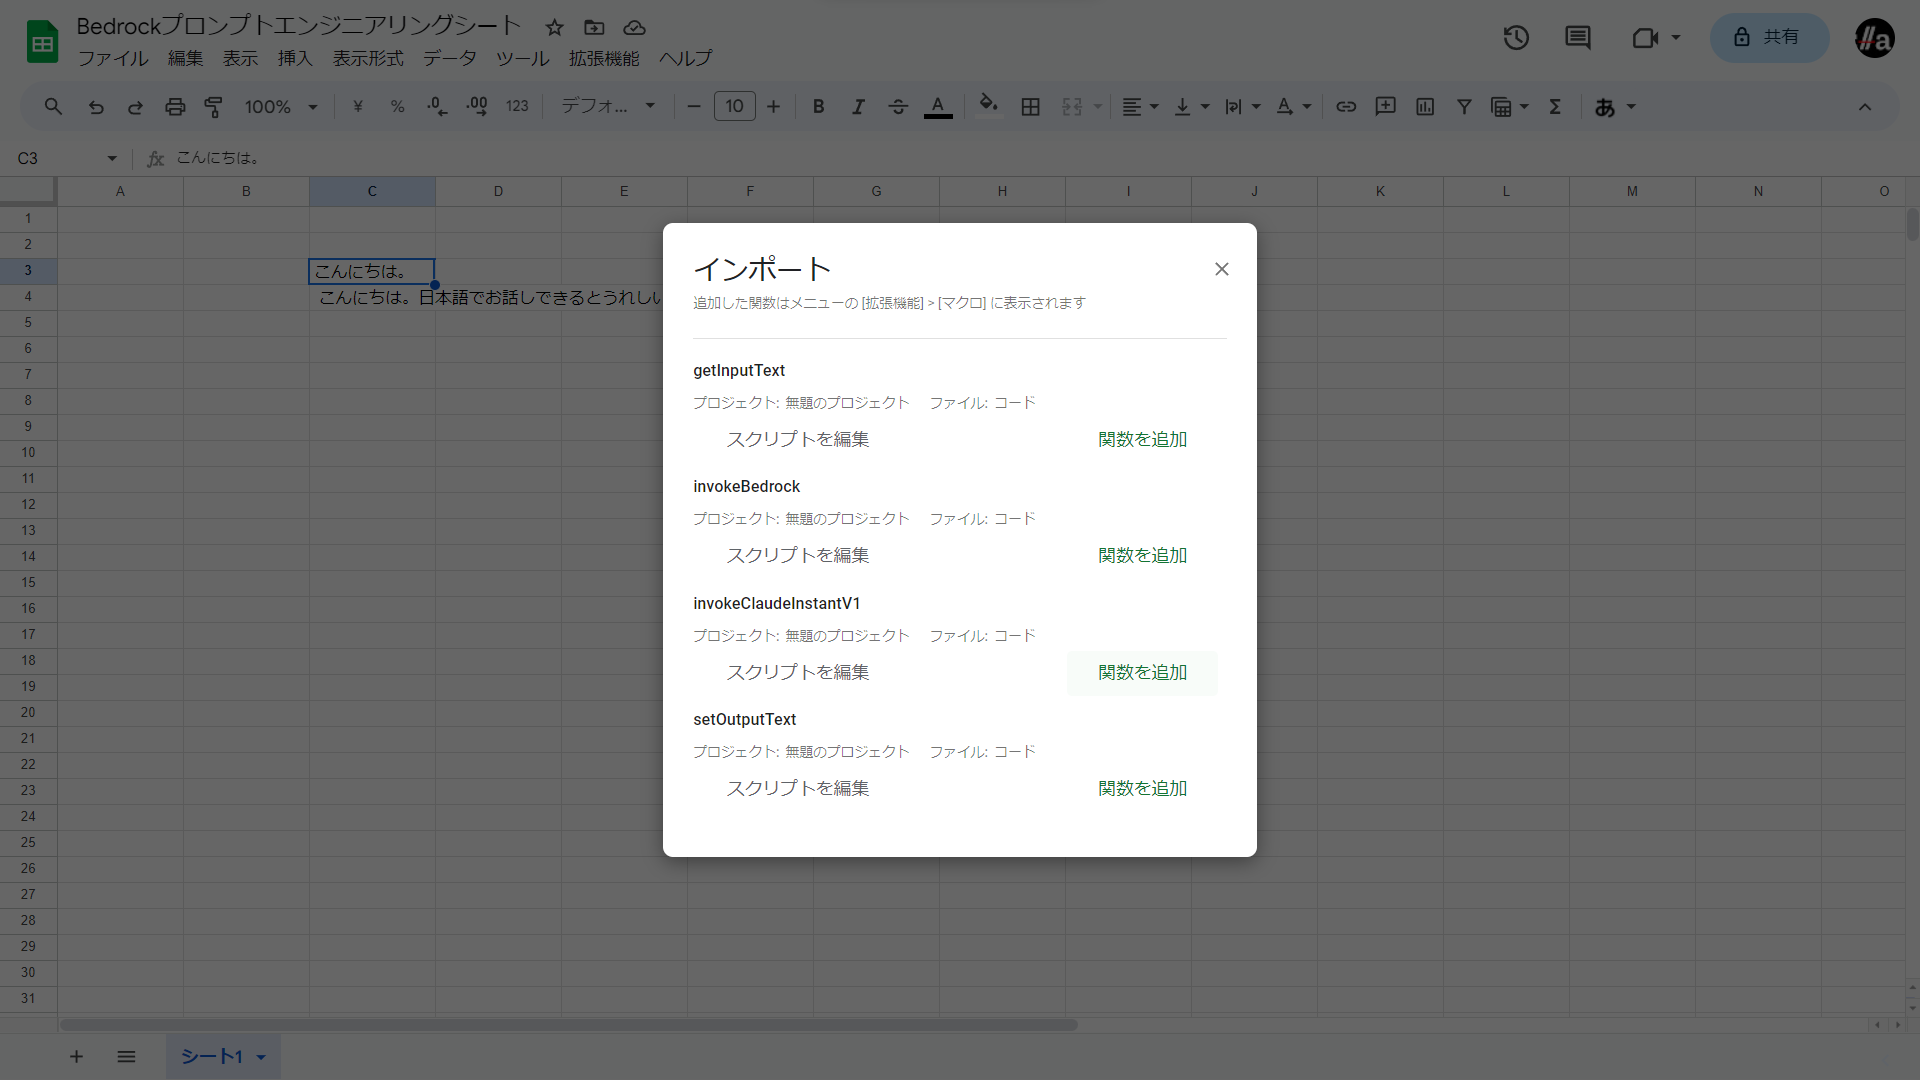
invokeClaudeInstantV1の関数を追加をクリックします。これでApps Scriptの画面に移らなくてもBedrockを呼び出すことができるようになりました。
最強です。
他のLLMサービスでも同じようなことはできると思います。APIキーでアクセスできるものであればもっと簡単に実現できると思います。
参考サイト
