LINE BOT AWARDSの受付は終わってしまいましたが、簡単にLINE BOTを作成する雛形を作り、恐れ多くも linebot-serverless-blueprint-java と名付けました。
どうやって作ったかは別の機会に説明したいと思います。
今回は、使い方を解説します。
構築イメージ
以下の投稿を参考にしました。というか、そのままです。
大量メッセージが来ても安心なLINE BOTサーバのアーキテクチャ
LINE Bot を AWSを使ってシステム構築してみた。
環境
-
Windows 10
-
Node: v6.9.1
-
npm: 3.10.8
-
Git for Windows: 2.9.3.windows.2
-
Java 8
-
AWSアカウント(AdministratorAccess権限)
※rootアカウントはやめましょう
LINE BOTアカウントの作成
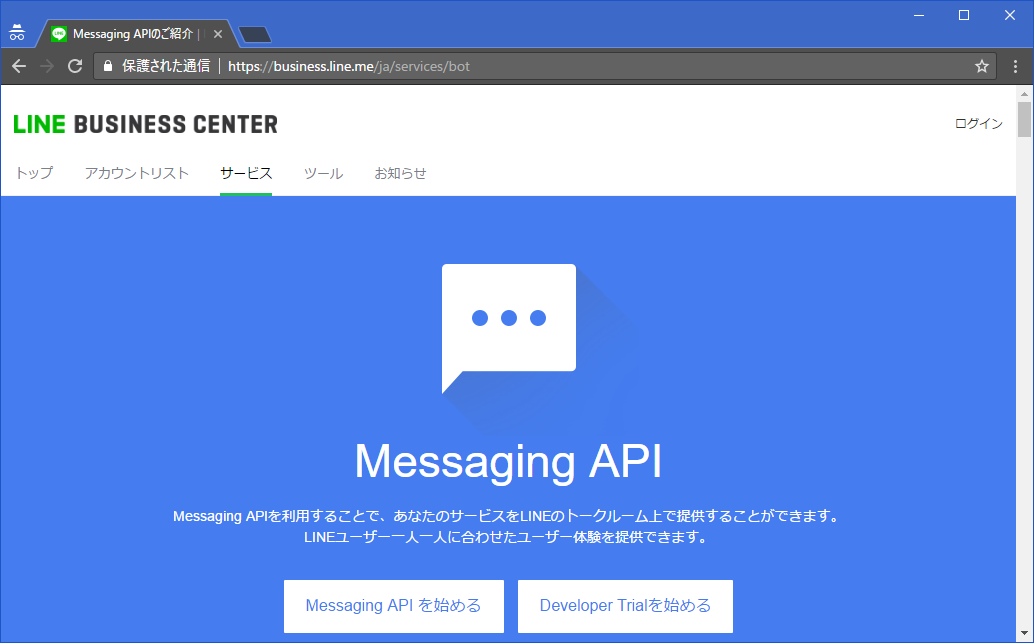
「Developer Trialを始める」からアカウントを作成します。
登録した後で、設定をいくつか変更した気がしますが忘れました。。
ソースの取得からserverlessの設定まで
ソースの取得
git clone https://github.com/moritalous/linebot-serverless-blueprint-java.git
serverlessのインストール
cd linebot-serverless-blueprint-java
npm install
これで serverless コマンドが使えるようになりました。
ただし、グローバルインストールではないので、node_modules\.bin\serverless で指定する必要があります。
serverlessのアカウント設定
AdministratorAccess権限を持ったAWSアカウントのアクセスキーとシークレットキーを設定します。
node_modules\.bin\serverless config credentials --provider aws --key [AWS Access key ID] --secret [AWS Secret access key] -n serverless
-n オプションは作成するプロファイルの名前です。指定がない場合は default になるようです。
プロファイルの名前をserverlessから変更する場合は、serverless.ymlのprofileの部分を変更して下さい。
provider:
  name: aws
  runtime: java8
  profile: serverless
環境変数の設定
LINE BOTのChannel SecretとChannel Access Tokenは環境変数に設定するようにしてありますのでそれぞれ以下のキーで設定して下さい。
- CHANNEL_SECRET
- CHANNEL_ACCESS_TOKEN
デプロイから動作確認
デプロイ
npm run deploy
これだけです。以下のものが全て一発でセットアップされます。
- API Gateway
- Lambda x2
- DynamoDB
AWSのコンソールにログインする必要があるのは、AdministratorAccess権限を持ったAWSアカウントを作るとこだけです。
Webhook URLの指定
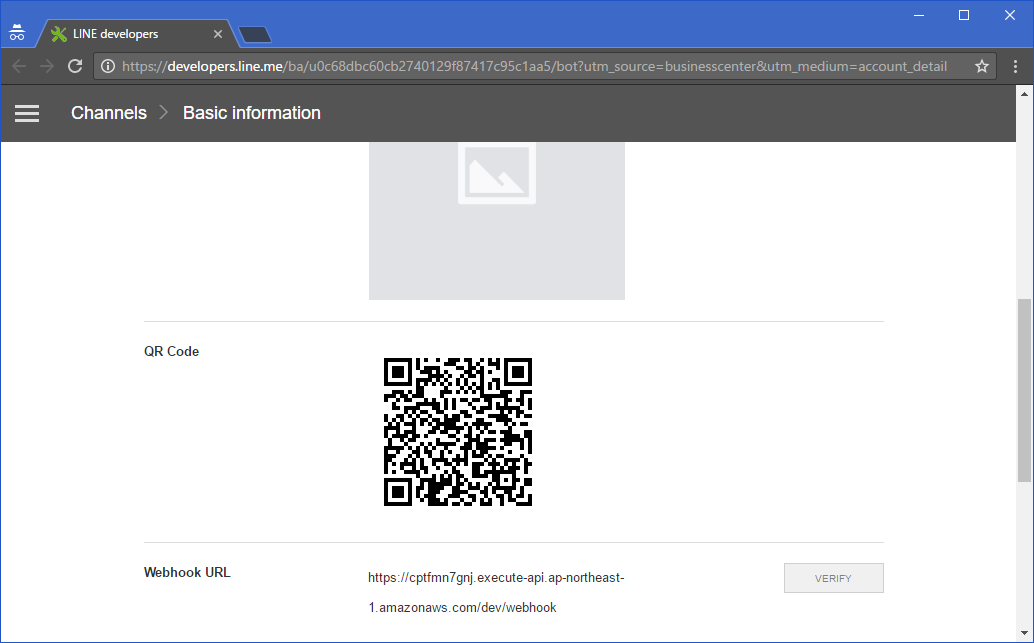
デプロイした際のコンソールログに出力されるendpointsのURLをLINEのWebhook設定に指定します。
動作確認
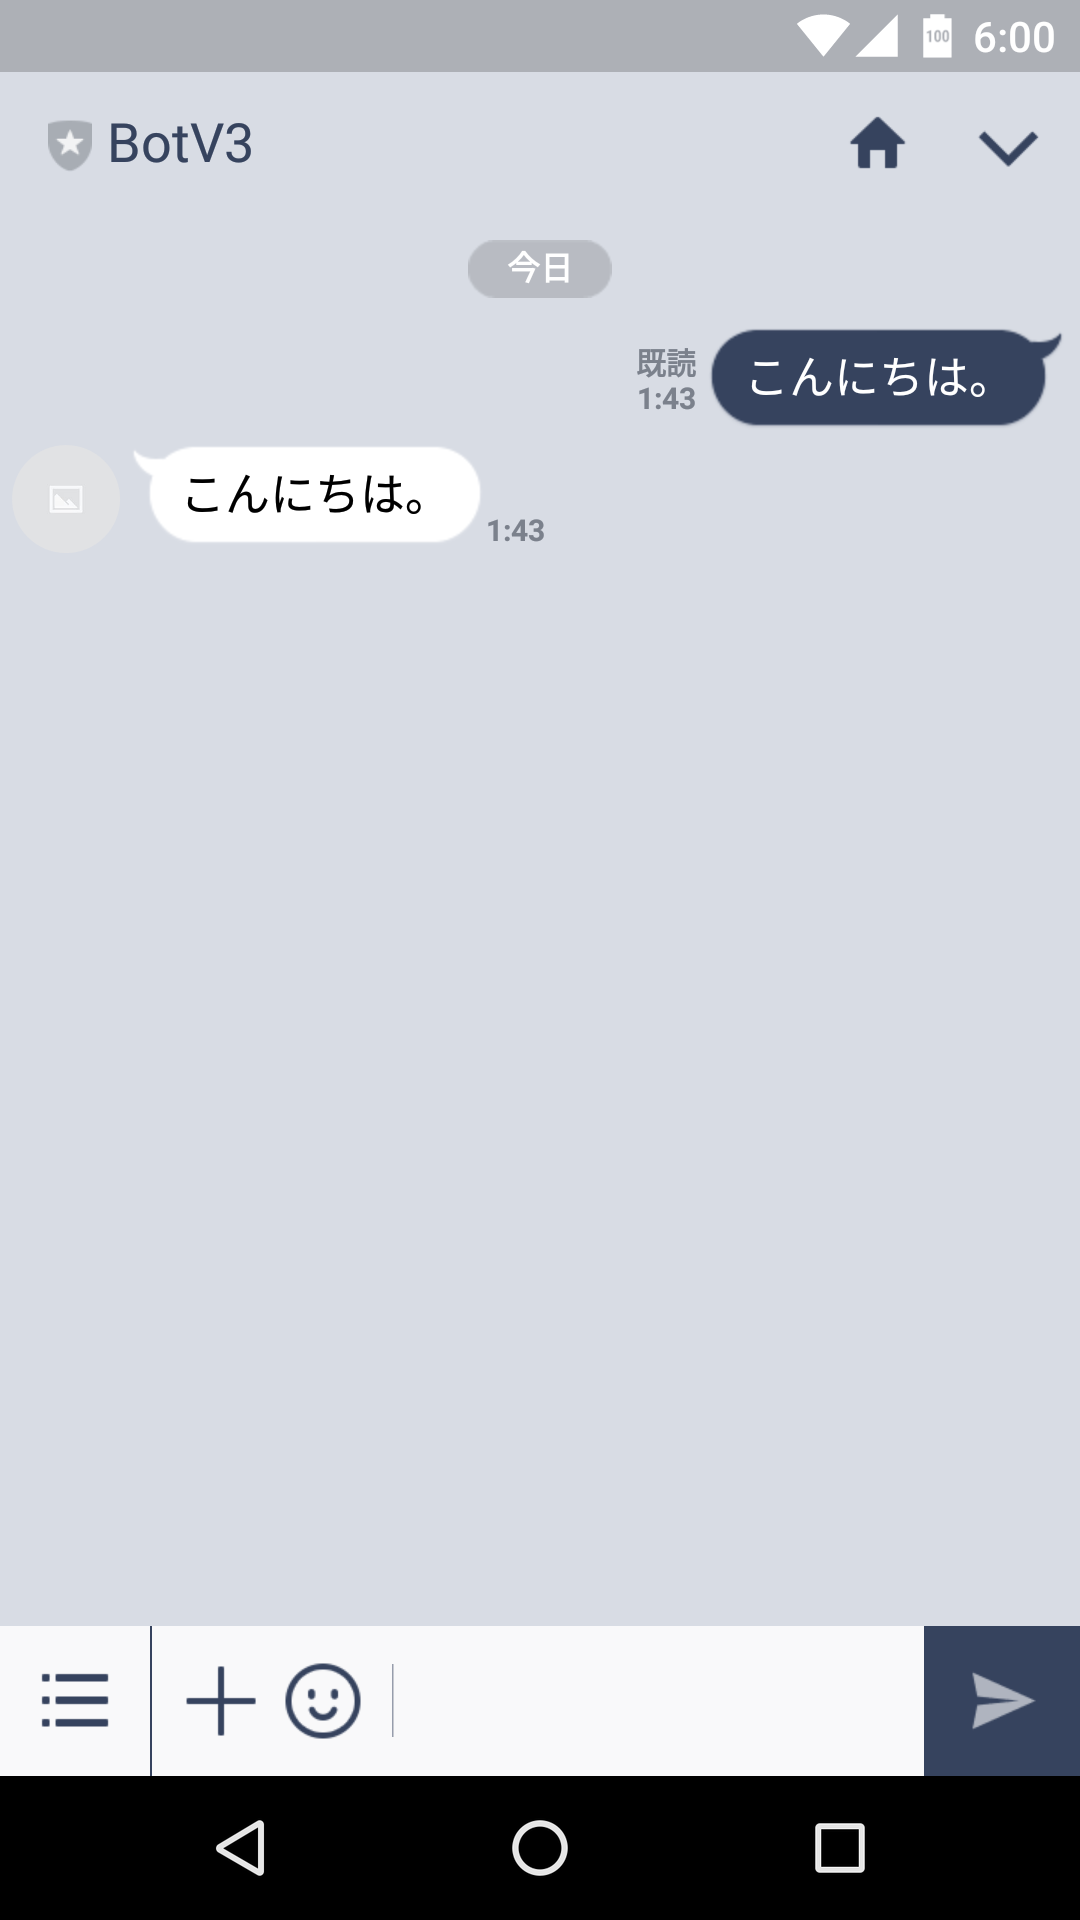
gitのソースの状態では、テキストメッセージをオウム返しするようにしてあります。
カスタマイズ方法
reply プロジェクトがDynamoDBからのイベントを受け取ってからの処理部分です。Handlerクラスのreplyメソッドを起点としてカスタマイズして下さい。CallbackRequestクラスは公式のSDK(Java SDK for Messaging API BOT)で提供されているクラスです。簡単でしょ。
ちなみにオウム返しのソースはこんな感じです。
    /***
     * Messaging APIリクエストを受けて、Reply messageの送信などを行います。
     * @param callbackRequest Messaging APIリクエスト内容
     */
    private void reply(CallbackRequest callbackRequest) {
        callbackRequest.getEvents().forEach(e -> {

            if (e instanceof MessageEvent) {
                MessageEvent<MessageContent> messageEvent = (MessageEvent<MessageContent>) e;
                String replyToken = messageEvent.getReplyToken();
                MessageContent content = messageEvent.getMessage();

                if (content instanceof TextMessageContent) {
                    String message = ((TextMessageContent) content).getText();

                    LineMessagingService client = LineMessagingServiceBuilder.create(CHANNEL_ACCESS_TOKEN).build();

                    List<Message> replyMessages = new ArrayList<>();
                    replyMessages.add(new TextMessage(message));

                    try {
                        Response<BotApiResponse> response = client.replyMessage(new ReplyMessage(replyToken, replyMessages)).execute();
                        if (response.isSuccessful()) {
                            LOG.info(response.message());
                        } else {
                            LOG.warn(response.errorBody().string());
                        }
                    } catch (IOException e1) {
                        LOG.error(e1);
                    }
                }
                if (content instanceof ImageMessageContent) {
                }
                if (content instanceof LocationMessageContent) {
                }
                if (content instanceof AudioMessageContent) {
                }
                if (content instanceof VideoMessageContent) {
                }
                if (content instanceof StickerMessageContent) {
                }
                if (content instanceof FileMessageContent) {
                } else {
                }
            } else if (e instanceof UnfollowEvent) {
            } else if (e instanceof FollowEvent) {
            } else if (e instanceof JoinEvent) {
            } else if (e instanceof LeaveEvent) {
            } else if (e instanceof PostbackEvent) {
            } else if (e instanceof BeaconEvent) {
            } else {
            }
        });
    }
ソースはこちらです。
https://github.com/moritalous/linebot-serverless-blueprint-java
参考サイト
http://qiita.com/yoichiro6642/items/6d4c7309210af20a5c8f
http://qiita.com/hiyuzawa/items/10e7bf2f6ad5d1c7fc9c
http://qiita.com/abtc/items/d1aa34ee7684d0c47d07


