AWS上のWeb IDEをカスタマイズするのにハマっています。これまで色々記事にしてきました。
今回は、Proxyしてみた系の第3弾で、 SageMaker StudioのCode EditorでProxyさせる です。
Amazon SageMaker Studio Code Editorのカスタムイメージ
SageMaker StudioのエディターはDockerコンテナイメージを作成してカスタマイズすることができます。
SageMaker Studioの環境構築時に指定する「SageMaker Distribution」がコンテナイメージとしてECR Publicで一般公開されています。

ドキュメントでは以下のようにVSCodeの拡張をインストールする例が紹介されていました。
FROM public.ecr.aws/sagemaker/sagemaker-distribution:latest-cpu
ARG NB_USER="sagemaker-user"
ARG NB_UID=1000
ARG NB_GID=100
ENV MAMBA_USER=$NB_USER

USER root

 # install scrapy in the base environment
RUN micromamba install -y --name base -c conda-forge scrapy

 # download VSCodeVim
RUN \
  wget https://github.com/VSCodeVim/Vim/releases/download/v1.27.2/vim-1.27.2.vsix \
  -P /tmp/exts/ --no-check-certificate

 # Install the extension
RUN \
  extensionloc=/opt/amazon/sagemaker/sagemaker-code-editor-server-data/extensions \
  && sagemaker-code-editor \
    --install-extension "/tmp/exts/vim-1.27.2.vsix" \
    --extensions-dir "${extensionloc}"

USER $MAMBA_USER
ENTRYPOINT ["entrypoint-code-editor"]
カスタム内容を考える
AWSさん提供のワークショップ環境で「Webアプリのプレビュー」を行うで触れた以下の構成を再現しようと思います。

以下のことができれば実現できそうです。
- Code Editorが使用するポート番号を
18888ポートに変更 - Nginxをインストール
- Nginxを
8888ポートで起動し、8080ポートで起動したWebアプリにProxyする設定を行う
本投稿の最後に、8888ポートで起動していることを見つけた方法を残してますので、ご興味ございましたらご参照ください。
カスタムする
DockerfileとNginxの設定ファイルを用意します。
# Reference: https://docs.aws.amazon.com/sagemaker/latest/dg/code-editor-custom-images-specifications.html

FROM public.ecr.aws/sagemaker/sagemaker-distribution:latest-cpu

ARG NB_USER="sagemaker-user"
ARG NB_UID=1000
ARG NB_GID=100
ENV MAMBA_USER=$NB_USER

USER root

RUN apt-get update && apt-get install -y nginx

ADD nginx-proxy.conf /etc/nginx/sites-enabled/

RUN sed -i 's/8888/18888/g' /usr/local/bin/start-code-editor

RUN sed -i '/^user www-data;/d' /etc/nginx/nginx.conf
RUN sed -i 's|/run/nginx.pid|/tmp/nginx.pid|g' /etc/nginx/nginx.conf
RUN rm /etc/nginx/sites-enabled/default

RUN echo '' >> "/etc/supervisor/conf.d/supervisord-code-editor.conf" && \
    echo '[program:nginx]' >> "/etc/supervisor/conf.d/supervisord-code-editor.conf" && \
    echo 'command=nginx -g "daemon off;"' >> "/etc/supervisor/conf.d/supervisord-code-editor.conf" && \
    echo 'autostart=true' >> "/etc/supervisor/conf.d/supervisord-code-editor.conf" && \
    echo 'autorestart=true' >> "/etc/supervisor/conf.d/supervisord-code-editor.conf"

RUN chown -R 1000:100 /var/lib/nginx
RUN chmod -R 750 /var/lib/nginx
RUN chown -R 1000:100 /var/log/nginx
RUN chmod -R 750 /var/log/nginx

USER $MAMBA_USER
ENTRYPOINT ["entrypoint-code-editor"]
server {
    listen 8888;
    listen [::]:8888;

    # Code Editor
    location / {
        proxy_pass http://localhost:18888/;
        proxy_set_header Host $host;
        proxy_set_header Upgrade $http_upgrade;
        proxy_set_header Connection upgrade;
        proxy_set_header Accept-Encoding gzip;
        proxy_http_version 1.1;
    }

    location /8080 {
        proxy_pass http://localhost:8080/;
        proxy_set_header Host $host;
        proxy_set_header Upgrade $http_upgrade;
        proxy_set_header Connection upgrade;
        proxy_set_header Accept-Encoding gzip;
        proxy_http_version 1.1;
    }

    location /absolute/8080 {
        proxy_pass http://localhost:8080/codeeditor/default/absolute/8080;
        proxy_set_header Host $host;
        proxy_set_header Upgrade $http_upgrade;
        proxy_set_header Connection upgrade;
        proxy_set_header Accept-Encoding gzip;
        proxy_http_version 1.1;
    }
}
コンテナイメージをビルドしてECRに登録します。
# ログイン
aws ecr get-login-password --region us-east-1 | docker login --username AWS --password-stdin 123456789012.dkr.ecr.us-east-1.amazonaws.com

# ビルド
docker build -t code-editor-custom-image .

# タグ付け
docker tag code-editor-custom-image:latest 123456789012.dkr.ecr.us-east-1.amazonaws.com/code-editor-custom-image:latest

# プッシュ
docker push 123456789012.dkr.ecr.us-east-1.amazonaws.com/code-editor-custom-image:latest
カスタムイメージで環境を起動
SageMakerの画面の左メニューの「管理者設定」セクションの「ドメイン」をクリックします。
ドメインの詳細画面で「環境」タブを選択し、パーソナルStudioアプリ用のカスタムイメージのところの「イメージをアタッチ」をクリックします。

ECRのイメージのURIを入力し、「次へ」をクリックします。

設定項目を埋め、アプリケーションタイプとして「Code Editorイメージ」を選択して「送信」をクリックします。

SageMaker Studioの画面に遷移し、Code Editorの環境を作成します。

Custom imagesとして先ほど登録したイメージがあるので選択します。

起動します。AWS提供のイメージよりも起動に時間がかかるイメージです。
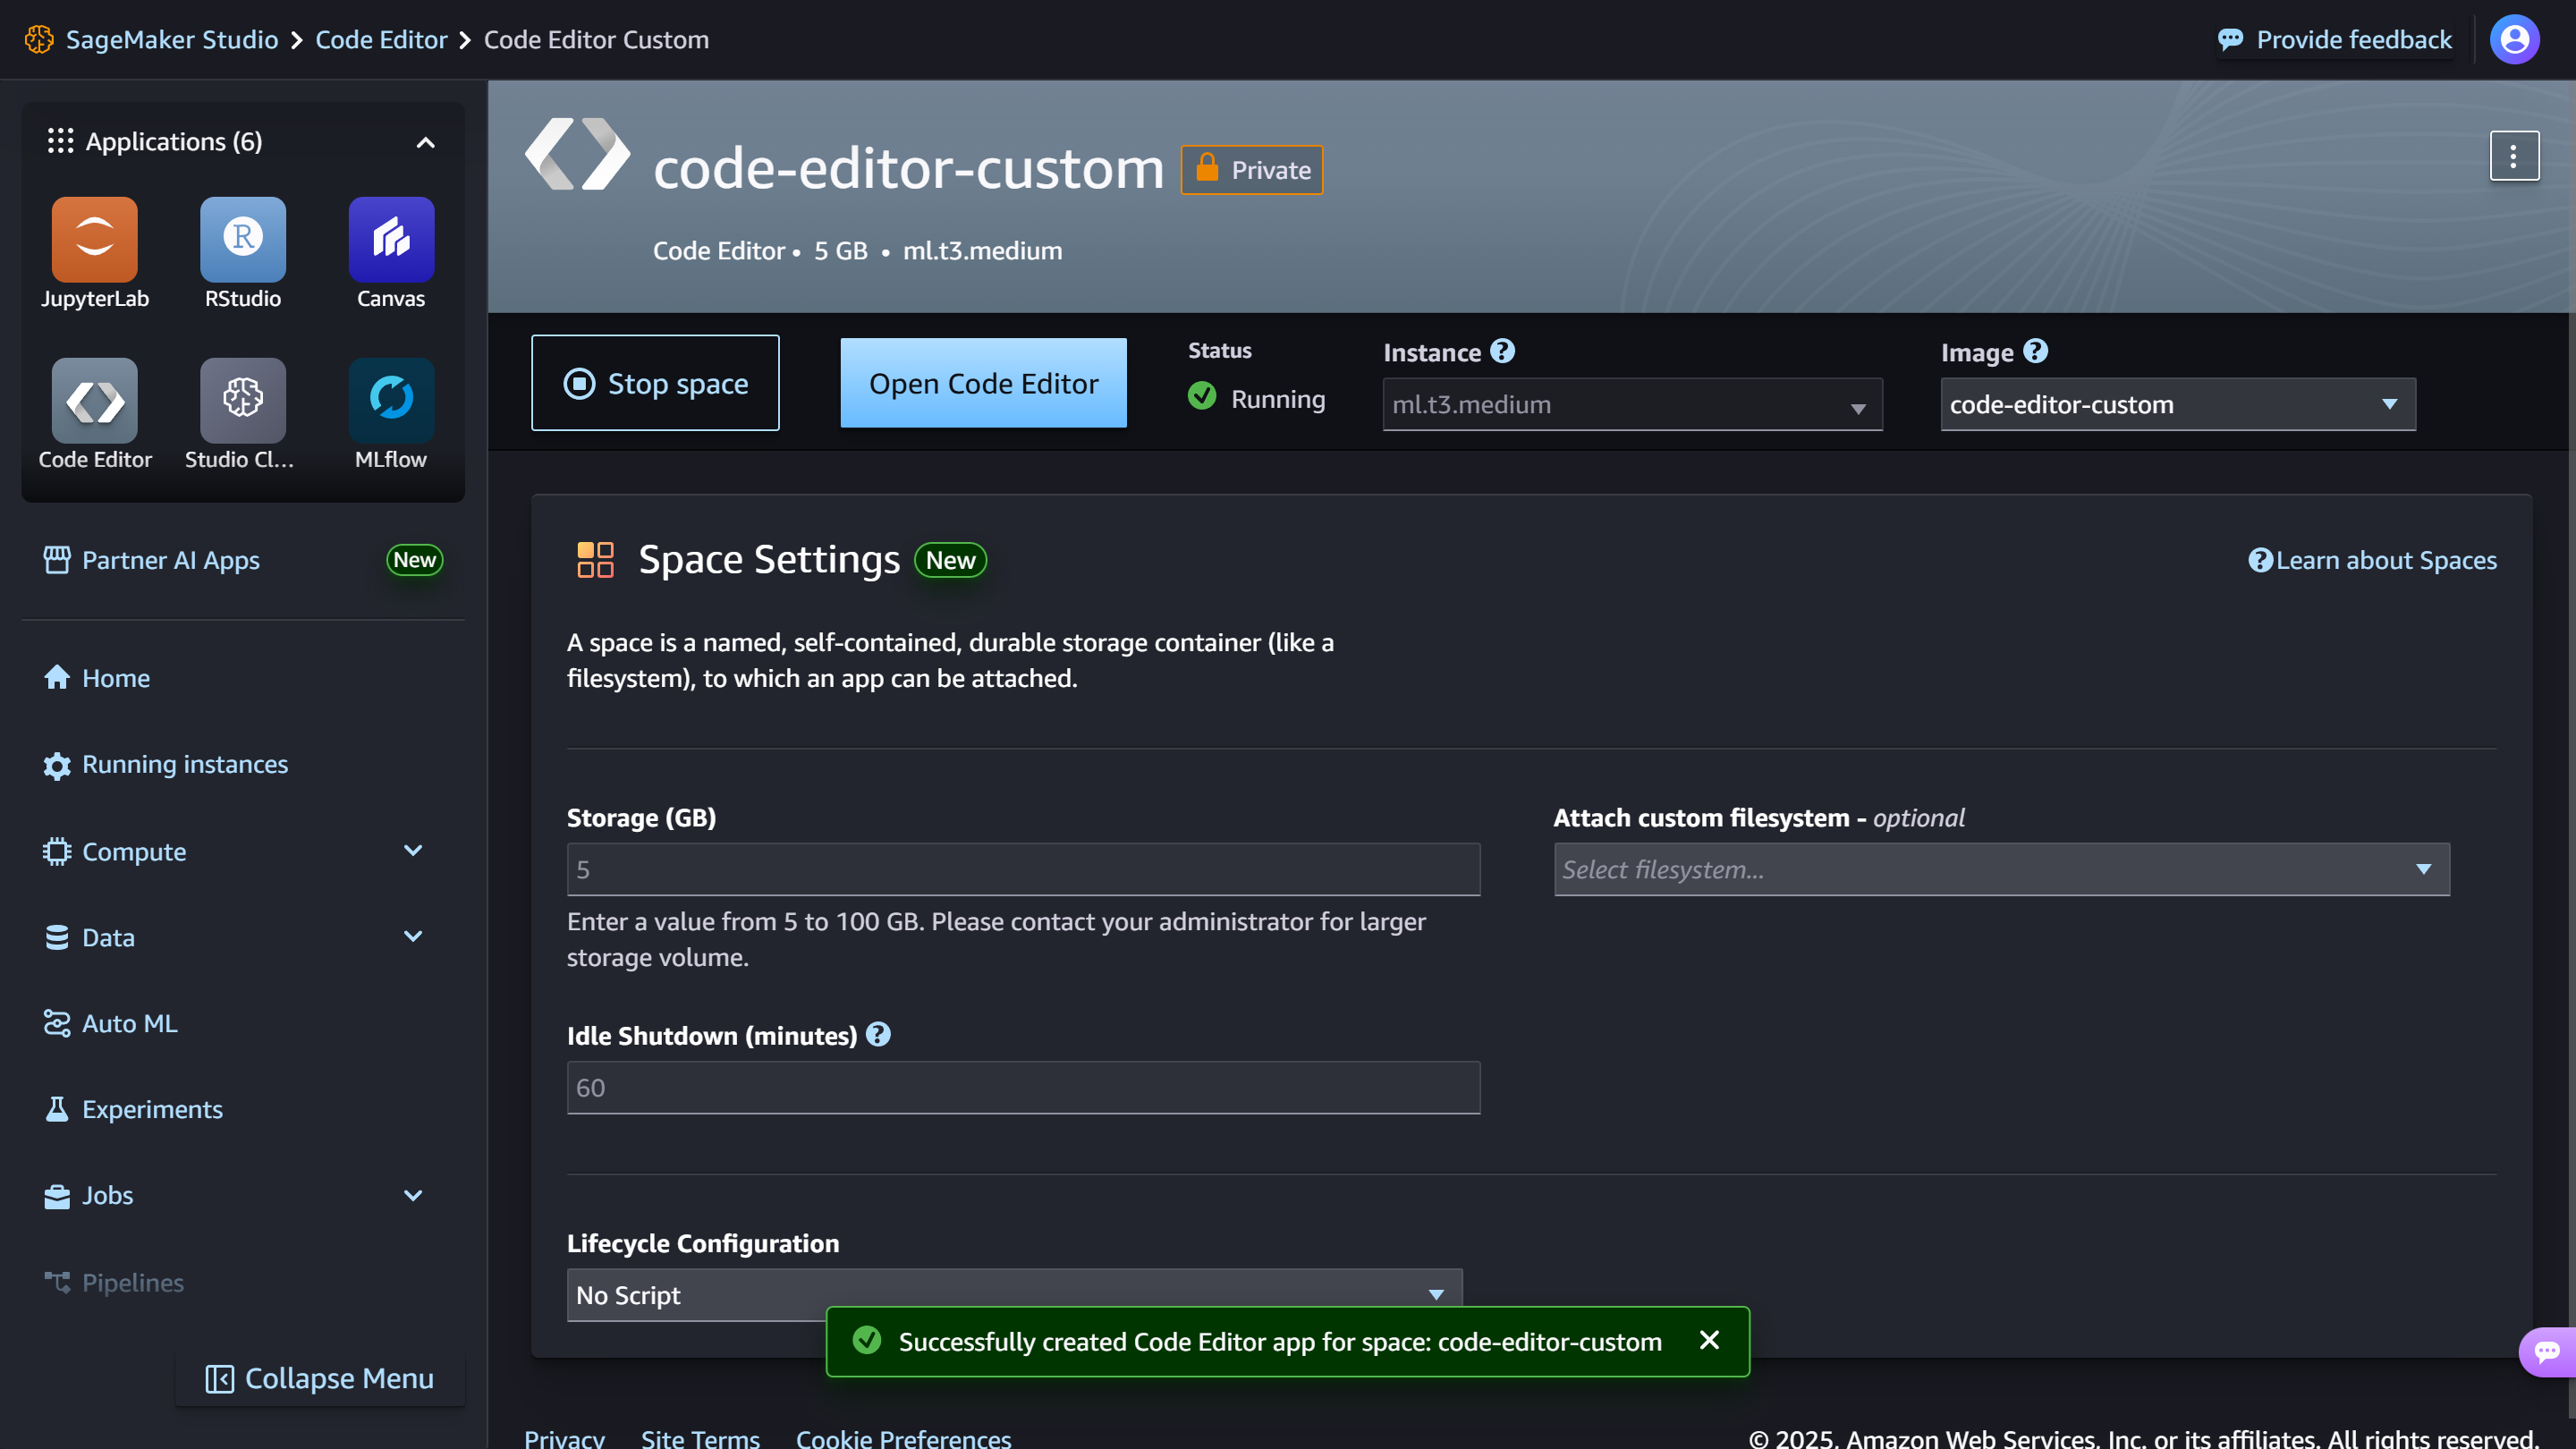
無事Code Editorが起動しました!

Proxyの動作確認
こちらと同様、Viteで簡単なWebアプリを作成しました。
npm -y create vite@latest my-app -- --template react

cd my-app
npm install
vite.config.jsをいじります。
  import { defineConfig } from 'vite'
  import react from '@vitejs/plugin-react'

  // https://vite.dev/config/
  export default defineConfig({
    plugins: [react()],
    base: '/codeeditor/default/absolute/8080',
+   server: {
+     port: 8080,
+     allowedHosts: ["**********.studio.us-east-1.sagemaker.aws"]
+   }
  })
package.jsonもちょっとだけ修正します。
- "dev": "vite",
+ "dev": "vite --host",
起動します。
npm run dev
以下のURLにアクセスします。
**********.studio.us-east-1.sagemaker.aws/codeeditor/default/absolute/8080

OKです!
つづいてStreamlitです。
pip install streamlit
Streamlitを起動します。
streamlit hello --server.port 8080 --server.baseUrlPath /codeeditor/default/absolute/8080
以下のURLにアクセスします。
**********.studio.us-east-1.sagemaker.aws/codeeditor/default/absolute/8080

OKです!
WebSocketも大丈夫です!!
おまけ:SageMaker Distributionの中身を探った奇跡
試行錯誤のメモを残しておきます。
ENTORYPOINTとして指定されているentrypoint-code-editorの中身を調べてみましょう。
docker run -it --rm public.ecr.aws/sagemaker/sagemaker-distribution:latest-cpu
まずは在り処を調べます。
which entrypoint-code-editor
/usr/local/bin/entrypoint-code-editor
スクリプトだと信じで内容を確認します。
cat /usr/local/bin/entrypoint-code-editor
#!/bin/bash

set -e

# Generate and execute the shell code to modifies shell variables to include
# micromamba commands (e.g. using `micromamba activate` to activate environments)
eval "$(micromamba shell hook --shell=bash)"

# Activate conda environment 'base', where supervisord is installed
micromamba activate base

# Set up SAGEMAKER_APP_TYPE_LOWERCASE based on SAGEMAKER_APP_TYPE
export SAGEMAKER_APP_TYPE_LOWERCASE=$(echo $SAGEMAKER_APP_TYPE | tr '[:upper:]' '[:lower:]')

mkdir -p $STUDIO_LOGGING_DIR/$SAGEMAKER_APP_TYPE_LOWERCASE/supervisord
exec supervisord -c /etc/supervisor/conf.d/supervisord-code-editor.conf -n
スクリプトでした。supervisordで何かを起動しているようです。
cat /etc/supervisor/conf.d/supervisord-code-editor.conf
[include]
files = supervisord-common.conf

[program:codeeditorserver]
directory=%(ENV_HOME)s
command=start-code-editor
autostart=true
autorestart=true
stdout_logfile=/dev/fd/1   ; Redirect web server logs to stdout
stdout_logfile_maxbytes = 0 ; Fix: https://github.com/Supervisor/supervisor/issues/935
stderr_logfile_maxbytes = 0 ; Fix: https://github.com/Supervisor/supervisor/issues/935
次はstart-code-editorを追います。
which start-code-editor
/usr/local/bin/start-code-editor
中身は?
cat /usr/local/bin/start-code-editor
#!/bin/bash
set -e

eval "$(micromamba shell hook --shell=bash)"

# Activate conda environment 'base', which is the default environment for sagemaker-distribution
micromamba activate base

# Start code-editor server
if [ -n "$SAGEMAKER_APP_TYPE_LOWERCASE" ]; then
  # SAGEMAKER_APP_TYPE is set, indicating the server is running within a SageMaker
  # app. Configure the base url to be `/<app-type-in-lower-case>/default`.
  sagemaker-code-editor --host 0.0.0.0 --port 8888 \
    --without-connection-token \
    --base-path "/$SAGEMAKER_APP_TYPE_LOWERCASE/default" \
    --server-data-dir /opt/amazon/sagemaker/sagemaker-code-editor-server-data \
    --extensions-dir /opt/amazon/sagemaker/sagemaker-code-editor-server-data/extensions \
    --user-data-dir /opt/amazon/sagemaker/sagemaker-code-editor-user-data
else
  sagemaker-code-editor --host 0.0.0.0 --port 8888 \
    --without-connection-token \
    --server-data-dir /opt/amazon/sagemaker/sagemaker-code-editor-server-data \
    --extension-dir /opt/amazon/sagemaker/sagemaker-code-editor-server-data/extensions \
    --user-data-dir /opt/amazon/sagemaker/sagemaker-code-editor-user-data
fi
Code Editorが8888ポートで起動してるっぽいですね!