Rancherとは
公式サイトによると
Your organization is deploying Kubernetes clusters everywhere – on-premises, in the cloud and at the edge. Rancher unifies these clusters to ensure consistent operations, workload management and enterprise-grade security.
Google翻訳
組織は、オンプレミス、クラウド、エッジなど、あらゆる場所にKubernetesクラスターをデプロイしています。ランチャーはこれらのクラスターを統合して、一貫した運用、ワークロード管理、およびエンタープライズグレードのセキュリティを確保します。
Kubernetesクラスターの管理ツールのようです。
Rancher Desktop上のk3sにRancherをインストール
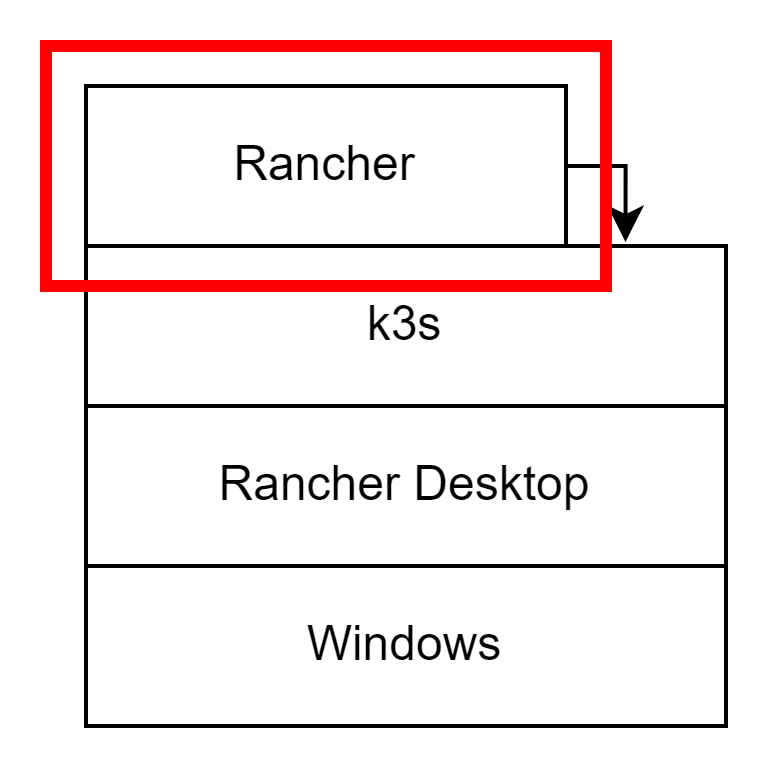
イメージはこんな感じになります。
試した環境はこちら
- Windows 11 Pro
- Rancher Desktop 1.1.1
インストール手順はここに従うだけです。
- Add the Helm Chart Repository
helm repo add rancher-latest https://releases.rancher.com/server-charts/latest
- Create a Namespace for Rancher
kubectl create namespace cattle-system
- Choose your SSL Configuration
Rancher生成の証明書を使います。
- Install cert-manager
kubectl apply -f https://github.com/jetstack/cert-manager/releases/download/v1.5.1/cert-manager.crds.yaml
helm repo add jetstack https://charts.jetstack.io
helm repo update
helm install cert-manager jetstack/cert-manager --namespace cert-manager --create-namespace --version v1.5.1
- Install Rancher with Helm and Your Chosen Certificate Option
bootstrapPasswordは後で使います。(ここではadmin)
helm install rancher rancher-latest/rancher --namespace cattle-system --set hostname=rancher.my.org --set bootstrapPassword=admin
デプロイの完了はこちらのコマンドで確認できます。
kubectl -n cattle-system rollout status deploy/rancher
これでインストール完了です。
Rancherにアクセス
Rancher Desktopの内部のk3s上にRancherがいますので、ホストOS(Windows)からアクセスするにはポートフォワーディングの設定が必要です。
Rancher Desktopでcattle-system -> rancher -> https-internal のForwardをクリックします。
- ブラウザでアクセス
https://localhost:[ポートフォワーディングしたポート]にアクセス。
(Rancher生成証明書を使用しているため保護されていない通信の警告が出ます)
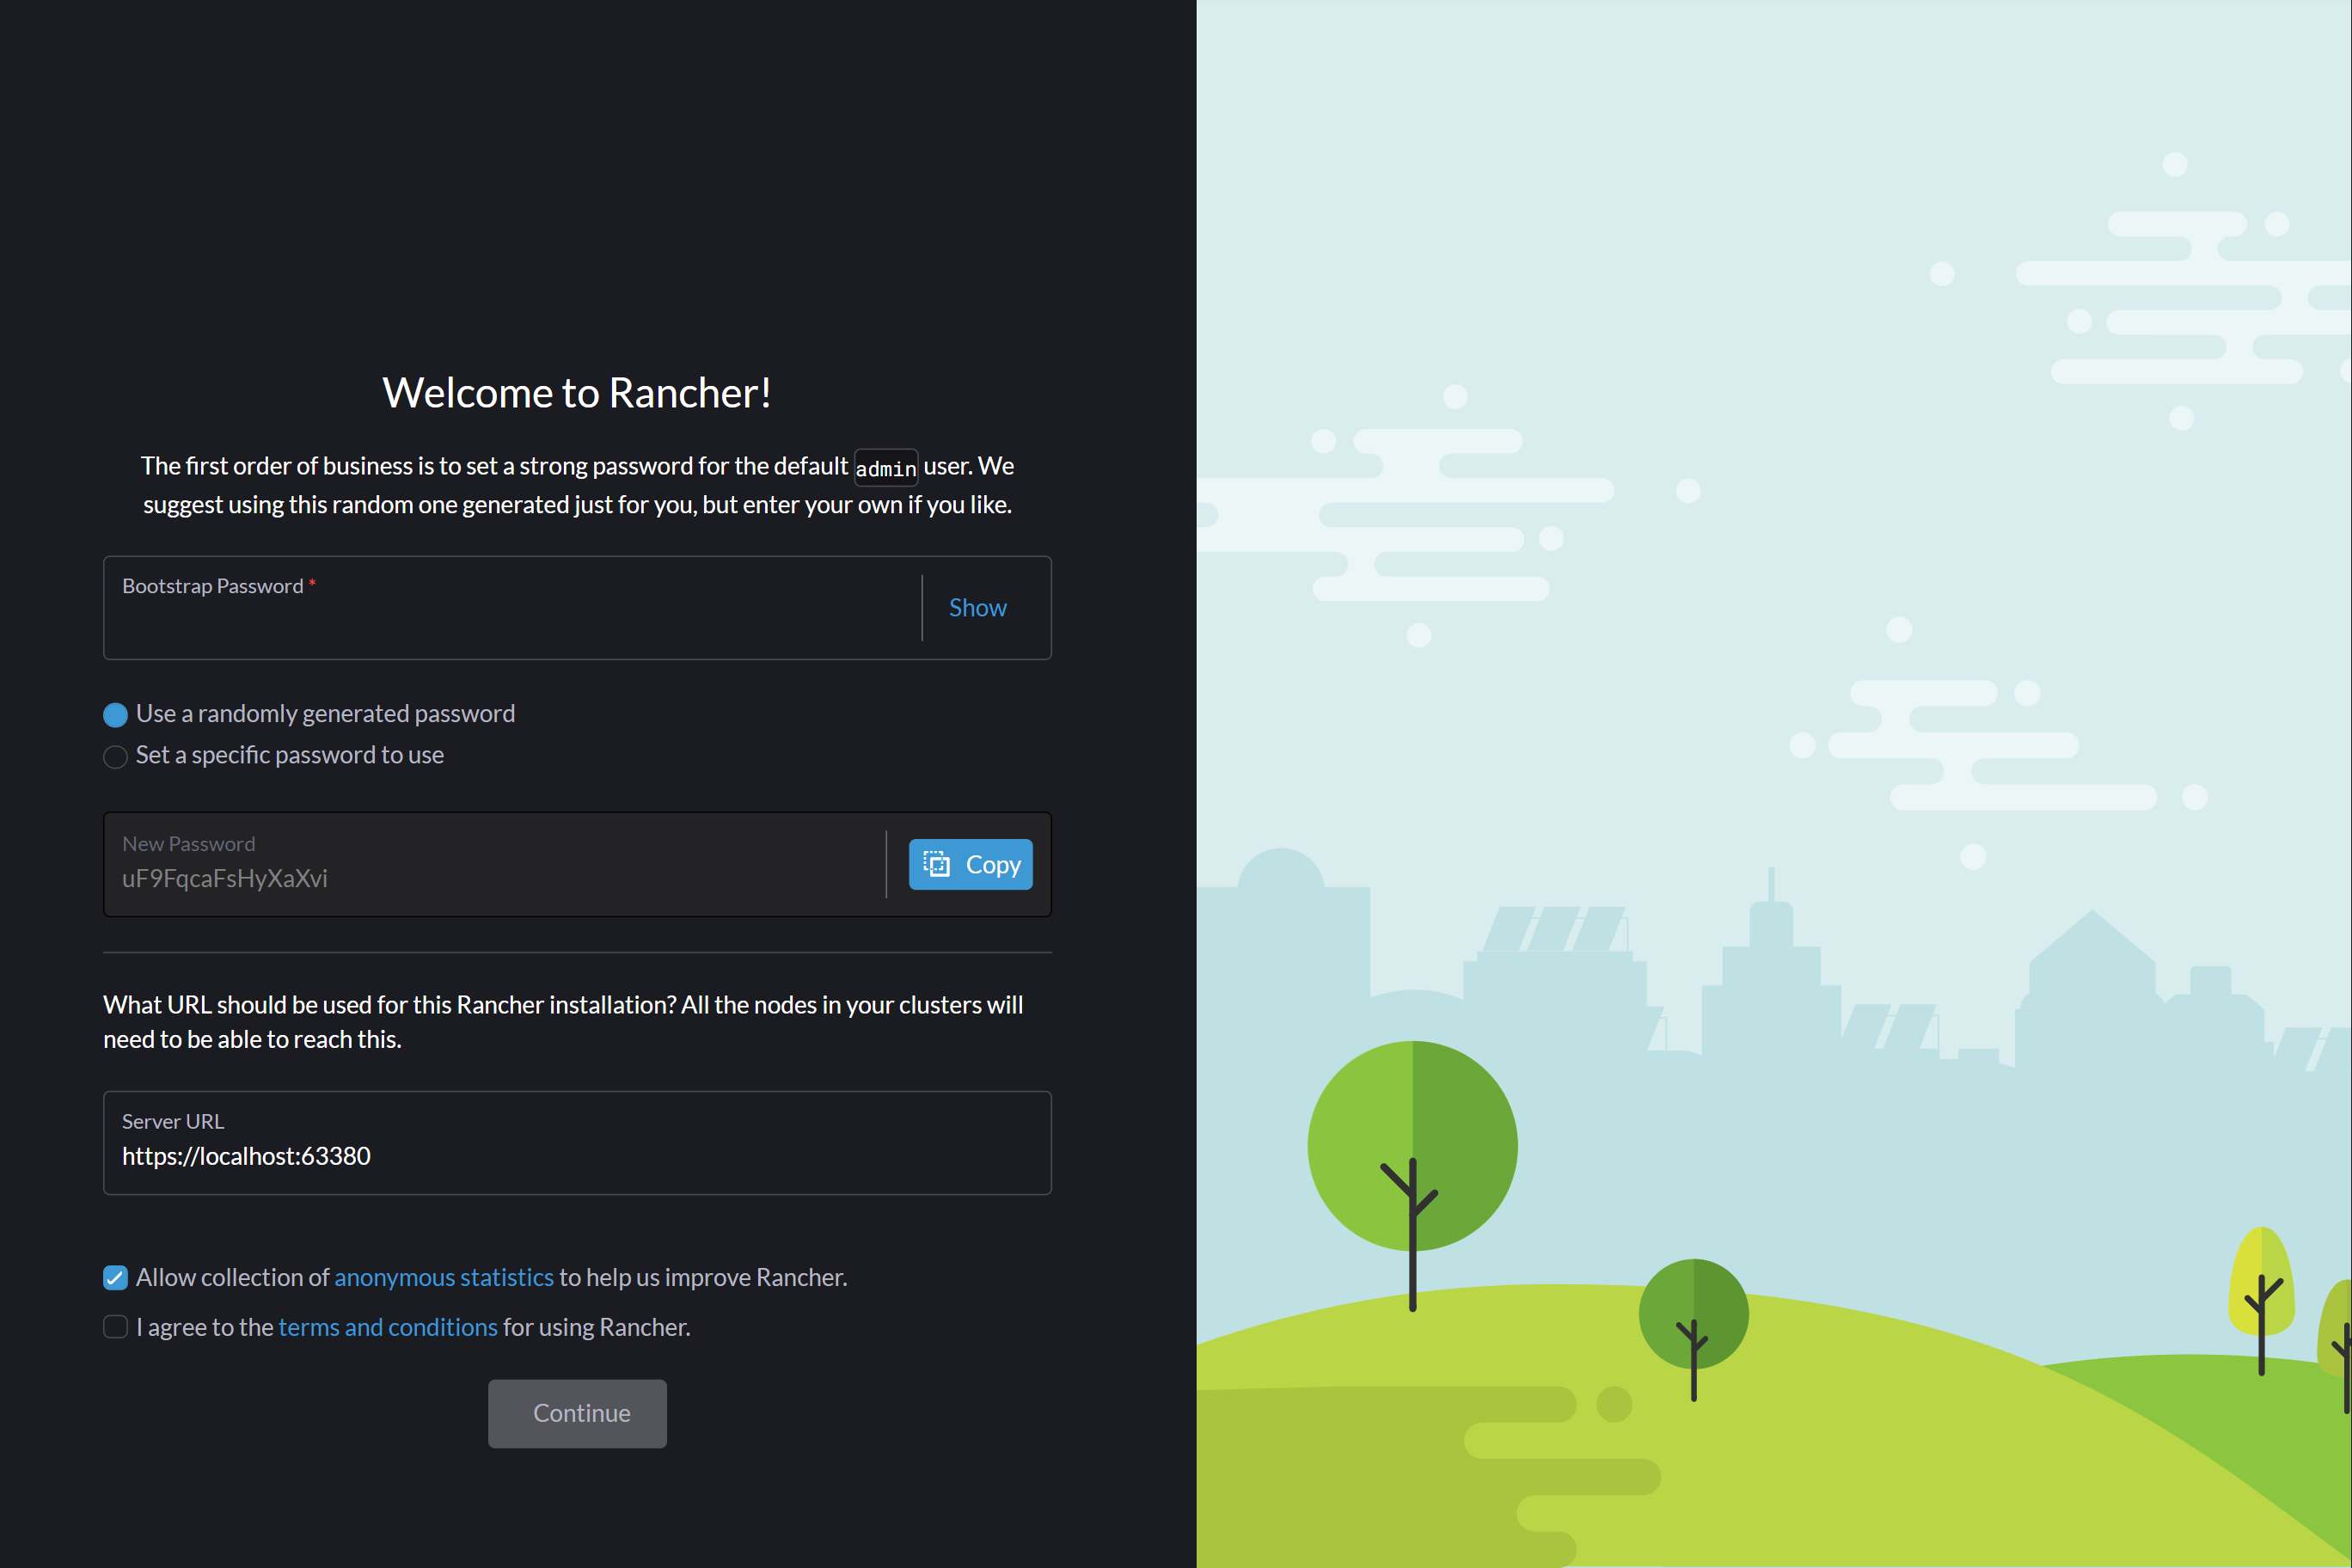
初期設定の画面が出ますので、インストール時に指定したBootstrap Passwordを入力、adminのパスワード設定、利用規約に同意して、Continueボタンをクリック。
ダッシュボードが表示されます。
画面下部のClustersの部分や左メニューのEXPLORE CLUSTERからlocalを選択するとこのような形でクラスターの状態が表示されます。
ダークモードだと分かりづらいですが、右上部のツールバーからターミナルを表示させることができます。
kubectlコマンドもタブ補完付きで実行できます。
リモートからRancherで管理
Rancherは自分自身のクラスターを管理するだけでなく、複数のクラスターを管理することができます。
EC2上にRancherをインストールして、Rancher Desktop内のk3sを登録してみます。
こんな感じ
DockerでRancherをインストール
先程はk3s上にRancherをインストールしましたが、RancherはDocker上にも簡単にインストールできるようになっています。
Dockerのインストール
yum install -y docker
systemctl start docker.socket
Rancherのインストール
CATTLE_BOOTSTRAP_PASSWORDがbootstrapパスワードです。
docker run -d --restart=unless-stopped \
  -p 80:80 -p 443:443 \
  -e CATTLE_BOOTSTRAP_PASSWORD=admin \
  --privileged \
  rancher/rancher:latest
CATTLE_BOOTSTRAP_PASSWORD未指定の場合のパスワードは、ログから入手できます。
docker logs container-id 2>&1 | grep "Bootstrap Password:"
簡単ですね。
Rancherにクラスターを登録
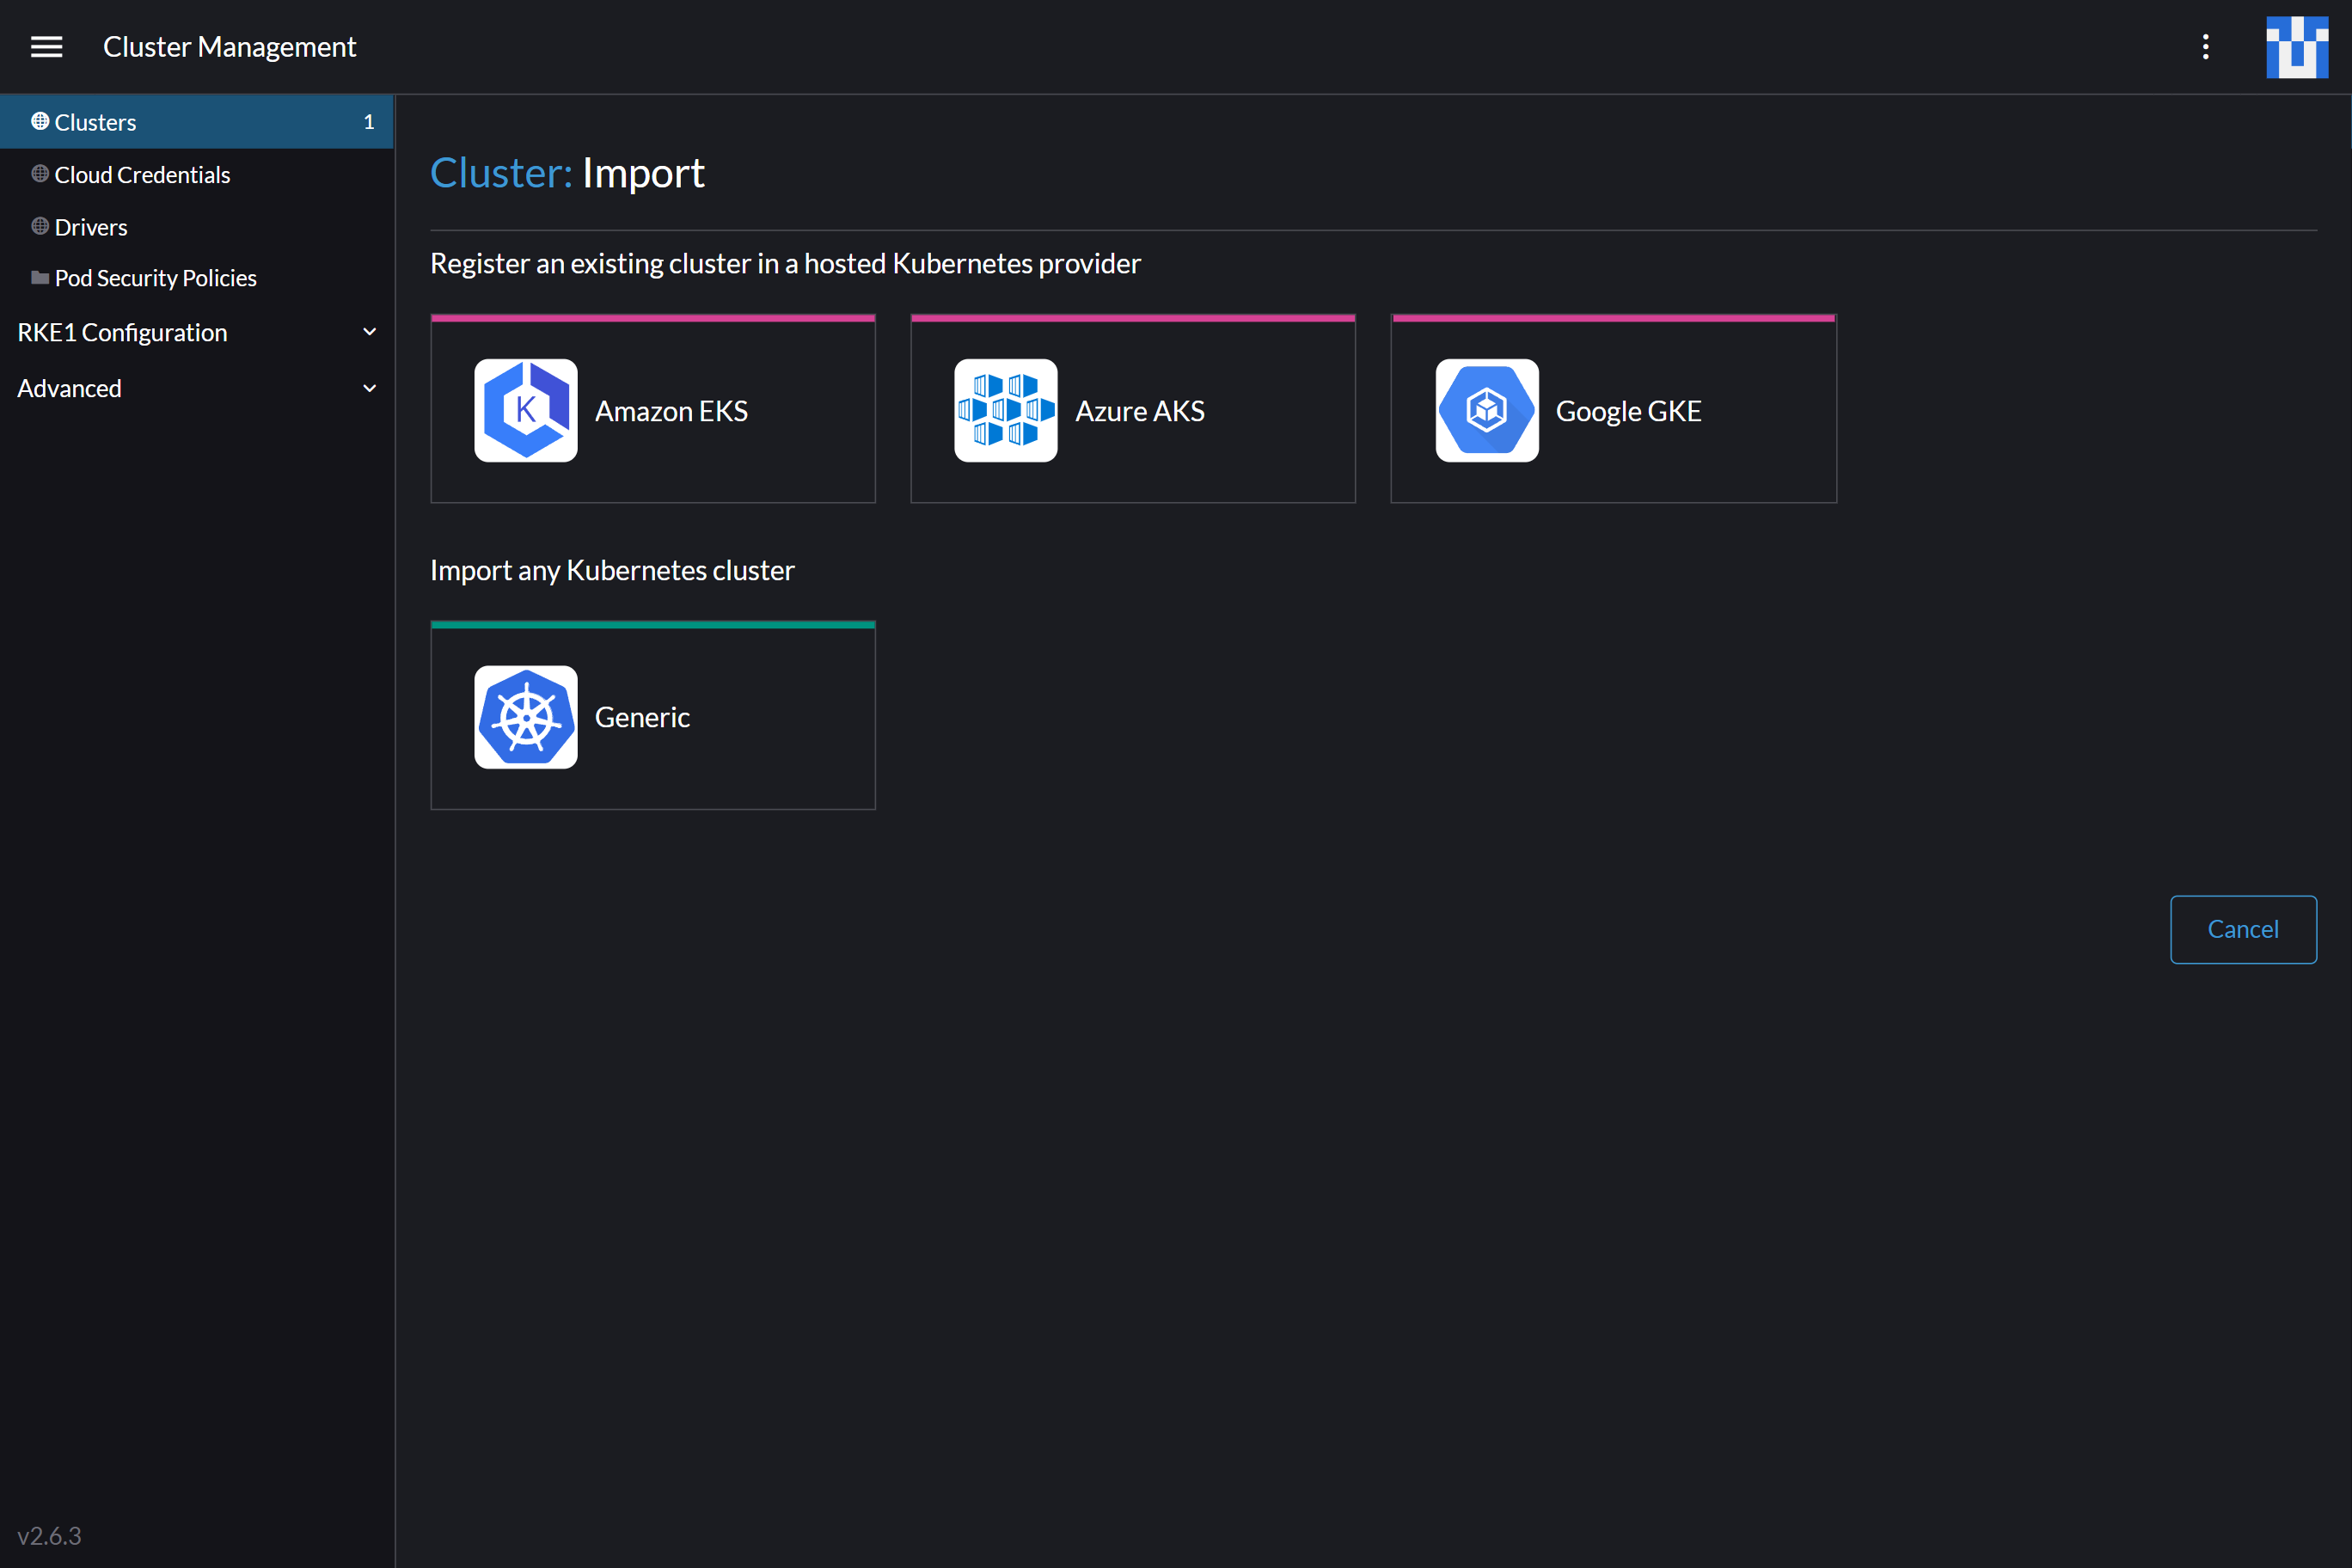
Rancherのホーム画面下部または左メニューのCluster ManagementのImport Existingボタンをクリックします。
Genericを選択
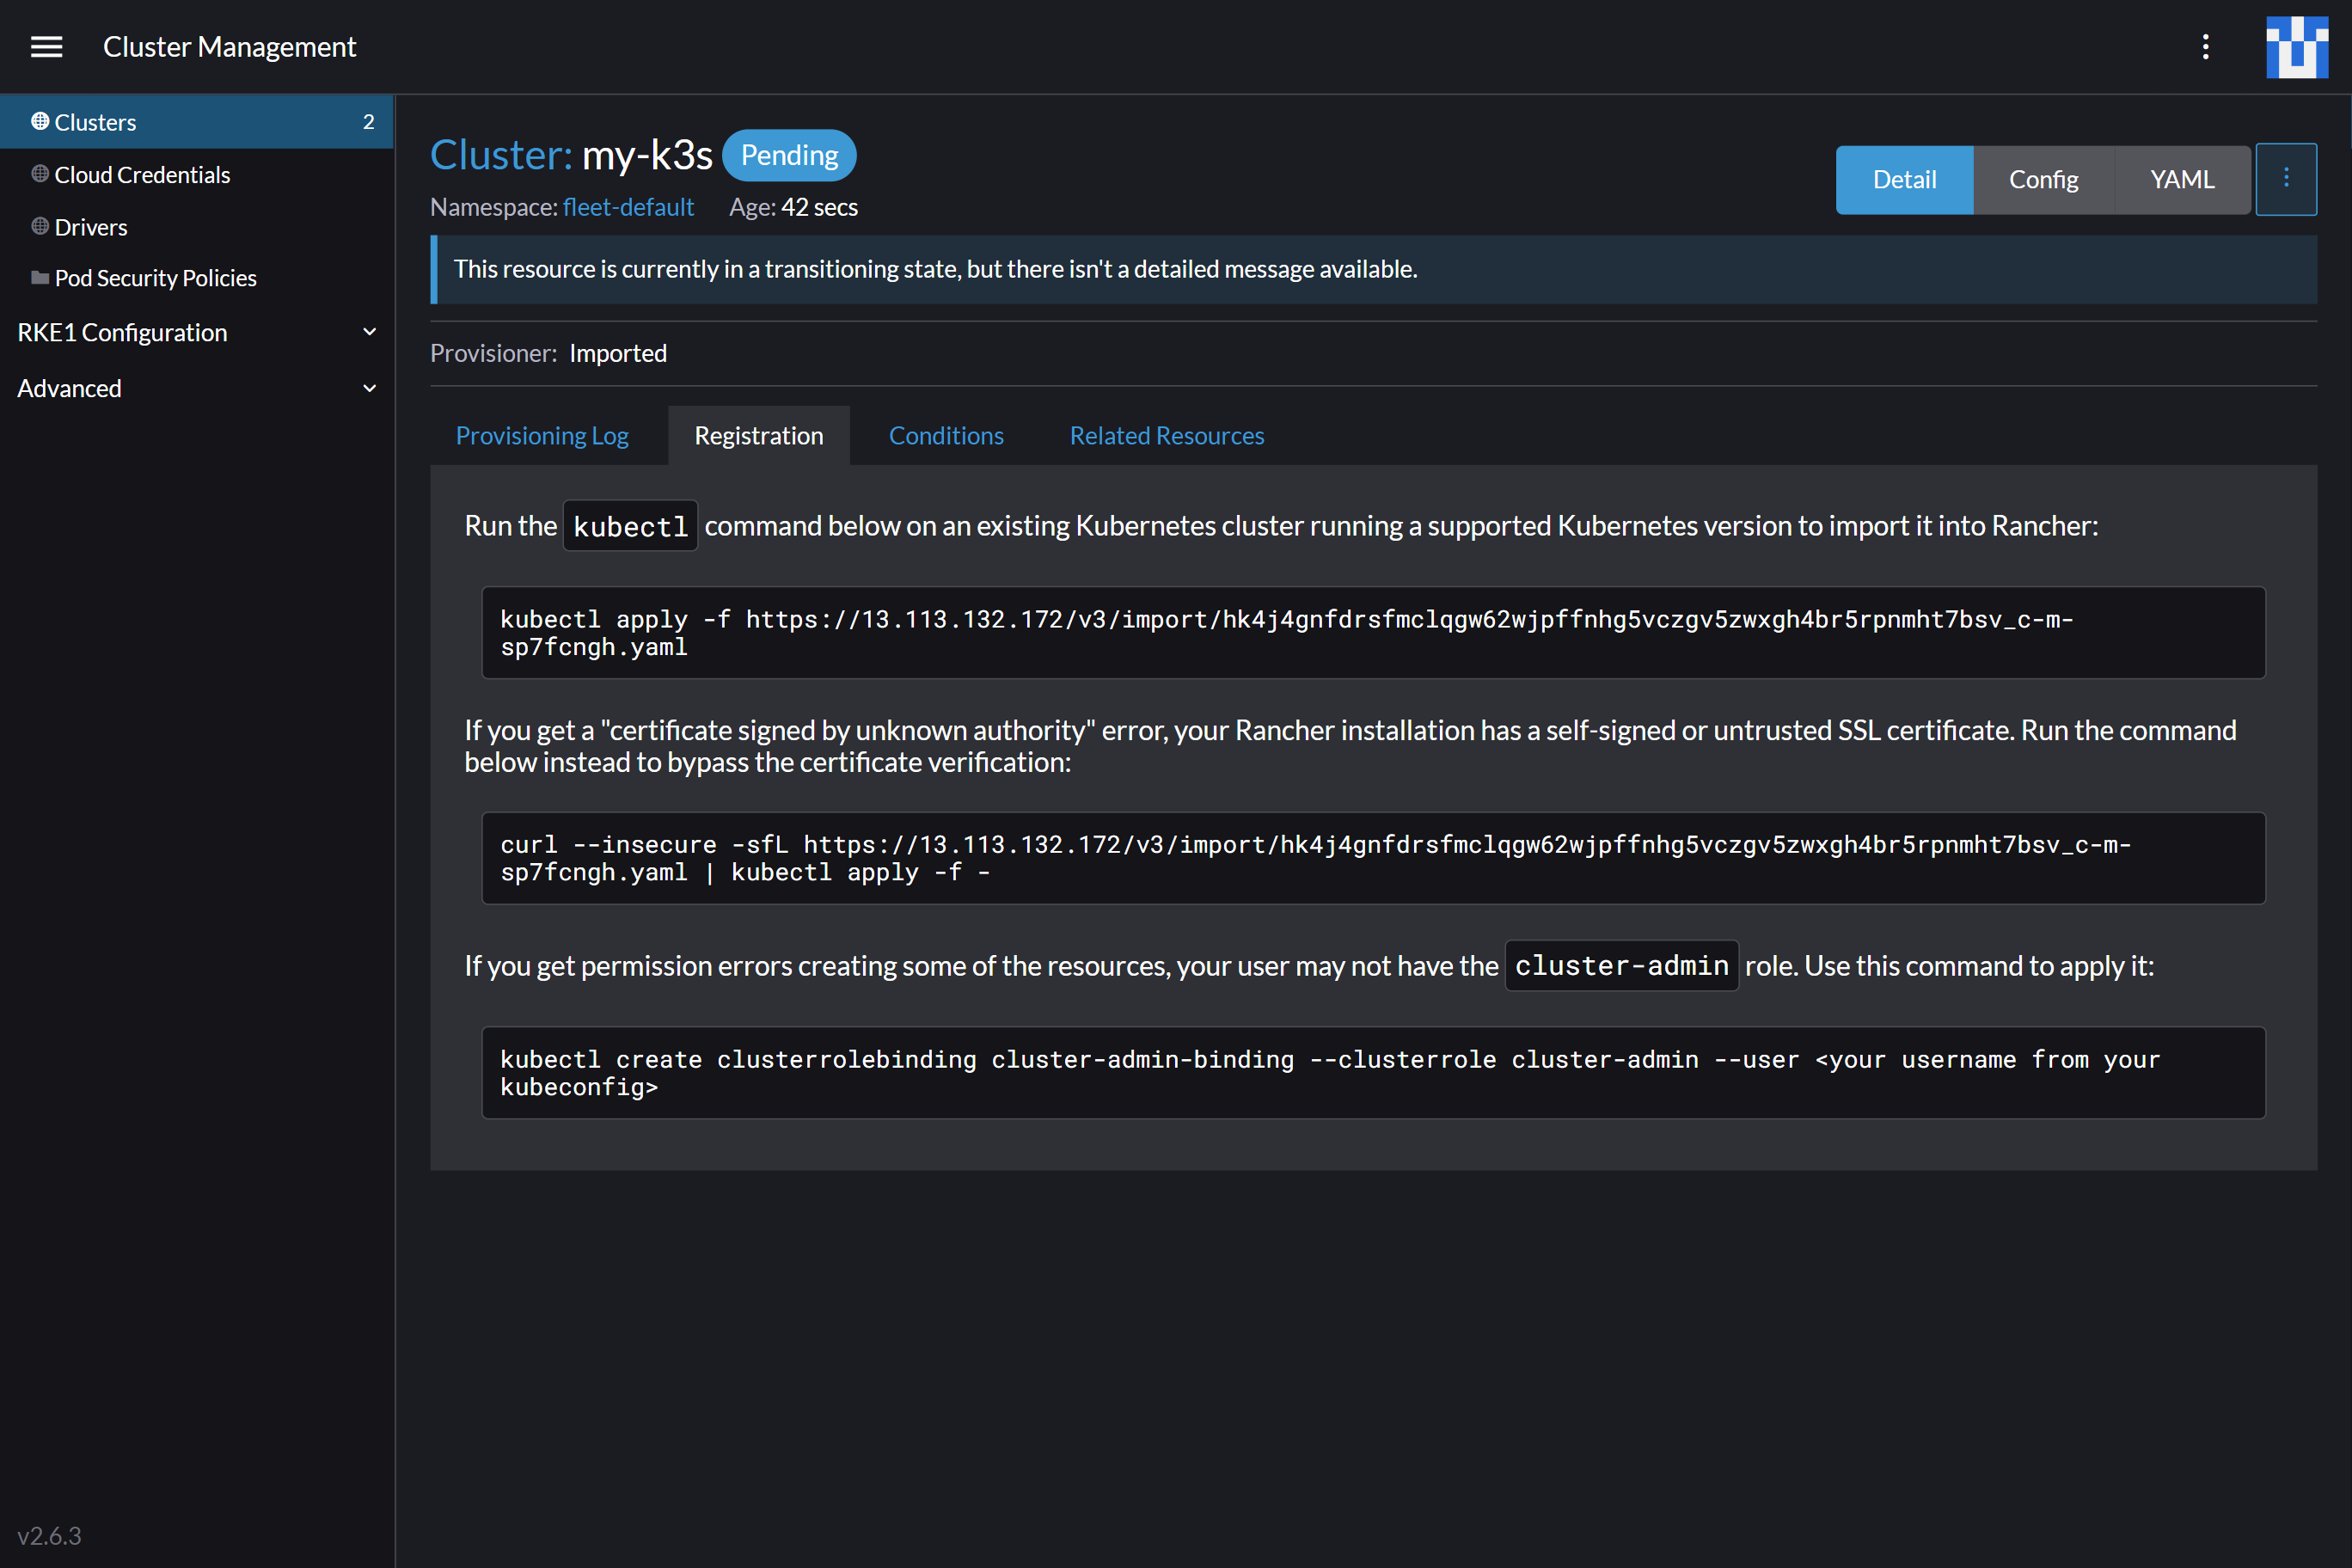
Claster Nameを入力し、Create
次の画面で登録用のコマンドが表示されます。
今回はRancher生成の証明書を使っているので、2つ目のコマンドを管理対象とする環境(今回はRancher Desktopのk3s)で実行します。
(Windows環境のため、curlをcurl.exeに変更しています)
curl.exe --insecure -sfL https://13.113.132.172/v3/import/hk4j4gnfdrsfmclqgw62wjpffnhg5vczgv5zwxgh4br5rpnmht7bsv_c-m-sp7fcngh.yaml | kubectl apply -f -
うまく登録が完了すると、このようになります。
これで外部から、Rancher Desktop内のk3sの管理ができます😀


