BedrockerでKendarな私。KendraみたいなOSSを発見しました。
公式サイト:https://www.danswer.ai/
GitHub:https://github.com/danswer-ai/danswer
ドキュメント:https://docs.danswer.dev/
オープンソースで開発されているためセルフホストが可能です。また、クラウドサービスも提供されています。
機能紹介
- コネクターを使っていろいろなデータソースからインデックス作成
- 検索だけでなく、生成AIを使った回答生成チャットインターフェイスがビルトイン
- Slackボットとして動作可能
- ユーザー権限管理機能(※もしかしたらクラウド版のみかも)
コネクターの一覧
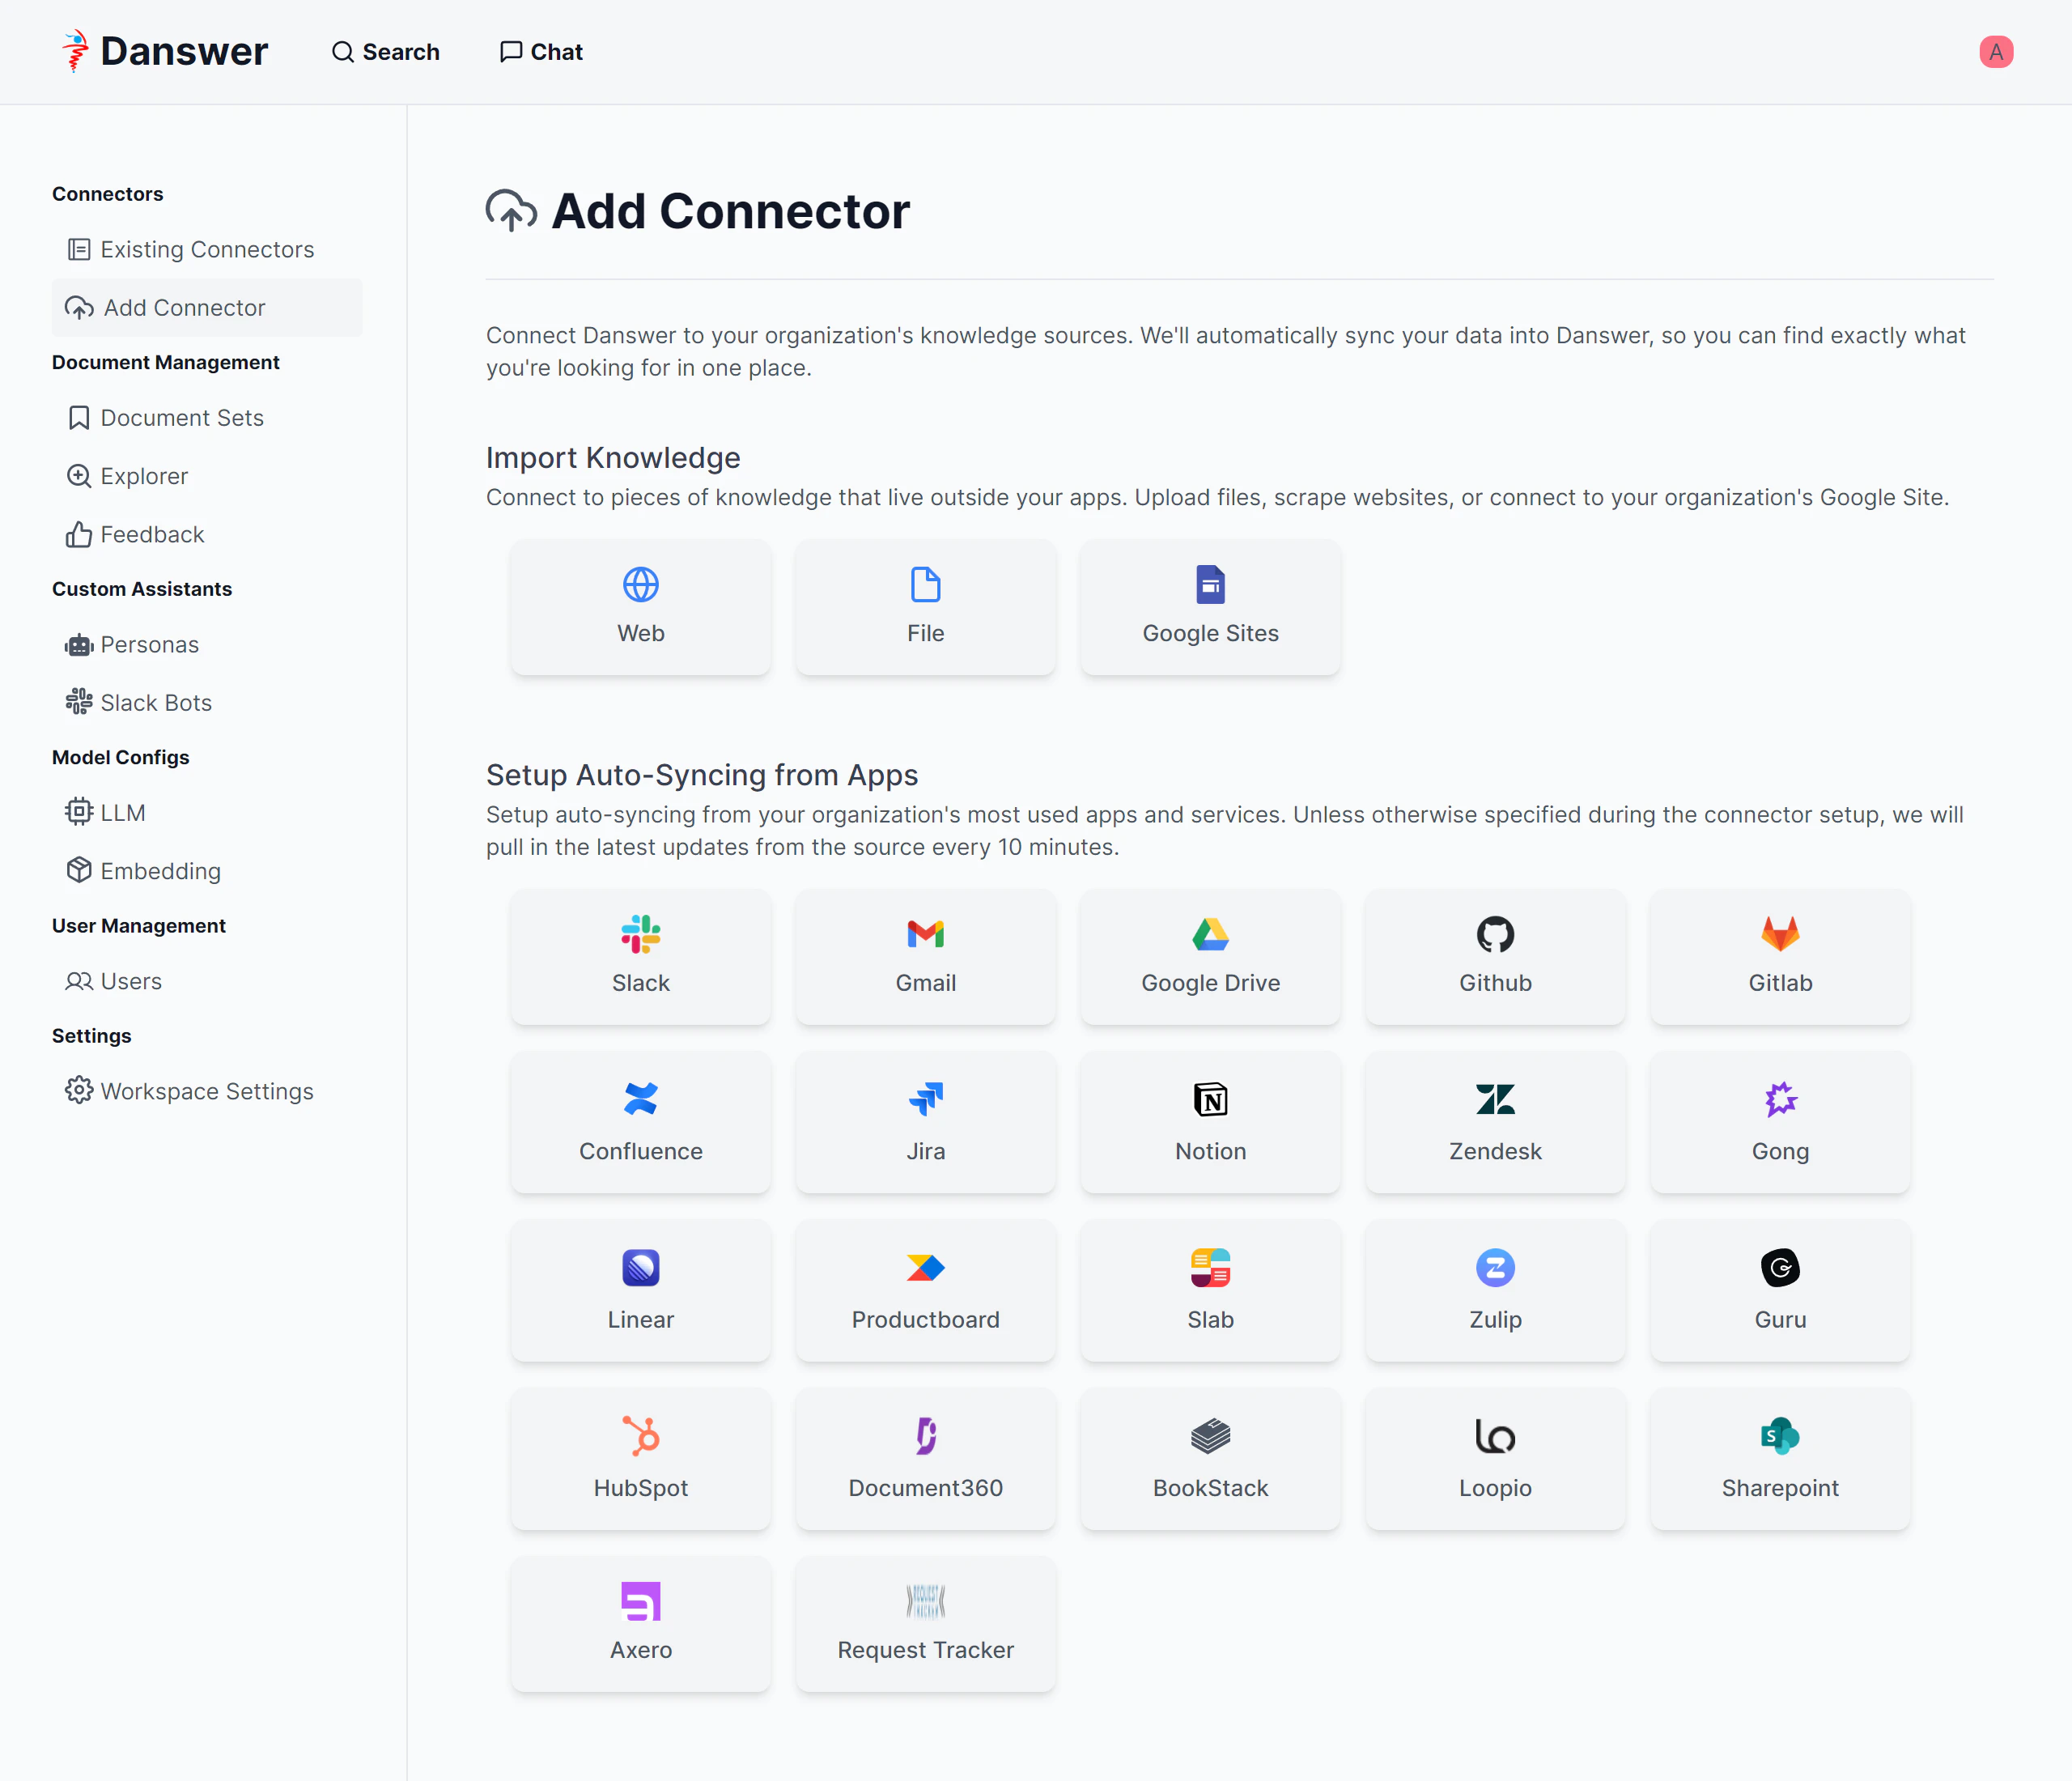
Kendraと比較するとコネクターはまだまだ少ないですが、個人で遊ぶ分にはWebとファイルがあればなんとかなります。
コネクターを接続して検索するだけでなく生成AIで回答生成まで行うので、Kendraというよりは Amazon Qに近い 印象です。
環境構築
ローカルPC上に環境構築を行いました。
必要なサーバースペック
1台のサーバーで構築する場合は、以下のスペックが必要です。
- CPU: 4vCPU以上(8vCPU以上推奨)
- メモリ:10GB以上(16GB以上推奨)
- ストレージ:50GB以上
参考:https://docs.danswer.dev/resourcing
Danswerのソースを一部修正
初期状態ではOpenAIのAPIを使用する様になっているのですが、Amazon Bedrockを使用したいのでソースを一部修正します。
-
ソースを取得します
git clone https://github.com/danswer-ai/danswer.git -
環境変数ファイルを作成します
内部ではliteLLMを使用して動作しているようです。
GEN_AI_LLM_PROVIDER_TYPEにbedrockを指定し、GEN_AI_MODEL_VERSIONにモデル名を指定します。(liteLLMでのBedrockの使用方法のドキュメントはこちら)danswer/deployment/docker_compose/.envGEN_AI_MODEL_VERSION=anthropic.claude-3-haiku-20240307-v1:0 GEN_AI_LLM_PROVIDER_TYPE=bedrock AWS_REGION_NAME=us-east-1 AUTH_TYPE=basic -
AWS認証情報をボリュームマウントで共有します
※環境変数にてAWS_ACCESS_KEY_IDやAWS_SECRET_ACCESS_KEYを使用する場合は不要ですdanswer/deployment/docker_compose/docker-compose.dev.ymlservices: api_server: image: danswer/danswer-backend:latest build: context: ../../backend dockerfile: Dockerfile command: > /bin/sh -c "alembic upgrade head && echo \"Starting Danswer Api Server\" && uvicorn danswer.main:app --host 0.0.0.0 --port 8080" depends_on: - relational_db - index restart: always ports: - "8080:8080" environment: # # 省略 # volumes: - local_dynamic_storage:/home/storage - file_connector_tmp_storage:/home/file_connector_storage - model_cache_nltk:/root/nltk_data/ + - ~/.aws:/root/.aws extra_hosts: - "host.docker.internal:host-gateway" logging: driver: json-file options: max-size: "50m" max-file: "6" # # 省略 # -
Boto3が入っていないので最後の1行を追加します
danswer/backend/DockerfileFROM python:3.11.7-slim-bookworm LABEL com.danswer.maintainer="founders@danswer.ai" LABEL com.danswer.description="This image is for the backend of Danswer. It is MIT Licensed and \ free for all to use. You can find it at https://hub.docker.com/r/danswer/danswer-backend. For \ more details, visit https://github.com/danswer-ai/danswer." # Default DANSWER_VERSION, typically overriden during builds by GitHub Actions. ARG DANSWER_VERSION=0.3-dev ENV DANSWER_VERSION=${DANSWER_VERSION} RUN echo "DANSWER_VERSION: ${DANSWER_VERSION}" # Install system dependencies # cmake needed for psycopg (postgres) # libpq-dev needed for psycopg (postgres) # curl included just for users' convenience # zip for Vespa step futher down # ca-certificates for HTTPS RUN apt-get update && \ apt-get install -y cmake curl zip ca-certificates libgnutls30=3.7.9-2+deb12u2 \ libblkid1=2.38.1-5+deb12u1 libmount1=2.38.1-5+deb12u1 libsmartcols1=2.38.1-5+deb12u1 \ libuuid1=2.38.1-5+deb12u1 && \ rm -rf /var/lib/apt/lists/* && \ apt-get clean # Install Python dependencies # Remove py which is pulled in by retry, py is not needed and is a CVE COPY ./requirements/default.txt /tmp/requirements.txt RUN pip install --no-cache-dir --upgrade -r /tmp/requirements.txt && \ pip uninstall -y py && \ playwright install chromium && playwright install-deps chromium && \ ln -s /usr/local/bin/supervisord /usr/bin/supervisord # Cleanup for CVEs and size reduction # https://github.com/tornadoweb/tornado/issues/3107 # xserver-common and xvfb included by playwright installation but not needed after # perl-base is part of the base Python Debian image but not needed for Danswer functionality # perl-base could only be removed with --allow-remove-essential RUN apt-get remove -y --allow-remove-essential perl-base xserver-common xvfb cmake \ libldap-2.5-0 libldap-2.5-0 && \ apt-get autoremove -y && \ rm -rf /var/lib/apt/lists/* && \ rm /usr/local/lib/python3.11/site-packages/tornado/test/test.key # Set up application files WORKDIR /app COPY ./danswer /app/danswer COPY ./shared_configs /app/shared_configs COPY ./alembic /app/alembic COPY ./alembic.ini /app/alembic.ini COPY supervisord.conf /usr/etc/supervisord.conf ENV PYTHONPATH /app # Default command which does nothing # This container is used by api server and background which specify their own CMD CMD ["tail", "-f", "/dev/null"] + RUN pip install boto3
ビルドと起動
Docker Compose Upに--buildオプションを付けて実行します。
cd danswer/deployment/docker_compose

docker compose -f docker-compose.dev.yml \
 -p danswer-stack up \
 -d \
 --build
ログを確認する方法
docker compose -f docker-compose.dev.yml -p danswer-stack logs -f
初期設定
Danswerが起動後http://localhost:3000にアクセスします。
環境変数にAUTH_TYPE=basicを指定しているのでログイン画面が表示されます。
Create an accountのリンクからアカウントを作成してください。
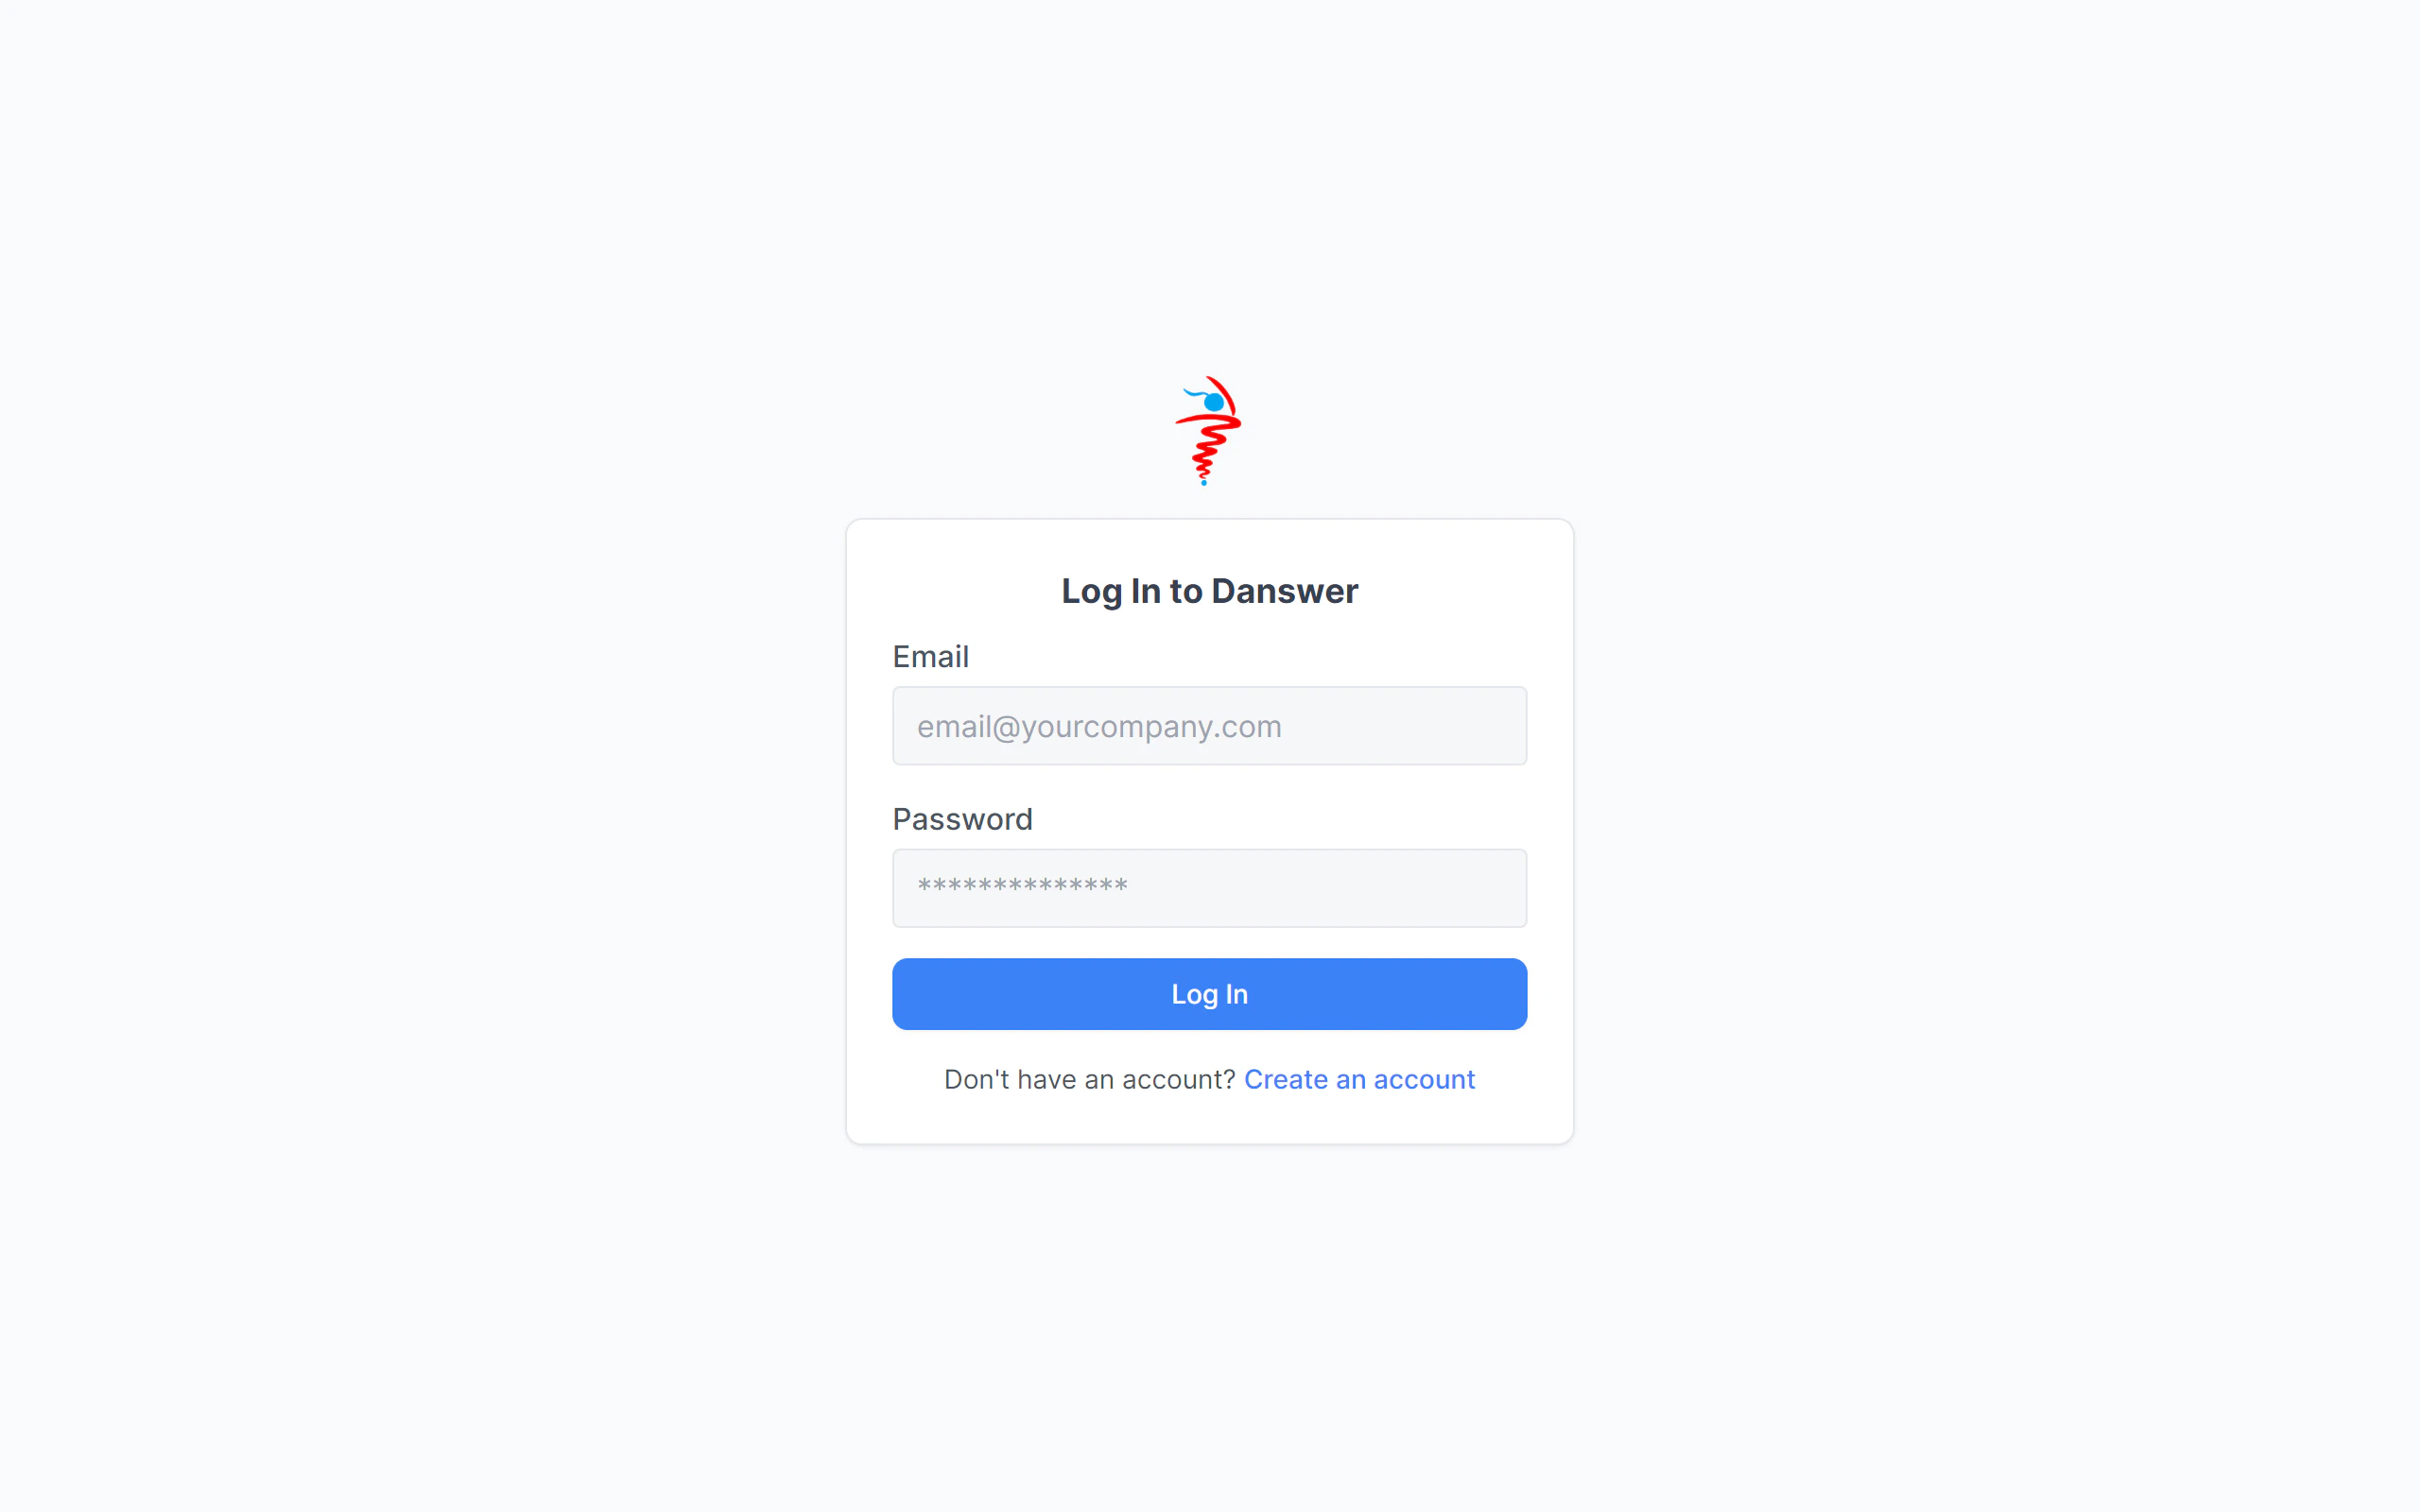
メールアドレスの入力が必要ですがメールが送信されることはないので、私はadmin@example.comでアカウントを作成しました。
初めて作成するアカウントは自動で管理者(Admin)権限で作成され、それ以降のアカウントは一般ユーザー(User)として作成されます。
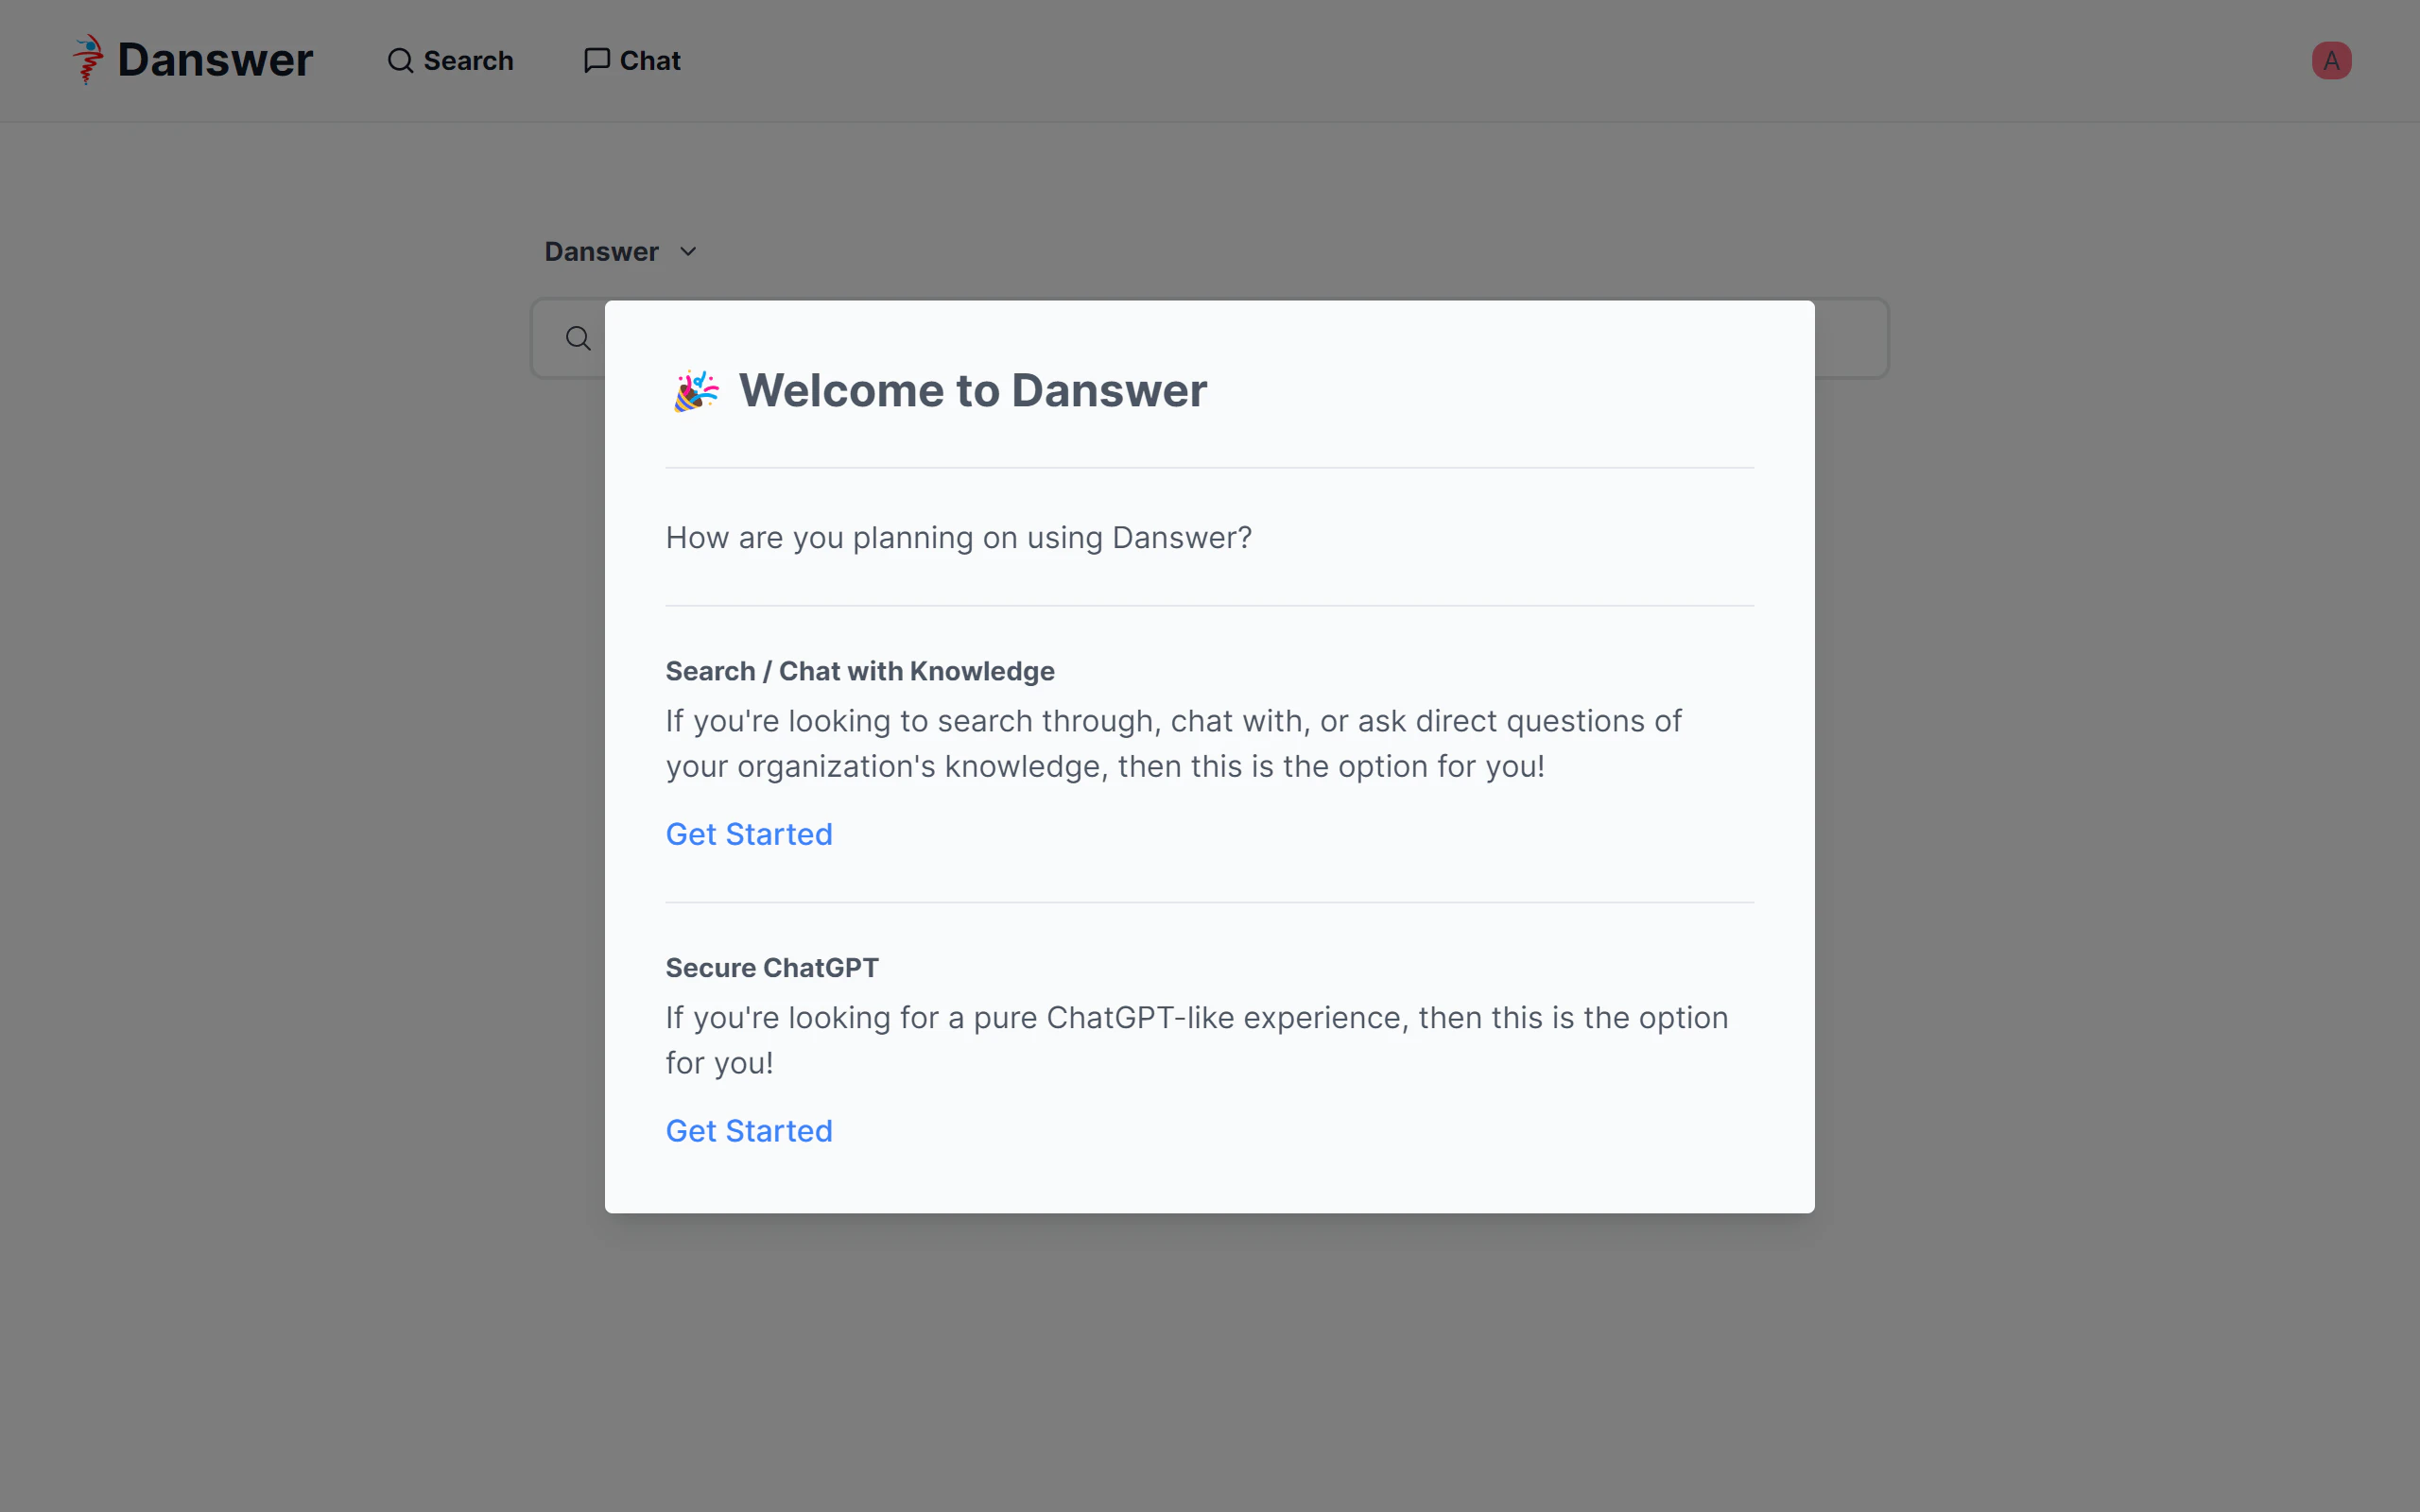
ログイン後のダイアログにて、「Search / Chat with Knowledge」のセクションにあるGet Startedリンクをクリックします。
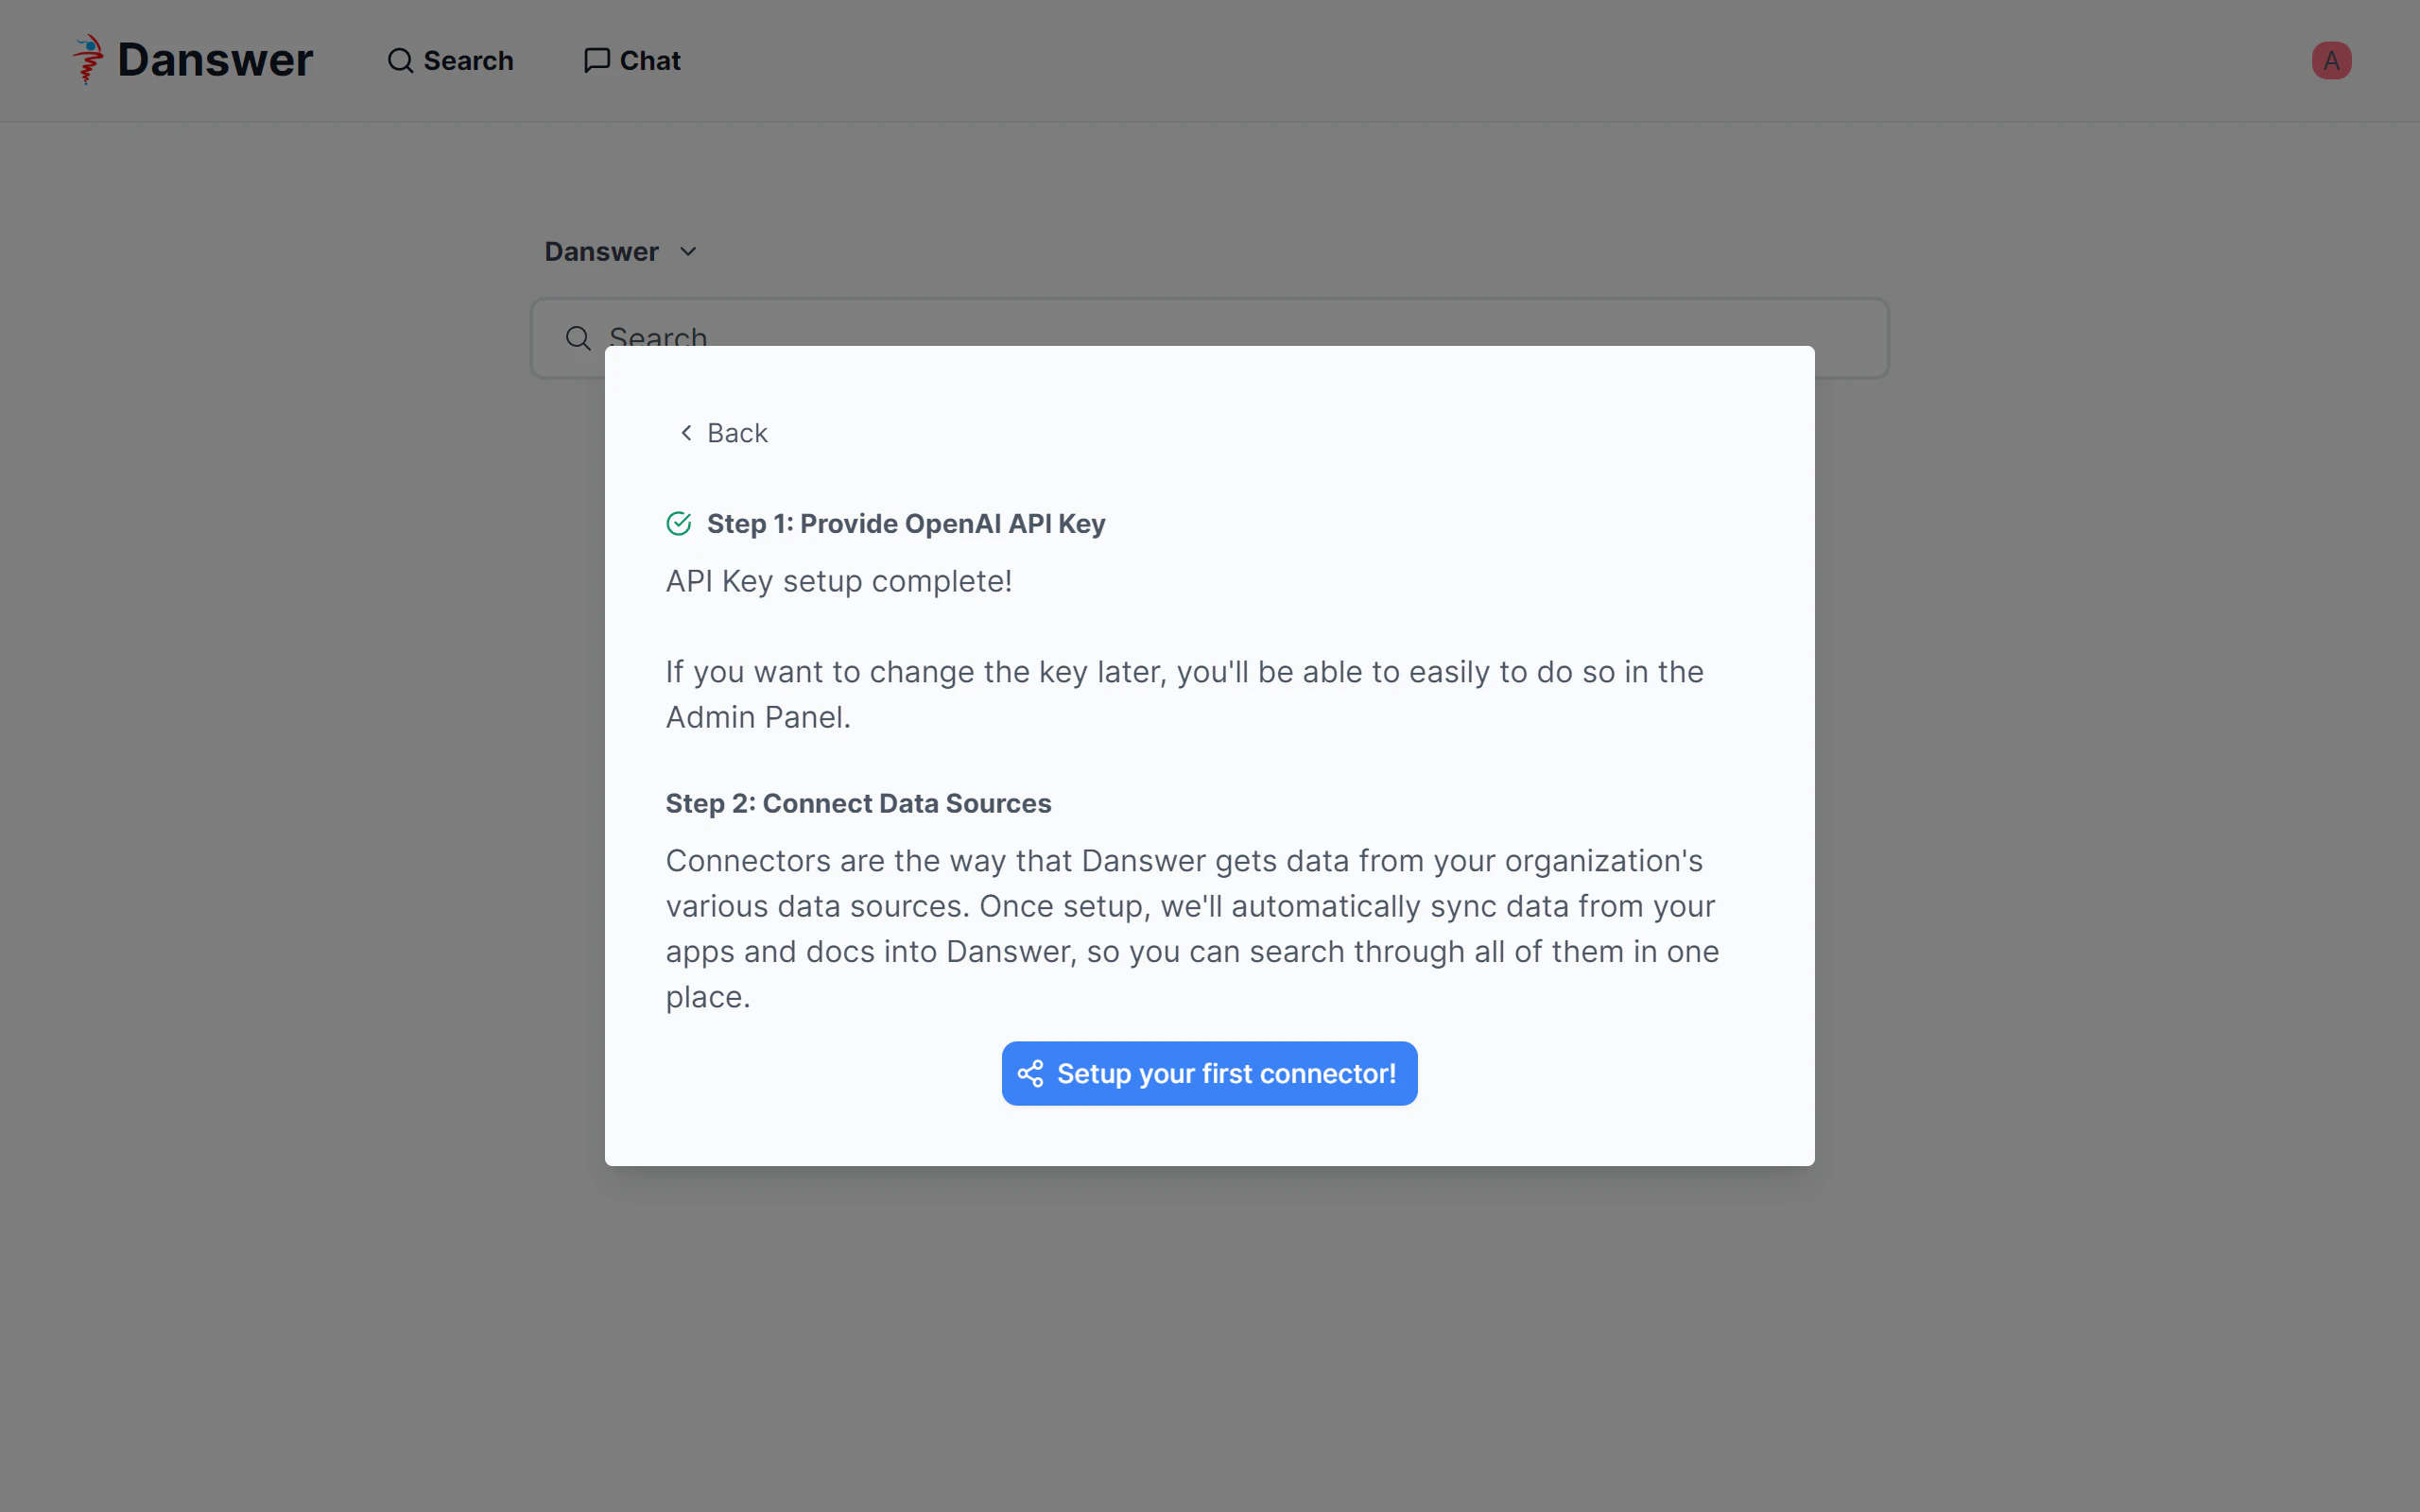
Bedrockへのアクセスが成功している場合、特に設定はないので、Setup your first connector!をクリックします。
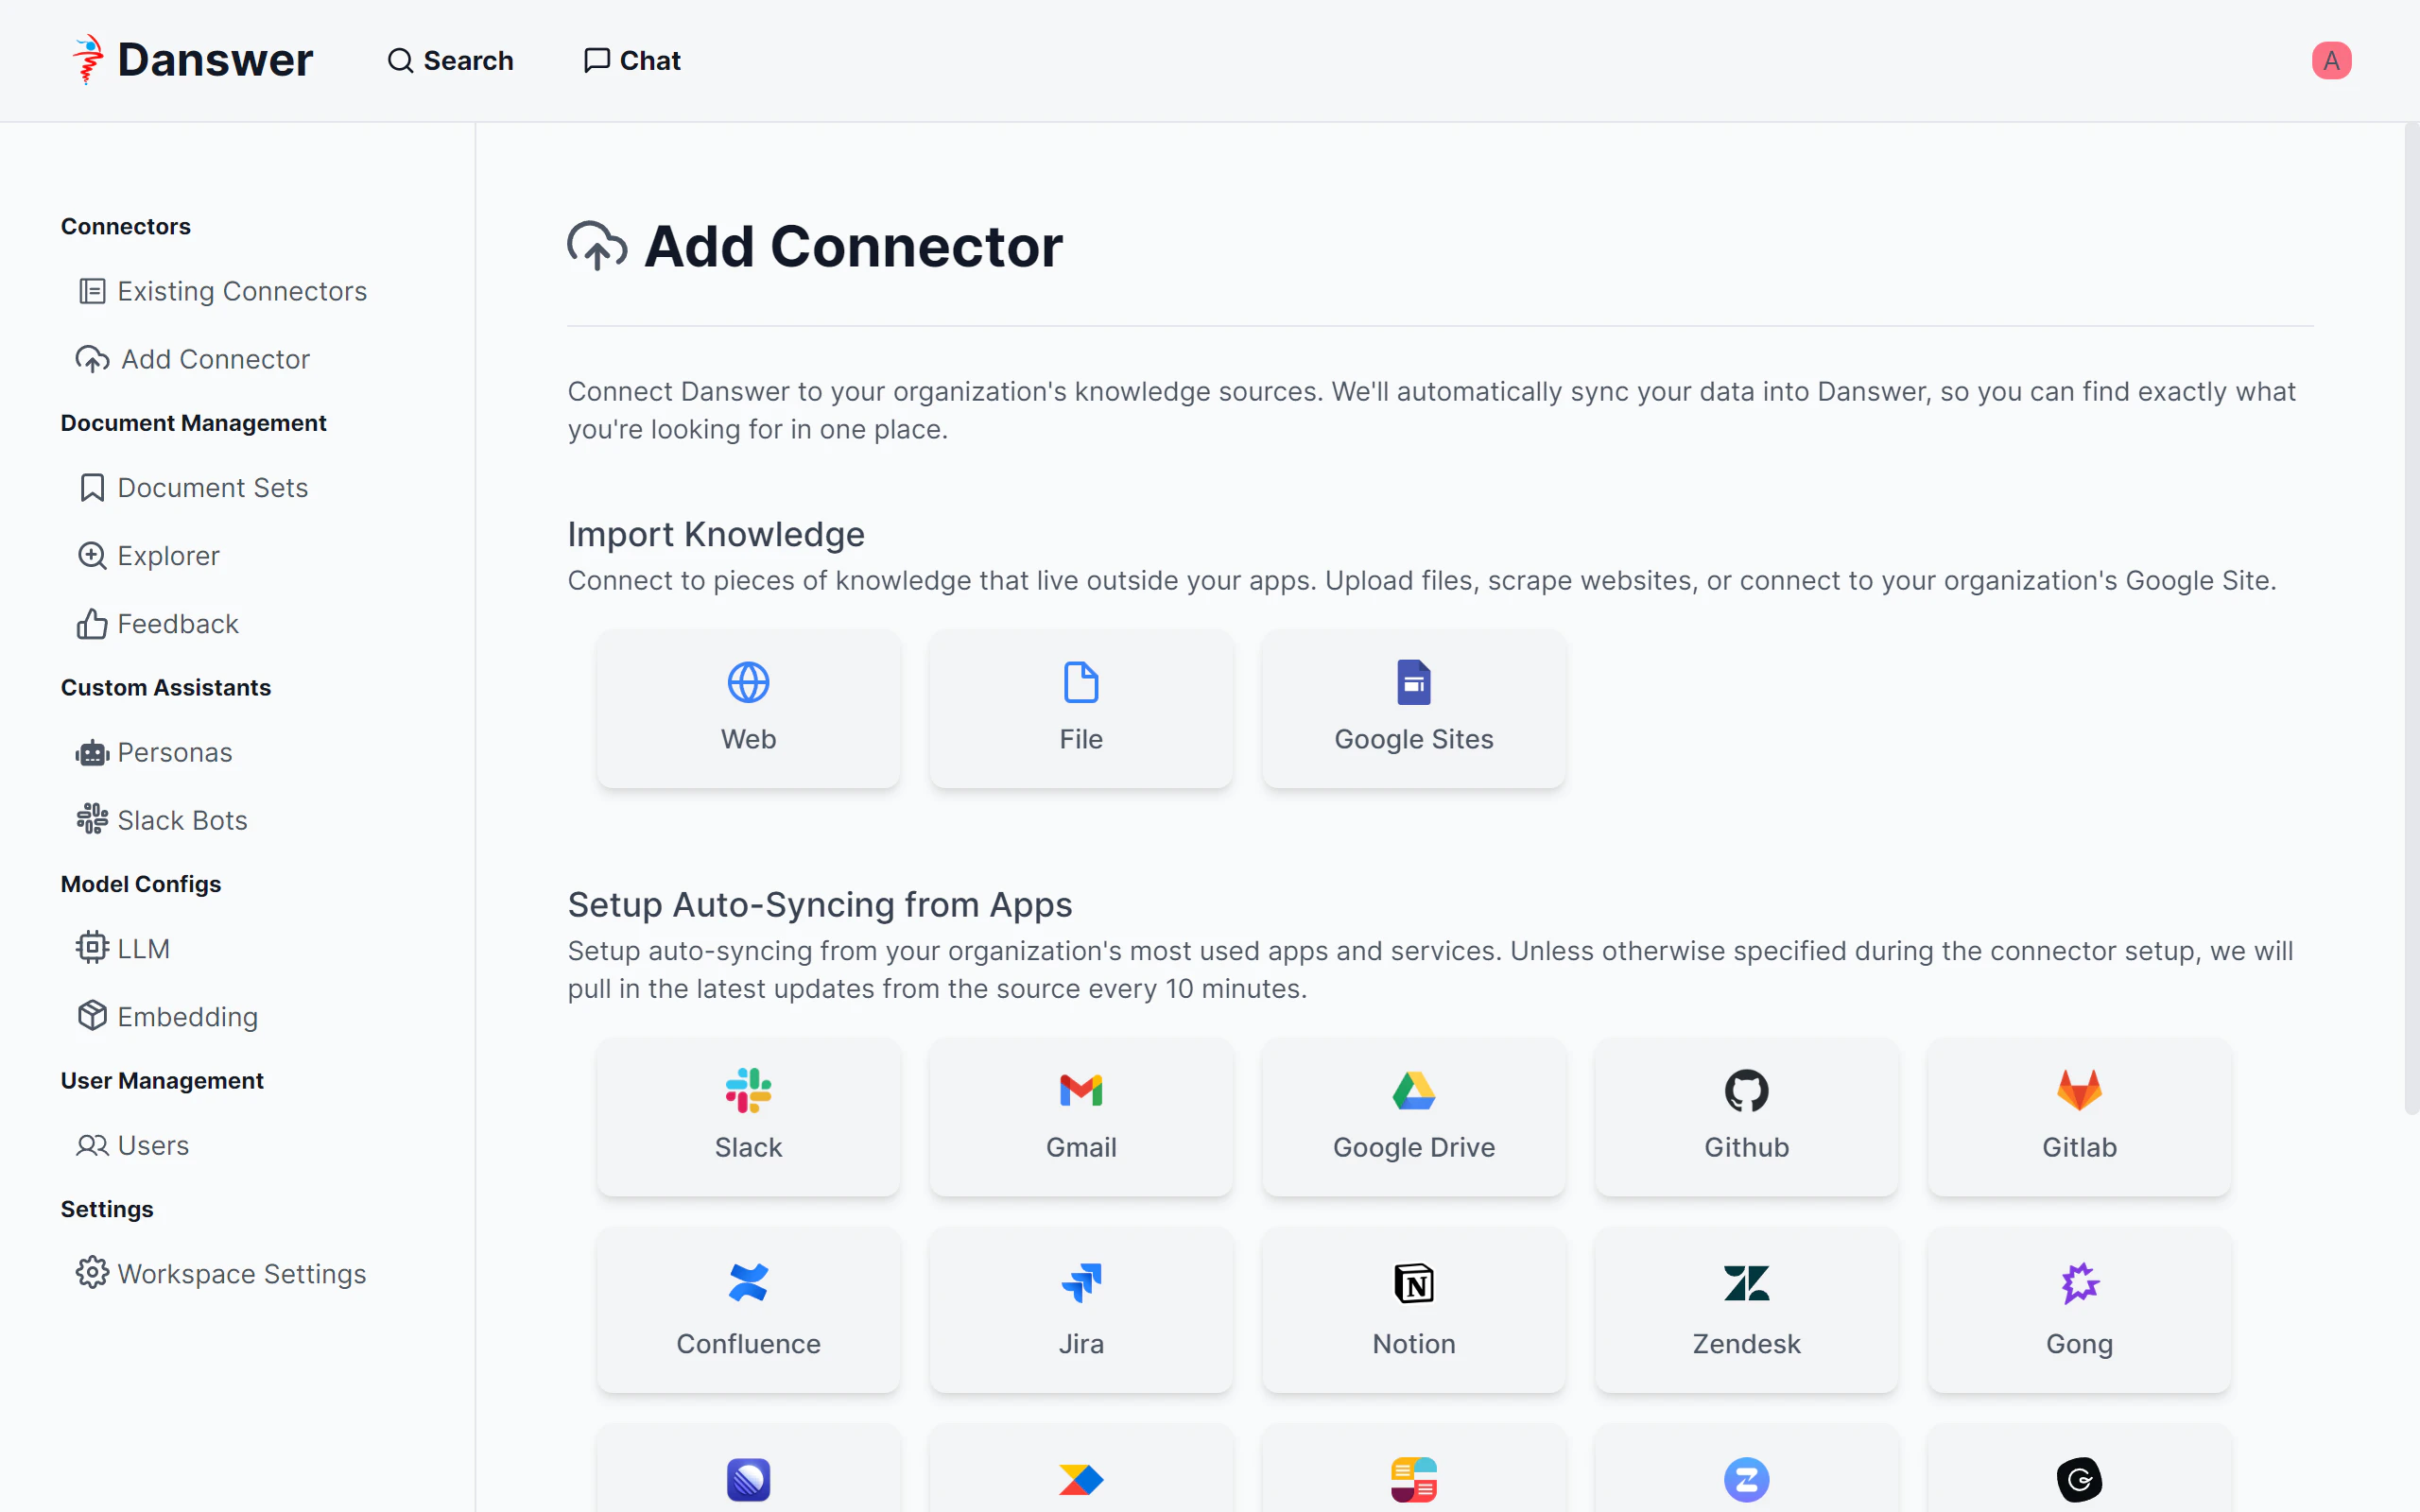
「Add Connector」画面が表示されます。「Model Configs」にある「Embedding」をクリックします。
Embeddingに使用するモデルを選択します。日本語を扱うのでマルチリンガル版のintfloat/multilingual-e5-baseを使用するように変更します。intfloat/multilingual-e5-baseのところのSelect Modelボタンをクリックします。
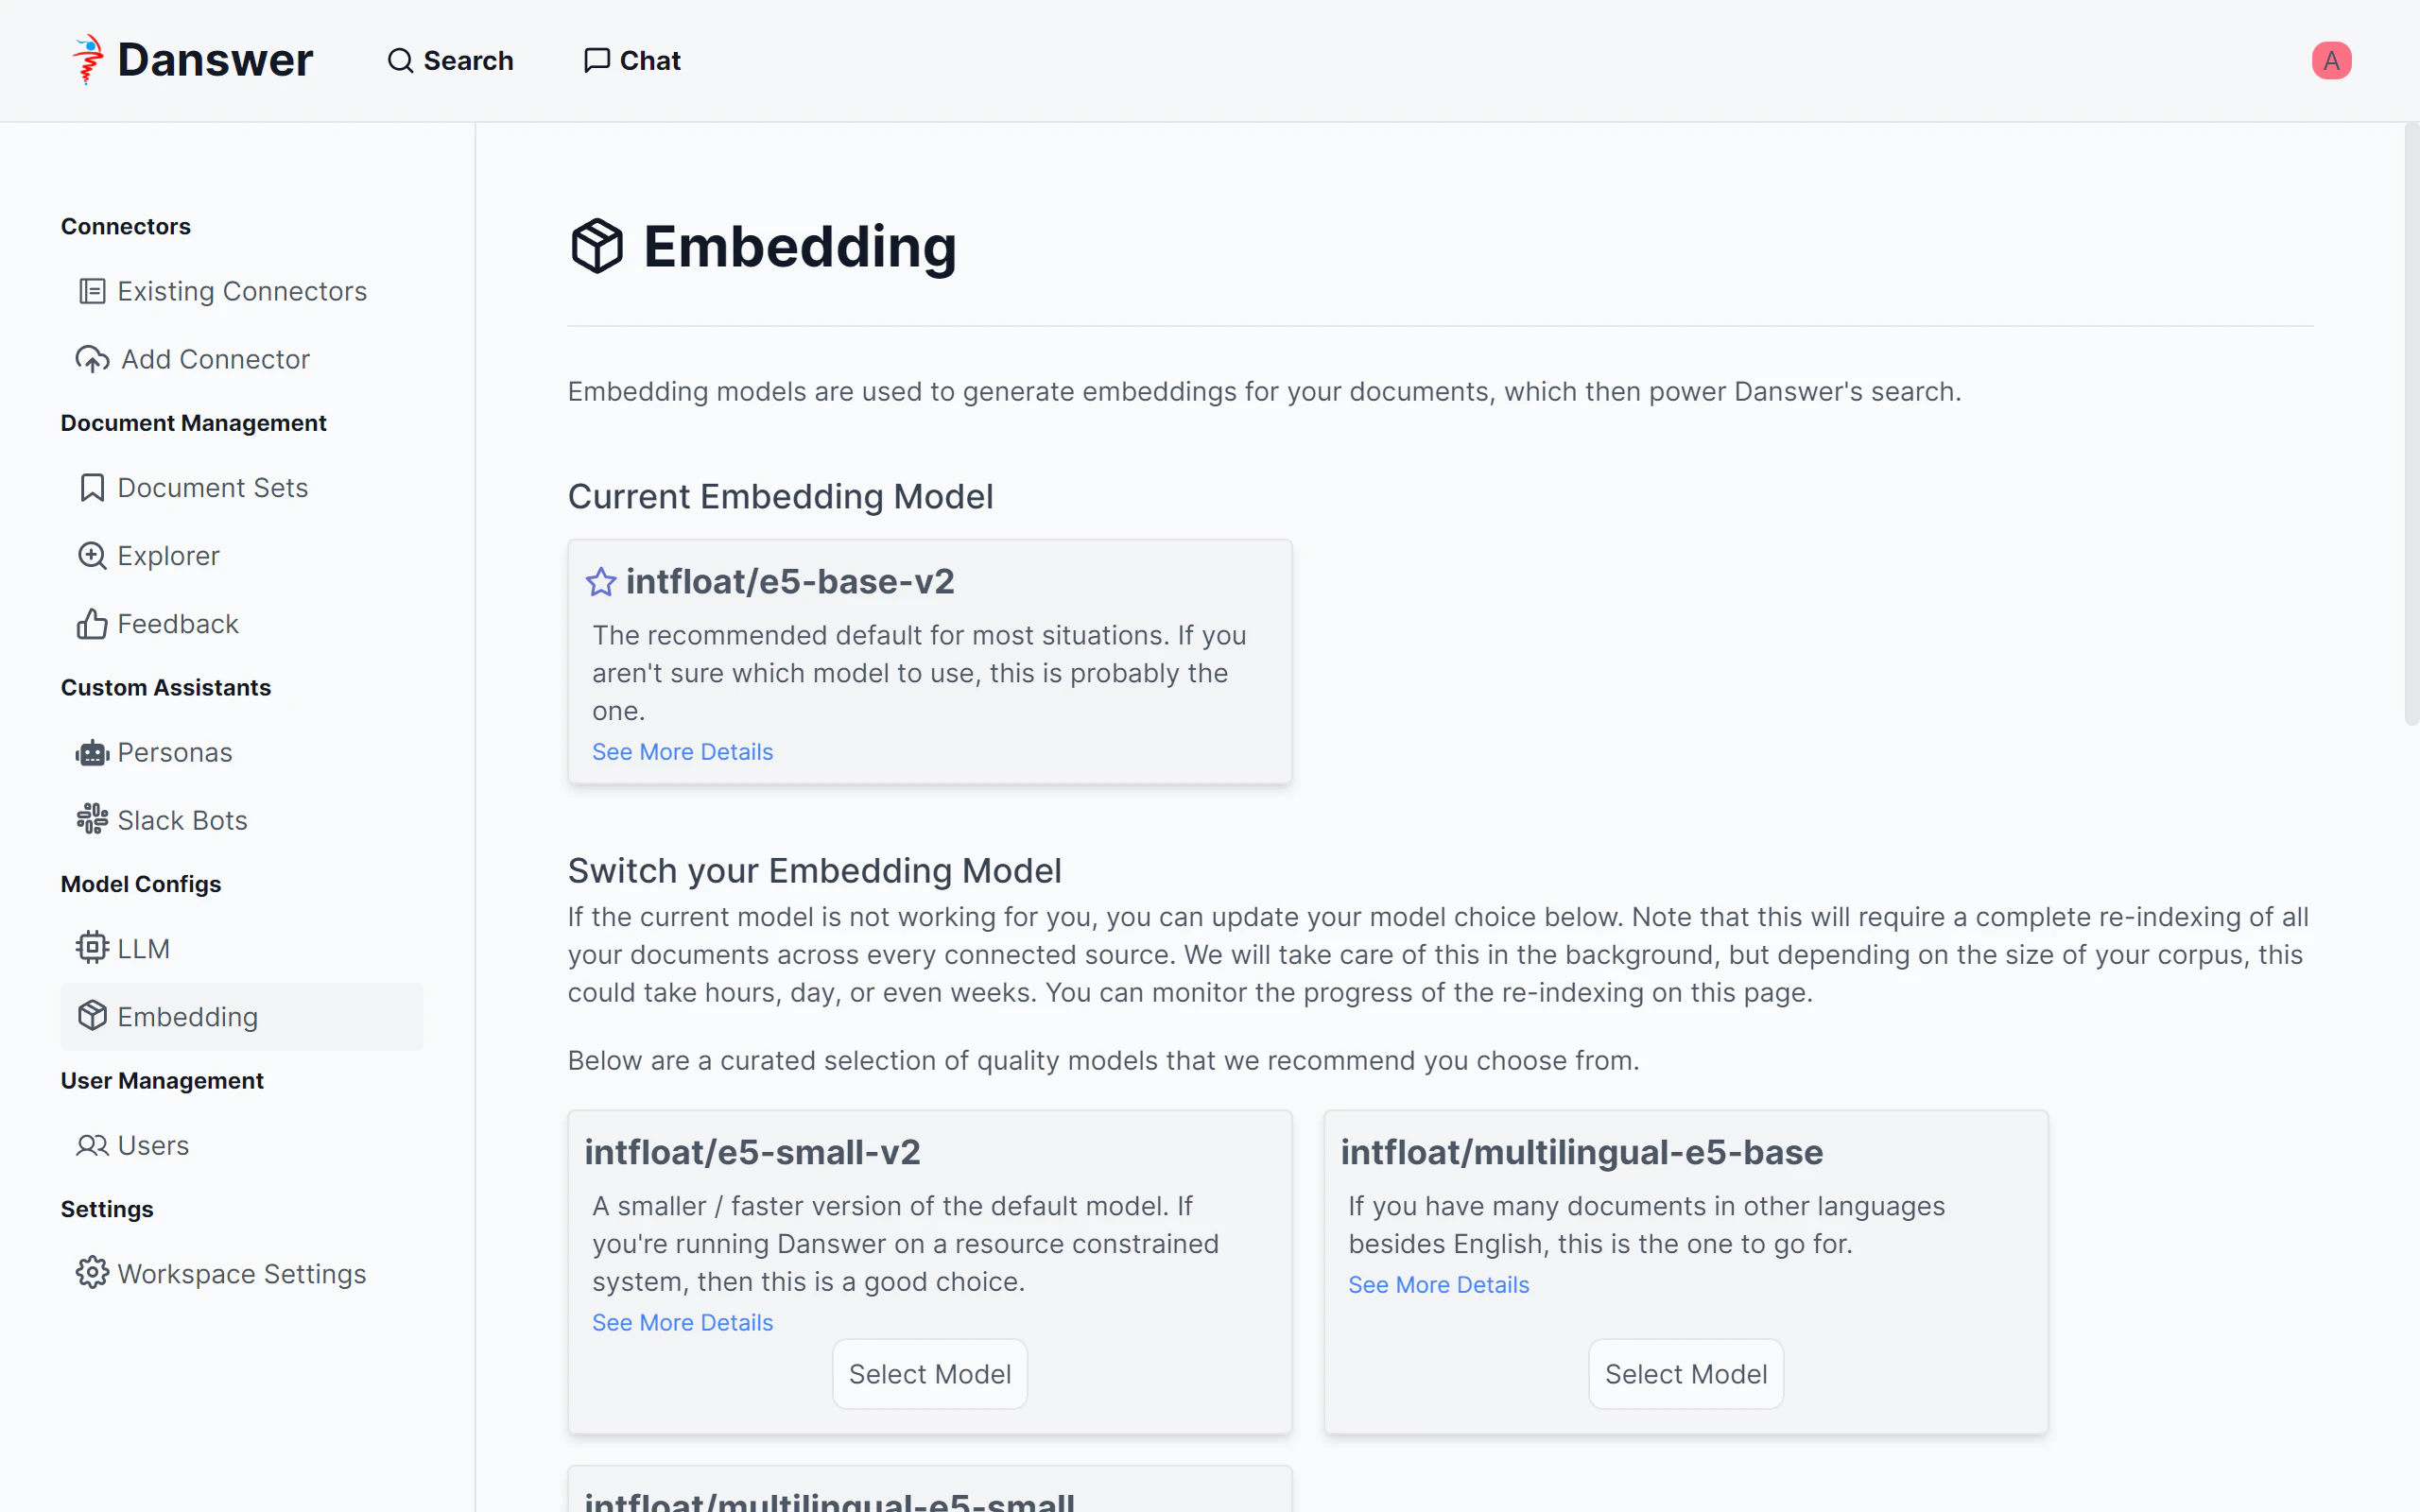
EmbeddingはOSSのモデルをローカル環境で動作させる方法が採用されており、BedrockのEmbedding APIを使用することはできなさそうでした
初期設定は以上です。
使用方法
ドキュメントの追加方法
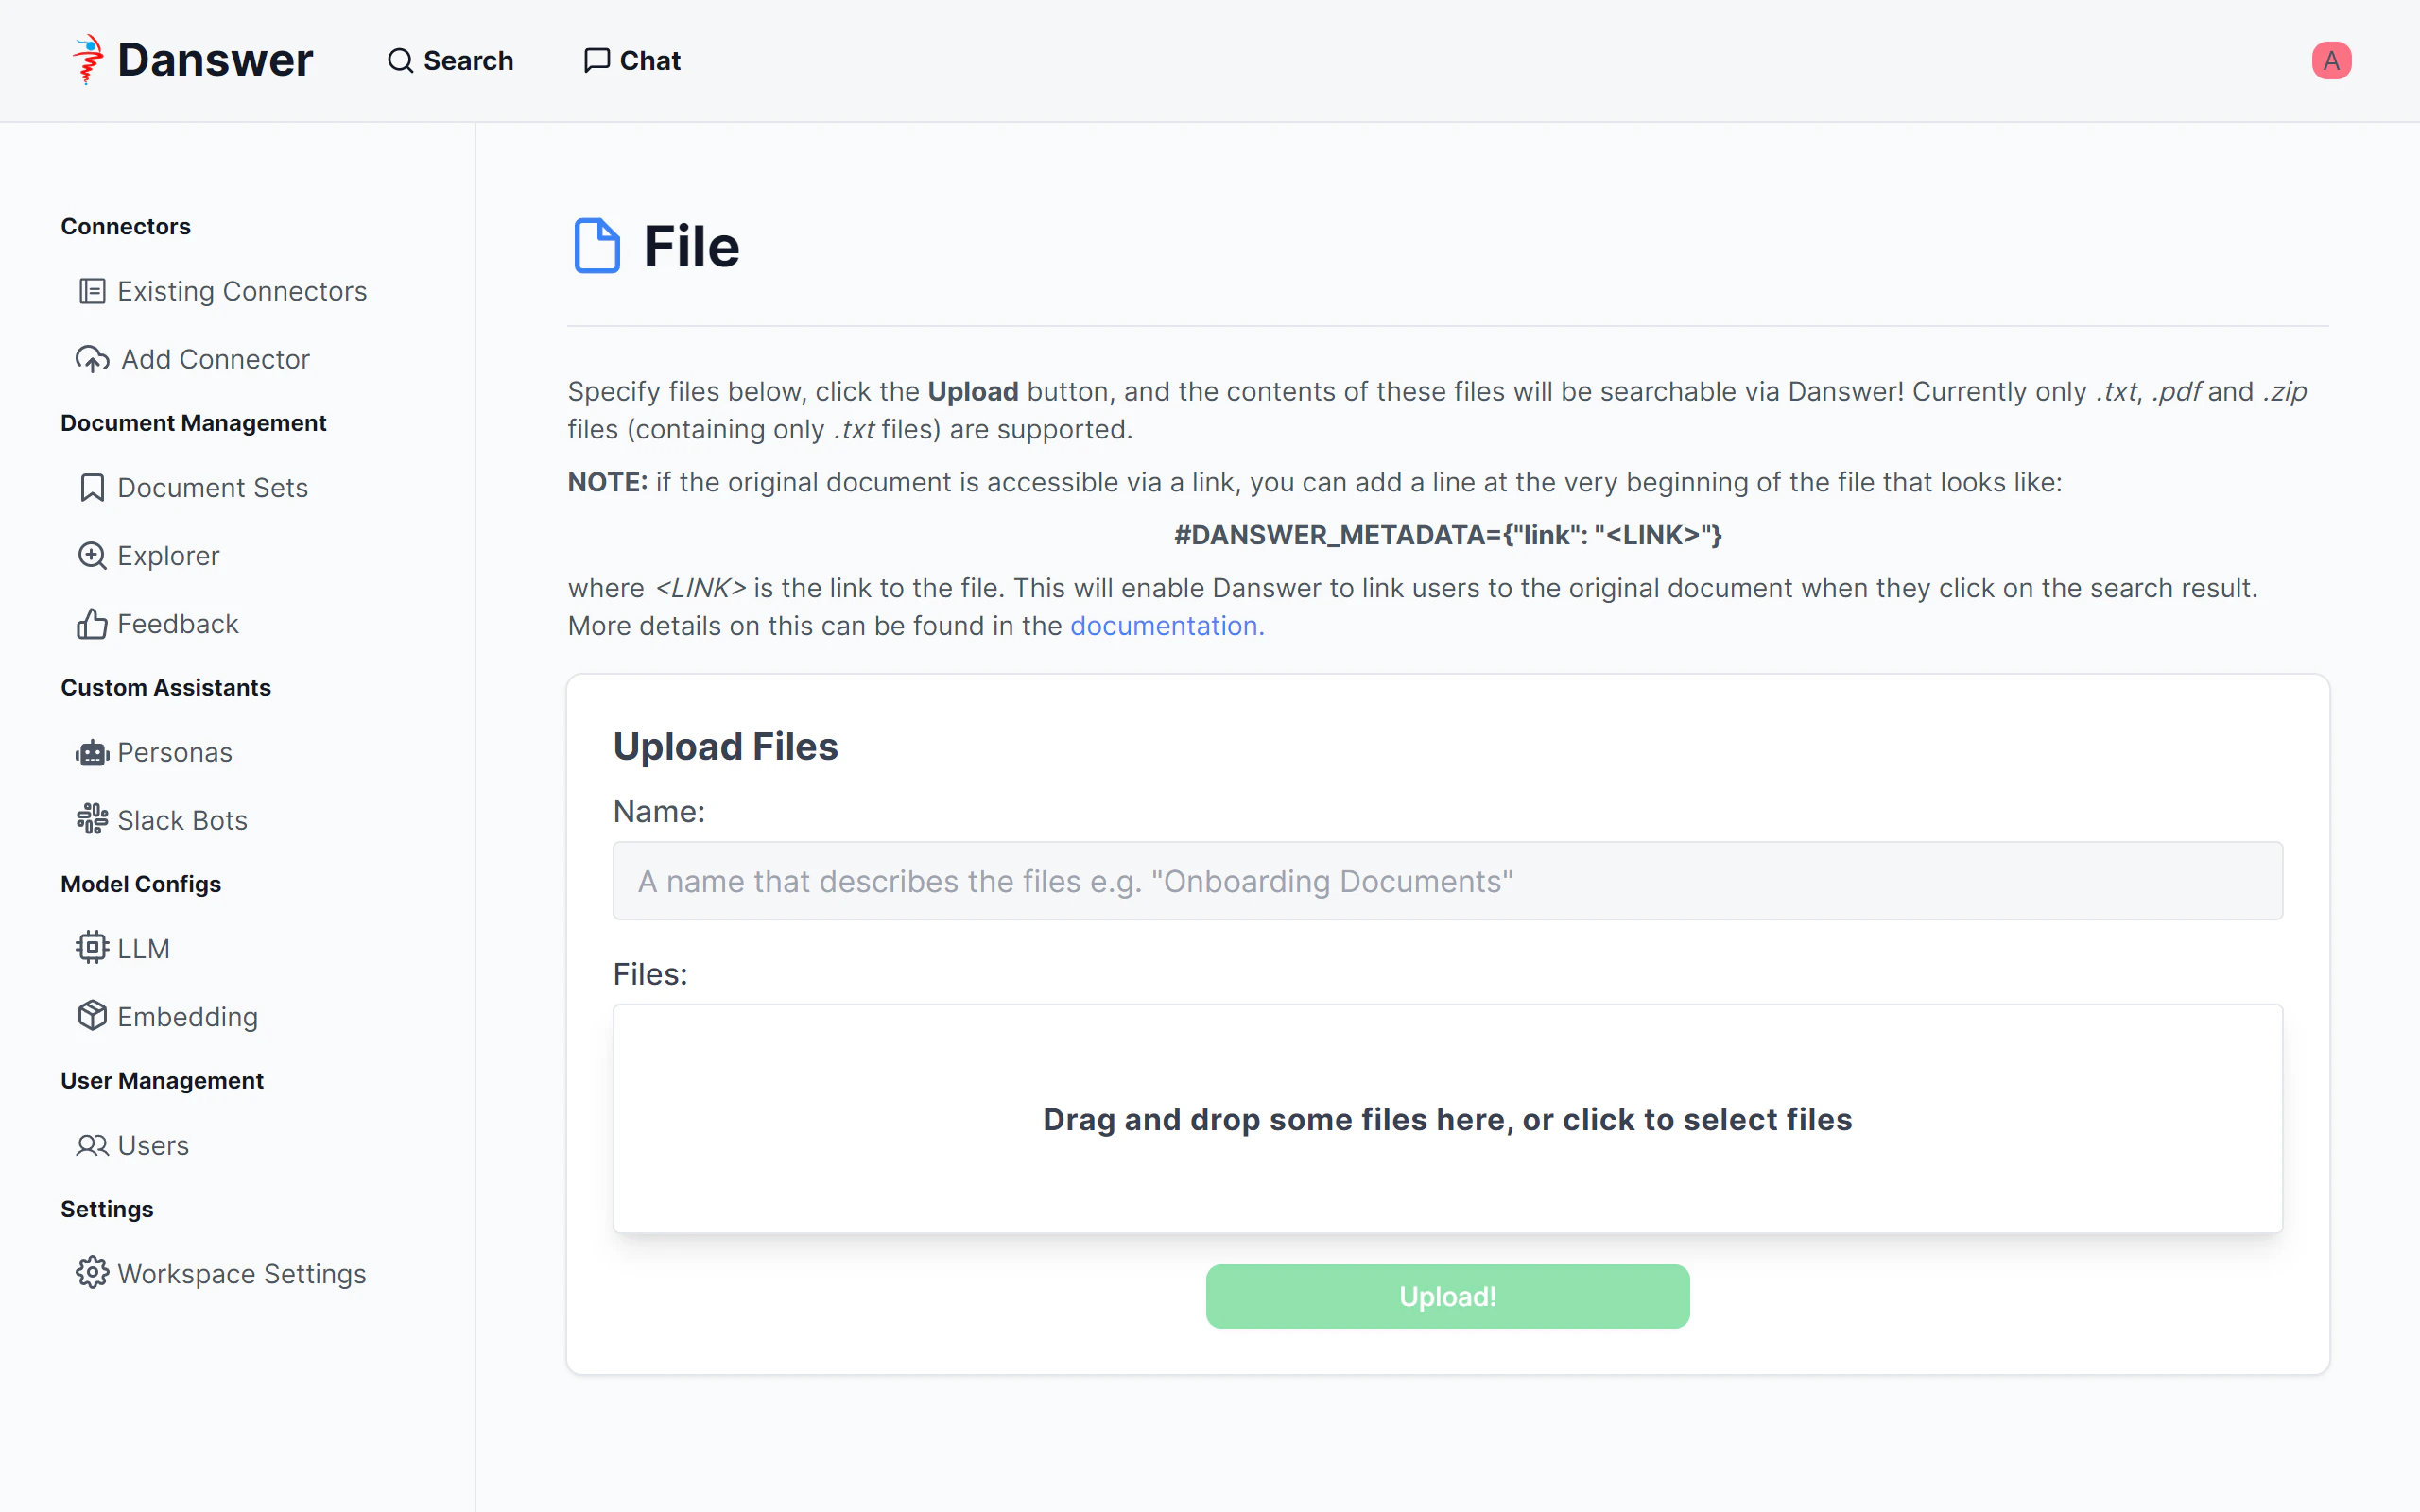
「Add Connector」画面に移動します。「Import Knowledge」のところの「File」を選択します。
txt、pdf、txtファイルをzip圧縮したものがサポートされていますので、画面にドラッグしてアップロードし、Upload!ボタンをクリックします。
今回はAmazon BedrockのユーザーガイドPDFの日本語版(リンク)を登録します。
同じようにAmazon Kendraの開発者ガイドPDFの日本語版(リンク)も登録します。
「Existing Connectors」画面に移動します。登録したデータが一覧表示されます。
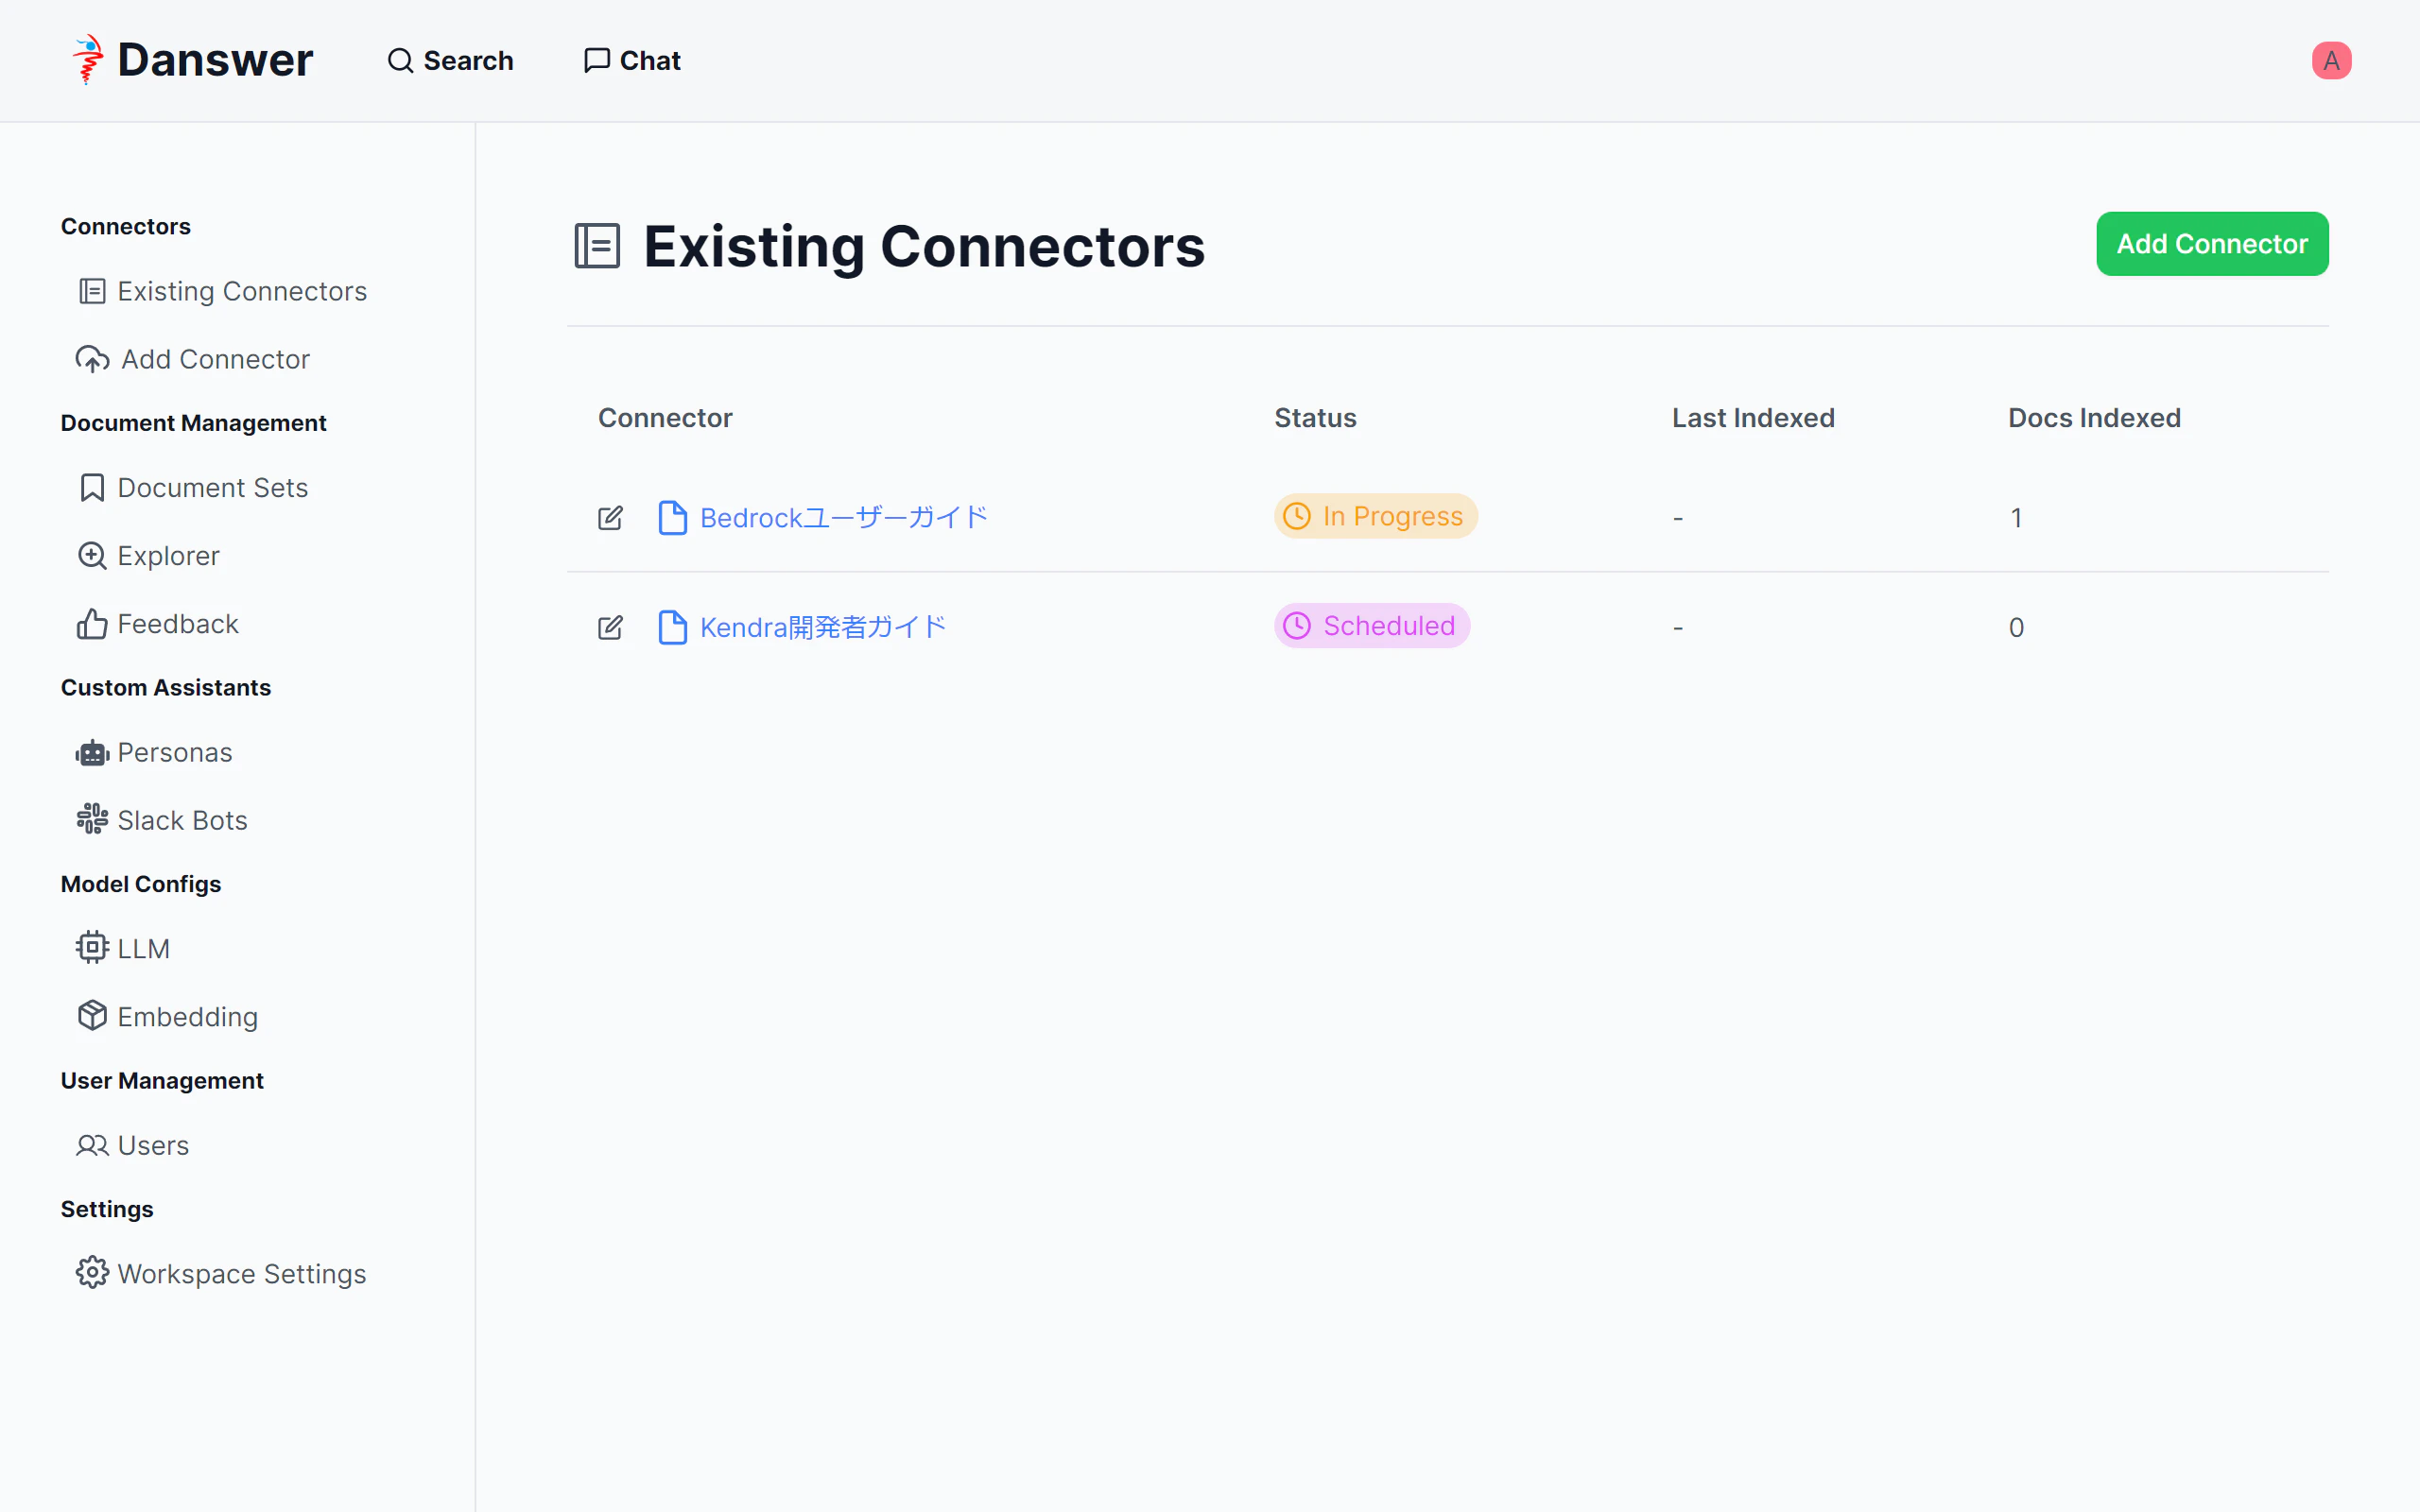
インデックス登録完了には結構時間がかかります。
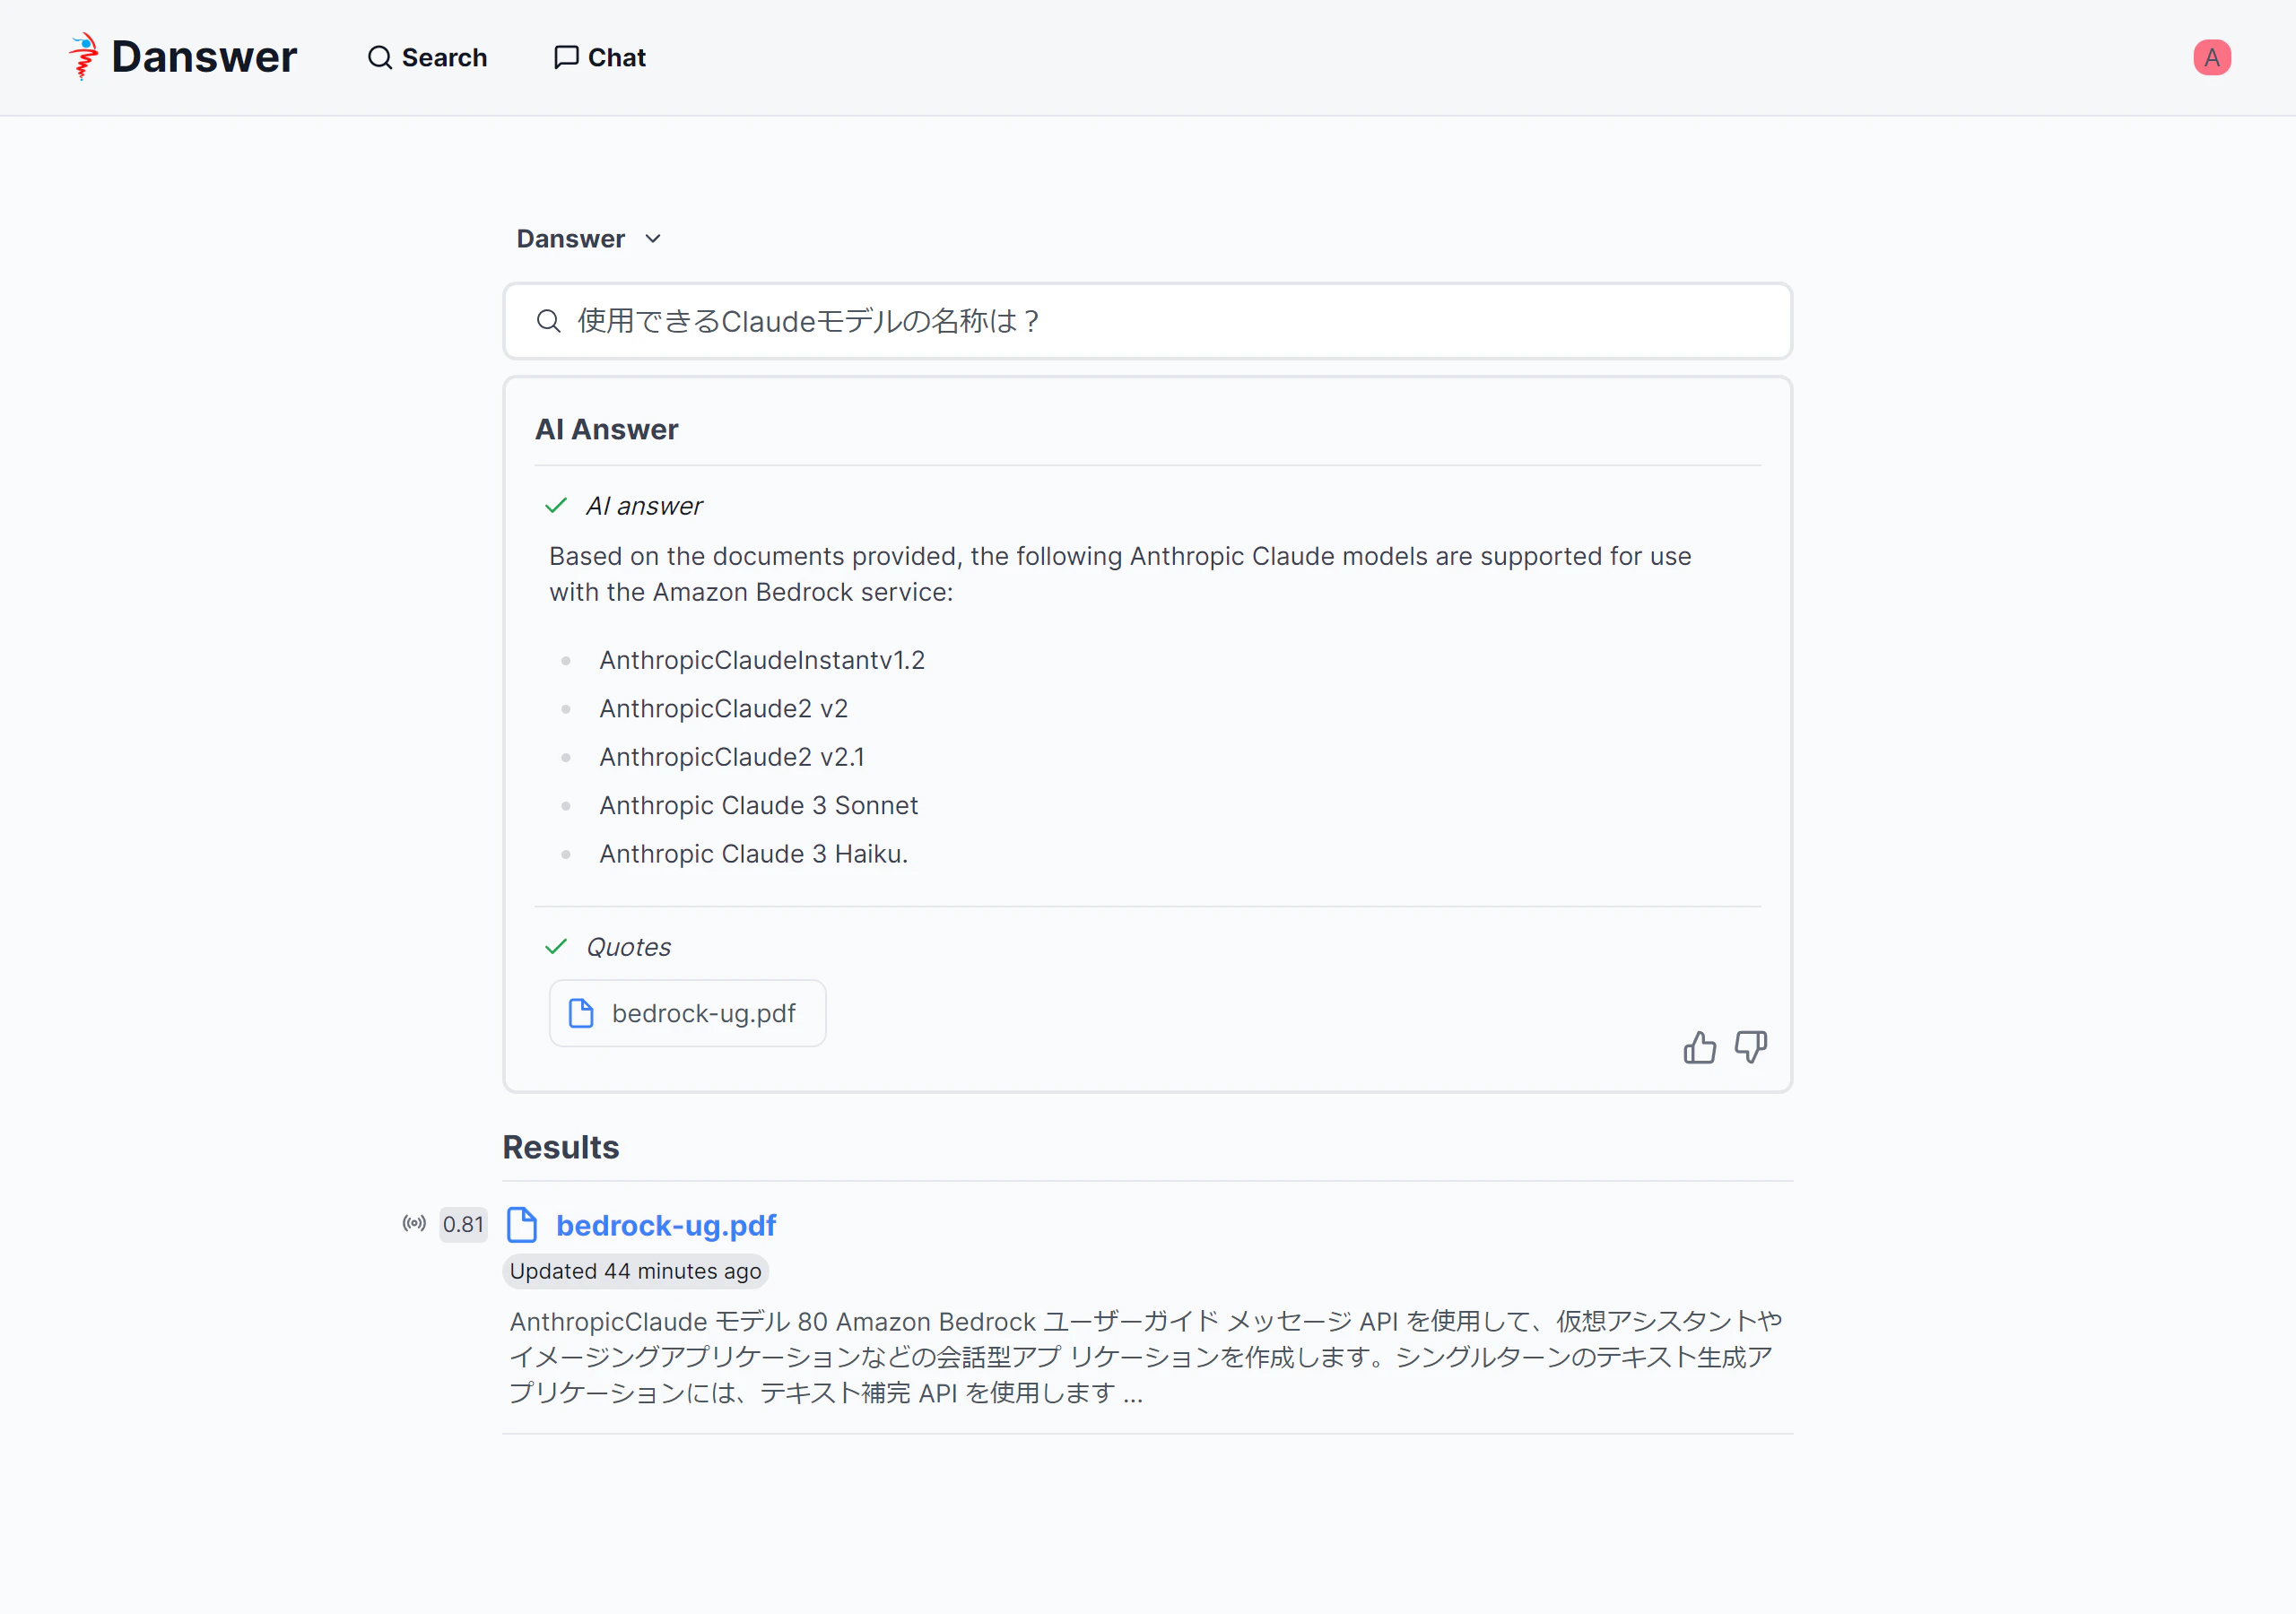
Search機能
検索だけでなく生成AIによる回答生成が行われます。参照ドキュメントや検索結果も表示されます。
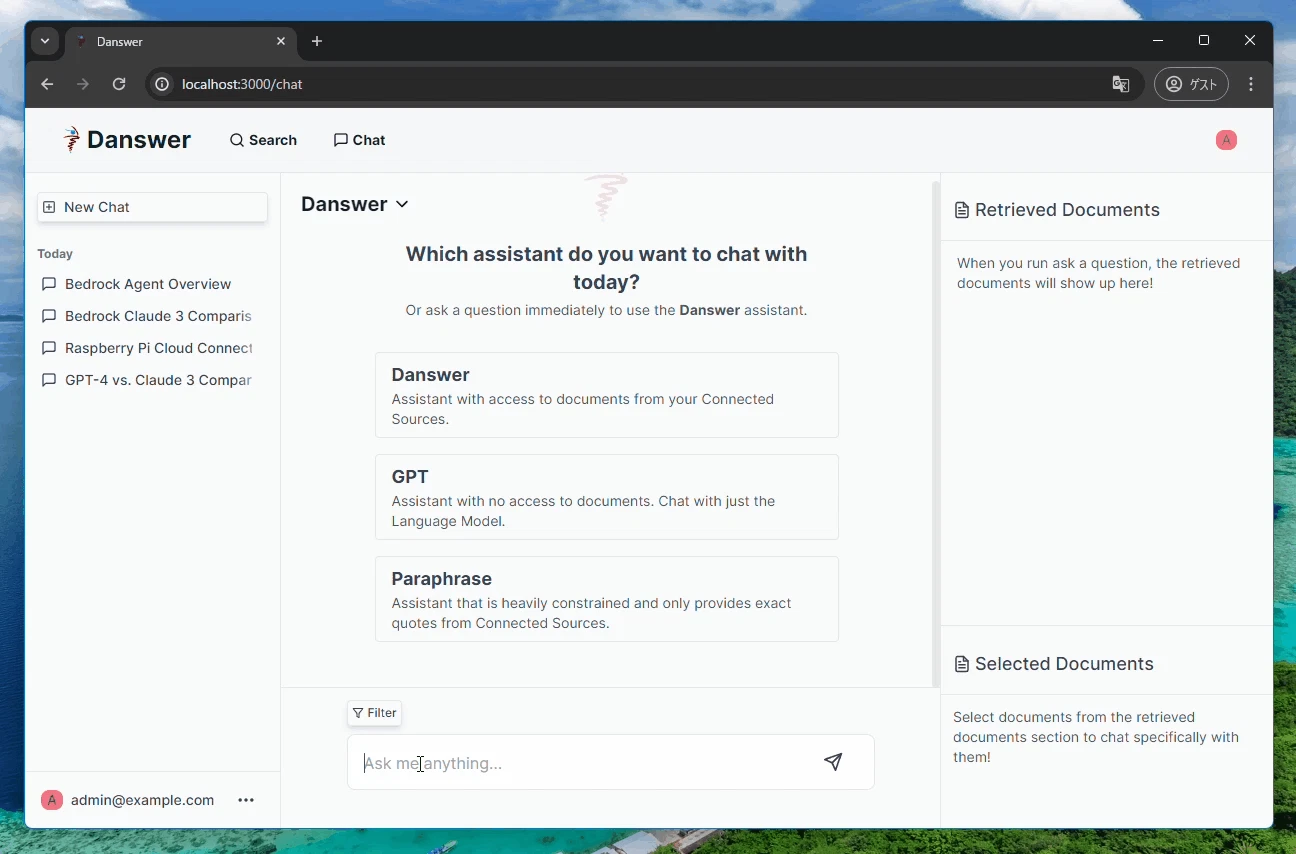
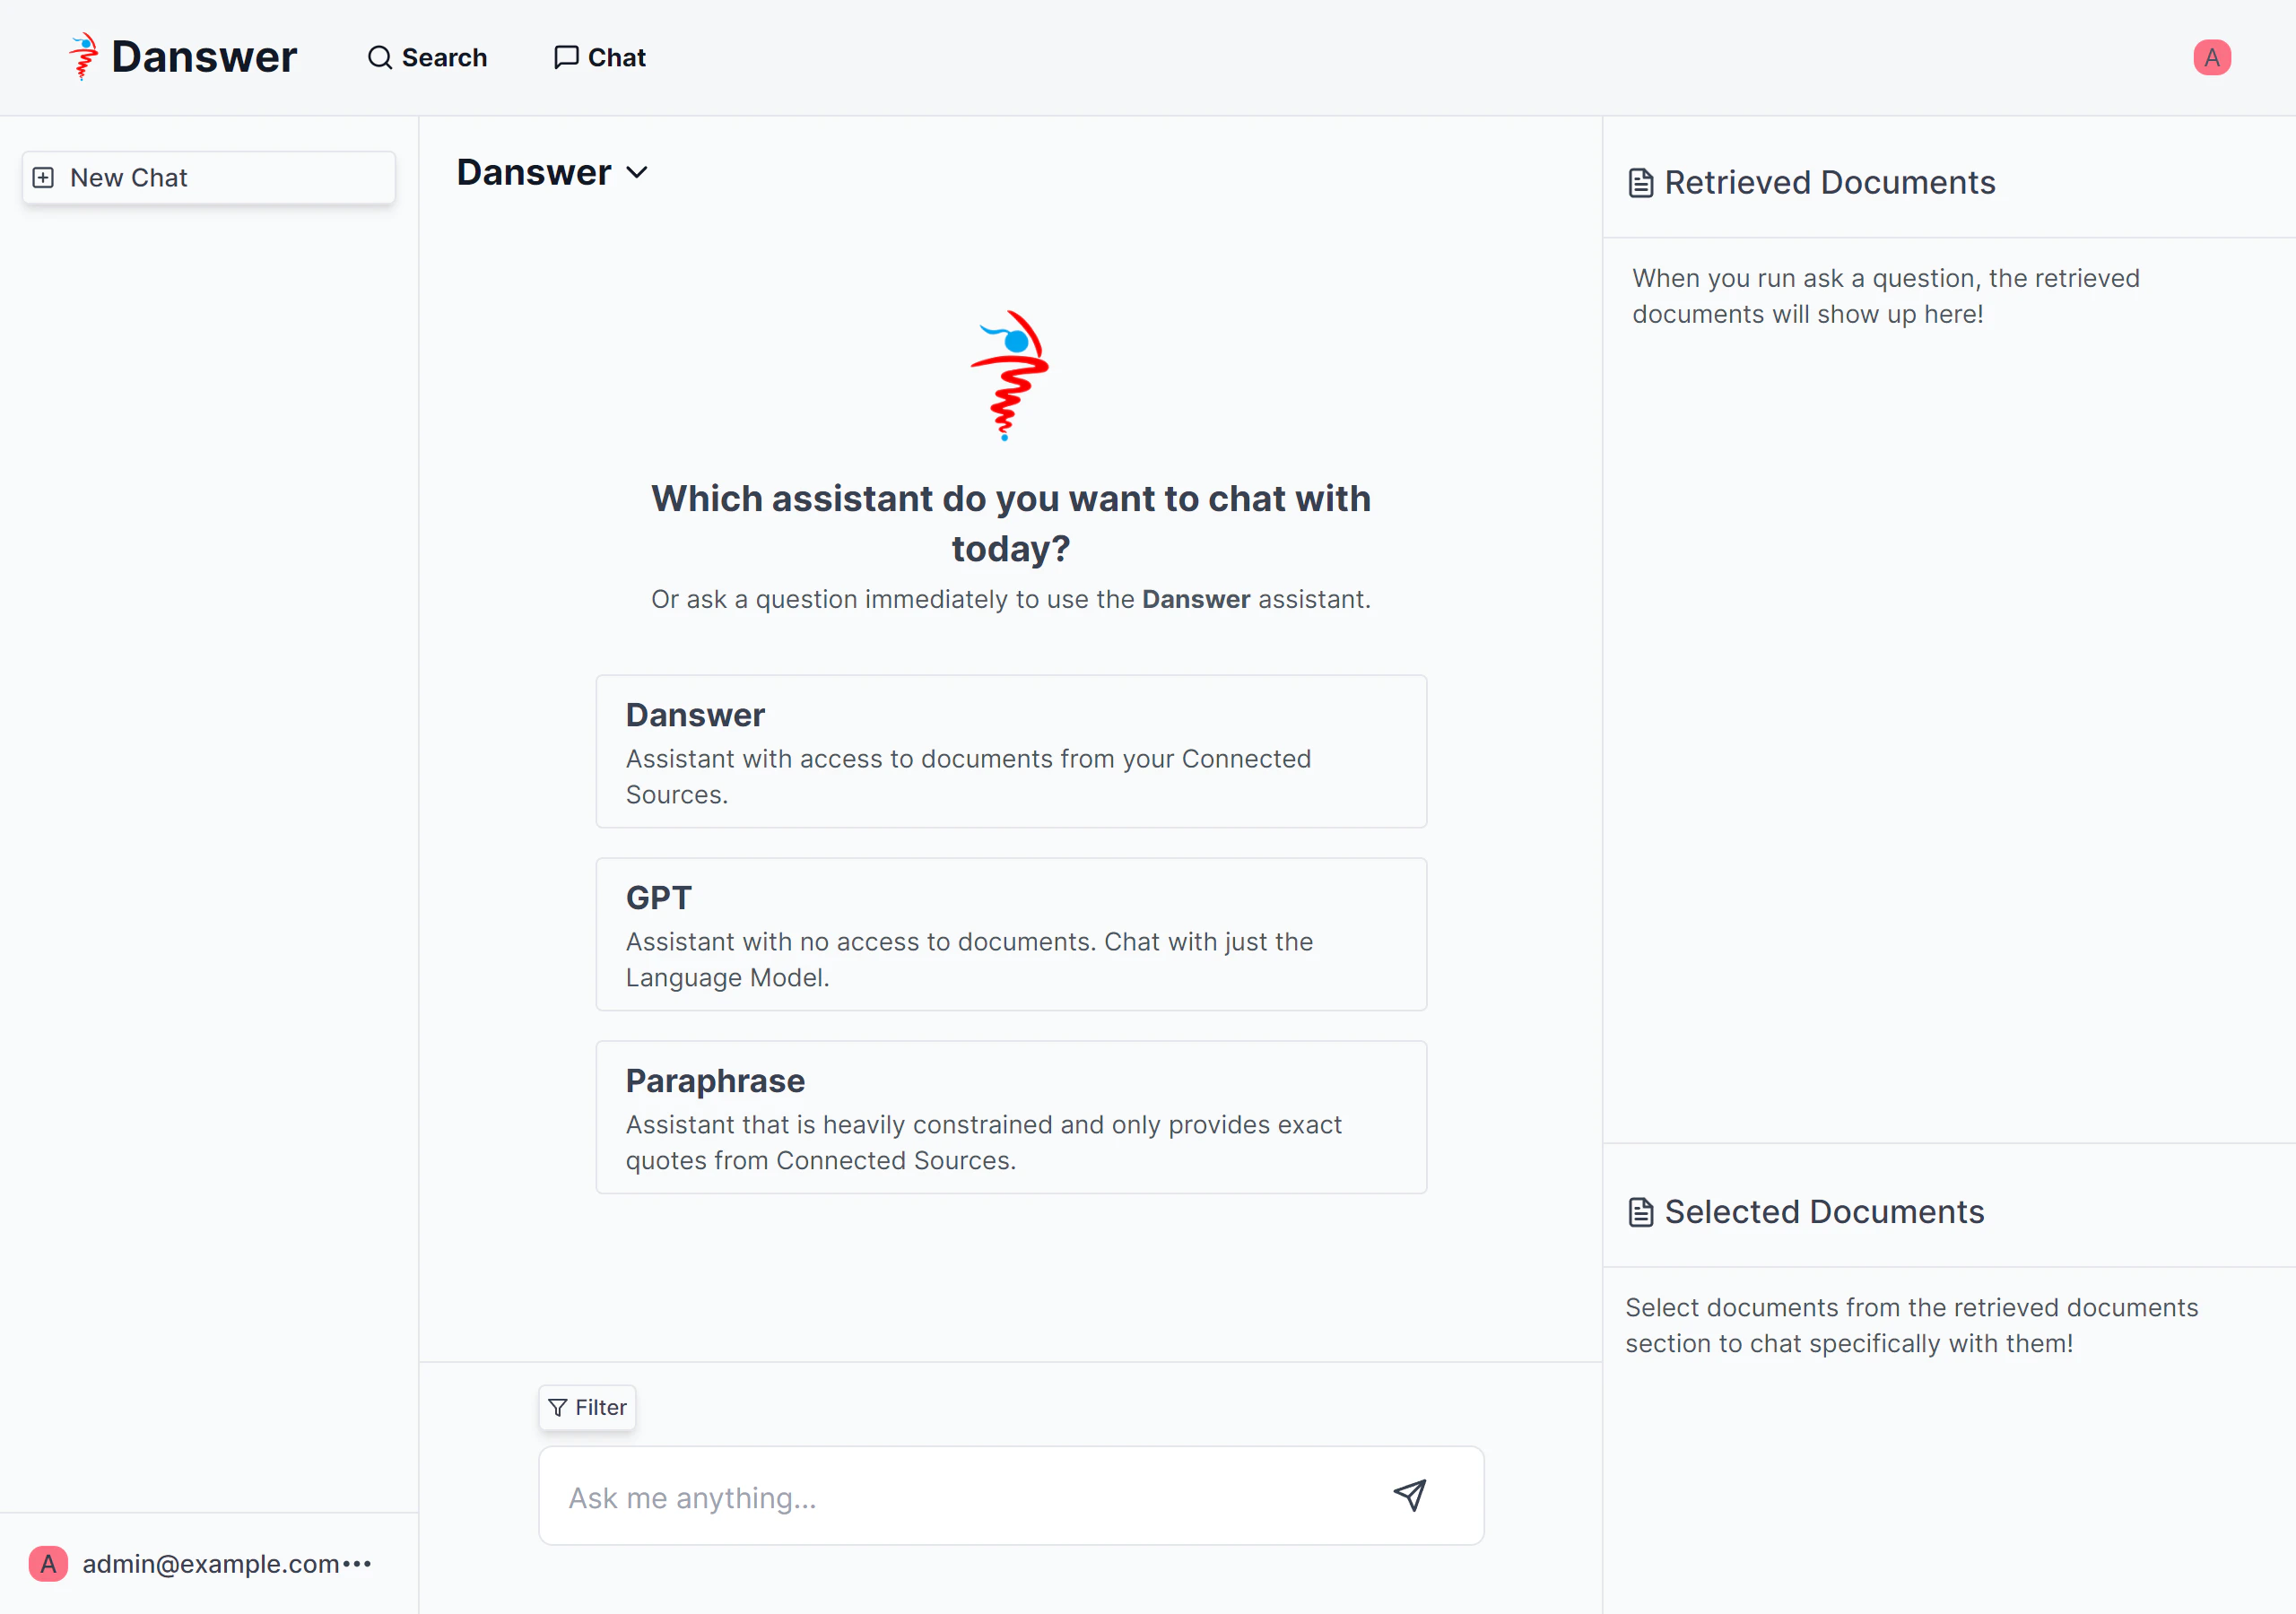
Chat機能
チャット機能では、事前に定義したペルソナを選択して使用します。
初期登録された以下のペルソナが登録されています。
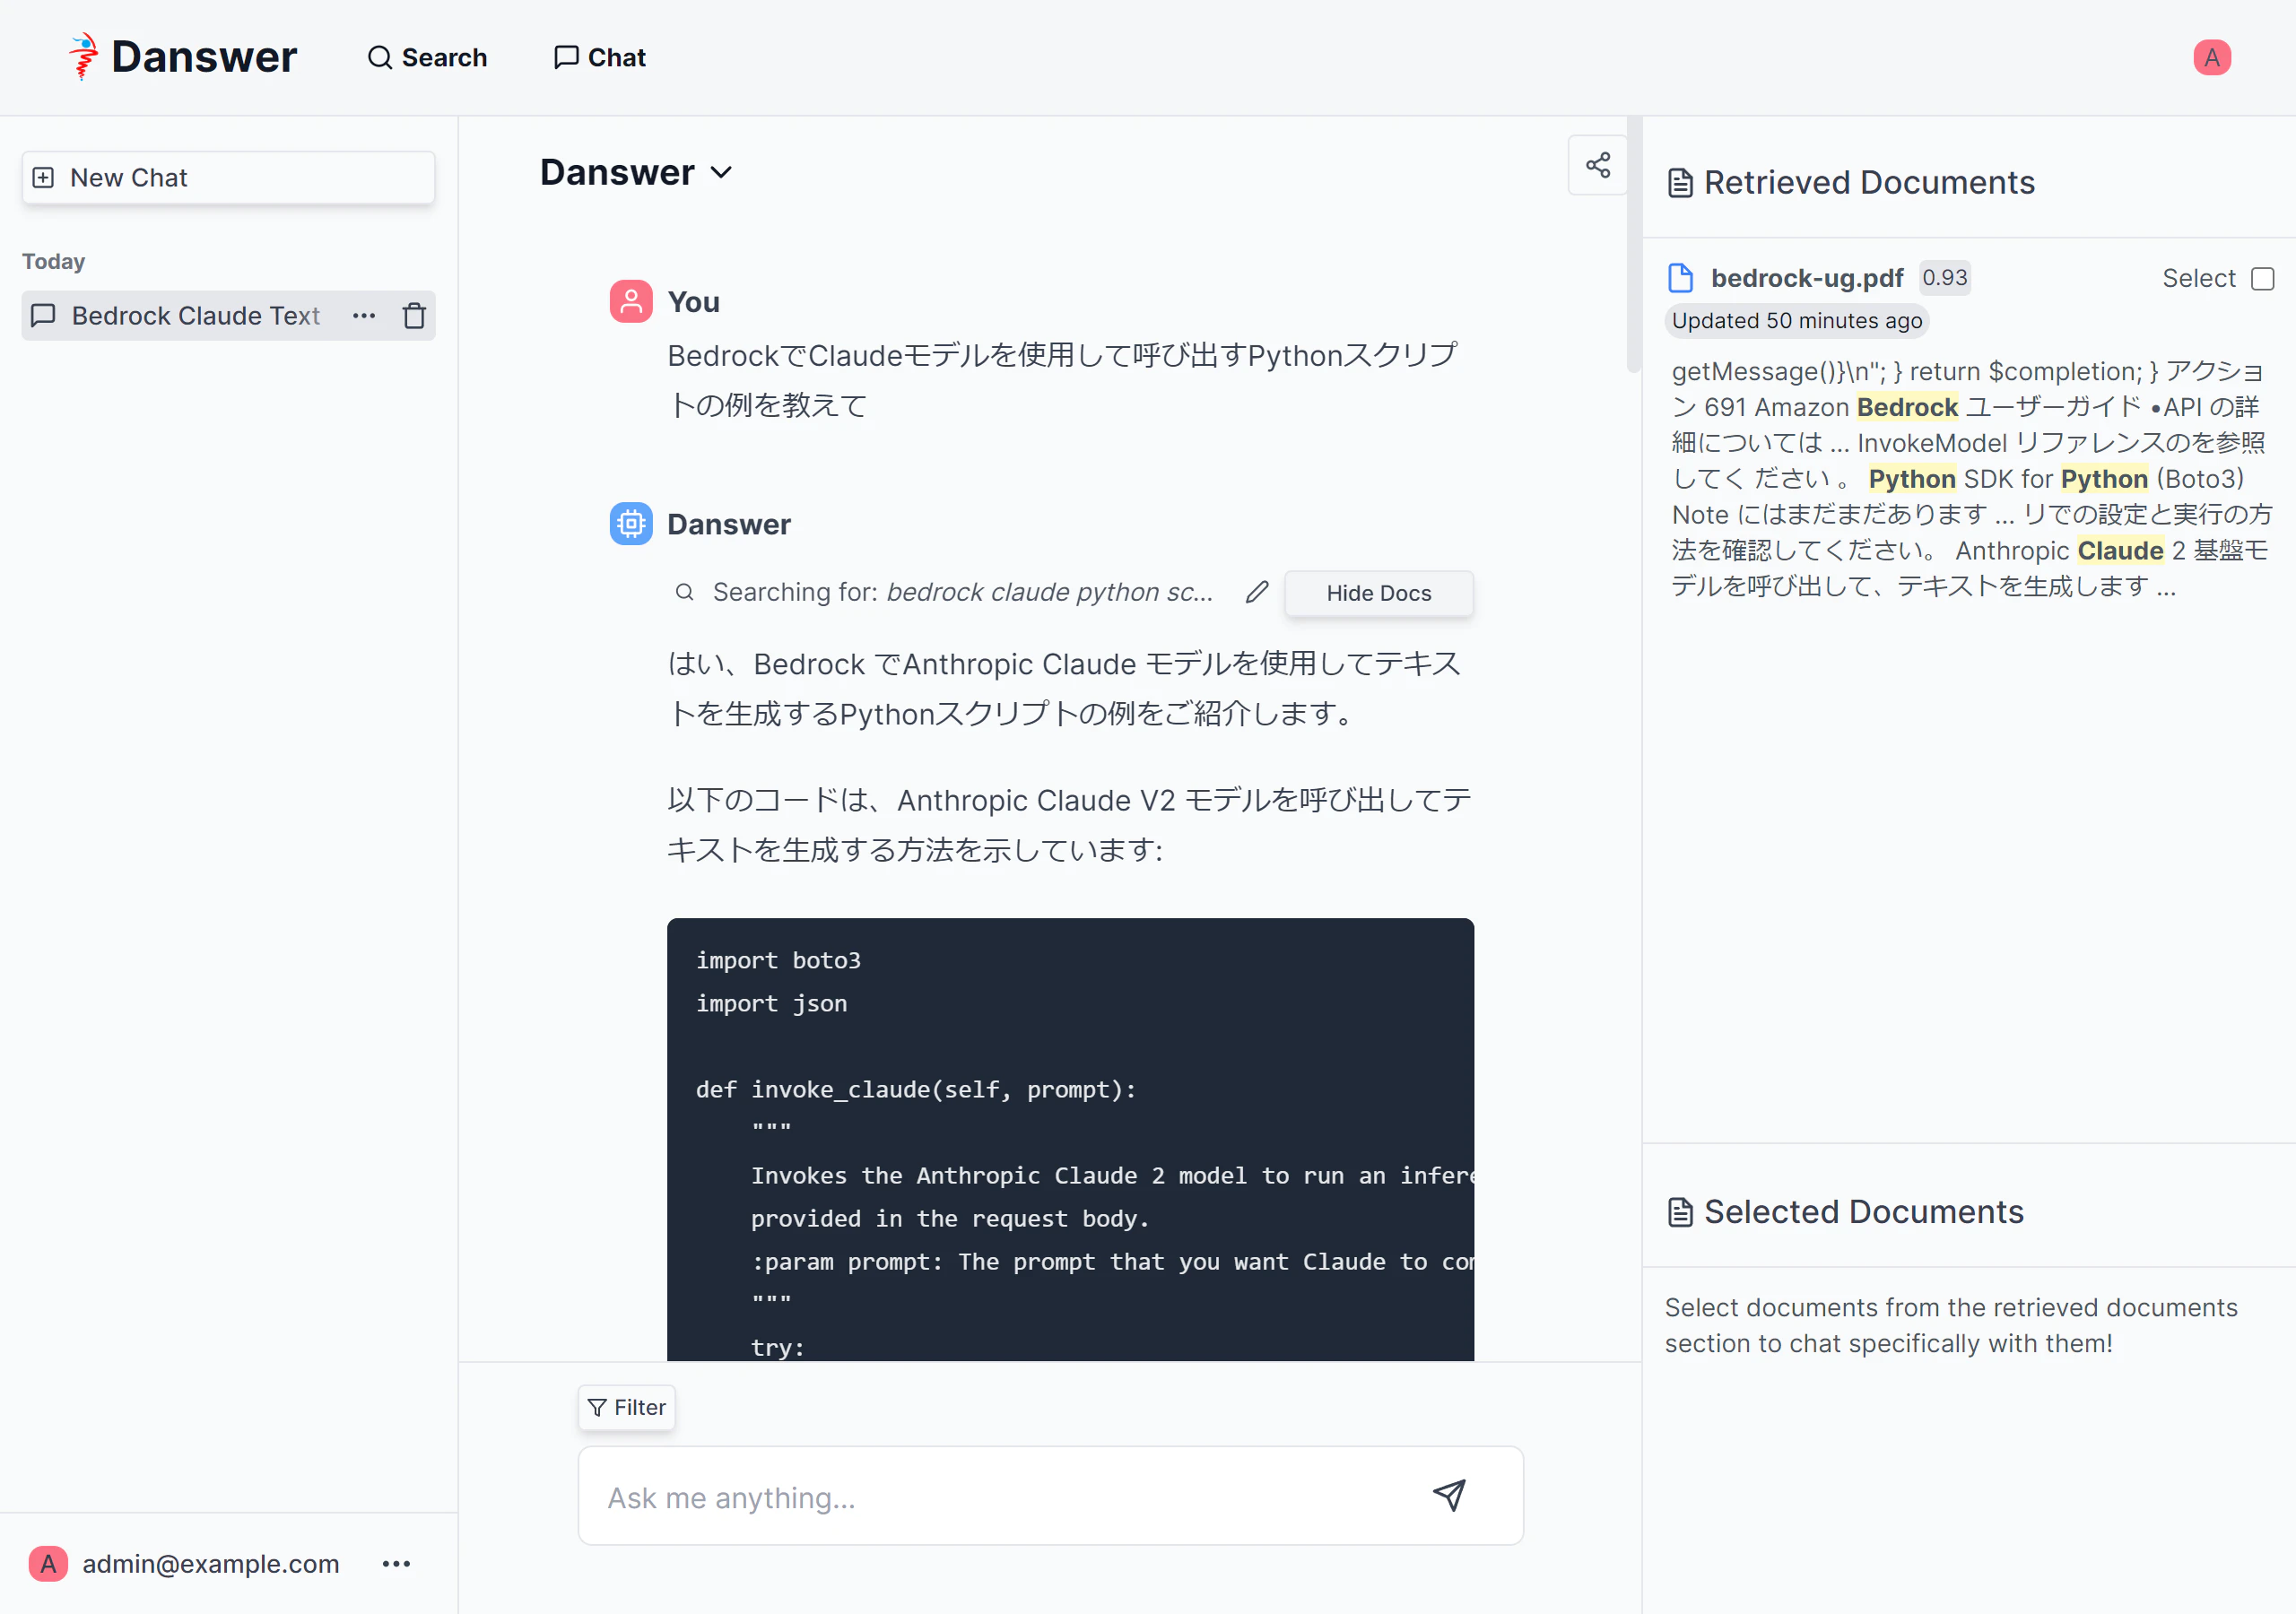
- Danswer : 接続されているソースからドキュメントにアクセスできるアシスタント
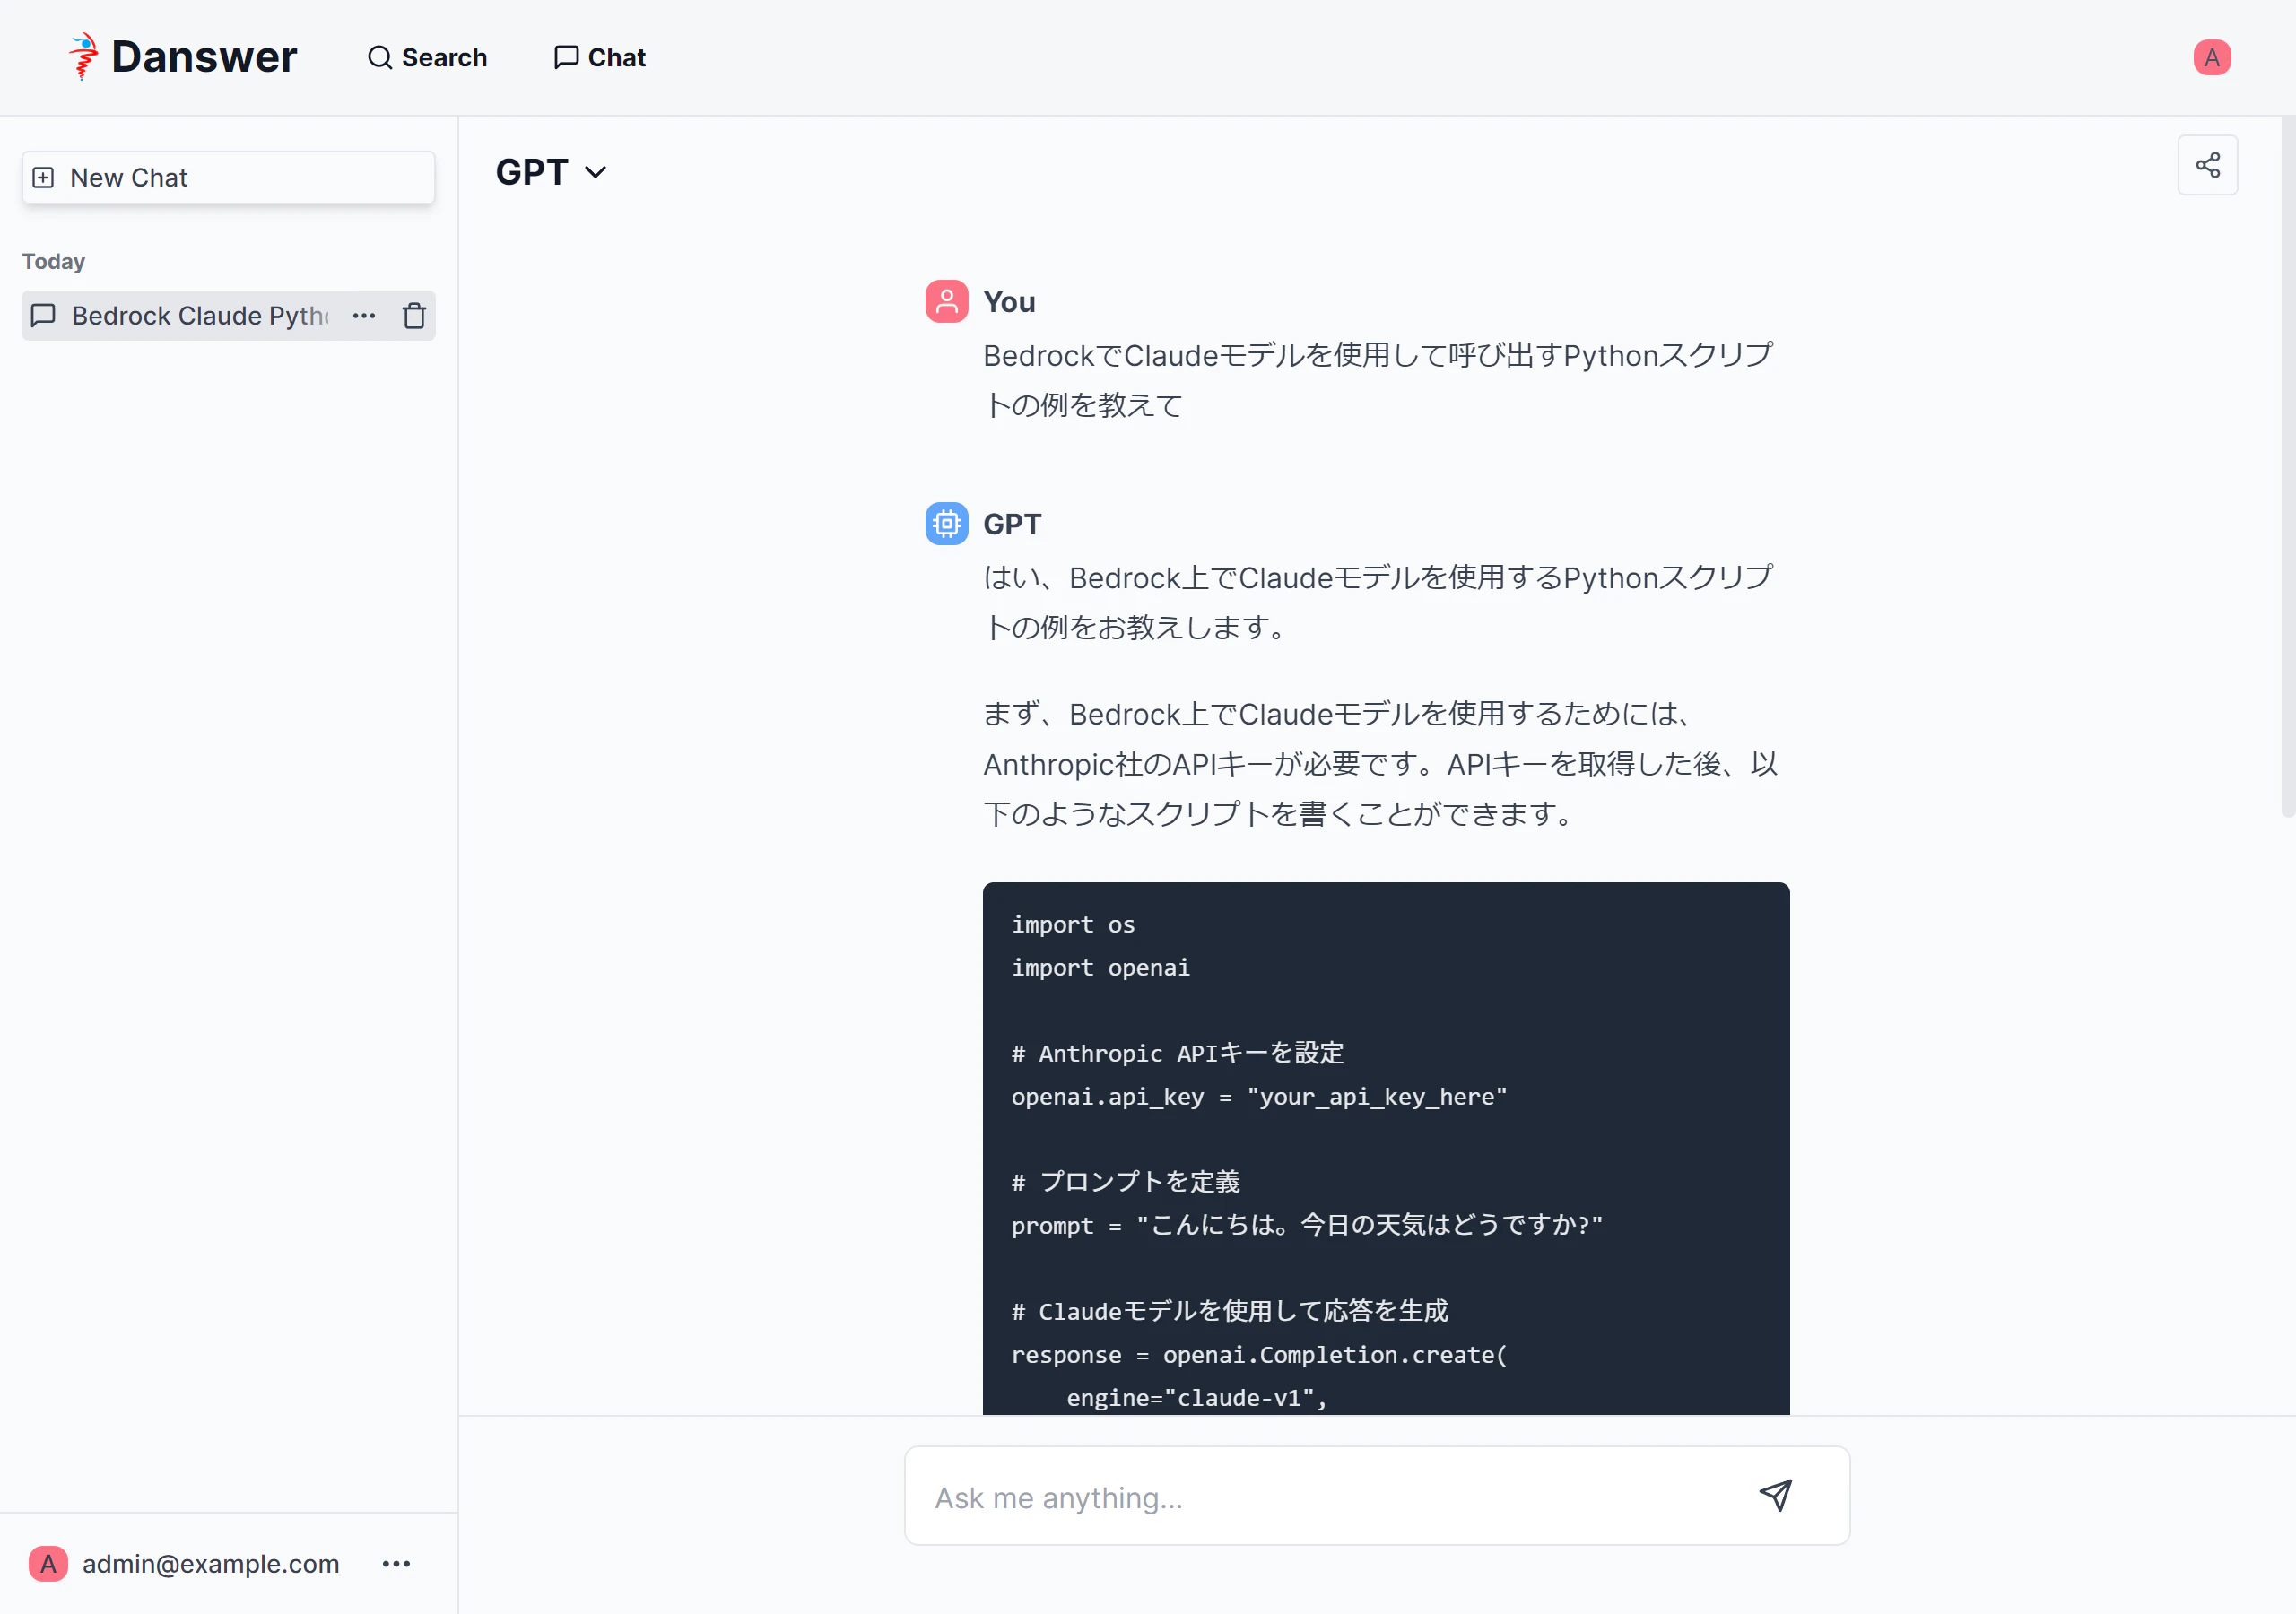
- GPT : ドキュメントにアクセスせず生成AIのみを使用するアシスタント
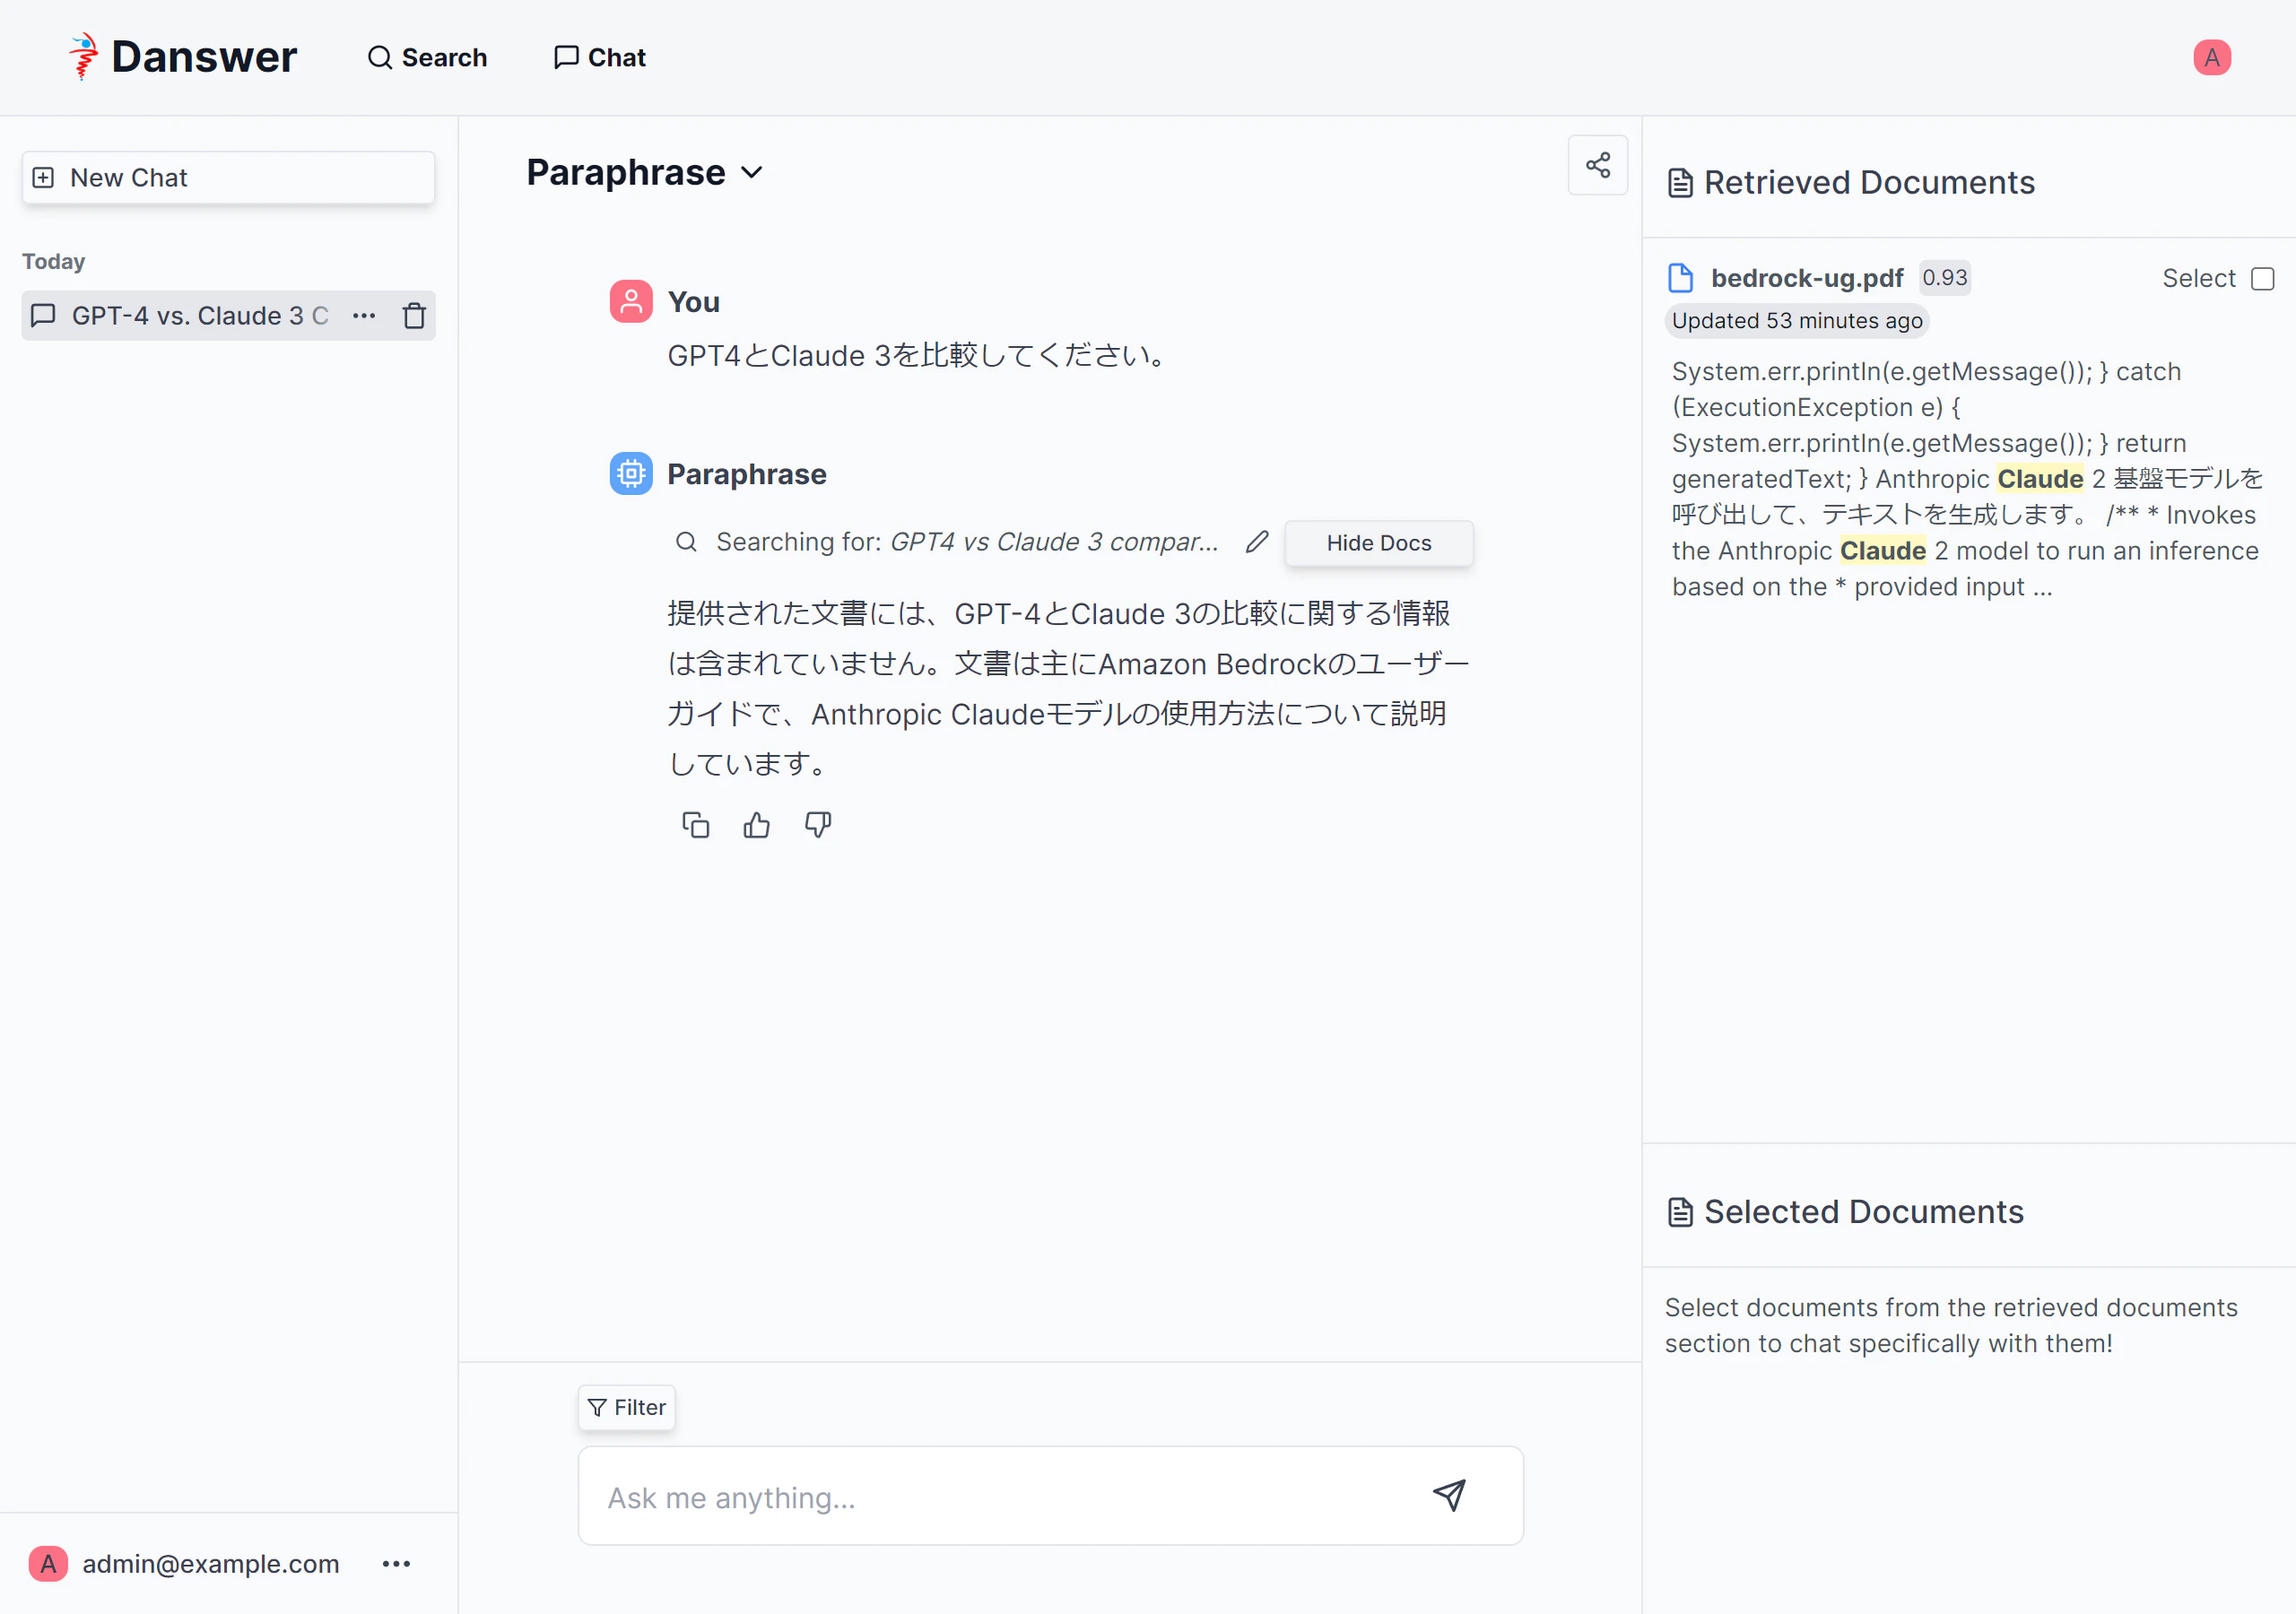
- Paraphrase : 制約が厳しく、接続されたソースからの正確な引用のみを提供するアシスタント
-
Danswer(接続されているソースからドキュメントにアクセスできるアシスタント)に質問
-
GPT(ドキュメントにアクセスせず生成AIのみを使用するアシスタント)の場合
-
Paraphrase(制約が厳しく、接続されたソースからの正確な引用のみを提供するアシスタント)の場合
いいですね。
個人ブログを全部インデックス登録してみた
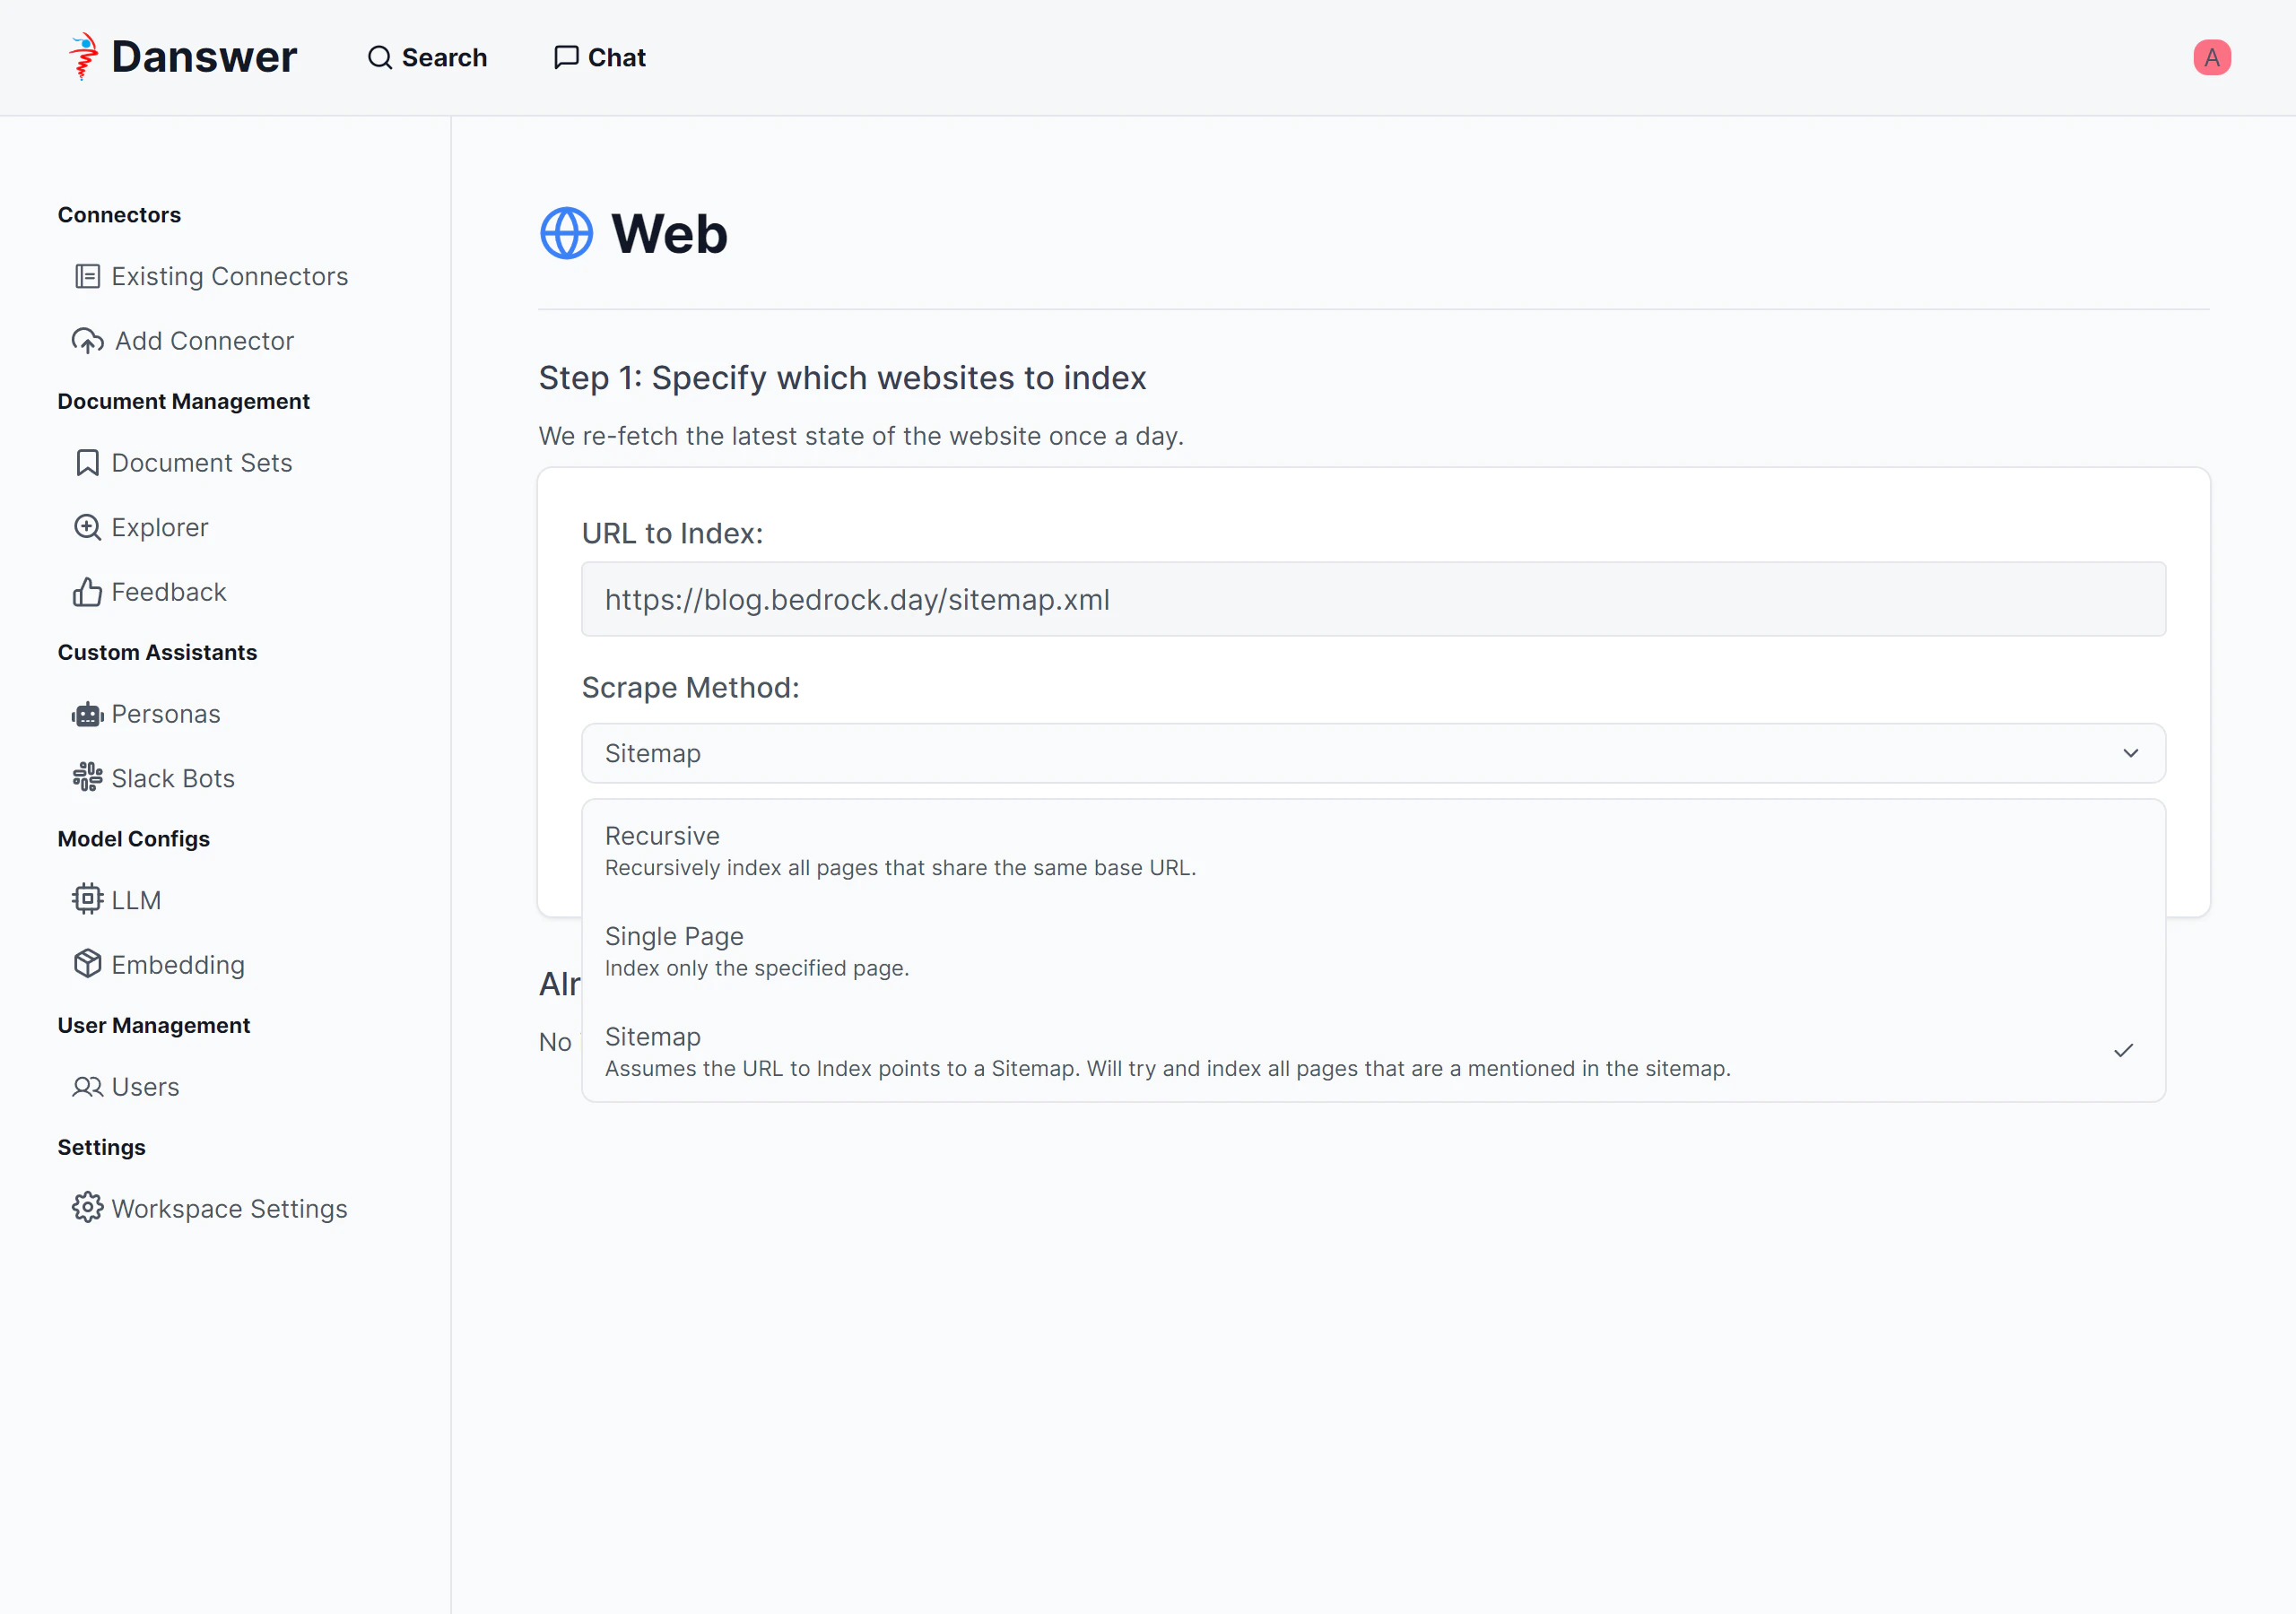
Webコネクターを使って個人ブログを登録してみました。Webコネクターは、単一ページのみ、ベースURL配下を再帰的に登録、サイトマップを登録の3つの方法があります。
いいですね~。
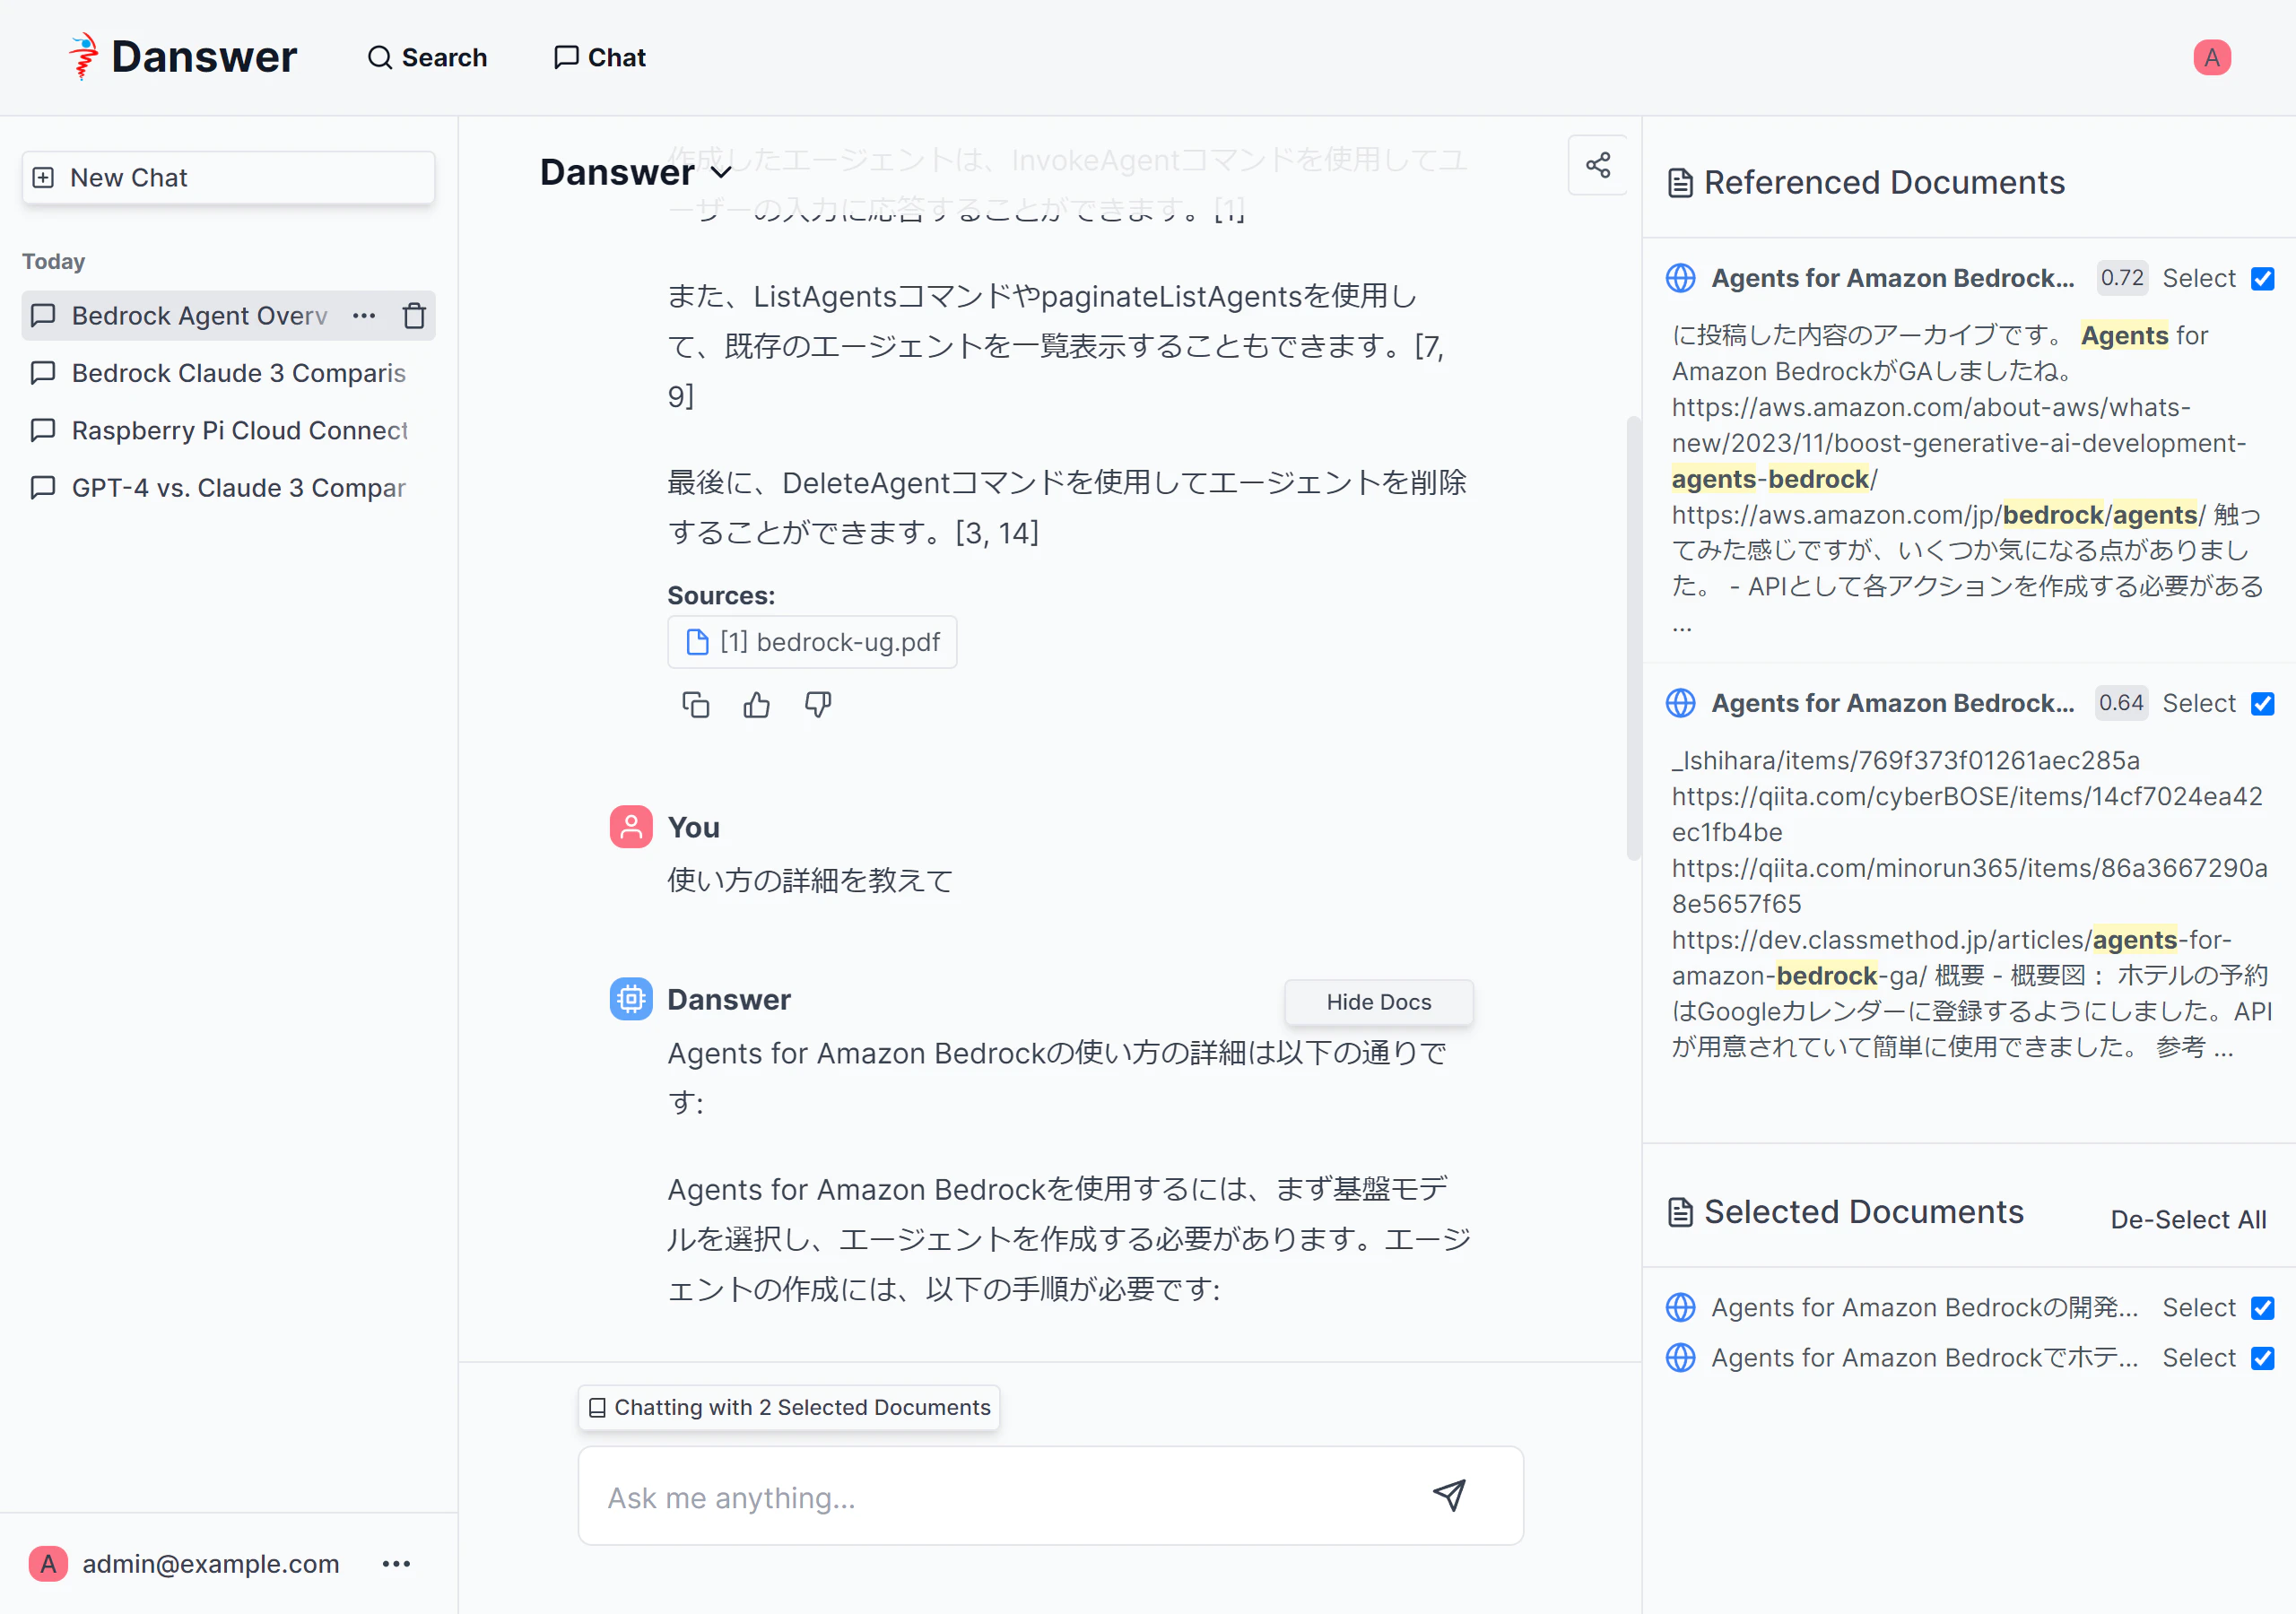
画面キャプチャだと分かりづらいですが、
- Chatで質問する
- 関連するドキュメントから、一部にチェックを入れる(
Selectにチェック) -
Selected Documentsに登録される -
Selected Documentsから更にChatで質問する
といった事も可能です!!