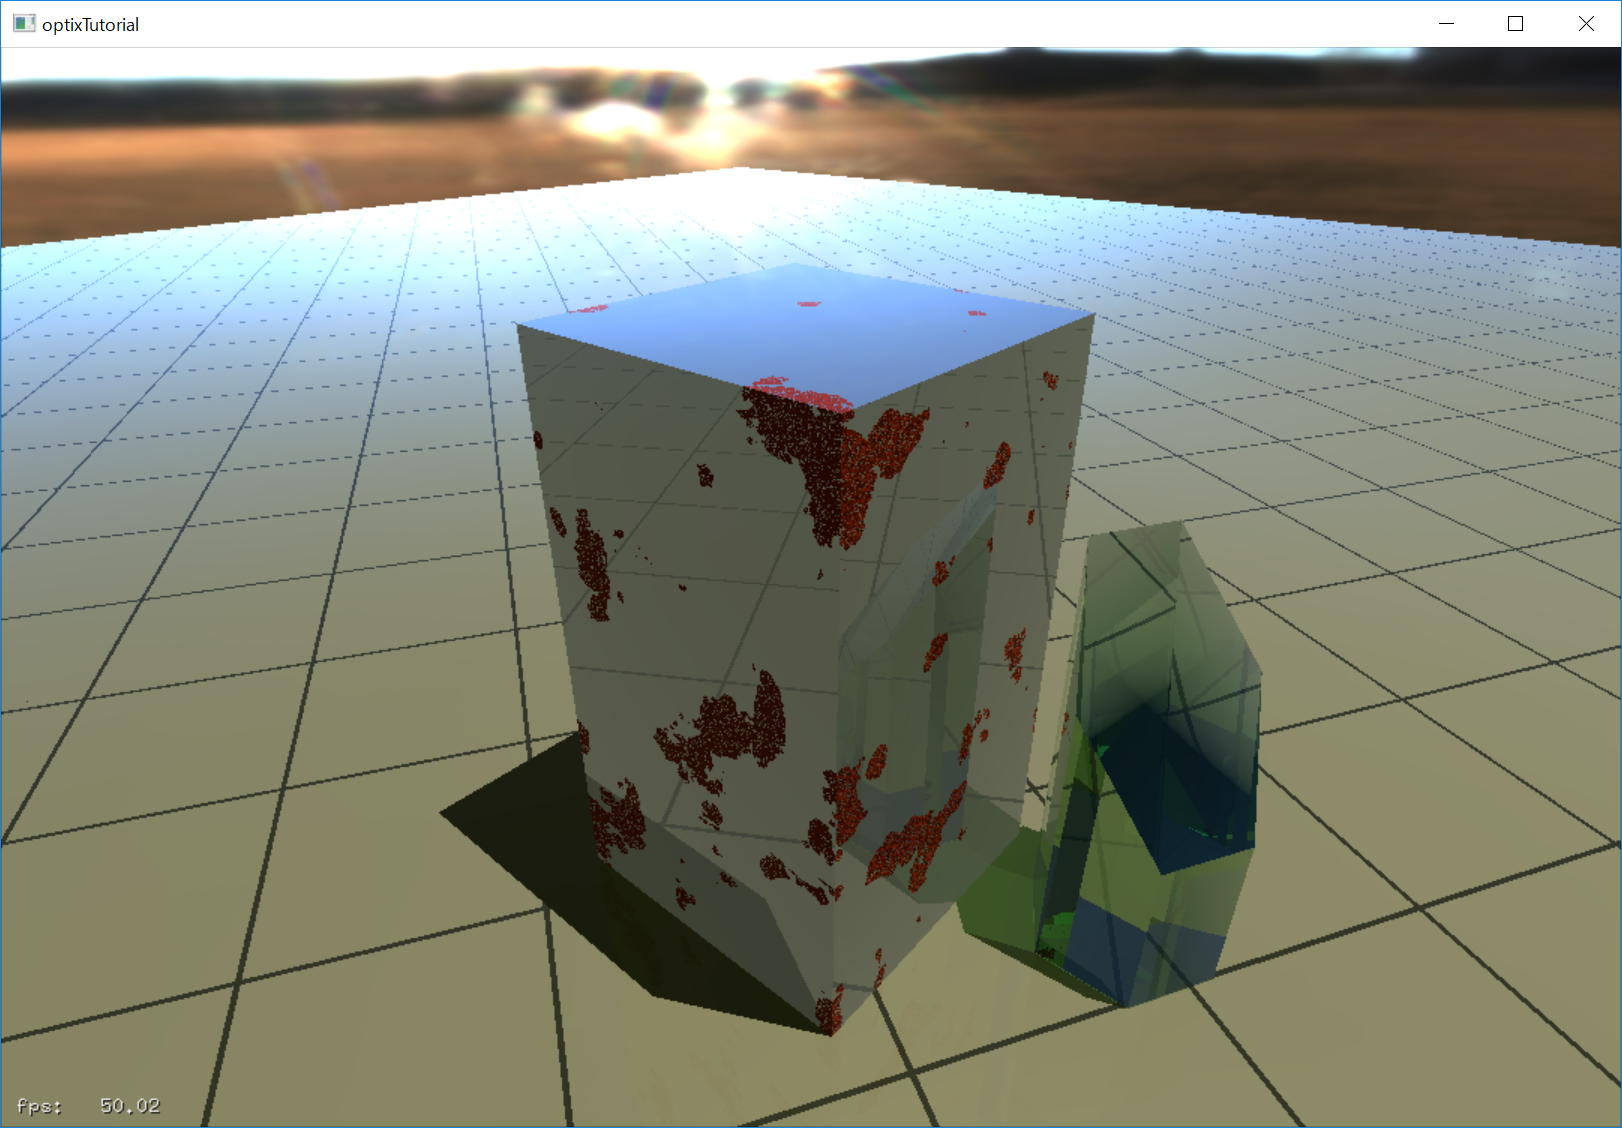
Nvidia OptiX 入門(環境構築編)
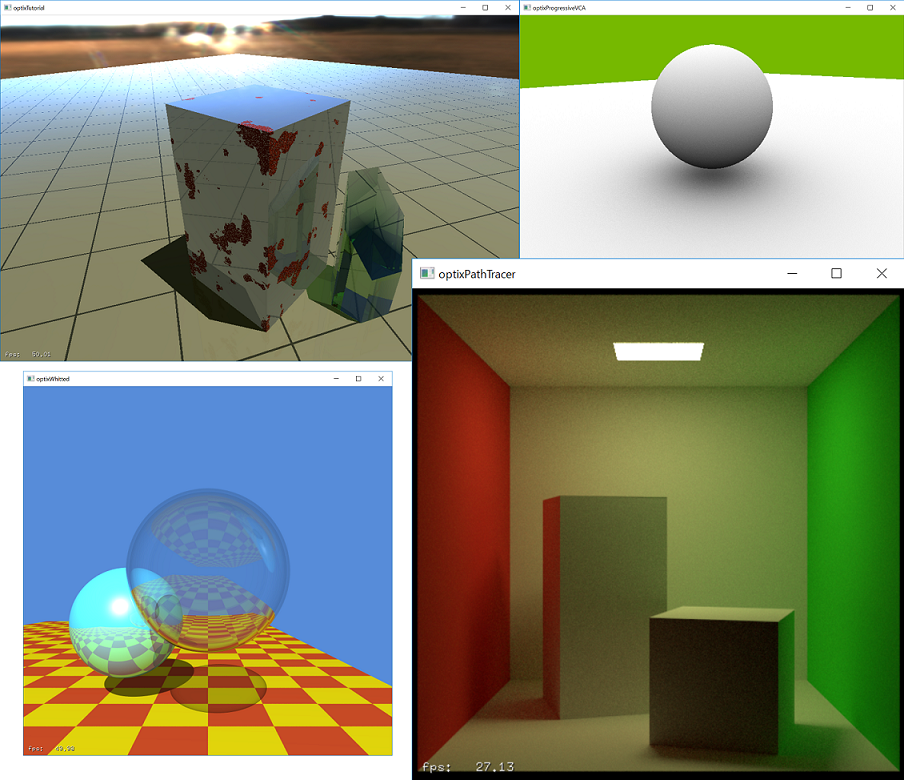
OptiX のインストールから、サンプルプロジェクトのビルドと実行までを紹介します。
環境構築が出来たら、OptiX QuickStart Guide を読みましょう。
はじめに
DMX (Deep Morishige Graphics) を構想設計中で、その際の環境構築のメモ書きです。
光のシミュレーションで使います。
ゲームエンジンやDCCツールに組み込めば、結果をほぼリアルタイムで確認できます。
OptiX と Embree (RadeonProRays), どちらにしようか、検討中の段階です。
質問したいことや分かりにくい点などあれば、気軽にコメントどうぞ。
OptiX とは
Nvidia 社が提供する Path Tracing のライブラリです。
IRay uses OptiX です。
https://developer.nvidia.com/gameworks-optix-overview
対象の読者
- 自前の Path Tracer を作りたい方
- プロジェクトで、大域照明のベイクシステムを検討中の方
- 自社パイプラインに、リアルタイムレンダリングを活用したレンダリングシステムを構築したい方
開発環境
- Windows 10 Home (64bit)
- Visual Studio 2015 with Update 3 (Professional / Community)
- CMake 3.7.1, https://cmake.org/download/
- Installer tool has changed. Uninstall CMake 3.4 or lower first!
- 3.7.1 は、Visual Studio 2017 に対応済み
- freeglut 3.0.0, http://freeglut.sourceforge.net/index.php#download
- CUDA 8.0, https://developer.nvidia.com/cuda-downloads
環境構築
OptiX の環境構築する前に、
- cmake
- freeglut
- CUDA
をインストールしておいてください。
freeglut がインストールされているかどうかの確認
OptiX のサンプルは、freeglut を使っています。
ご自身の環境にインストールされているかどうか確認しておきましょう。
OptiX のサンプルは、初期設定では、プラットフォームが、Windows 8.1 に設定されています。
以下は、初期設定のフォルダです。
Windows 10 SDK のDirectX12 と組み合わせて使う場合は、別のフォルダにインストールしておく必要があります。
補足:Windows 10 は、バージョンが複数あります。(e.g., 10.0.14393.0)
freeglut ヘッダファイル
C:\Program Files (x86)\Windows Kits\8.1\Include\um\gl
- glut.h
- freeglut.h
- freeglut_ext.h
- freeglut_std.h
freeglut ライブラリファイル(.lib)
C:\Program Files (x86)\Windows Kits\8.1\Lib\winv6.3\um\x64
- freeglut.lib (release ビルド用)
- freeglutd.lib (debug ビルド用)
- freeglut_static.lib (release ビルド用)
- freeglut_staticd.lib (debug ビルド用)
freeglut DLL ファイル(.dll)
C:\Windows\System32
- freeglut.dll (release ビルド用)
- freeglutd.dll (debug ビルド用)
参考文献
- freeglut のビルド手順は、床井さんのGLUT による「手抜きOpenGL」入門を参照してください。
OptiX SDK のインストール
Step 1. ダウンロード
Nvidia のサイトからSDK を入手します。
事前に DesignWorks への登録が必要です。(個人登録も可能です。)
https://developer.nvidia.com/gameworks-optix-overview
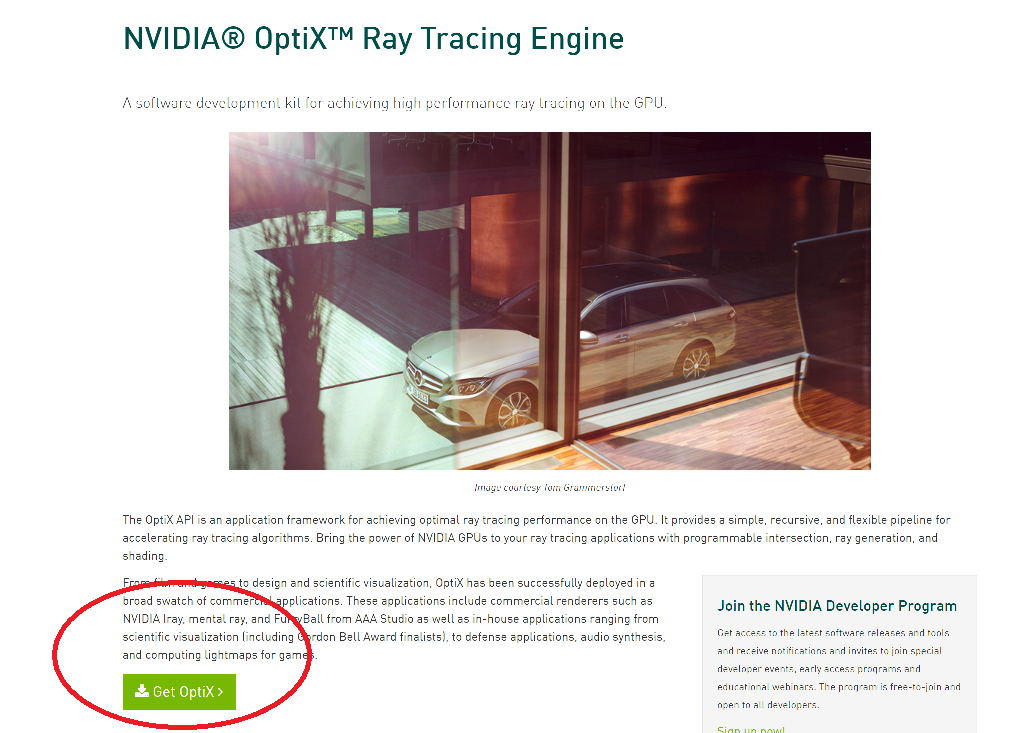
登録していれば、下記URL から インストール実行ファイルをダウンロードできます。
https://developer.nvidia.com/optix
Step 2. インストール
インストール先
C:\ProgramData\NVIDIA Corporation\OptiX SDK 4.0.2
確認
Windows スタートメニュー > OptiXTutorial 起動
ビルド済みサンプル実行ファイルは下記に配置してあります。
C:\ProgramData\NVIDIA Corporation\OptiX SDK 4.0.2\SDK-precompiled-samples
Step 3. ドキュメントの格納場所
下記場所に Quick Start や API ドキュメントがあります。
C:\ProgramData\NVIDIA Corporation\OptiX SDK 4.0.2\doc
OptiX_Quickstart_Guide_4.0.2.pdf
Visual Studio 2015 サンプルプロジェクトの生成
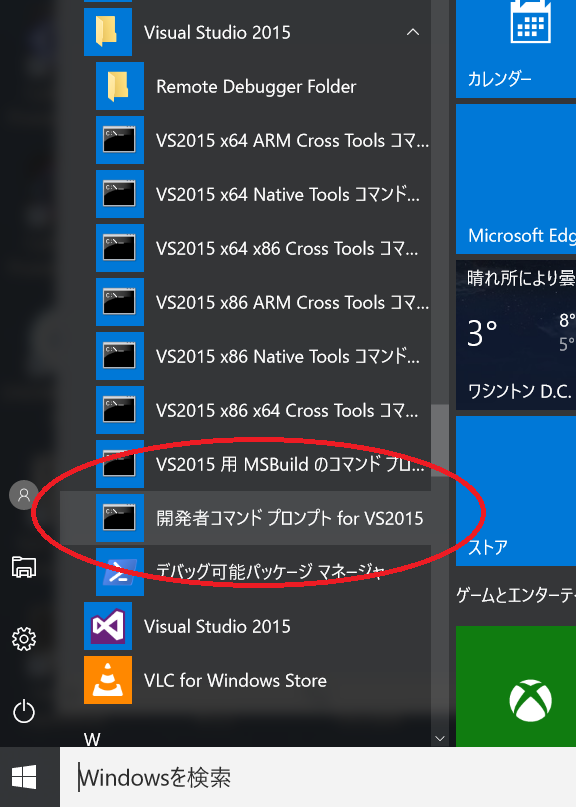
Step 1. 開発者コマンドプロンプト for Visual Studio 2015 起動
Step 2. cmake-gui 起動
Path に C:\Program Files\CMake\bin を追加しておいてください。
C:\ProgramData\NVIDIA Corporation\OptiX SDK 4.0.2\SDK
cmake-gui .

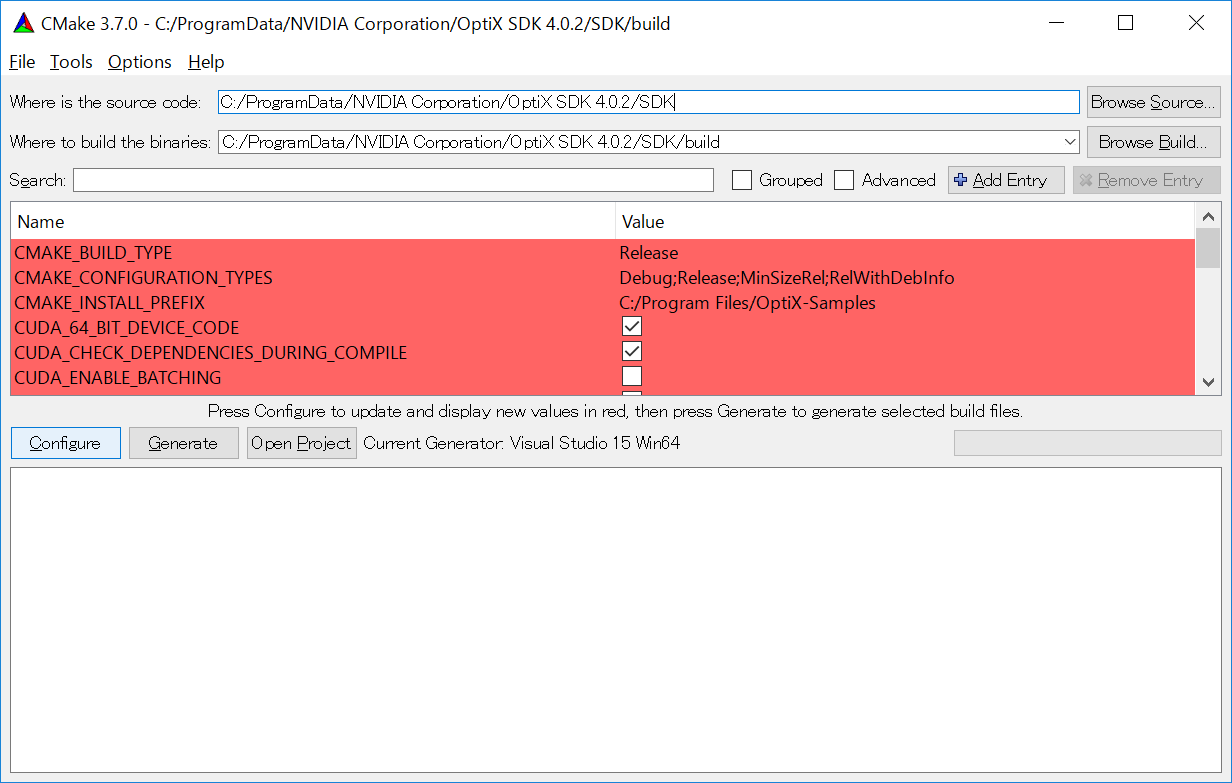
Step 3. CMake configure
Visual Studio は、Win64 を指定します。64bit ビルドです。
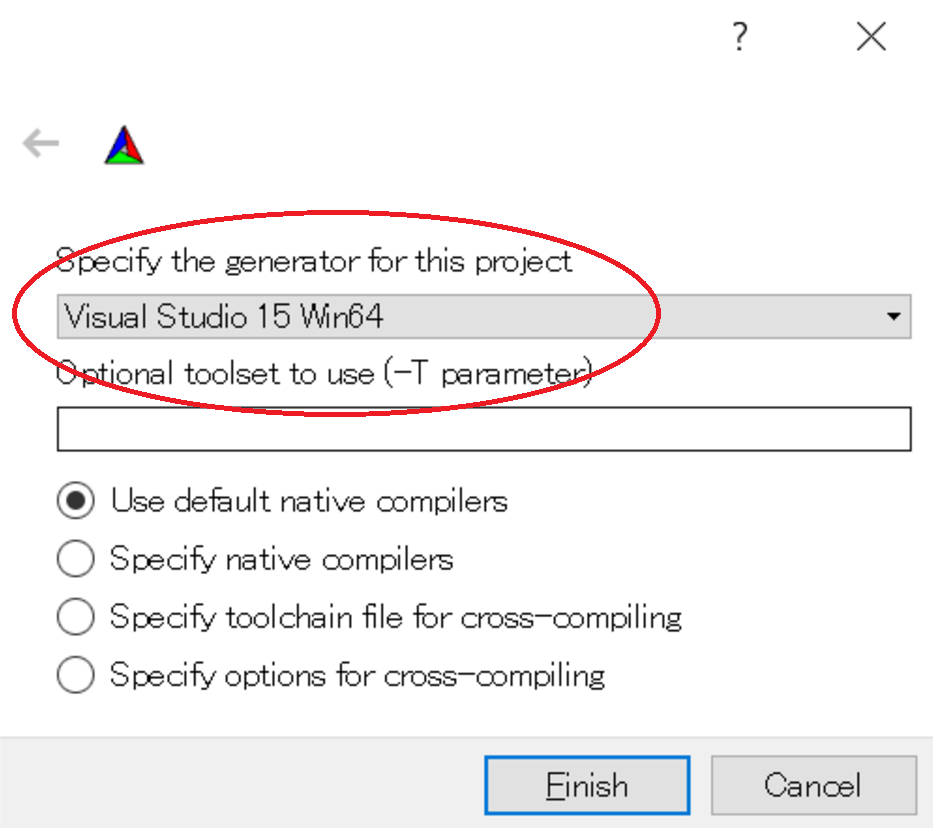
Where is the source code
C:/ProgramData/NVIDIA Corporation/OptiX SDK 4.0.2/SDK
Where to build the binaries
C:/ProgramData/NVIDIA Corporation/OptiX SDK 4.0.2/SDK/build
OptiX Library NOT FOUND が出た場合、それらをcmake-gui で指定します。
OPTIX_LIB
OPTIX_DDL
を指定
DLL は、 C:\ProgramData\NVIDIA Corporation\OptiX SDK 4.0.2\bin64
LIB は、C:\ProgramData\NVIDIA Corporation\OptiX SDK 4.0.2\lib64
指定した後に、cmake-gui で、Configure を実行します。
Step 4. CMake generate
build 配下にVisual Studio プロジェクトを生成します。
出力先は、Step 3. で設定した場所です。
C:/ProgramData/NVIDIA Corporation/OptiX SDK 4.0.2/SDK/build
サンプルコードのビルド
Step 1. Solution ファイルを開く
C:/ProgramData/NVIDIA Corporation/OptiX SDK 4.0.2/SDK/build
配下の OptiX-Samples.sln を開きます。
Step 2. Tutorial プロジェクトをビルドして実行
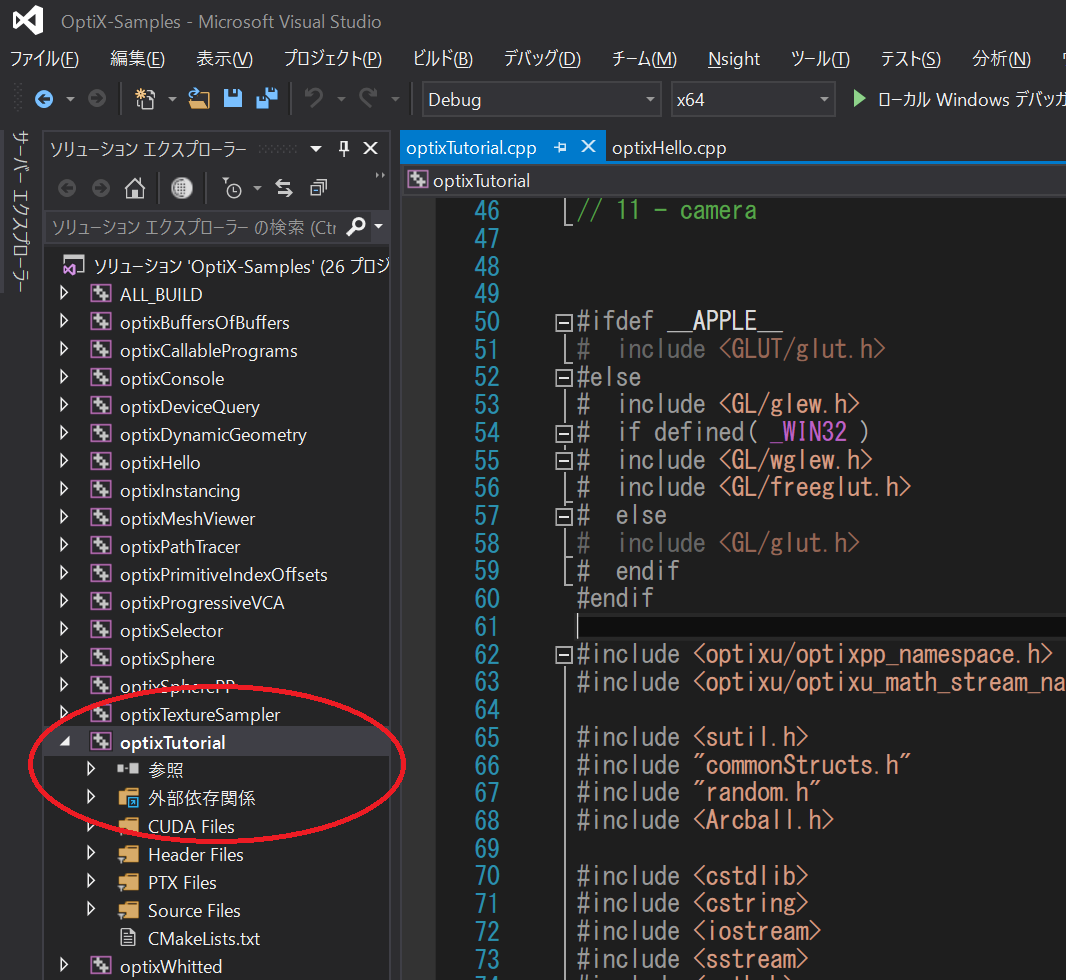
optixTutorial をスタートアッププロジェクトに設定します。
デバッグ実行します。
おわりに
Gaffer とともに、OptiX も少しずつ進めていきます。
今後ともよろしくお願いします。
