とりあえず EC-CUBE3 をインストールして試したい方向けです
今回やらないこと
- DB を RDS に
- pecl install APC
- Elastic IP 取得
- SSL
- ミドルウェアのチューニング
ちゃんと運用するならば最低限上記は必須かと思います
AMI
Amazon Linux 2 LTS を選択しました (ami-c2680fa4)

システム要件
Apache 2.4.x + PHP 7.1.x + PostgreSQL 9.x で行こうと思います
http://doc.ec-cube.net/quickstart_requirement
| 分類 | ソフトウェア | Version | 動作確認済み |
|---|---|---|---|
| WebServer | IIS | 8.x | 8.0 |
| WebServer | Apache | 2.2.x / 2.4.x | |
| (mod_rewrite / mod_ssl 必須) | 2.2.15 | ||
| PHP | PHP | 5.3.9 ~ 7.1.x | 5.4.39 / 7.0.9 / 7.1.2 |
| Database | PostgreSQL | 8.4.x / 9.x | |
| (pg_settingsテーブルへの参照権限 必須) | 8.4.20 | ||
| Database | MySQL | 5.1.x / 5.5.x / 5.6.x / 5.7.x | |
| (InnoDBエンジン 必須) | 5.1.73 | ||
| Database | SQLite(開発用途向け) | 3.x | 3.6.20 |
Setup
何はともあれ
$ sudo yum update

# タイムゾーン設定
$ sudo mv /etc/localtime{,.default}
$ sudo ln -s /usr/share/zoneinfo/Asia/Tokyo /etc/localtime
$ date
# Tue Mar 20 23:04:02 JST 2018
ミドルウェアインストール
# インストール済のものが無いか確認
$ yum list installed | egrep 'httpd|php|mysql'
# $
$ rpm -qa | egrep 'httpd|php|mysql'
# $

# Apache を yum でインストール。2.4 系が入ります
# httpd-devel も入れないと apxs がインストールされません
$ sudo yum install httpd httpd-devel

# PostgreSQL を yum でインストール。9.2 系が入ります
$ sudo yum install postgresql postgresql-devel postgresql-server

# PHP は yum では無くソースからインストール。なんとなくそっちの方が楽そうだったので
$ cd /usr/local/src/
# http://php.net/downloads.php よりお好きなサーバーを
$ sudo wget http://jp2.php.net/get/php-7.1.15.tar.bz2/from/this/mirror -O php-7.1.tar.bz2
$ sudo tar xf php-7.1.tar.bz2
$ cd php-7.1.15/
# ./configure 時にエラーになるので、下記をインストール
$ sudo yum install gcc libxml2-devel openssl-devel curl-devel
# apxs の場所を検索しておく
$ sudo find / -iname 'apxs'
# Makefile を作成
# /usr/local/php7.1 にインストールしてみます
$ ./configure --with-apxs2=/usr/bin/apxs \
--prefix=/usr/local/php7.1 \
--disable-cgi --enable-mbstring \
--enable-mbregex --with-pdo-pgsql \
--with-zlib \
--with-openssl \
--enable-zip \
--with-curl

# Makefile を元にコンパイル
$ make
$ make test
# --prefix の場所にインストール
$ sudo make install

# パスを通しておく
$ sudo ln -s /usr/local/php7.1/bin/php /usr/local/bin/
$ php -v
# PHP 7.1.15 (cli) (built: Mar 20 2018 23:43:27) ( NTS )
# Copyright (c) 1997-2018 The PHP Group
# Zend Engine v3.1.0, Copyright (c) 1998-2018 Zend Technologies

# サービスを起動
$ sudo systemctl start httpd
$ sudo systemctl start postgresql

# 常時起動するようにしておく
$ sudo systemctl enable httpd.service
$ sudo systemctl enable postgresql.service
$ systemctl list-unit-files | egrep 'httpd|postgresql'
# httpd.service                                 enabled
# postgresql.service                            enabled
Apache 設定
$ sudo vi /etc/httpd/conf/httpd.conf
# 下記が無かったら追加
# LoadModule rewrite_module modules/mod_rewrite.so
# LoadModule rewrite_module modules/libphp7.so
# 下記 <Directory "/var/www/html"> 内の AllowOverride を変更
#     AllowOverride All
$ sudo apachectl configtest
# 設定を反映するために再起動
$ sudo systemctl restart httpd.service
PostgreSQL 設定
# データベースクラスタを新しく作成
$ sudo service postgresql initdb
# pg_hba.conf を検索
$ sudo find / -name 'pg_hba.conf'
# /var/lib/pgsql/data/pg_hba.conf
# peer 認証でエラーにならないように
$ sudo vi /var/lib/pgsql/data/pg_hba.conf
# 下記を
# local   all             postgres                                peer
# 下記に変更
# local   all             all                                     md5

# データベース準備。ec_cube という名前で作ってみます
$ sudo su - postgres
$ createdb ec_cube
# 確認
$ psql -l
# パスワードを kururi_highway にしてみます
$ psql
# postgres=# ALTER USER postgres with encrypted password 'kururi_highway';
# 抜ける
# postgres=# \q
$ exit
EC-CUBE 3 をインストール
# /var/www/html の所有者:グループを ec2-user に変更
$ sudo chown ec2-user:ec2-user /var/www/html
$ cd /var/www/html
# http://doc.ec-cube.net/quickstart_install
$ curl -sS https://getcomposer.org/installer | php
$ php composer.phar create-project ec-cube/ec-cube ec-cube "^3."
.htaccess とパーミッション調整
$ cd /var/www/html/ec-cube/
$ sudo rm .htaccess && sudo cp -a .htaccess.sample .htaccess
# 所有者:グループを Apache にしておきます
$ sudo chown -R apache:apache /var/www/html/ec-cube/
Security Group 調整
http/https を許可します

アクセス
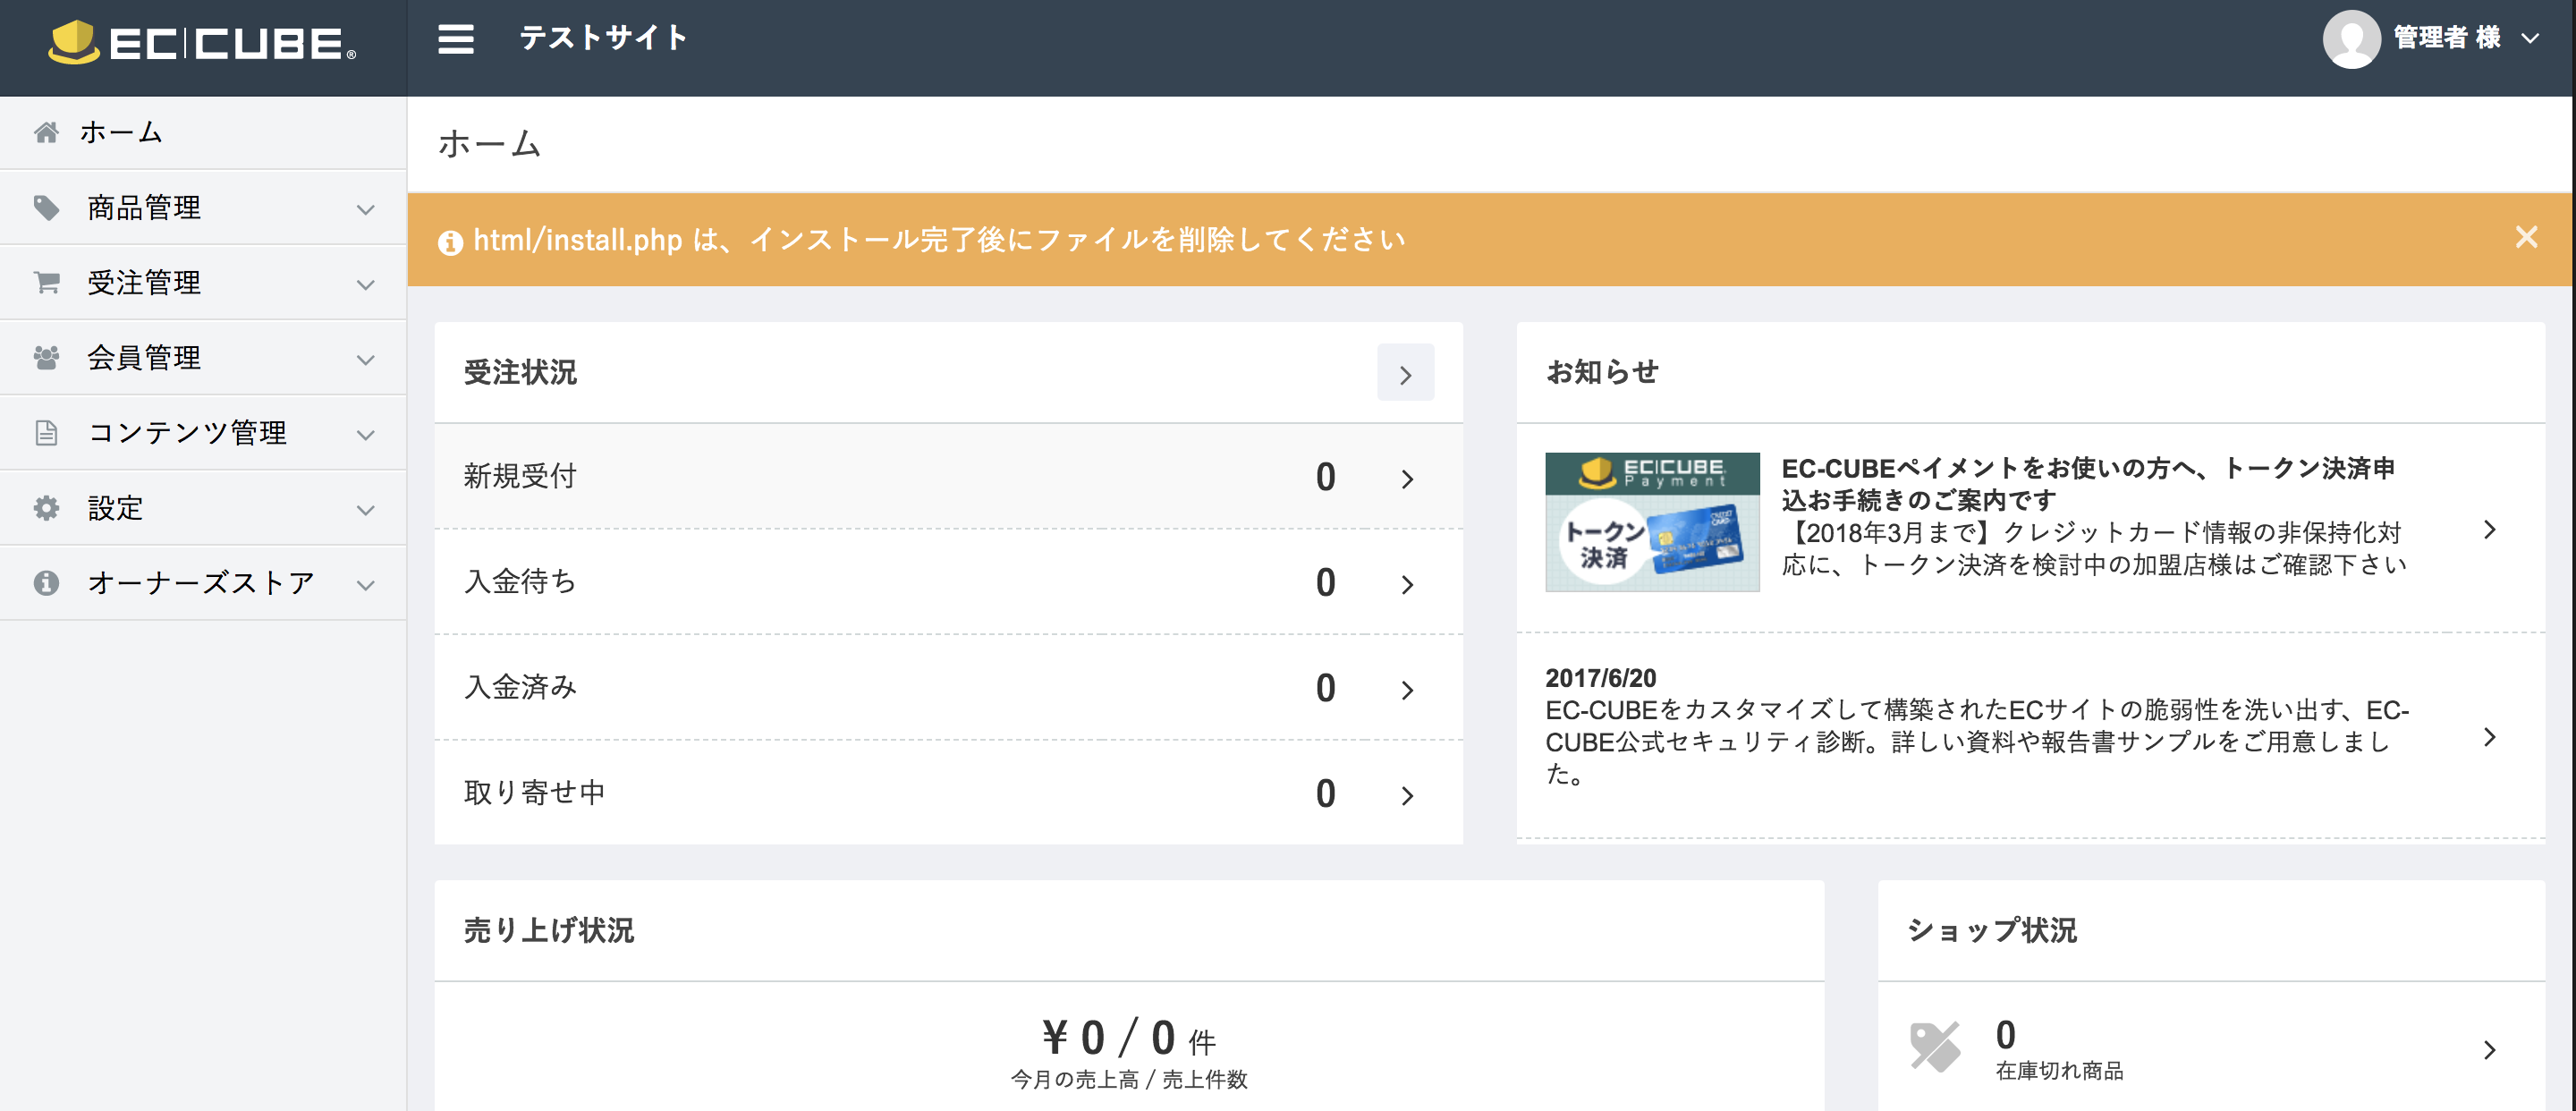
- http://IPアドレス/ec-cube/html/install.php にアクセスし、Web で適宜設定を行っていきます
- http://IPアドレス/ec-cube/html/ にアクセスすると SHOP 画面が見えるはずです

お疲れ様でした!