今回の目標
Raspberry PiにApache2を導入して、とりあえずHalloWorld!!を表示してみる
インストール
まずはお決まりのパッケージリストのアップデートとソフトウェアのアップデート
pi@raspberrypi:~$ sudo apt-get update
pi@raspberrypi:~ $ sudo apt-get upgrade
を実行
そしてApache2をインストールします。
pi@raspberrypi:~ $ sudo apt-get install apache2
で、インストール出来たかを確認
pi@raspberrypi:~ $ apachectl -v
Server version: Apache/2.4.38 (Raspbian)
Server built:   2019-10-15T19:53:42
こんな感じに表示されたらインストール出来てる
次に、ラズパイのローカルIPアドレスを確認する
pi@raspberrypi:~ $ ifconfig
inet 192.161.***.*** netmask 255.255.255.0 broadcast 192.168.***.***
という表示のinet 192.168.***.***の部分がローカルIPのはず
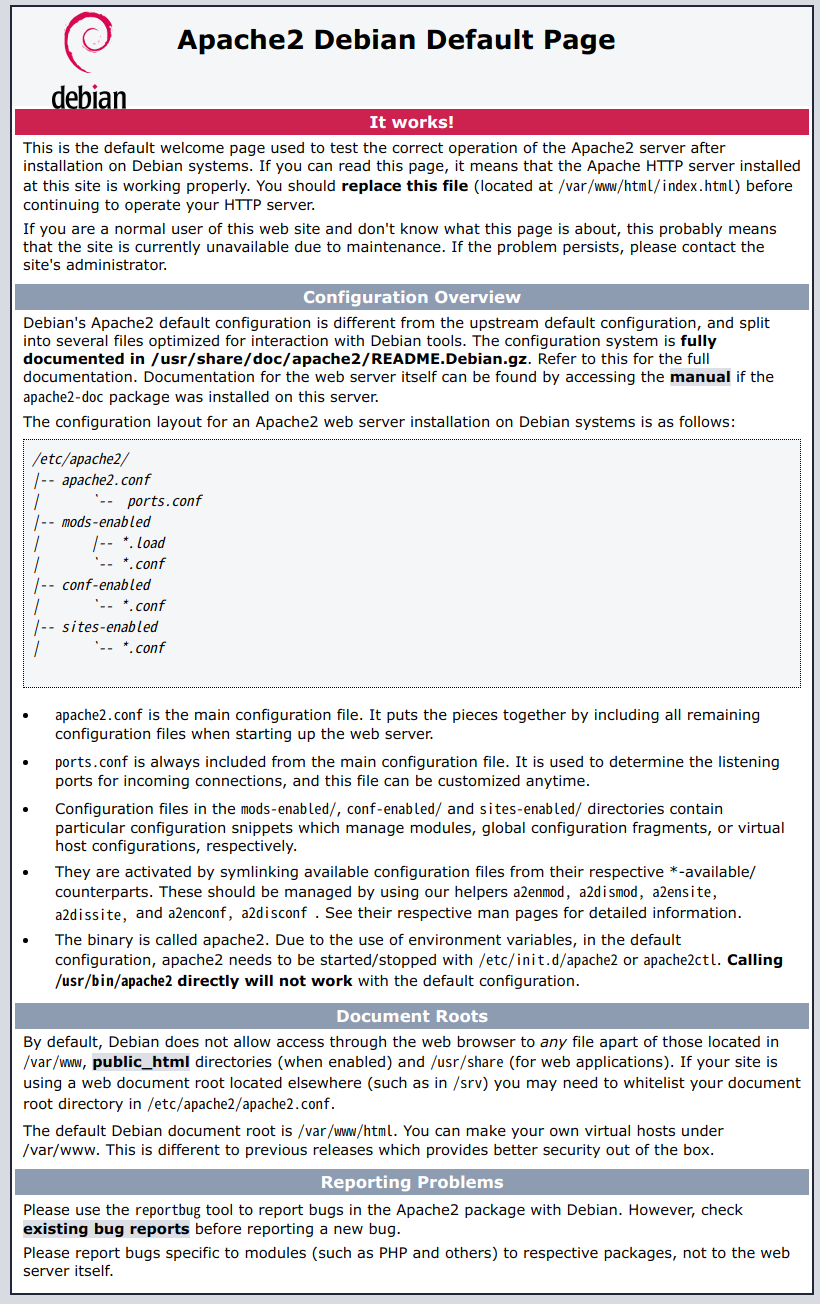
そのローカルIPを``http://192.168.***.***`という感じに入力すると...

こんなのが表示される。
これが表示されれば導入完了
HalloWorld!!を表示してみる
この、「/var/www/html/」ディレクトリ内にページファイルを作成したら表示されるようなので、example.htmlという名前で作成します。
pi@raspberrypi:~ $ sudo vim /var/www/html/example.html
と入力するとエディタが出てきてファイルを編集できます。
※この場合はvimでの編集です。「vim」の部分を変えてお好みのエディタでどうぞ
<h1>HelloWorld!!</h1>
<p>example!!</p>
こんな感じで書いて、先程使ったURLの最後の部分にファイル名を入力するhttp://192.168.***.***/example.html
するとexample.htmlファイルで作成したページが表示されます。
