はじめに
一年以上ぶりに、rubyの環境を作ろうとしたら、なかなかうまくいかず、やっと環境ができたので、メモを残します。これで、rubyでstep実行や変数の確認ができるようになります。
Visual Studio Code のインストール
- マイクロソフトのページからダウロードしてインストールします。
Ruby のインストール
- Ruby Installerのサイトのdevkit付のインストーラーを使ってインストールします。今回使ったのはrubyinstaller-devkit-2.6.6-1-x64.exeです。
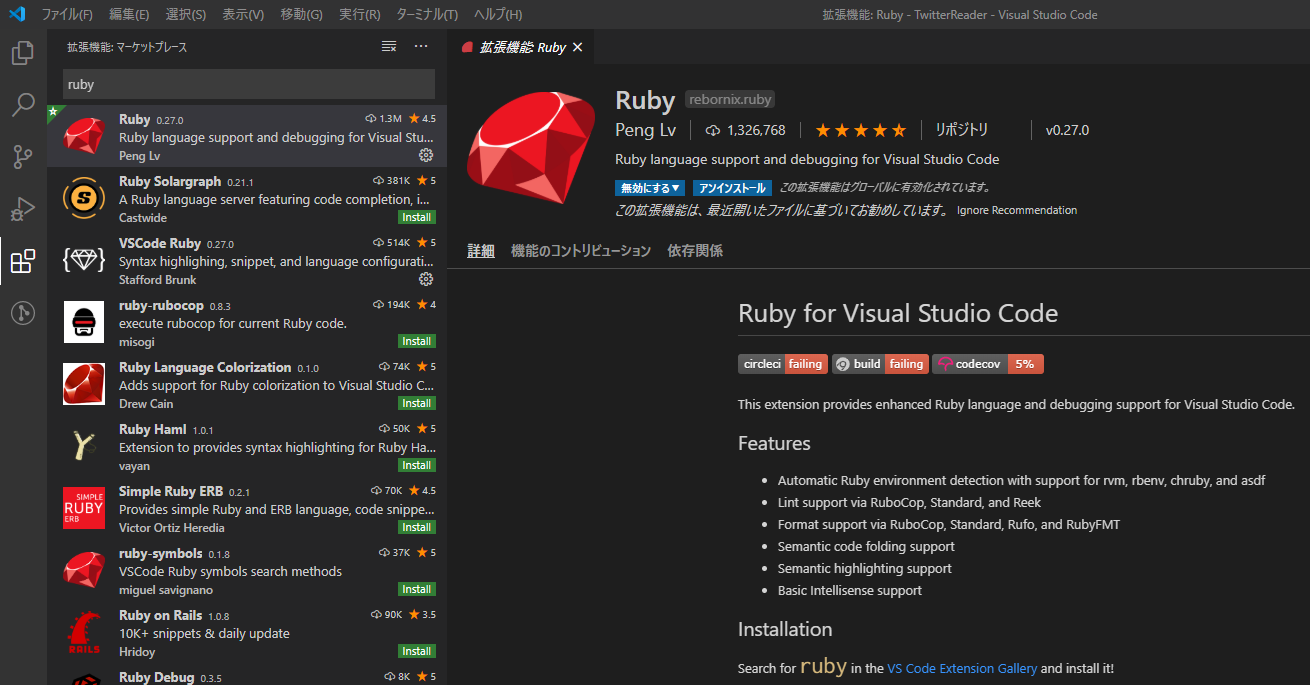
VSCodeの拡張機能をインストール
- VSCodeを起動して、拡張機能の「ruby」を検索して、インストールします。(下図はインストール後の画面)
Gemをbundleでインストール
- VSCodeのターミナルを開いて
bundle initします。
Windows PowerShell
Copyright (C) Microsoft Corporation. All rights reserved.

新しいクロスプラットフォームの PowerShell をお試しください https://aka.ms/pscore6

PS C:\Users\momoandbanana\Documents\my_ruby_programs\debugenv> bundle init
Writing new Gemfile to C:/Users/momoandbanana/Documents/my_ruby_programs/debugenv/Gemfile
PS C:\Users\momoandbanana\Documents\my_ruby_programs\debugenv>
- すると
Gemfileが作成されるので、debaseとruby-debug-ideのGemを追加します。
Gemfile
# frozen_string_literal: true

source "https://rubygems.org"

git_source(:github) {|repo_name| "https://github.com/#{repo_name}" }

# gem "rails"
gem "debase" # 追加しました
gem "ruby-debug-ide" # 追加しました
- VSCodeのターミナルで
bundle installでGemをインストールします。
PS C:\Users\momoandbanana\Documents\my_ruby_programs\debugenv> bundle init
Writing new Gemfile to C:/Users/momoandbanana/Documents/my_ruby_programs/debugenv/Gemfile
PS C:\Users\momoandbanana\Documents\my_ruby_programs\debugenv> bundle install
Fetching gem metadata from https://rubygems.org/.....
Resolving dependencies...
Using rake 13.0.1
Using bundler 2.1.4
Using debase-ruby_core_source 0.10.9
Using debase 0.2.4.1
Using ruby-debug-ide 0.7.2
Bundle complete! 2 Gemfile dependencies, 5 gems now installed.
Use `bundle info [gemname]` to see where a bundled gem is installed.
PS C:\Users\momoandbanana\Documents\my_ruby_programs\debugenv>
launch.jsonに設定を記載します。
- rubyのプログラムを用意します。
main.rb
puts("hello ruby-debugger !")
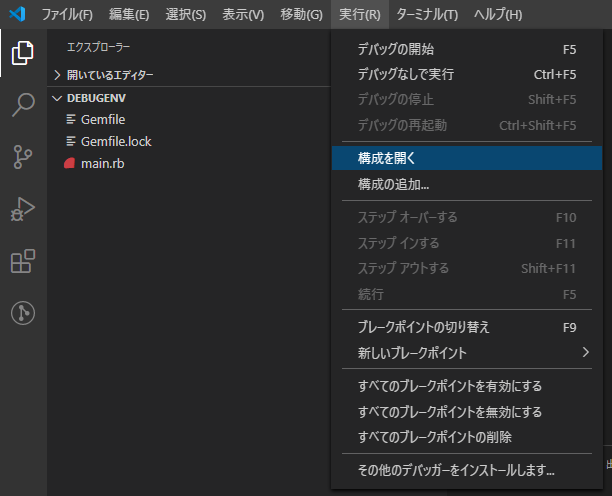
-
launch.jsonを__自動作成させるため__に、VSCodeのメニューから実行構成を開くを選びます。
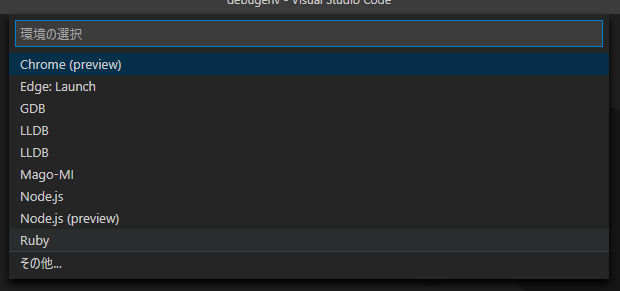
-
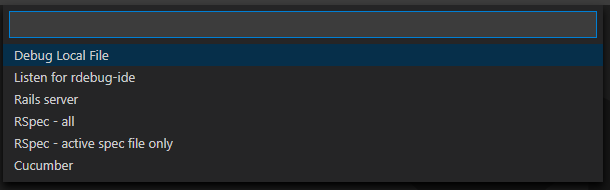
すると、どのような構成をしたいのか選択肢で質問されるので
rubyを選びます。
-
さらに
debug local fileを選びます。
-
すると
launch.jsonファイルが出来上がるので、programの行を下記のように修正します。
launch.json
{
    // IntelliSense を使用して利用可能な属性を学べます。
    // 既存の属性の説明をホバーして表示します。
    // 詳細情報は次を確認してください: https://go.microsoft.com/fwlink/?linkid=830387
    "version": "0.2.0",
    "configurations": [
        {
            "name": "Debug Local File",
            "type": "Ruby",
            "request": "launch",
            // "program": "${workspaceRoot}/main.rb", コメントにしました。
            "program": "${file}", // 変更しました。
        }
    ]
}
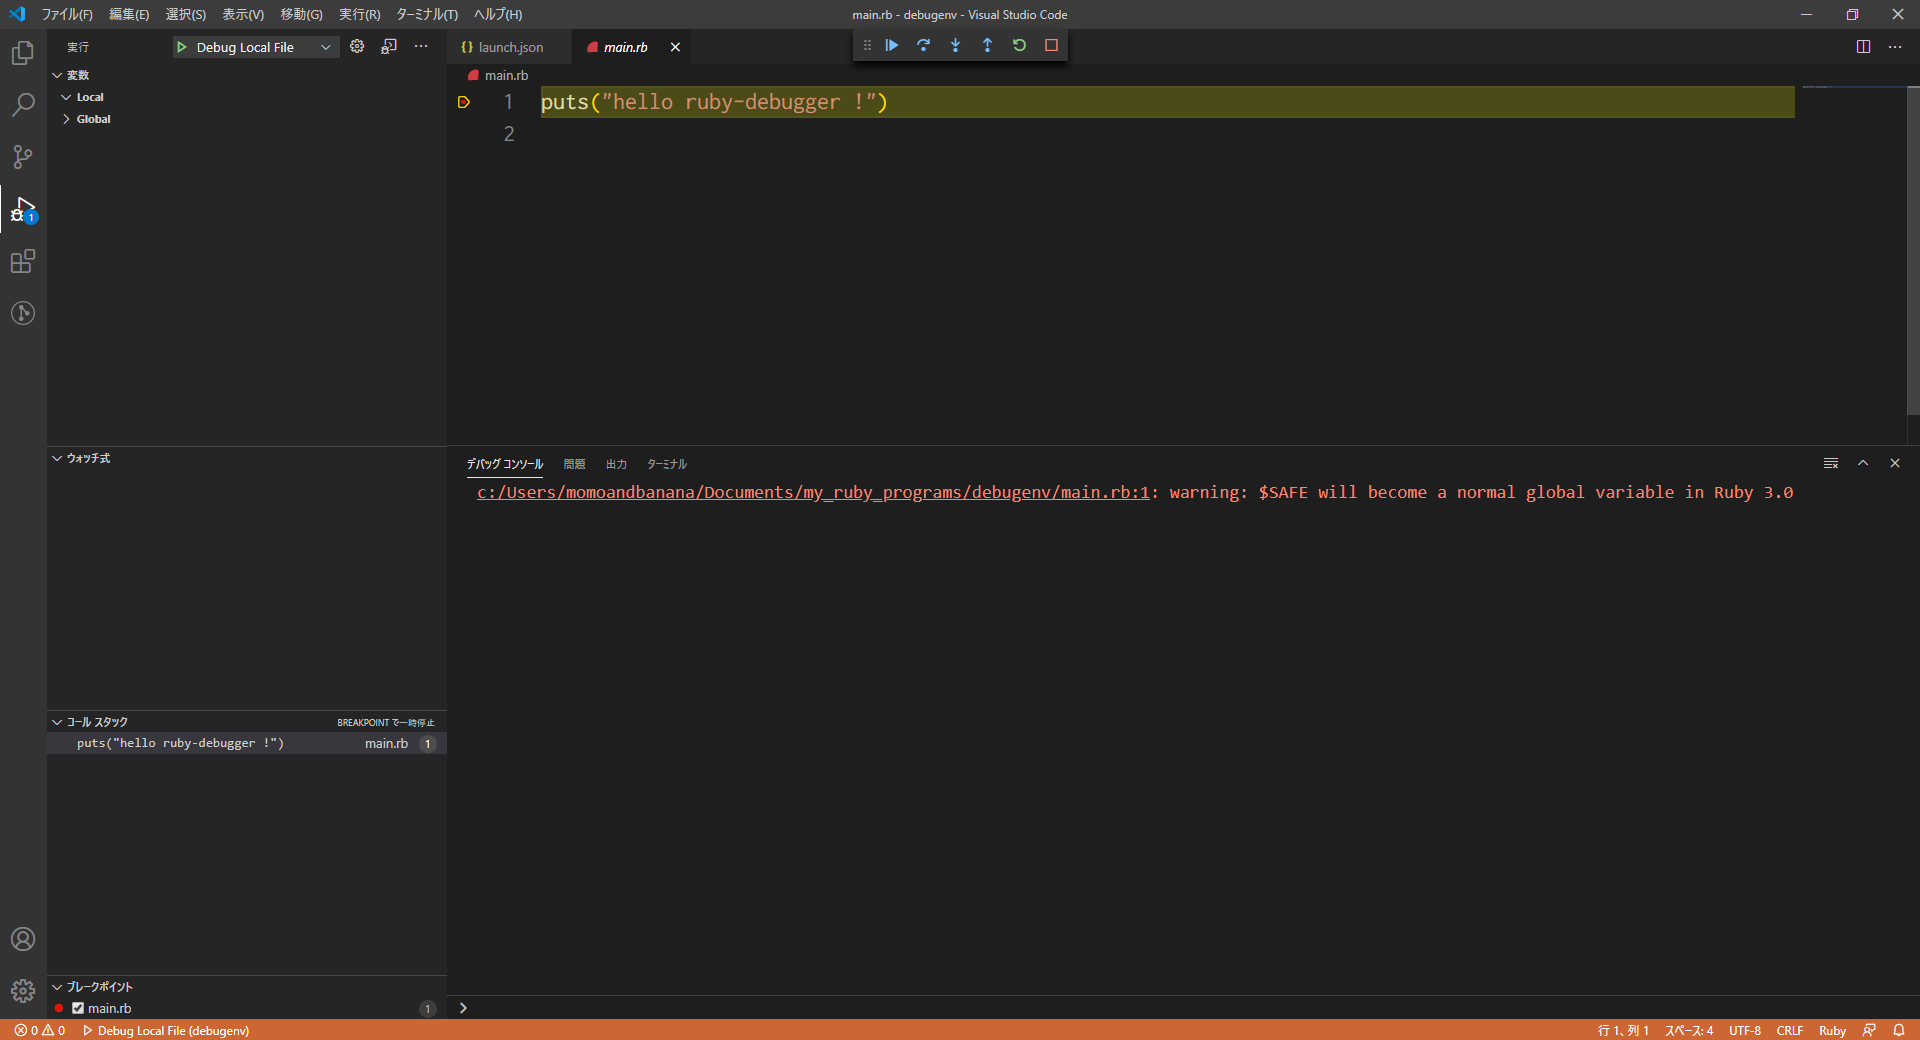
デバッグを開始します
- __ソースファイルを開いて__から、VSCodeの
実行デバッグの開始でデバッグします。下図はmain.rbの1行目にブレークポイントを設定して、ブレークされたところです。