動機
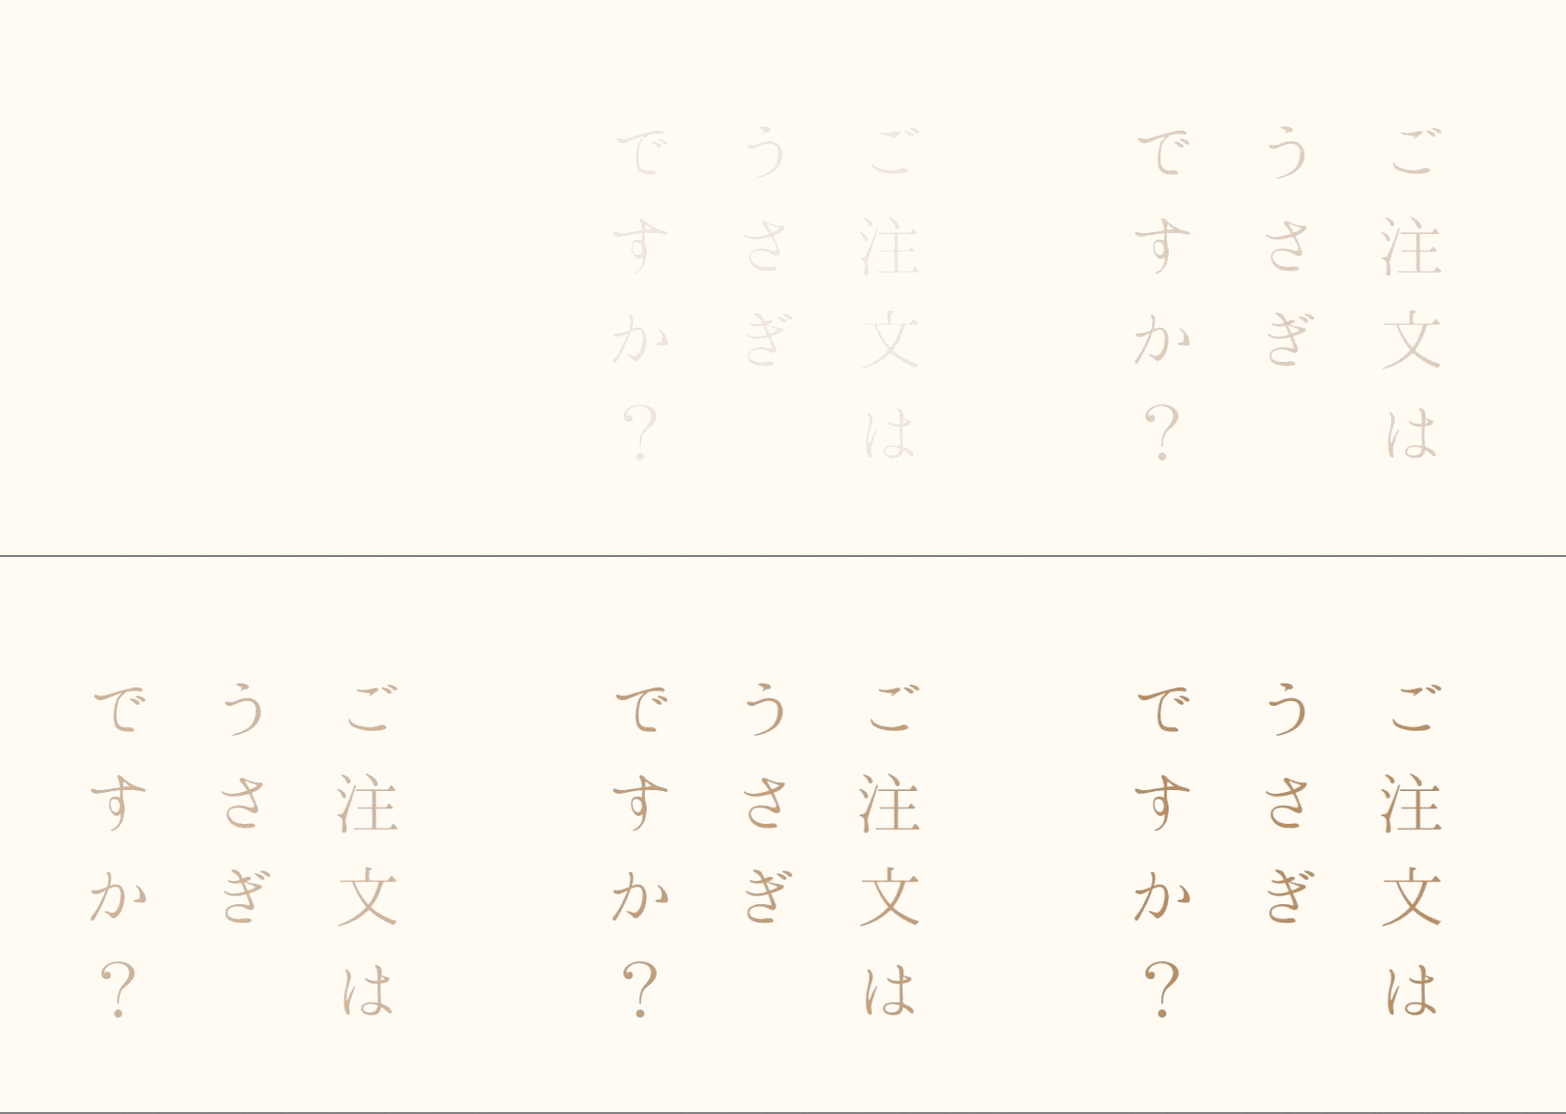
swiftでアニメーションするライブラリを作ってみたかったので。
実装
UIViewを継承したlogoAnimationViewクラスを作成します。
logoAnimationView.swift
import UIKit

class logoAnimationView: UIView{

    //public
    var text: NSString = ""
    var font: UIFont = UIFont.boldSystemFontOfSize(40)
    var textColor: UIColor = UIColor.brownColor()
    var animationDuration: Double = 4.0

    //private
    private var contentView: UIView = UIView()
    private var stopAnimationFlag: Bool = false
    private var animationIndex: NSInteger = 0
    private var labelArray: Array<UILabel> = Array<UILabel>()


    //Class Method
    func startAnimation(){
        self.reloadView()

    }

    func stopAnimation(){
        self.stopAnimationFlag = false
    }

    //Private Method

    //初期化
    private func initializeView(){
        for subView: UILabel in self.labelArray {
            subView.removeFromSuperview()
        }
        labelArray = Array<UILabel>()
        stopAnimationFlag = false

        contentView = UIView(frame: CGRectMake(0,0,10,10))
        contentView.backgroundColor = UIColor.clearColor()
        self.addSubview(contentView)
    }

    //Viewの描画
    private func reloadView(){
        self.initializeView()

        let startX = CGRectGetWidth(self.frame)
        let startY = CGRectGetHeight(self.frame)

        //textの文字を\nを区切りにして分解
        var lines = text.componentsSeparatedByString("\n")

        //Label作成処理
        for var i=0; i<lines.count; i++ {

            //CGFloatとIntでは下で計算できないのでここで型変換
            var n_col:CGFloat = CGFloat(i)

            //linesの文字を1文字ずつに分解
            var chars = lines[i].characters.map{ String($0) }

            for var j=0; j<chars.count; j++ {

                var n_row:CGFloat = CGFloat(j)

                //X開始位置はViewの大きさ-Labelの幅:ステップは列の最大数で割ってる、Y開始位置は0:ステップは行の最大数で割ってる
                var label: UILabel = UILabel(frame:
                    CGRectMake(
                        CGRectGetWidth(self.frame)-(n_col+1)*CGRectGetWidth(self.frame)/3,
                        n_row*CGRectGetHeight(self.frame)/4,
                        CGRectGetWidth(self.frame)/3,
                        CGRectGetHeight(self.frame)/4))
                label.backgroundColor = UIColor.clearColor()
                label.text = chars[j]
                label.font = self.font
                label.textColor = self.textColor
                label.sizeToFit()
                label.textAlignment = NSTextAlignment.Center

                self.contentView.addSubview(label) //viewにlabelを追加
                self.labelArray.append(label) //配列にも追加

                self.executeAnimation(animeID)
            }
        }
    }

    //アニメーション実行
    private func executeAnimation(id:Int){

        self.alpha = 0

        var duration: Double = self.animationDuration

        //アニメーションの設定
        for label: UILabel in self.labelArray {
            UIView.animateWithDuration(duration, animations: {

                self.alpha = 1

            }
                ,completion: { (finished: Bool) in
            })
        }
    }
}
使用例
上のクラスのviewを200*200で描画します。
viewController.swift
import UIKit

class ViewController: UIViewController {

    var viewSize: CGFloat = 200

    override func viewDidLoad() {
        super.viewDidLoad()

        //Viewの描画位置を調整
        var animationLabel: logoAnimationView = logoAnimationView(frame: CGRectMake(
            //0, 0, CGRectGetWidth(self.view.frame), CGRectGetHeight(self.view.frame)))
            CGRectGetWidth(self.view.frame)/2 - viewSize/2, CGRectGetHeight(self.view.frame)/2-viewSize/2, viewSize, viewSize))
        animationLabel.text = "ご注文は\nうさぎ\nですか?"
        animationLabel.font = UIFont(name: "HannariMincho", size: 40)!

        self.view.addSubview(animationLabel)

        animationLabel.startAnimation()
    }

    override func didReceiveMemoryWarning() {
        super.didReceiveMemoryWarning()
    }
}
完成
アニメーションがまだまだなので、ブラーかけたりシャドウ入れたり文字の動きなどを改善していきたいと思います。
とりあえず初ライブラリ作成ということで。
