これはFirebase Advent Calendar 2022の1日目の記事です。
こんにちは。virapture株式会社でCEOしながらラグナロク株式会社でもCKOとして働いている@mogmetです。

最近シーズンインしました。これからが楽しみです。
本日は最近バックアップ設定をしてみたら随分と設定が必要になっていたので、皆様が簡単に設定できるように紹介いたします。
以前紹介した勘所についても抑えながら紹介いたします。
公式手順に関しては下記をご参照ください。
想定読者
- とりあえずfirestoreでバックアップをサッととってデータ損失に備えたい
といった方にさっと取得できるように紹介します。
手順
バックアップを保存する場所の確保→IAMの設定→CloudFunctionsの作成→動作確認 の順で紹介します。
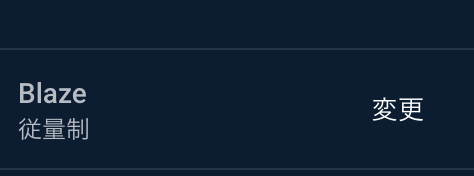
また、事前に課金プランはBlazeにしておきます。
バックアップを保存する場所の確保
バックアップ先としてCloud Storageに保管をします。
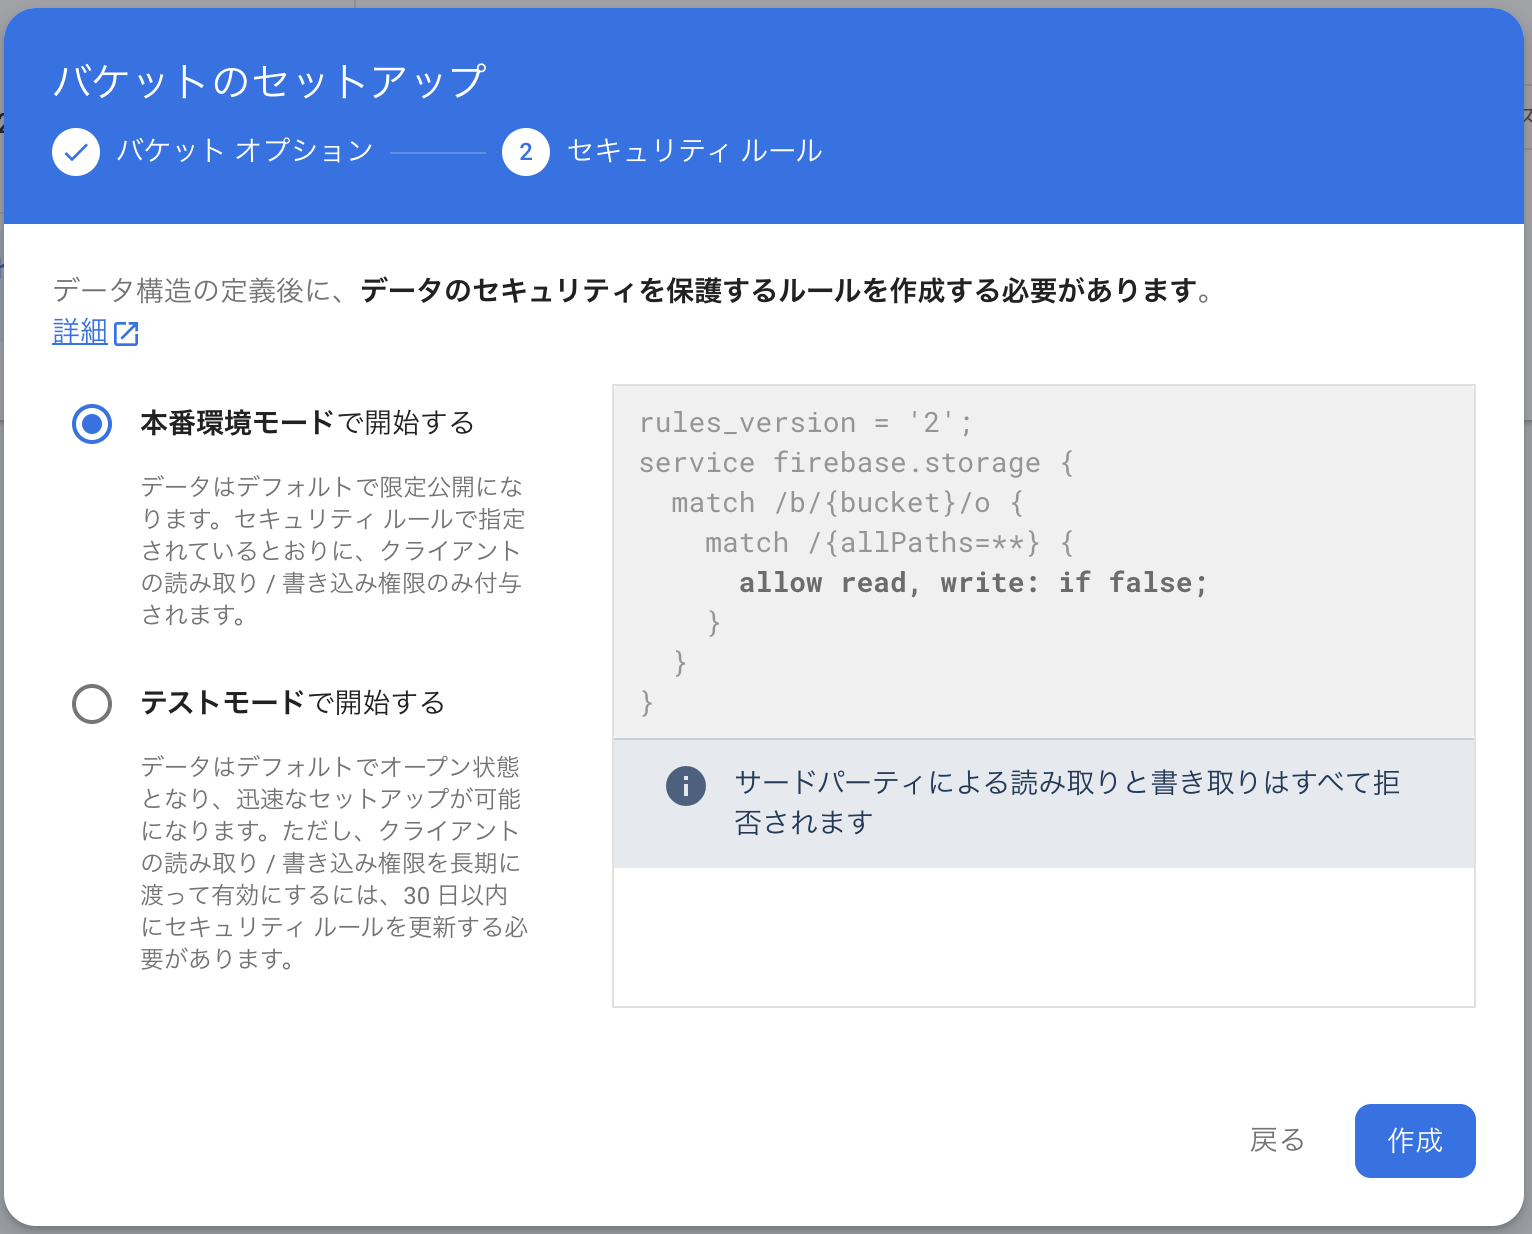
それにあたり、新しくバケットを作成します。
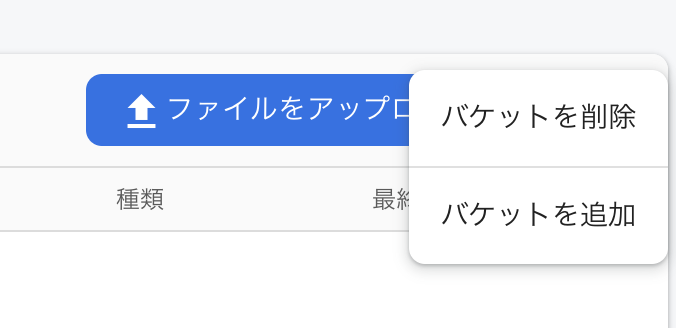
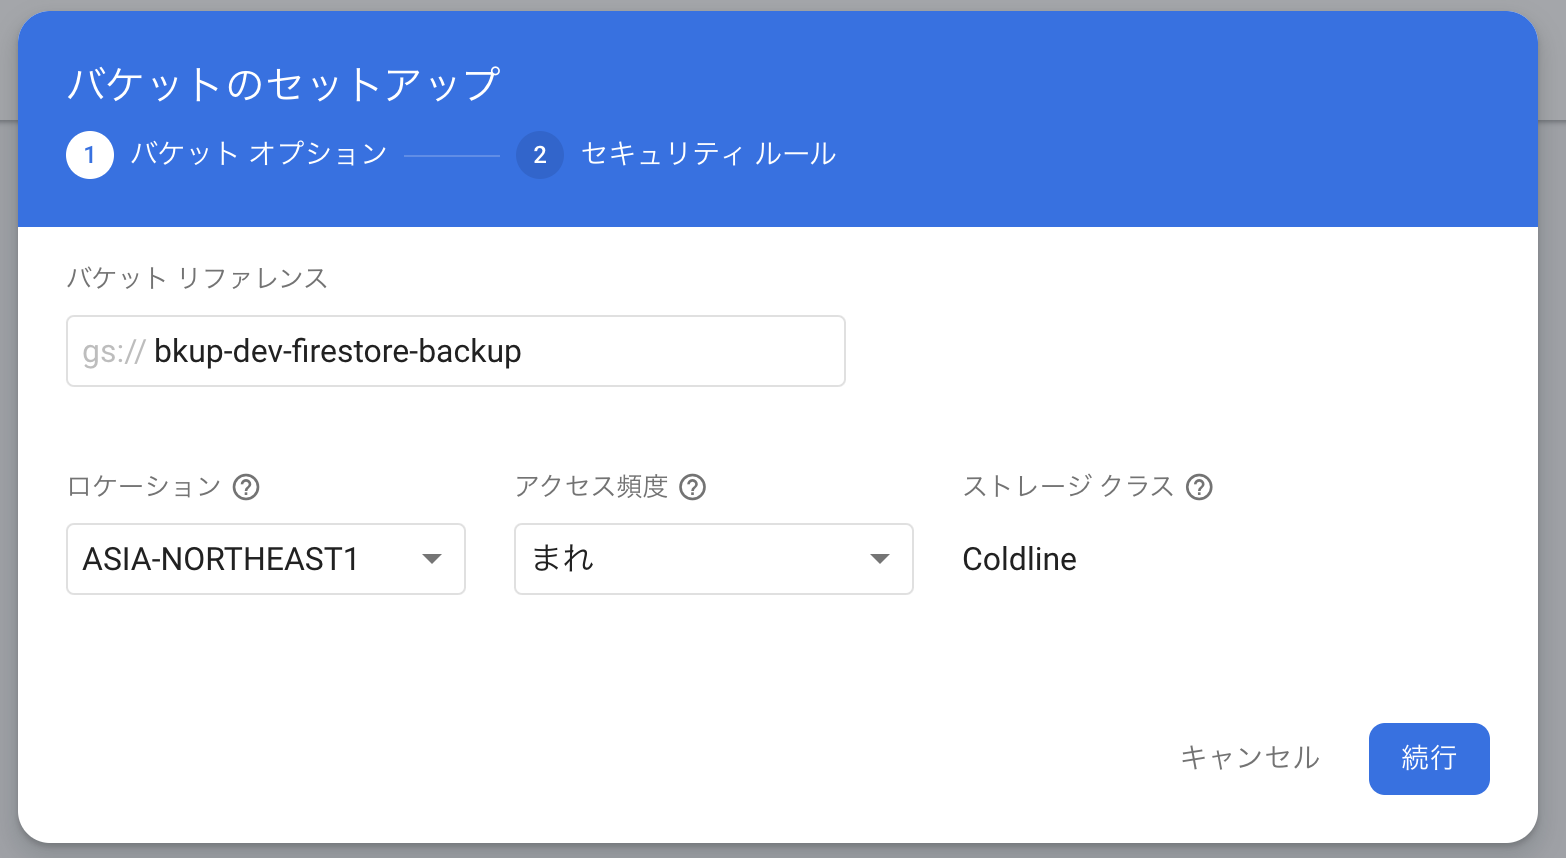
Cloud Storageにアクセスして、右の...から「バケットを追加」を押下します。
バケットリファレンスに「PROJECT_ID-firestore-backup」と命名します。
ロケーションはCloudFunctionsが動くリージョンに合わせましょう。ASIA1の方が凄そうですが、いざバックアップを動かすとリージョンが違うと怒られて動かないです。
アクセス頻度はそんなにないので「まれ」か「アーカイブ」を選択しましょう。コストを抑えられます。
設定したら「続行」を押下。
このままでは無限にバックアップを取り続けてしまうので、次に保管期限を設定します。
詳細は下記に記載しているので簡易的に紹介します。
gs-lifecycle.jsonとして下記を作成します。
{
  "lifecycle": {
    "rule":
    [
      {
        "action": {"type": "Delete"},
        "condition": {"age": 7}
      }
    ]
  }
}
あとはターミナルで下記コマンドを実行するだけで7日間の保管期限が設定されます。
gsutil lifecycle set ./gs-lifecycle.json gs://バックアップ先のバケット名
以上でバックアップの保存先は確保完了です。
IAMの設定
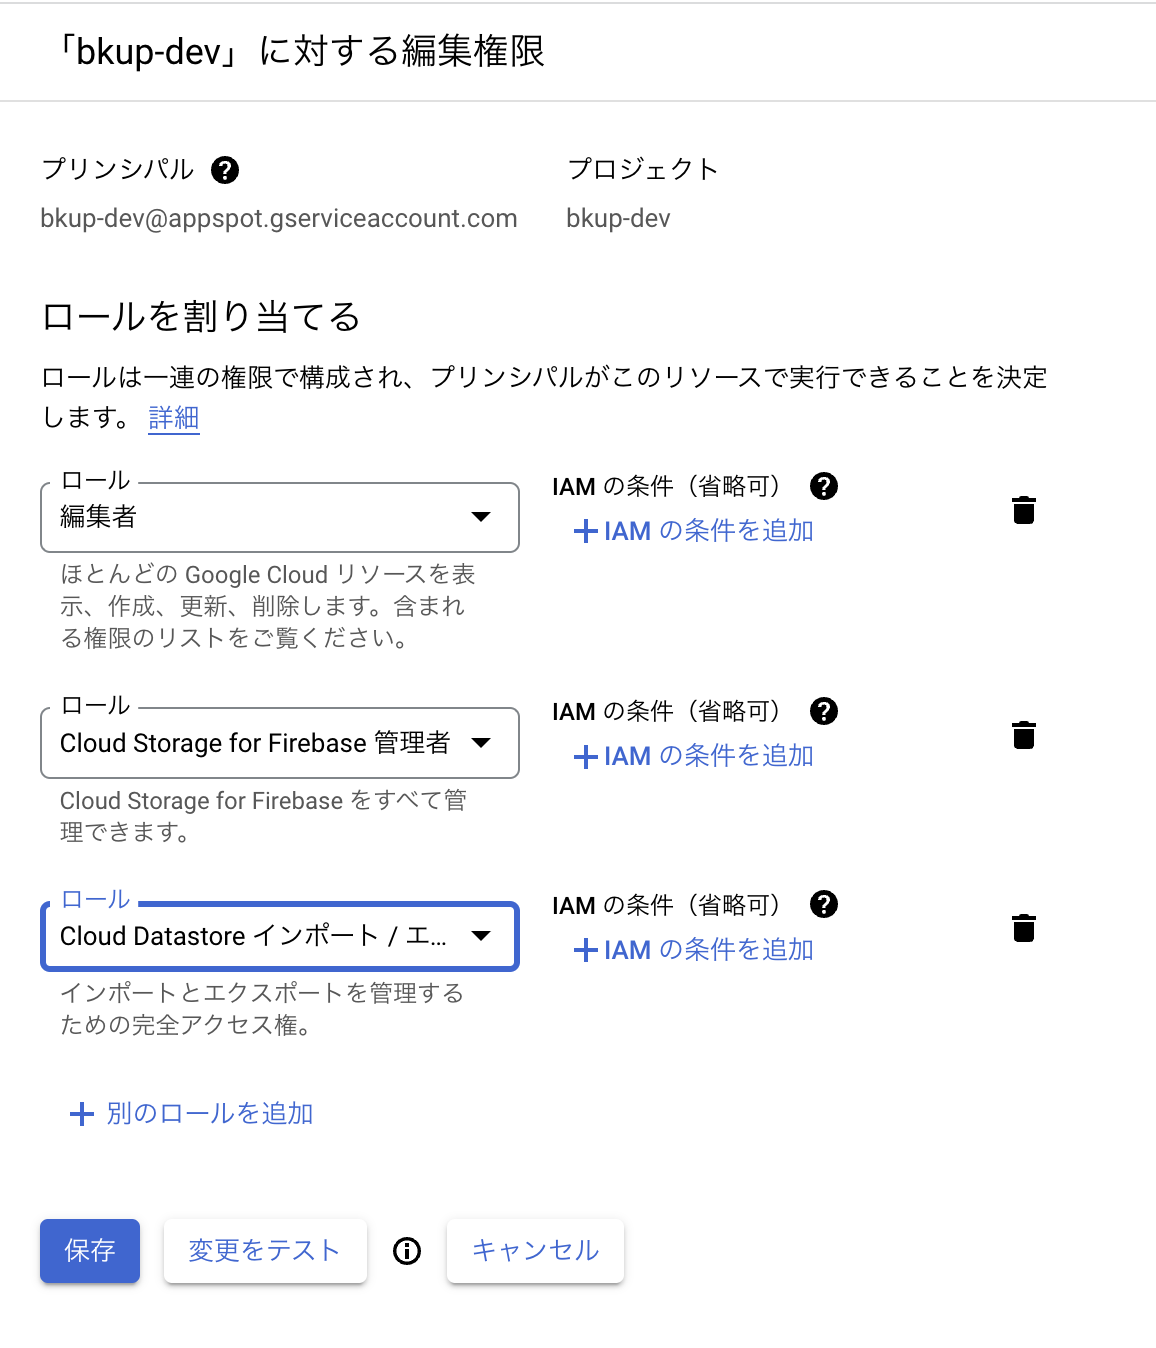
次にバックアップするのに必要な権限をCloudFunctionsを動かすユーザに付与します。
下記にアクセスしてIAMの管理画面を開きます。
PROJECT_ID@appspot.gserviceaccount.comのプリンシパルを編集します。
「Cloud Storage for Firebase 管理者」と「Cloud Datastore インポート/エクスポート」を追加して、「保存」を押下。
これでIAMの設定は完了です。
CloudFunctionsの作成
Cloud Functionsは公式が提供してるので丸コピします。
const functions = require('firebase-functions');
const firestore = require('@google-cloud/firestore');
const client = new firestore.v1.FirestoreAdminClient();

// Replace BUCKET_NAME
const bucket = 'gs://bkcup-dev-firestore-backup'; // 今回の記事で作ったバケット名を指定します

exports.scheduledFirestoreExport = functions.pubsub
                                            .schedule('every 24 hours')
                                            .onRun((context) => {

  const projectId = process.env.GCP_PROJECT || process.env.GCLOUD_PROJECT;
  const databaseName =
    client.databasePath(projectId, '(default)');

  return client.exportDocuments({
    name: databaseName,
    outputUriPrefix: bucket,
    // Leave collectionIds empty to export all collections
    // or set to a list of collection IDs to export,
    // collectionIds: ['users', 'posts']
    collectionIds: []
    })
  .then(responses => {
    const response = responses[0];
    console.log(`Operation Name: ${response['name']}`);
  })
  .catch(err => {
    console.error(err);
    throw new Error('Export operation failed');
  });
});
bucketのところを先ほど作成したバケット名に変えておきましょう。
const bucket = 'gs://bkcup-dev-firestore-backup';
scheduleの部分をcron形式にすると実行時間を指定しやすいです。
例えばAM3:00に実行するならこんな感じ。
.schedule('0 3 * * *')
準備ができたら上記CloudFunctionsをデプロイします。
動作確認
Cloud Schedulerを開きます。
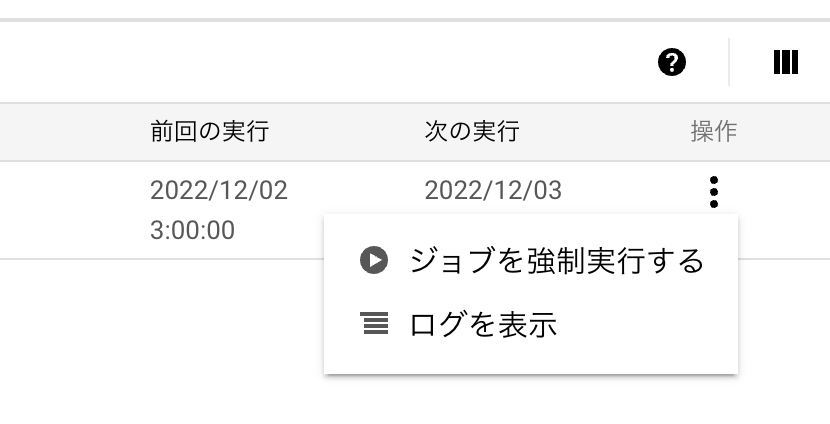
対象のプロジェクトを選択すると先ほどデプロイしたCloud Functionsが表示されているので、右の...から「ジョブを強制実行する」を押下します。
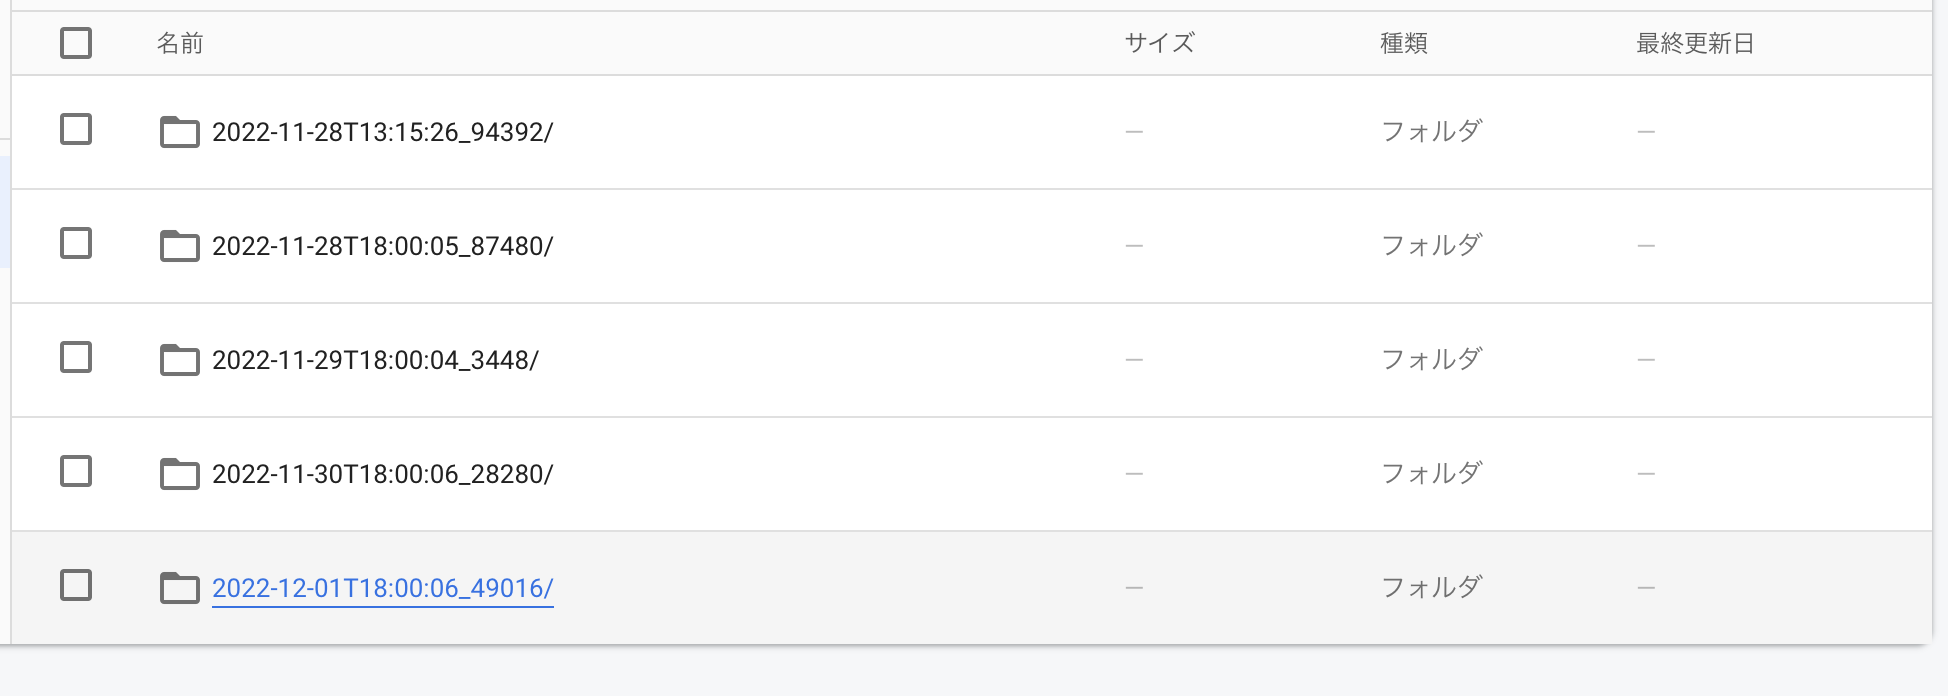
しばらくして、作成したバックアップ用のバケットにフォルダができていれば大成功です!
もしできていなかった場合はCloudFunctionsのログを開いて原因を追求しましょう。
まとめ
バケットを作成→IAMを設定→CloudFunctionsをコピペデプロイすることで簡単にバックアップをスケジューリングすることができるようになりました。
これで皆さんも大切なデータを守りましょう!
最後に、ワンナイト人狼オンラインというゲームを作ってます!よかったら遊んでね!
他にもCameconやOffcha、問い合わせ対応が簡単にできるCSmart、フリーランスのコミュニティのNextFreelanceといったサービスも作ってるのでよかったら使ってね!
また、チームビルディングや技術顧問、Firebaseの設計やアドバイスといったお話も受け付けてますので御用の方は弊社までお問い合わせください。
ラグナロクでもエンジニアやデザイナーのメンバーを募集しています!!楽しくぶち上げたい人はぜひお話ししましょう!!
