はじめに
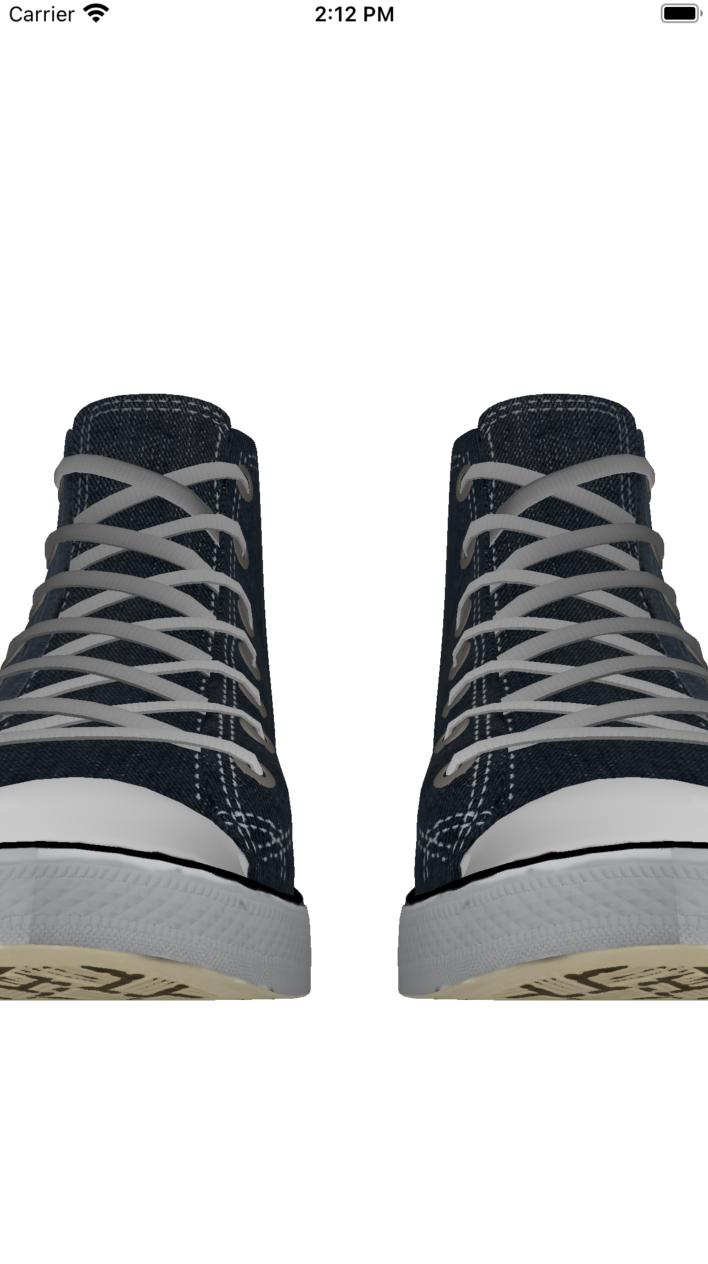
3Dモデルの表示にSceneKitを使う必要があった。アプリ自体はSwiftUIで作成していたので、SceneKitをSwiftUIで表示する方法を書いておく。
また、3Dモデルの表示の他に以下についても取り上げる。
- 表示Viewのスクリーンショット
- 表示座標のリセット
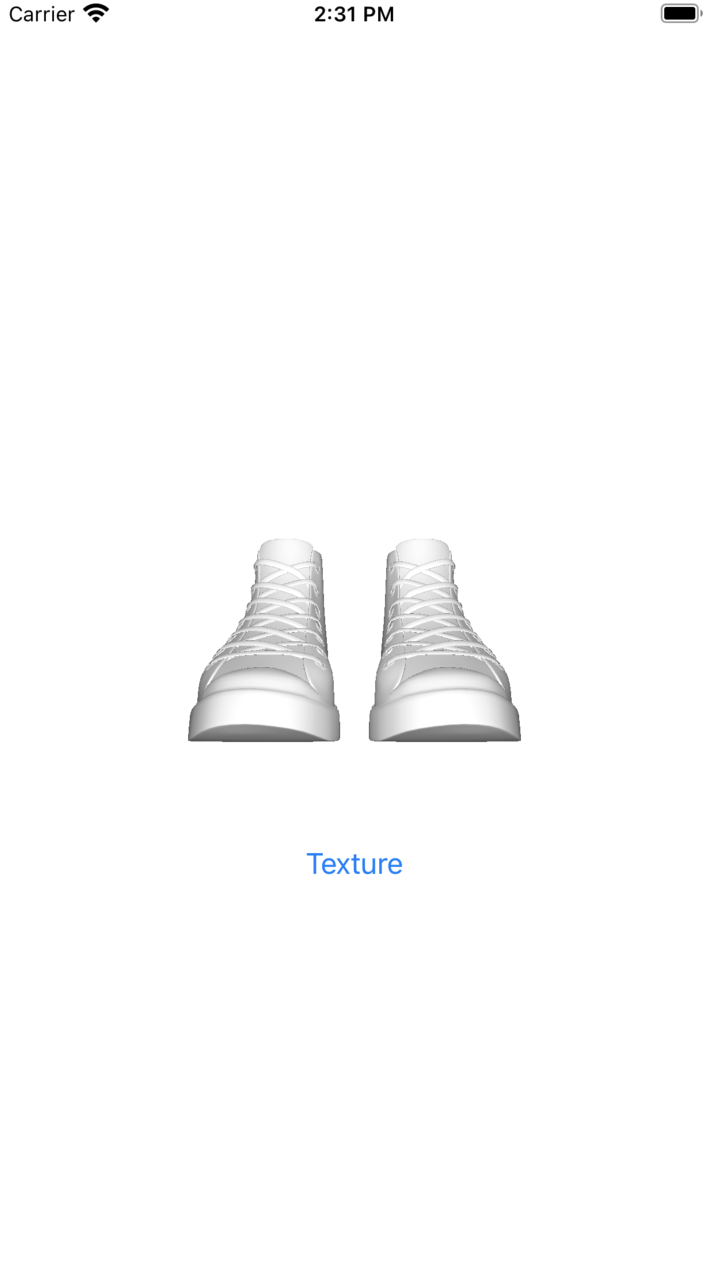
- テクスチャ有り無しの表示切り替え
元にしているのは以下の記事とソースコード
[参考] SceneKit to show 3D content in Swift 5
3Dモデルデータ(スニーカー)もこちらのソースのものを使用している。
SceneViewの表示
import SwiftUI
import SceneKit

struct SceneKitOnSwiftUI1View: View {
    var body: some View {
        WrappedSceneKit1View()
    }
}

struct WrappedSceneKit1View: UIViewRepresentable {

    typealias UIViewType = SCNView

    func makeUIView(context: Context) -> SCNView {

        let scene = SCNScene(named: "converse_obj.obj")
        let scnView = SCNView()
        scnView.scene = scene

        // 2: Add camera node
        let cameraNode = SCNNode()
        cameraNode.camera = SCNCamera()
        // 3: Place camera
        cameraNode.position = SCNVector3(x: 0, y: 10, z: 35)
        // 4: Set camera on scene
//        scene.rootNode.addChildNode(cameraNode)

        // 5: Adding light to scene
        let lightNode = SCNNode()
        lightNode.light = SCNLight()
        lightNode.light?.type = .omni
        lightNode.position = SCNVector3(x: 0, y: 10, z: 35)
        scene?.rootNode.addChildNode(lightNode)

        // 6: Creating and adding ambien light to scene
        let ambientLightNode = SCNNode()
        ambientLightNode.light = SCNLight()
        ambientLightNode.light?.type = .ambient
        ambientLightNode.light?.color = UIColor.darkGray
        scene?.rootNode.addChildNode(ambientLightNode)

        // Allow user to manipulate camera
        scnView.allowsCameraControl = true

        // Show FPS logs and timming
        // sceneView.showsStatistics = true

        // Set background color
        scnView.backgroundColor = UIColor.white

        // Allow user translate image
        scnView.cameraControlConfiguration.allowsTranslation = false

        // Set scene settings
        scnView.scene = scene

        return scnView
    }
    func updateUIView(_ uiView: UIViewType, context: Context) {

    }
}
元のソースでStoryboardのUIViewに表示していたのをUIViewRepresentableで包んでSwiftUIで表示。

表示Viewのスクリーンショット
3Dモデル描画画面をもとにアイコンをつくる必要があったので、その方法。
import SwiftUI
import SceneKit

let FINE_NAME = "screenshot.png"

struct SceneKitOnSwiftUI2View: View {
    @State var isScreenShot: Bool = false
    @State var uiImg: UIImage? = nil

    var body: some View {
        WrappedSceneKit2View(isScreenShot: self.$isScreenShot, uiImg: self.$uiImg)
            .frame(height: 240)
        Button(action: {
            self.isScreenShot = true
        }){
            VStack {
                Text("ScreenShot")
                if let _uiImg = self.uiImg {
                    Image(uiImage: _uiImg)
                        .resizable()
                        .scaledToFill()
                        .frame(width: 100, height: 100)
                        .clipped()
                }

            }
        }
    }
}

struct WrappedSceneKit2View: UIViewRepresentable {

    @Binding var isScreenShot: Bool
    @Binding var uiImg: UIImage?

    typealias UIViewType = SCNView

    func makeUIView(context: Context) -> SCNView {

        // WrappedSceneKit1Viewと同じ
    }

    func updateUIView(_ uiView: UIViewType, context: Context) {

        if isScreenShot {
            // スクリーンショット保存
            DispatchQueue.main.async {
                // スクリーンショット
                self.uiImg = uiView.snapshot()
                self.isScreenShot = false
            }
        }
    }
}
スクリーンショット自体はuiView.snapshot()だけでできる。このソースコードでは画面上方の3Dモデル表示しているViewのスクリーンショットを撮り画面下に配置している。

表示座標のリセット
SCNViewのallowsCameraControlをtrueにしておくことで、何も書かなくてもオブジェクトの回転等の操作が実装されるのだが、元に戻したいときもあるので、表示のリセットを以下のように実装した。
import SwiftUI
import SceneKit

struct SceneKitOnSwiftUI3View: View {
    @State var isReset: Bool = false
    var body: some View {
        WrappedSceneKit3View(isReset: self.$isReset)
            .frame(height: 240)
        Button(action: {
            self.isReset = true
        }){
            Text("Reset")
        }
    }
}

struct WrappedSceneKit3View: UIViewRepresentable {
    @Binding var isReset: Bool

    typealias UIViewType = SCNView

    func makeUIView(context: Context) -> SCNView {
        let scnView = SCNView()
        self.setup(scnView)
        return scnView
    }
    func updateUIView(_ uiView: UIViewType, context: Context) {
        self.setup(uiView)
        DispatchQueue.main.async {
            self.isReset = false
        }
    }

    func setup(_ scnView: SCNView) {
        let scene = SCNScene(named: "converse_obj.obj")
        scnView.scene = scene

        // 以下、makeUIView()で書いていたことと同じ
    }
}
setup()を用意して、任意のタイミングで初期化できるようにしている。
テクスチャ有り無しの表示切り替え
コードでテクスチャを設定する。
import SwiftUI
import SceneKit
import SceneKit.ModelIO


struct SceneKitOnSwiftUI4View: View {
    @State var isColor: Bool = false
    var body: some View {
        WrappedSceneKit4View(isColor: self.$isColor)
            .frame(height: 240)
        Button(action: {
            self.isColor.toggle()
        }){
            Text("Texture")
        }
    }
}

struct WrappedSceneKit4View: UIViewRepresentable {
    @Binding var isColor: Bool

    typealias UIViewType = SCNView

    func makeUIView(context: Context) -> SCNView {
        let scnView = SCNView()
        self.setup(scnView)

        return scnView
    }
    func updateUIView(_ uiView: UIViewType, context: Context) {
        self.setup(uiView)

        // Sceneに直接オブジェクトを貼るとテクスチャをイジれないので、チャイルドノードとして持たせる
        let path = Bundle.main.path(forResource: "converse_obj", ofType: "obj")!
        let url = URL(fileURLWithPath: path)
        let modelObj = SCNMaterial()
        let objNode = SCNNode(mdlObject: MDLAsset(url: url).object(at: 0))
        objNode.geometry?.materials = [modelObj]

        //モデルが"MDL_OBJ_material0"という名前で複数保持されていくので、追加前に一度空にしておく
        uiView.scene?.rootNode.childNodes
            .filter({ $0.name == "MDL_OBJ_material0" })
            .forEach{ node in
                node.removeFromParentNode()
            }
        uiView.scene?.rootNode.addChildNode(objNode)

        // diffuse.contentsにテクスチャを指定する
        if self.isColor {
            modelObj.diffuse.contents = UIImage(named: "converse.jpg")
        } else {
            modelObj.diffuse.contents = nil
        }
    }

    func setup(_ scnView: SCNView) {
    //WrappedSceneKit3Viewと同じ
    }
Sceneに直接オブジェクトを貼るとテクスチャの設定ができないため、チャイルドノードとして持たせている。
ソースコード: SceneKitOnSwiftUI
