はじめに
開発中のアプリを他者に見させたくないと思いますので、
App Serviceの中でできるIP制限を説明します。
目次
- web.configでのIP制限
- Azure App ServiceのIP制限
web.configでのIP制限
まず、FTPやkuduを使用して、D:\home\site\wwwrootフォルダにweb.configを作成します。
ホワイトリスト形式でIP制限をする例です。
自身のIPアドレスを確認するには、アクセスログを確認するか、以下のサイトなどで確認できます。
https://www.ugtop.com/spill.shtml
デフォルトで403(Forbidden)が返ります。
他のステータスコードを返却したい場合は以下を参考にdenyActionを設定してください。
https://docs.microsoft.com/en-us/iis/configuration/system.webserver/security/ipsecurity/
※web.configは編集する度に再起動が発生します。
web.config
<?xml version="1.0" encoding="utf-8"?>
<configuration>
  <system.webServer>
    <security>
      <ipSecurity allowUnlisted="false">
       <!-- YOUR IP Address -->
       <add allowed="true" ipAddress="XX.XX.XX.XX" subnetMask="255.255.255.0" />
      </ipSecurity>
    </security>
  </system.webServer>
</configuration>
Azure App ServiceのIP制限
以下の記事を参考にすれば、基本的に問題なく実施できます。
https://docs.microsoft.com/ja-jp/azure/app-service/app-service-ip-restrictions
利点としては、web.configは編集するたびに再起動が発生しますが、Azure App ServiceのIP制限では再起動が発生しません。
しかし難点もあり、デフォルトで**403(Forbidden)**が返るのですが、現状では他のステータスコードに変更することはできません。
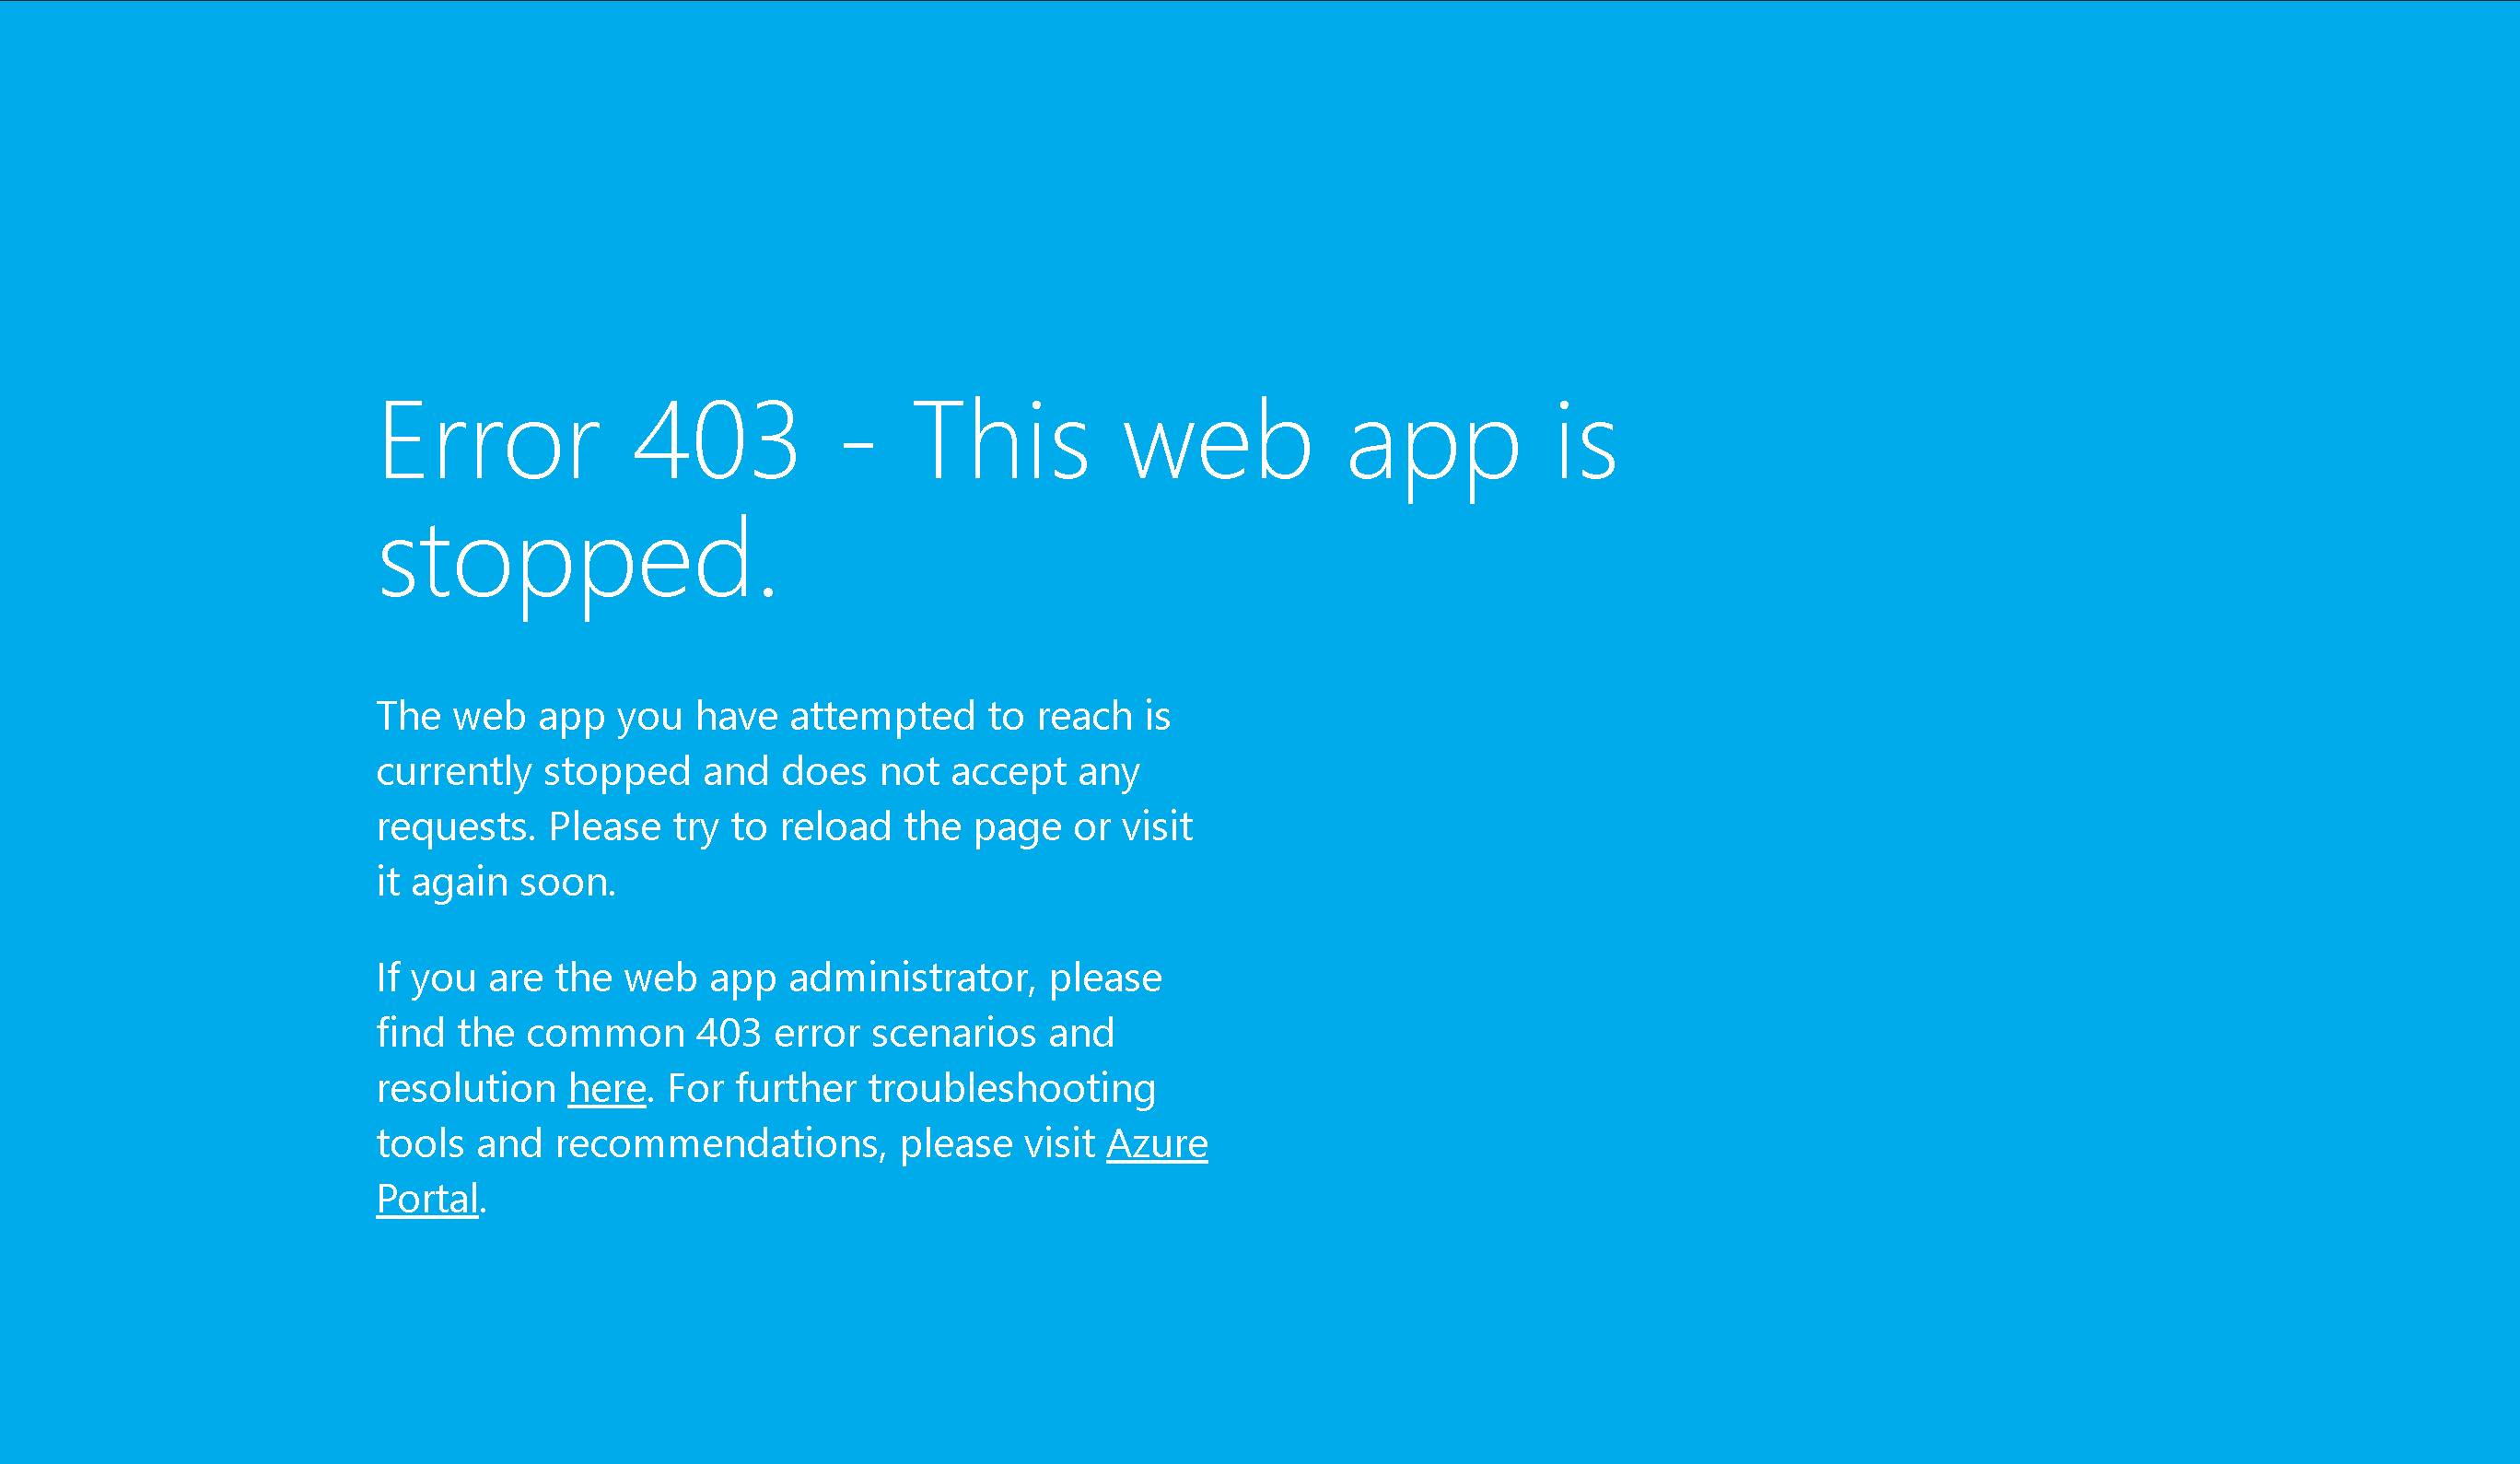
また、403のエラー画面が下記なのですが、カスタマイズができないようです。
※いずれカスタマイズできたらうれしいです。
おわりです。