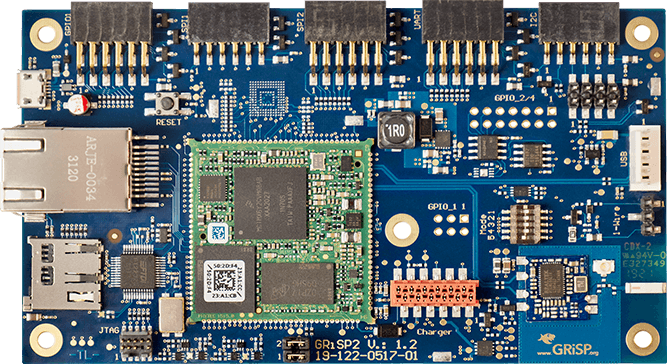
GRiSP 2とは
工場出荷状態
- 工場出荷状態ではgrisp/grisp_demoがインストールされている
- Erlangを使える人はそのまま遊べそう
とりあえず起動してみる
- ブートローダはeMMCに保存される
- 起動時にeMMCに保存されたブートローダが読み込まれる
- microSDから直接のブートはできないっぽい
- 詳しくはgrisp/grisp_demoのREADME.md参照
USBシリアルポートへ接続
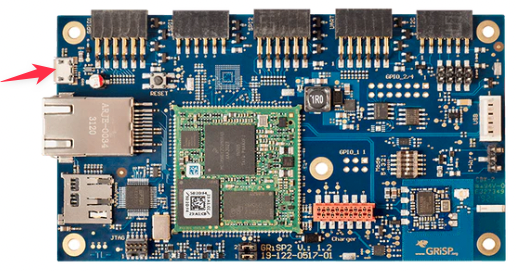
ホストPCにUSBケーブルで接続
- USBケーブルにはデータ転送用と充電専用があるので注意(ここではデータ転送用が必要)
仮想端末を起動
-
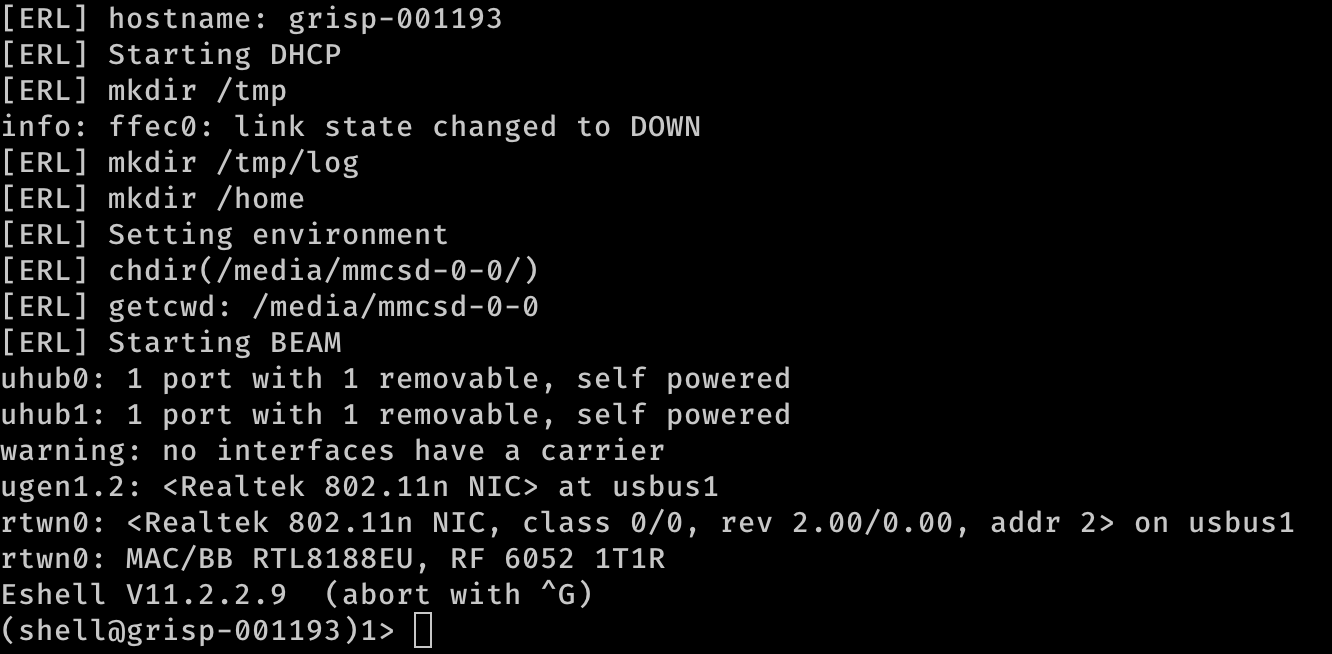
screenコマンド、picocomコマンド等を使用し仮想端末を起動
macOSの例
$ screen /dev/tty.usbserial-0<GRiSP Serial Number>1 115200
Linuxの例
$ screen /dev/ttyUSB1 115200
Nervesを使う
- GRiSP 2用のNervesシステムはnerves-project/nerves_system_grisp2
- Nervesファームウエアの初期化にはelixir-circuits/circuits_quickstartを使うと便利
- 他のNerves対象ボードと手順が異なるのでNervesに慣れている人は特に注意が必要
GRiSP 2デモアプリの再インストール方法を読んでおく
- 現時点ではNervesのGRiSP 2へのサポートは実験的で限定的なので、念の為にGRiSPのデモアプリの再インストール方法を読んでおくこと
- 正直いうと僕はこれをよく理解していませんが、Nervesしか使わないので「ま〜いっか」と思ってます
Nerveファームウエアを準備
-
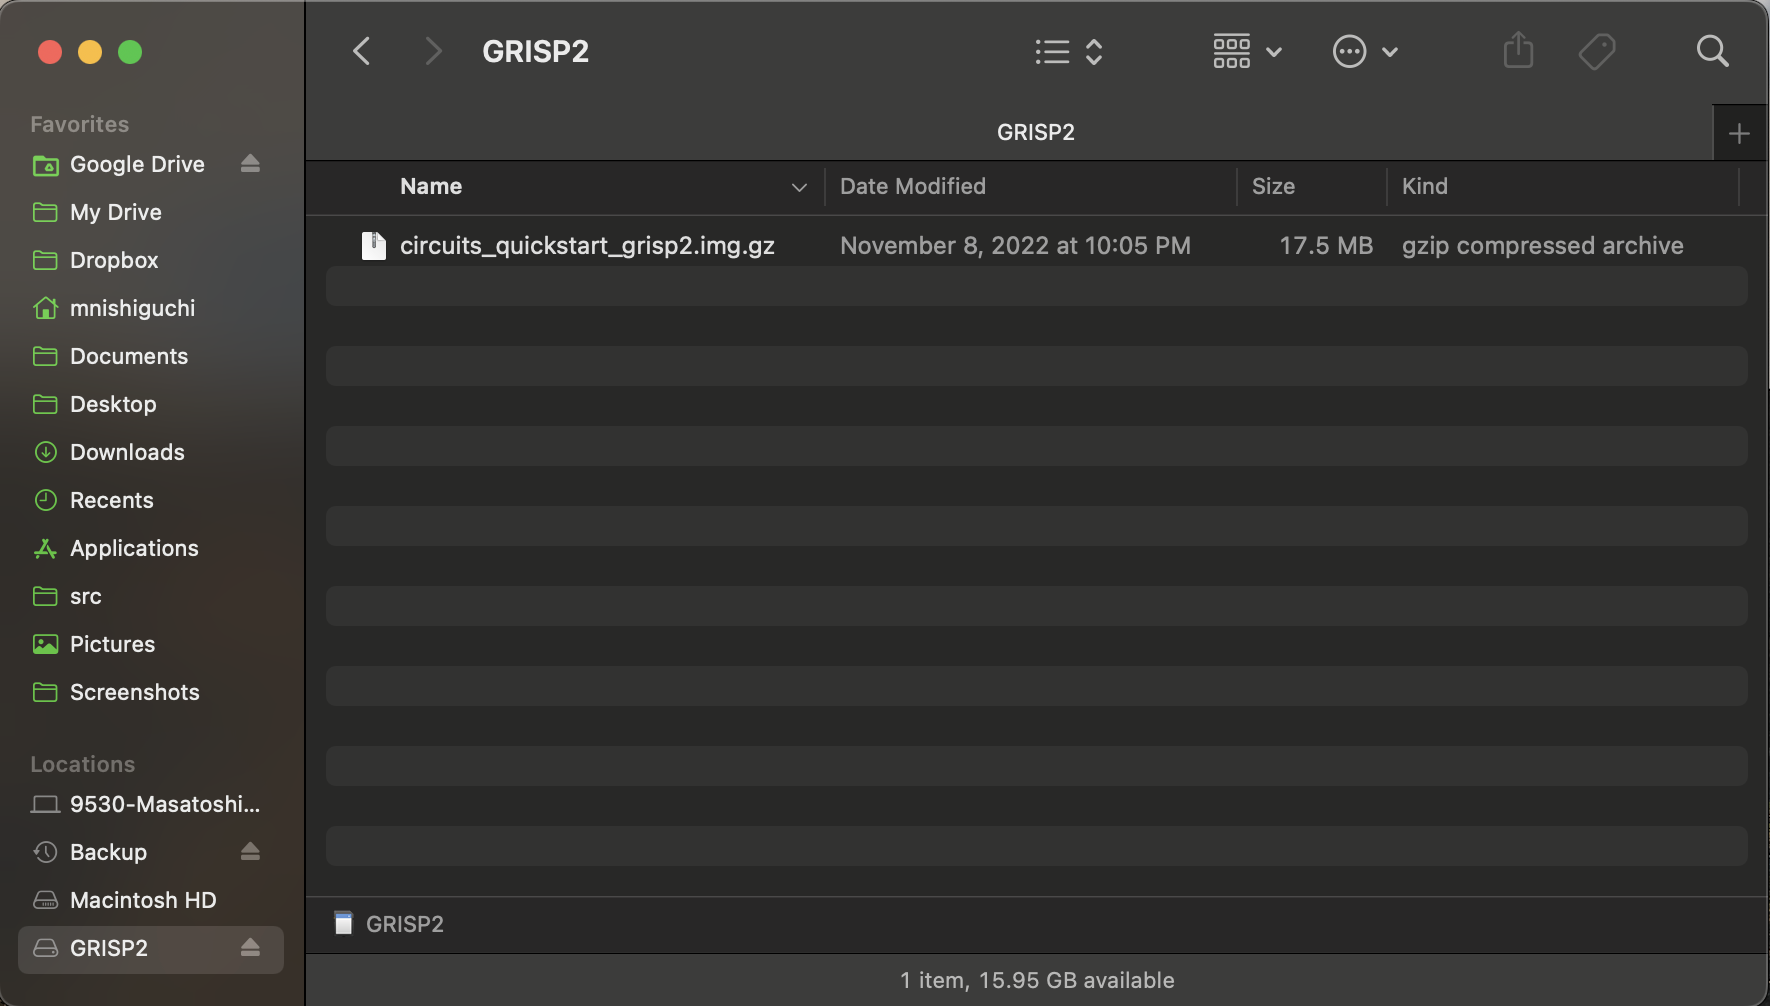
elixir-circuits/circuits_quickstart/releasesから
circuits_quickstart_grisp2.img.gzダウンロード - もちろん慣れている人はご自身でNervesのドキュメントに沿ってNervesファームウエアを作ってもよし
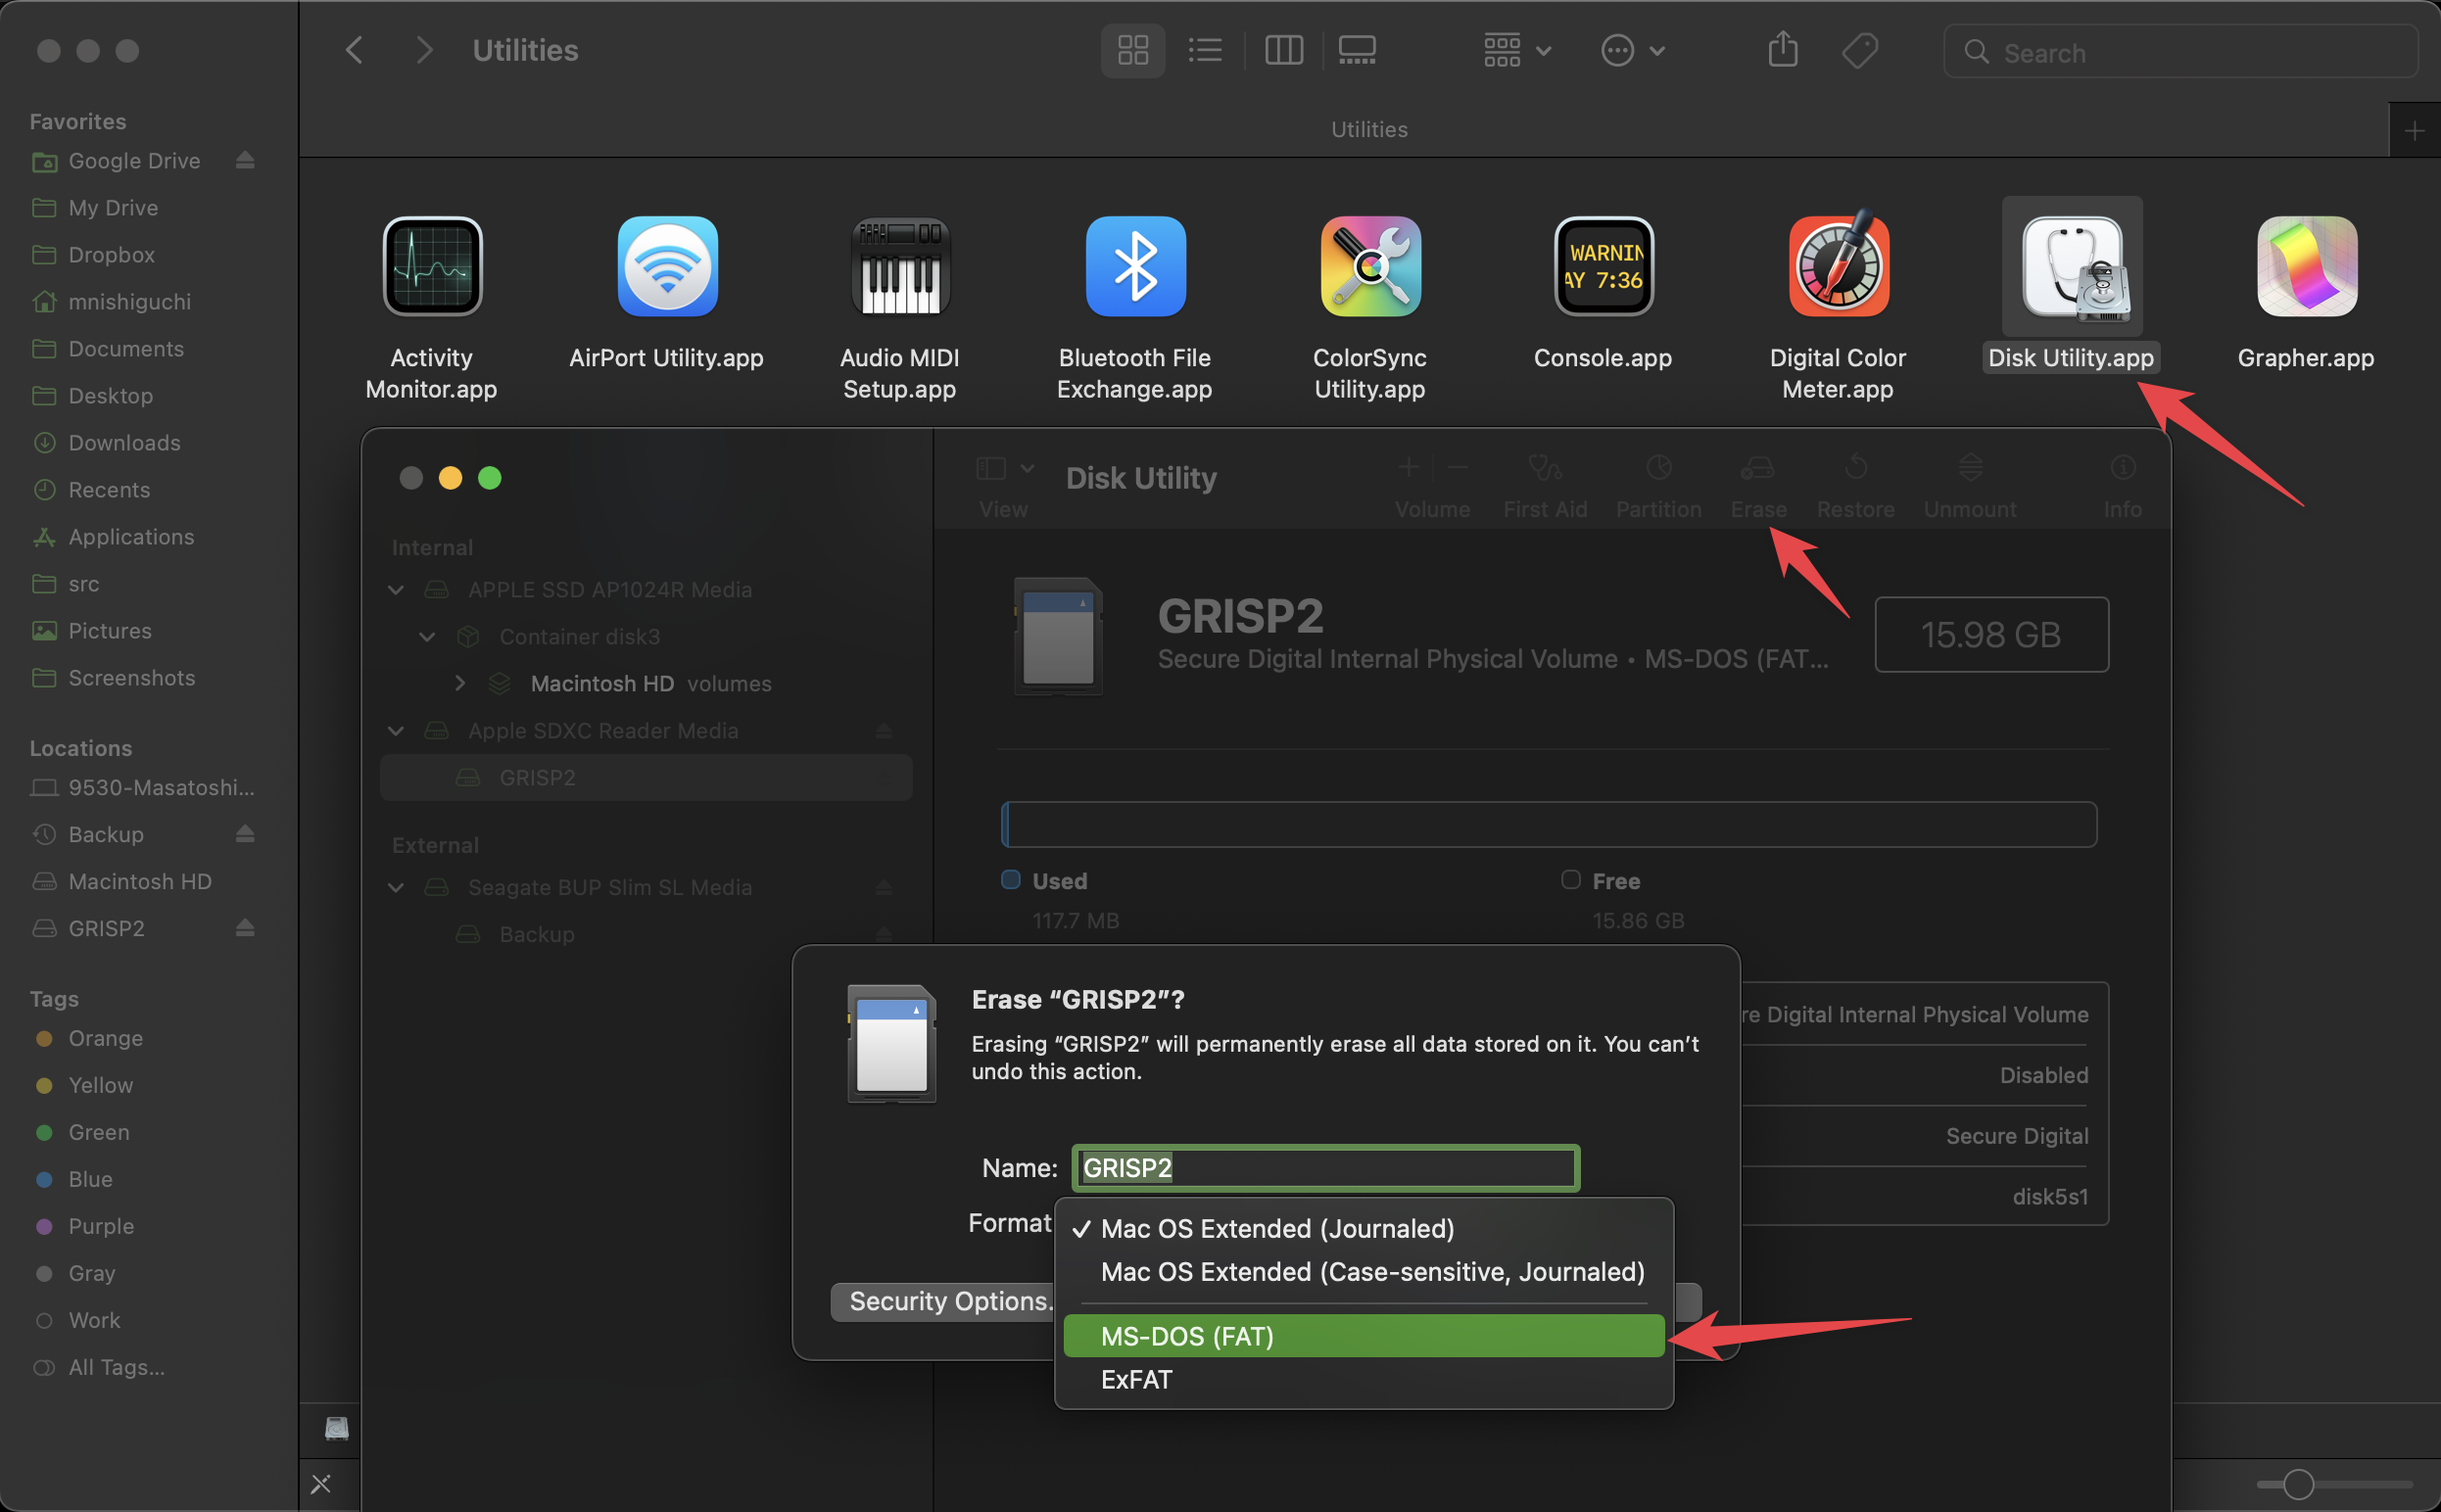
microSDをFATでフォーマットする
この手順はひょっとしたらいらないのかも ![]()
macOSの例
NerveファームウエアをmicroSDにコピーする
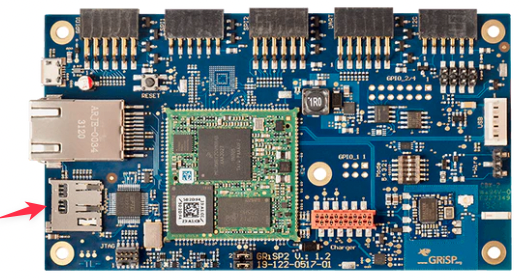
microSDをGRiSP 2ボードに挿入する
そして、USBシリアルポートへ接続
bareboxシェルを開く
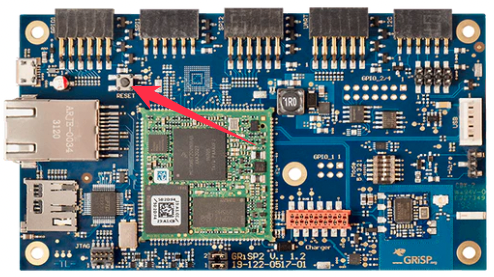
GRiSP 2のリセットボタンを押す
3秒以内にホストPCのMキーを押す
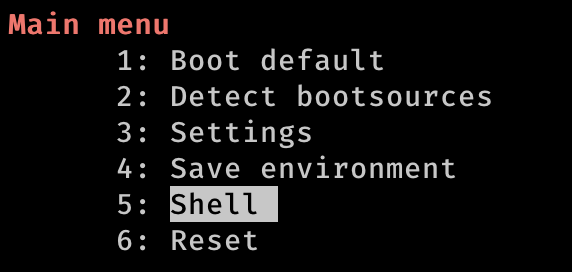
するとメインメニューが出てくるので、「Shell」を選択
NerveファームウエアをmicroSDからGRiSP 2のeMMCへ書き込む
以下の2つのコマンドを打つ(Nerveファームウエアはご自身のものに読み替えてください)
barebox@GRiSP2:/ uncompress /mnt/mmc/circuits_quickstart_grisp2.img.gz /dev/mmc1
barebox@GRiSP2:/ reset
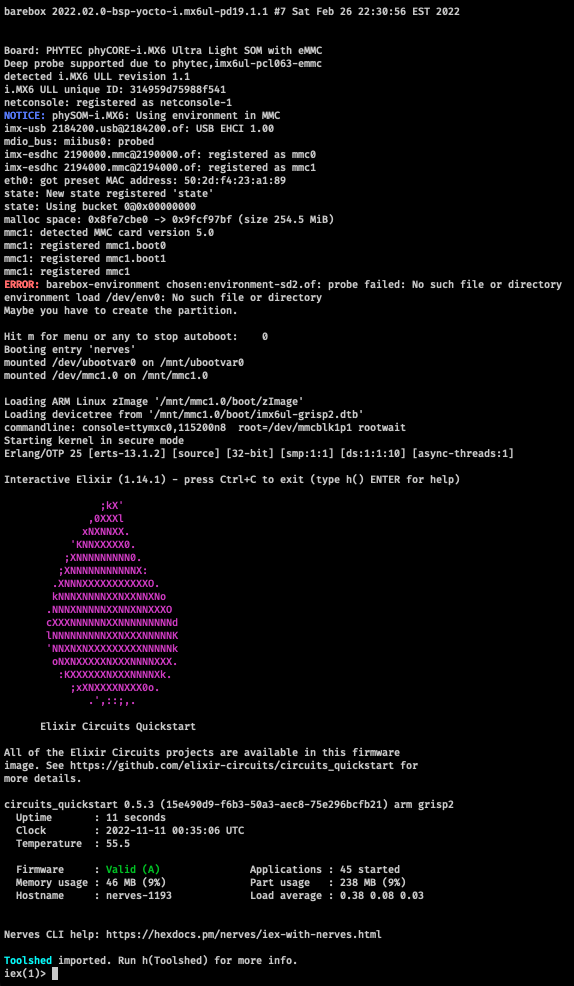
![]()
エラーが一個出ますが、詳しい人に確認したところ無視して問題ないそうです
WiFiの設定(任意)
IEx
iex> VintageNetWiFi.quick_configure("ssid", "password")
ちゃんと設定できたか確認
IEx
iex> VintageNet.info()

iex> tree "/data/vintage_net"
