寝言
「Firebase に hello world 的な web アプリを deploy する方法」な気もしますが、web アプリというにはおこがましいし、たぶん deploy とか web アプリとか全く分からないとタイトルのような単語で検索するのではないかなーという予想(自戒)のもとに、あえてこのタイトルにしてみました。
やること
firebase に、ブラウザでアクセスすると "hello world!" とだけ表示されるアプリ(というかページ)を作る方法のメモです。index.html を作ってその中に helloworld と書く方向と、functions を使って javascript のプログラムで helloworld と表示させる方法の両方書いときます。
準備
- google のアカウント
- MacBook (MacOS 10.15.2)
Firebase の設定
Google の Firebase のページに行きます。
https://firebase.google.com/?hl=ja

「コンソールへ移動」を押します。google アカウントでログインしていないと、ここでログインする画面になるので、アカウント名とパスワードを入れてログインします。

「プロジェクトを作成」を押します。

プロジェクト名を入れるように言われるので、何か入れます。下の「Firebase の規約に同意します」にチェックを入れて「続行」を押します。

Google アナリティクスを有効にするか聞かれるので、有効でよければそのまま「続行」を押して、アナリティクスの設定をしてから「プロジェクトの作成」をします。無効にする場合は、下のチェックで無効化して「プロジェクトの作成」を押します。すると、プロビジョニングが始まります。

こんな画面が出たらプロビジョニング終了です。「続行」を押します。

こんな感じの画面になったら、アプリの作成をはじめられる状態になってます。プロジェクトをひつとでも作成してあると、firebase のコンソールに移動したときは、この画面になります(多分)。
Firebase の web アプリは、必ずいずれかのプロジェクトの下に作る必要があるので、プロジェクトがひとつも無い状態では web アプリ (web ページ) は作成できません。
設定完了!しかし…
ここまできたら、下記のページの通りにすすめればアプリを deploy できるのですが、説明が微妙に中途半端で、この手のサービスを利用したことがないとハマります(ハマった!)。
以下では、上記の google のドキュメントに足りてない情報を補うよう、がんばってみます。
手元の PC (mac) の設定
ターミナルを開いて、 npm で firebase-tools をインストールします。
$ npm install -g firebase-tools
もし npm がインストールされてない場合は、brew でインストールします。
$ brew install npm
brew も無い場合は、brew からインストールします。
インストールしたら、npm と firebase-tools が動作するかを確認します
$ npm -v
6.13.4
$ firebase -V
7.12.1
firebase にログインします.
$ firebase login
i  Firebase optionally collects CLI usage and error reporting
information to help improve our products. Data is collected in
accordance with Google's privacy policy
(https://policies.google.com/privacy) and is not used to identify you.

? Allow Firebase to collect CLI usage and error reporting information? (Y/n)
こんな感じになったら、enter キーを押します。

すると、ブラウザが開いていろいろ許可するか?と聞かれるので「許可」を押します。ここでキャンセルすると、firebase は使えません。(再度 firebase login はできる)

これが表示されたら、ブラウザは閉じてターミナルに戻ります。これで、PC 側の firebase の設定は完了です。
index.html を書いて firebase で Hosting
ここから実際に hello world をブラウザ上に表示させることができるページ(webアプリ)を作ります。最初に index.html に直接 "hello world" と書いて、その内容をブラウザに表示させる方法からやります。
少しだけ説明
index.html を書く方法の場合、そのファイルを置くサイト (URL) が必要になります。その URL を作ってくれるサービスが Hosting だと思えば、だいたいあってます(多分)。
Firebase のメニューには Hosting サービスがあり、これを使うことで index.html を置ける場所を作ることができます。逆に言えば、Hosting サービスを使わないと index.html を書いても Firebase 上で公開する方法がありません。自力で別のサイトを用意して、そこに index.html を置くのはできますが、それだと結局自力でサーバを立てるなり、VPS なりを使う話になってしまって firebase を使っている意味が無くなります。
まあ、要するに index.html 的な方法でいくなら Hosting サービスを使いましょうということです。(それが web アプリを作るベストの方法かは別として)
web アプリの作成手順
ローカルマシン (手元の mac) に webアプリに必要なファイルを作成して、それを firebase に転送する、という手順になります。これは、index.html 的でない方法でも、基本的には同じです。
Web アプリ用のディレクトリの作成
まず、ローカルマシンにファイルを保存するディレクトリを用意します。
$ mkdir ~/Documents/helloworld
$ cd ~/Documents/helloworld
ディレクトリ名は何でもいいです。ここでは、~/Documents/helloworld というディレクトリを作ったものとして説明します。
web アプリの初期化
ディレクトリ内で、下記のコマンドを実行します。
$ firebase init
すると、下のようにターミナル上で firebase サービスを選択するよう求められるので、カーソルキーか jk キーか control-n/p で上下に移動して、Hosting のところでスペースを押します。

Hosting のところが緑の丸になったら、Enter キーを押します。

Project Setup で、アプリを関連付けるプロジェクトを選択するよう求められるので、Use an existing project を選んで enter を押してから、さきほど作ったプロジェクトを選びます。

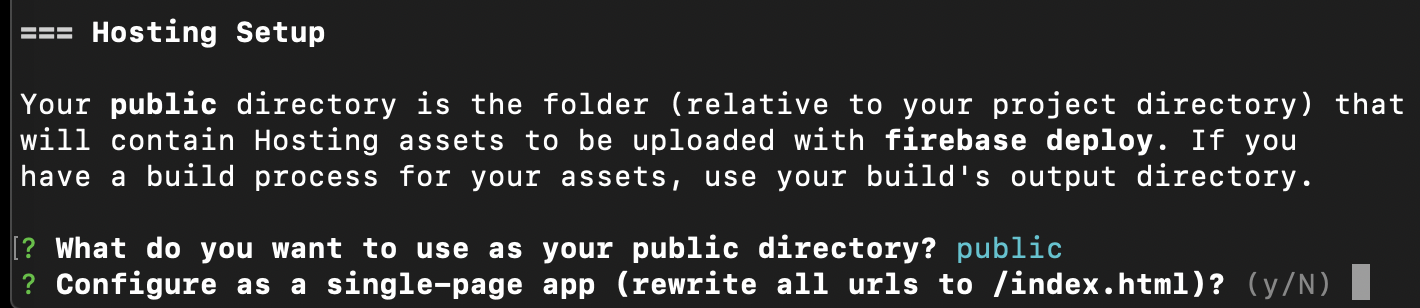
public ディレクトリのパスを聞かれるのでデフォルト (/public) のまま enter を押します。次に URL にアクセスしたら常に index.html だけを開くようにするか聞かれるので、デフォルト (No) のまま enter 押します。

これで、自動的にいくつかのファイルが生成され、web アプリの初期化はおわりです。
なお、すでに index.html などが生成済みのディレクトリで firebase init すると、上記の手順の中で既存のファイルを上書きするか聞かれます。
index.html の中身を書く
ようやく hello world をタイプするときがきました!
helloworld
├── firebase.json
└── public
    ├── 404.html
    └── index.html
index.html は public ディレクトの中に生成されています。中身は下記のようになっています。
<!DOCTYPE html>
<html>
<head>
<meta charset="utf-8">
<meta name="viewport" content="width=device-width, initial-scale=1">
<title>Welcome to Firebase Hosting</title>
<!-- update the version number as needed -->
<script defer src="/__/firebase/7.7.0/firebase-app.js"></script>
<!-- include only the Firebase features as you need -->
<script defer src="/__/firebase/7.7.0/firebase-auth.js"></script>
<script defer src="/__/firebase/7.7.0/firebase-database.js"></script>
<script defer src="/__/firebase/7.7.0/firebase-messaging.js"></script>
<script defer src="/__/firebase/7.7.0/firebase-storage.js"></script>
<!-- initialize the SDK after all desired features are loaded -->
<script defer src="/__/firebase/init.js"></script>
<style media="screen">
</style>
</head>
<body>
<div id="message">
<h2>Welcome</h2>
<h1>Firebase Hosting Setup Complete</h1>
<p>You're seeing this because you've successfully setup Firebase Hosting. Now it's time to go build something extraordinary!</p>
<a target="_blank" href="https://firebase.google.com/docs/hosting/">Open Hosting Documentation</a>
</div>
<p id="load">Firebase SDK Loading…</p>
<script>
document.addEventListener('DOMContentLoaded', function() {
// ...
try {
let app = firebase.app();
let features = ['auth', 'database', 'messaging', 'storage'].filter(feature => typeof app[feature] === 'function');
document.getElementById('load').innerHTML = `Firebase SDK loaded with ${features.join(', ')}`;
} catch (e) {
console.error(e);
document.getElementById('load').innerHTML = 'Error loading the Firebase SDK, check the console.';
}
});
</script>
</body>
</html>
途中のコメントアウトされた部分や style のあたりは消してます。hello world と表示させたい場合は、下記付近をかきかえます。
<div id="message">
<h2>Welcome</h2>
<h1>Firebase Hosting Setup Complete</h1>
<p>You're seeing this because you've successfully setup Firebase Hosting. Now it's time to go build something extraordinary!</p>
<a target="_blank" href="https://firebase.google.com/docs/hosting/">Open Hosting Documentation</a>
</div>
<p id="load">Firebase SDK Loading…</p>
この部分を
    <div id="message">
      <h2>Hello World!</h2>
      <h1>Hello World!</h1>
      <p>Hello World!</p>
    </div>
こんな感じにかきかえてセーブします。セーブしたローカルファイルをブラウザでひらいてみると、

こんな感じで、ちゃんと Hello World と表示されます。これをリモート(Firebase)のアプリとして deploy してみます。
web アプリを deploy する
ターミナルで helloworld ディレクトリ内にいる状態で、下記のコマンドを実行します。
$ firebase deploy

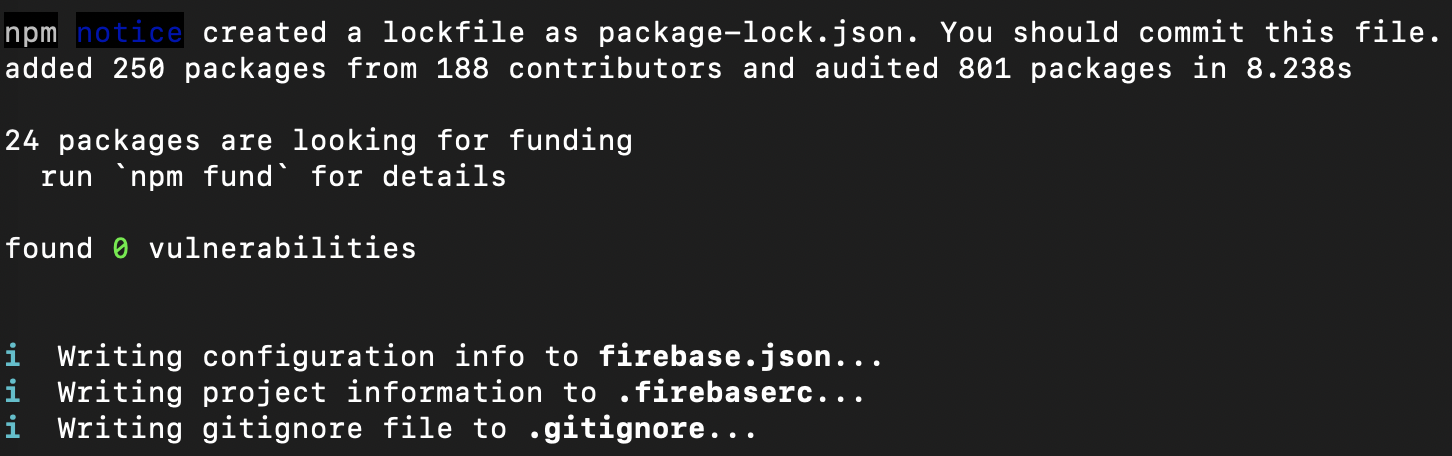
ファイルに問題(文法的なバグ)がなければ、上記のようなメッセージが流れて、最後にアクセス可能な URL が表示されます。
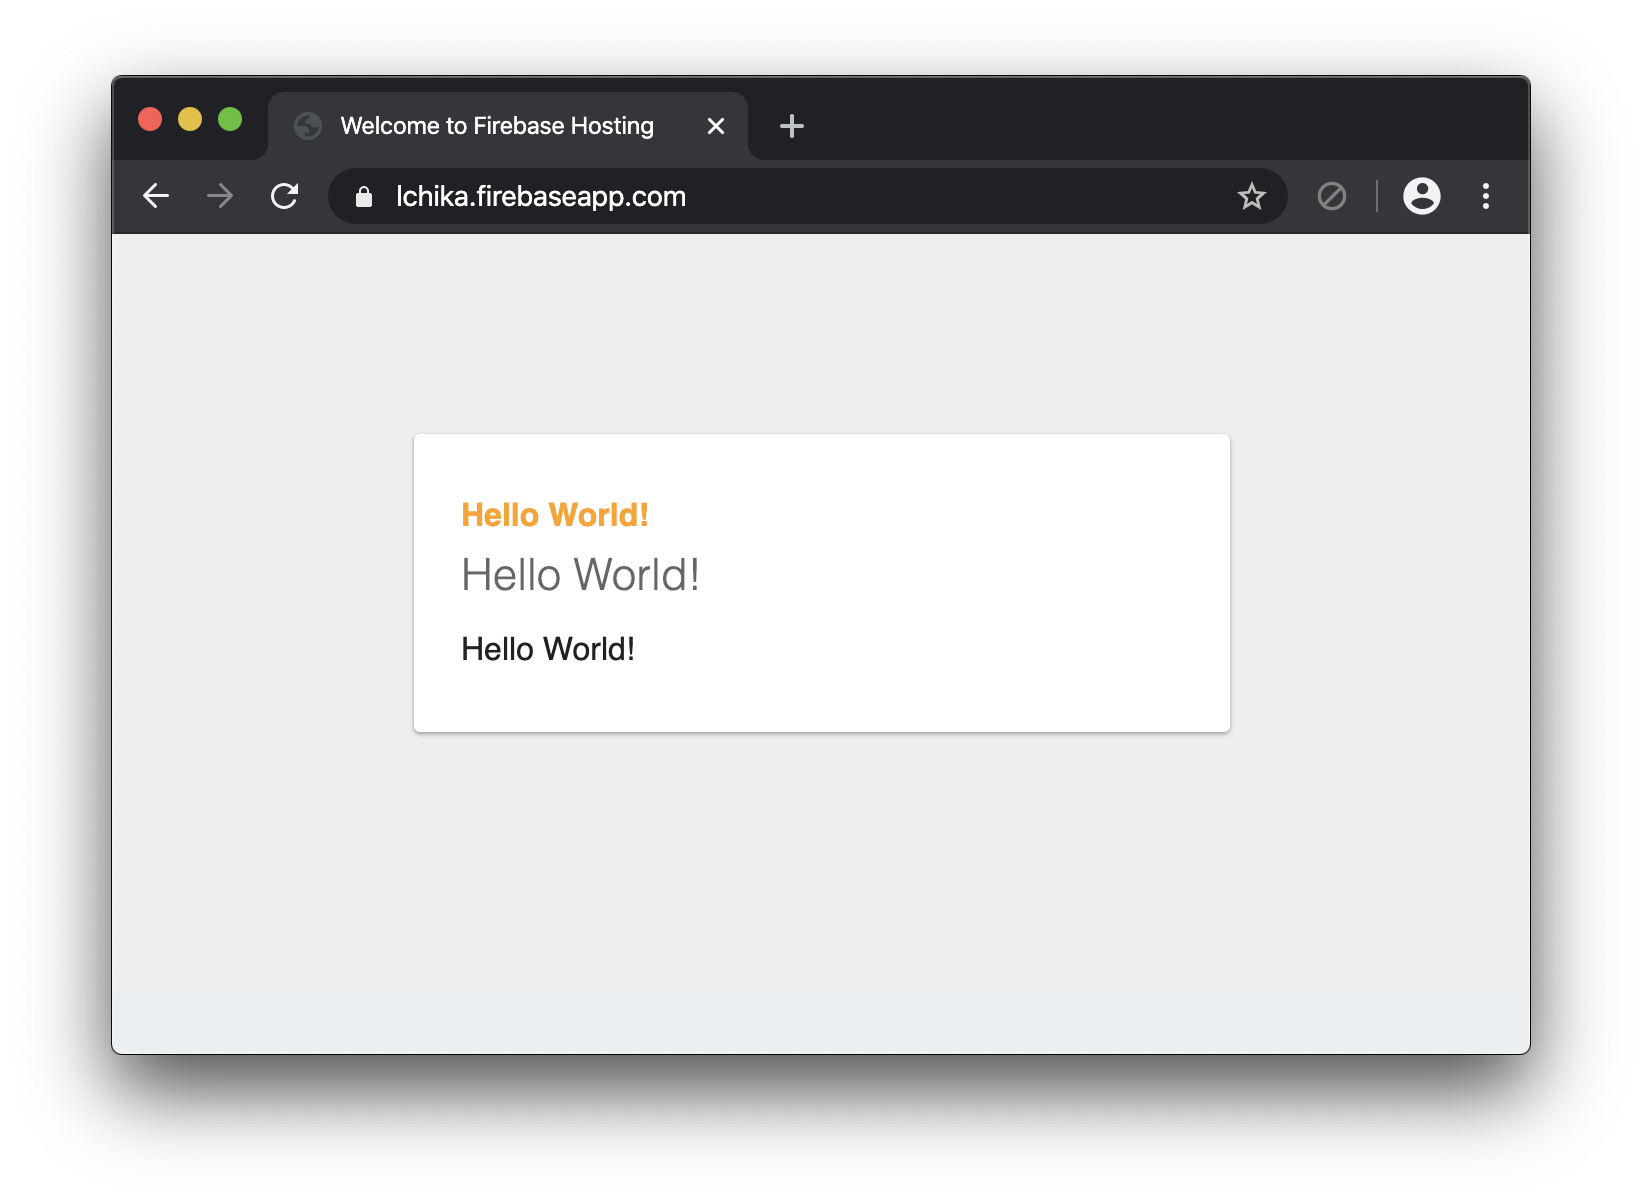
ブラウザでアクセスすると、hello world と表示されています。 index.html の中を頑張って書き足して再度 deploy すれば、書き足した内容が firebase の web アプリ(というか web ページ)として閲覧できるようになります。
メッセージを表示させるだけなら、index.html の中身は先のように複雑である必要はなくて、下記のような必要最小限の内容でも大丈夫です。
<!DOCTYPE html>
<html>
<head>
</head>
<body>
    Hello World!
</body>
</html>
index.html とは別に helloworld.html という名前で、上記のファイルを作ってみました。
firebase init したときに「index.html 以外にもアクセスできるようにする」選択肢を選んでいれば、deploy することで helloworld.html にもアクセスできます。
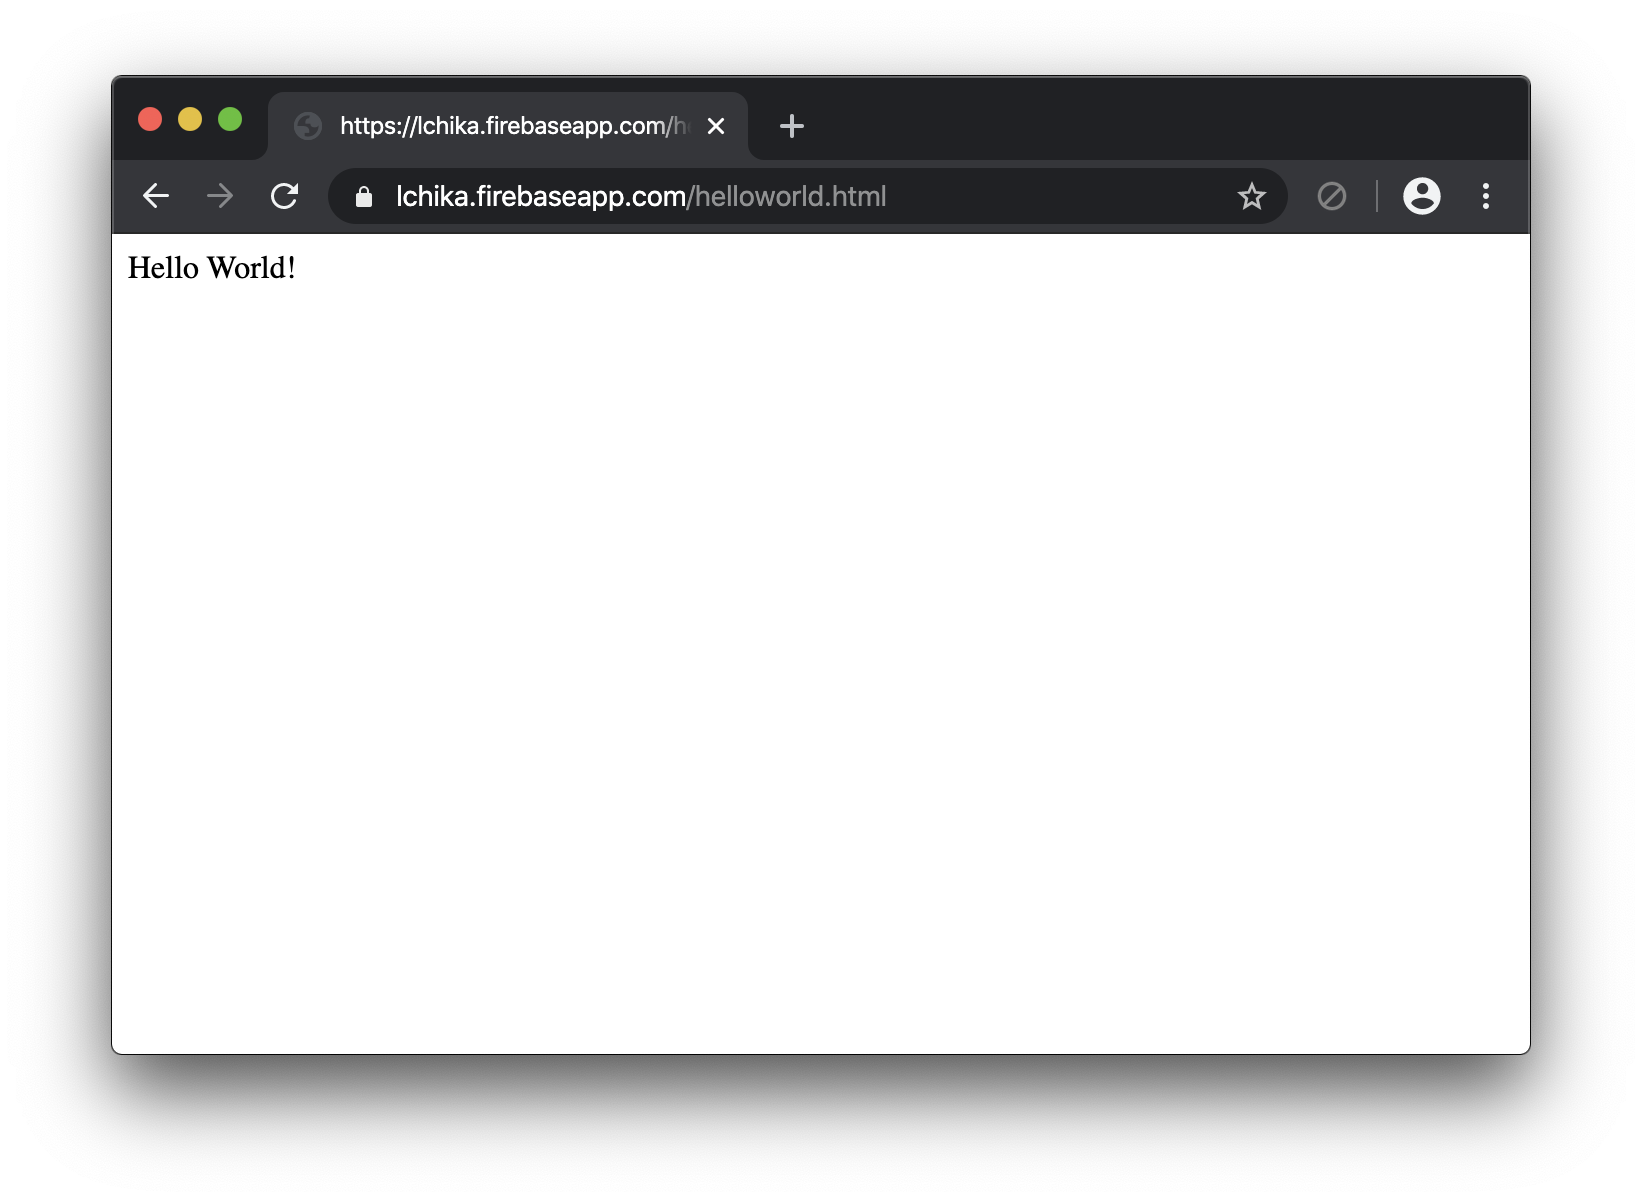
これぞ Hello World!
もちろん、index.html から helloworld.html にリンクを張ることもできますし、画像などをディレクトリ内に置いて、それを img src で表示させたりもできます。昔ながらのページの作り方でも、firebase でページを公開(と言うのかなー?)することはできます。
まあ、静的なページを公開するだけなら firebase を使う必要はほぼない気はしますが、レガシーな人種にとっては deloy とか hosting の意味を理解する上で、こういう説明が最初に必要かなーと思ったので書いてみました。
function を作って hello world と表示する方法
node.js で動く javascript のプログラムを書いて、それを firebase に deploy することで、プログラムの実行結果 (HTTP サーバへのリクエストのレスポンス) として "hello world" とブラウザに表示される、という感じで実現する方法です。
functions は本来、人が直接アクセスしてみるページを作る用途に使うものではない気はしますが、functions の仕組みの理解のためにやってみます。
【追記】2021年現在では functions は blaze という有料プラン(従量制プラン)を契約しないと使えなくなりました。カードの登録か、PayPal のアカウント登録が必要のようです。ただし、200万回アクセス/月という、かなり大きな無料枠があるので、ちょっとしたテストをする程度であれば、無料枠内でできます。
web アプリの初期化再び
手順的には、ローカルにファイルを用意して、それを deploy するということ自体は index.html を作る方法と同じです。
まず ローカルに helloworld2 というディレクトリを作ります。
$ mkdir helloworld2
$ cd helloworld2
初期化します。
$ firebase init

今回は functions を使うので、functions のところに緑丸をつけて enter を押します。

プロジェクを選んで、enter を押しまくっていくと npm 関連の処理をするか聞かれるので、OK (というか enter) します。
自動的にいろいろインストールされて、いくつかのファイルが作成されます。
$ ls functions
index.js		package-lock.json
node_modules		package.json
たくさんファイルが作られますが、hello world と表示させるために書きかえる必要があるのは、functions の中にある index.js です。
const functions = require('firebase-functions');

// // Create and Deploy Your First Cloud Functions
// // https://firebase.google.com/docs/functions/write-firebase-functions
//
// exports.helloWorld = functions.https.onRequest((request, response) => {
//  response.send("Hello from Firebase!");
// });
下のほうにあるコメントアウトされている部分のコードの // を削除します。
const functions = require('firebase-functions');

// // Create and Deploy Your First Cloud Functions
// // https://firebase.google.com/docs/functions/write-firebase-functions
//
exports.helloWorld = functions.https.onRequest((request, response) => {
 response.send("Hello from Firebase!");
});
実際にこの firebase 上でコードを実行すると、response.send() の引数の文字列がブラウザに表示されます。最初から Hello from Firebase! と書いてありますので、このままでもよいのですが、もちろんちゃんと "Hello World!" に書きかえても OK です。
const functions = require('firebase-functions');

// // Create and Deploy Your First Cloud Functions
// // https://firebase.google.com/docs/functions/write-firebase-functions
//
exports.helloWorld = functions.https.onRequest((request, response) => {
 response.send("Hello World!");
});
私は書きかえました。index.js の中身については、firebase や javascript とか node.js とかで検索すると多分いろいろ出てくるので、ここでは説明しません(手抜)。
web アプリを deploy する
helloworld2 ディレクトリ内で下記のコマンドを実行します。
$ firebase deploy --only functions

こんな感じになれば成功です。もし途中で、
To try redeploying those functions, run:
    firebase deploy --only functions:
みたいなことを言われたら、再度同じコマンドを実行してください。
deploy できたら、ブラウザで firebase のコンソールを開いてプロジェクト名を選び、左のほうにあるメニューから functions を選んでください。

すると、deploy した functions のところに helloworld が追加されていて、アクセスするための url が表示されているはずです。この URL にブラウザでアクセスしてみてください。

うまく deploy できていれば、Hello World! が表示できるはずです。
ローカルで functions の動作を試す
プロジェクト内のディレクトリで、下記コマンドを実行すると、ローカルでサーバが起動します。
$ firebase serve --only functions
i  functions: Watching "/github/firebase-sample/functions" for Cloud Functions...
functions[us-central1-helloWorld]: http function initialized (http://localhost:5000/appname/us-central1/helloWorld).
サーバが起動すると、こんな感じでアクセスできるURLが表示されます。このアドレスにブラウザでアクセスすることで、functions の動作をローカルで試せます。
おわり
ここまでわかったら、あとは firebase + vue とか react とかで検索して頑張ります。