先日のBitVisor Summit 9で,"Tracing BitVisor with bpftrace" という内容を発表しました(スライド)が,このとき開発は全てIntel macOS上のVMware Fusionでnested virtualizationを利用しておこないました.BitVisorを触ってみたいけどどうしたら良いかわからないとか,準備が面倒という人には結構おすすめの方法だと思うので,ここにその方法を紹介します.また,今回はmacなのでVMware fusionを利用しましたが,LinuxでもWindowsでも同様な方法でBitVisorを動作させることができると思います.
全体像
以下のような環境を作ります.
- VMwareのnested virtualizationでBitVisorを動かす
- BitVIsorはipxeを利用して,ローカルのbitvisor.elfを取得,ブートするようにする
- コンテナを利用したBitVisorのビルド環境を提供することで,macでも開発できるようにする
事前準備
VMwareにBitVisor上で動かすお好きなゲストOSをインストールしてください.また,以下の設定をおこないます.
- プロセッサの設定でnested virtualization (VT-x)を有効化
- UEFIではなくBIOSを選択 (UEFでも同じようなことができるはずですが,ここではBIOSブートを利用します)
- シリアルのプリンタを削除.シリアルコンソールの追加
- vmwareとローカルに接続するためのvmnet1を追加
- vmwareの設定ファイル (*.vmx) を開いて,以下のように設定 (macの場合,~/Virtual Machines.localized/ 以下に存在)
# シリアルポートの設定
serial0.fileType = "file"
serial0.fileName = "/tmp/bitvisor_serial"
serial0.present = "TRUE"

# ipxeブートの設定
ethernet1.connectionType = "hostonly"
ethernet1.addressType = "generated"
ethernet1.virtualDev = "e1000"
ethernet0.opromsize = 262144
ethernet1.opromsize = 262144
ethernet1.present = "TRUE"
e1000bios.filename = "/tmp/bitvisor_dev_env/build/8086100f.mrom"
guestinfo.ipxe.net1.ip = "172.16.117.10"
guestinfo.ipxe.net1.netmask = "255.255.255.0"
guestinfo.ipxe.net1.gateway = "172.16.117.1"
guestinfo.ipxe.dns = "172.16.117.1"
guestinfo.ipxe.filename = "http://172.16.117.1:8000/bitvisor.elf"
なお,このあたりのIPアドレスの設定は使用するVMwareによって変わることがあります.うまく以下ない場合は一旦OSを起動してインタフェースに割り当てられているアドレスを確認してみてください.またVMwareの種類(WorkstationかPlayerか)によってGUIで設定できる項目に違いがあるようです.その場合も上記のように手動で設定すれば動作すると思います.
BitVisorのビルド
簡単にビルドできるように,スクリプトを用意しました mmisono/bitvisor_dev_env.macでも動作します.WSLでもきっと動作します.というかあれはそもそもVMですし.
以下のようにクローンして使います.
% git clone https://github.com/mmisono/bitvisor_dev_env
% git submodule init
% git submodule update
% ./clone_bitvisor_mercurial.sh  // もしくは,./clone_bitvisor_git.sh
% ./make_config.sh   // bitvisorのmake config. TTY_SERIALをONにしておくと良いです
% ./make.sh          // bitvisorのビルド
% ./build_ipxe.sh    // ipxeのビルド
% cd build
% python3 -m http.server // ipxe用のサーバの起動
% // 別のウィンドウで
% tail -f /tmp/bitvisor_serial  // bitvisorのシリアルログをみる
BitVisorの起動
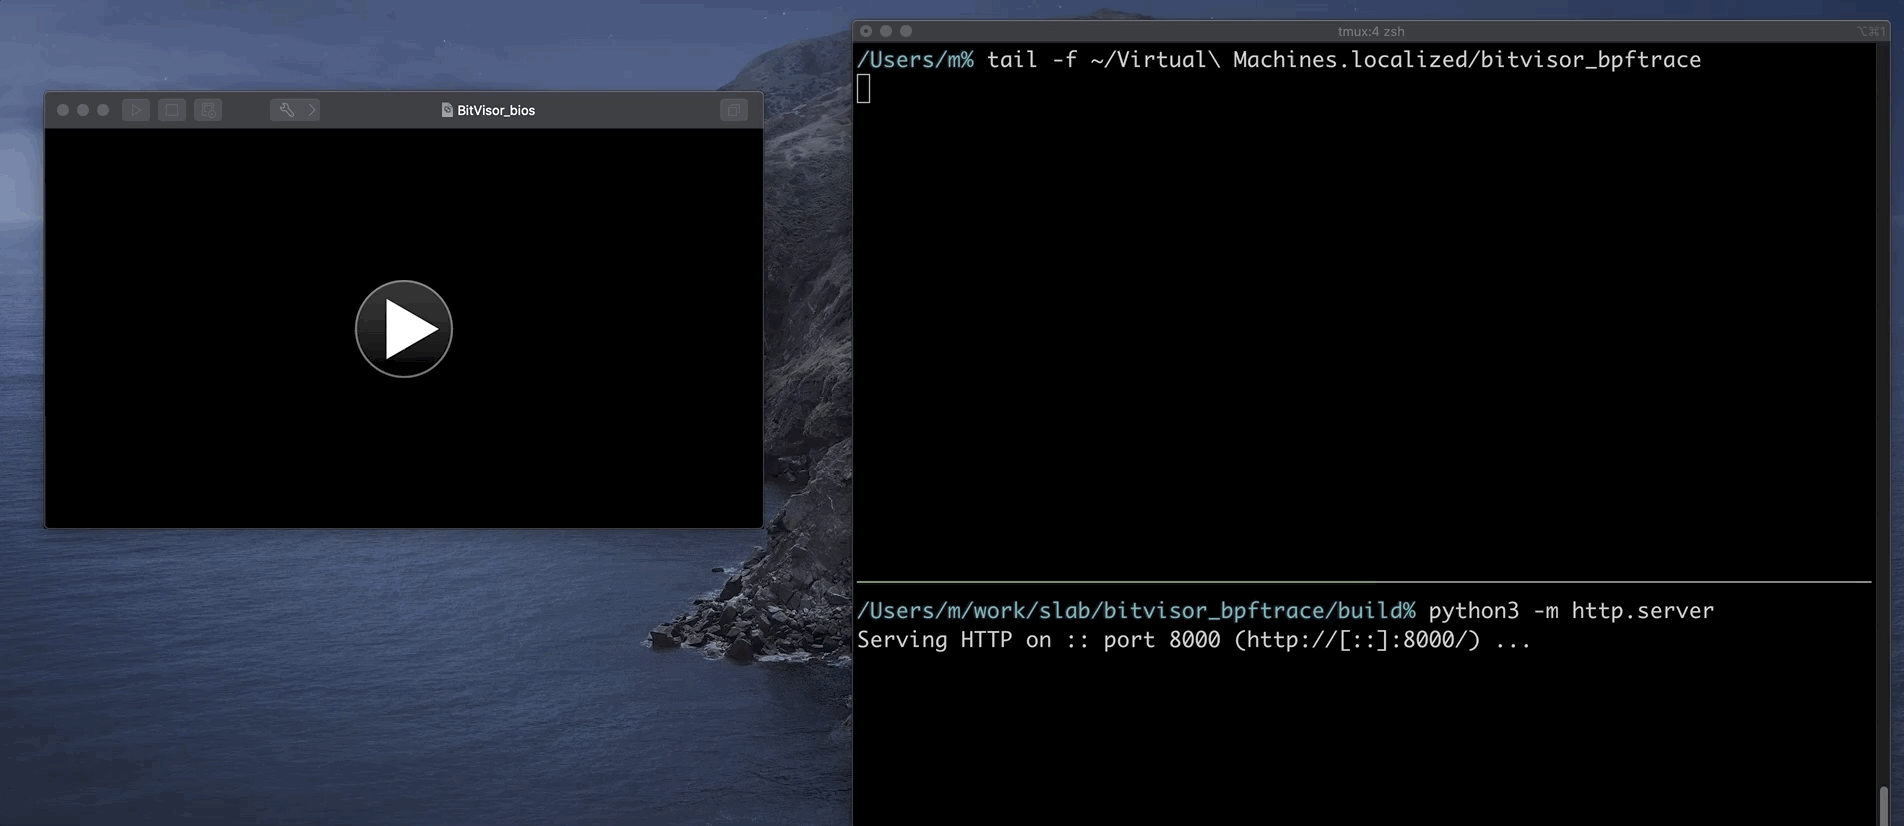
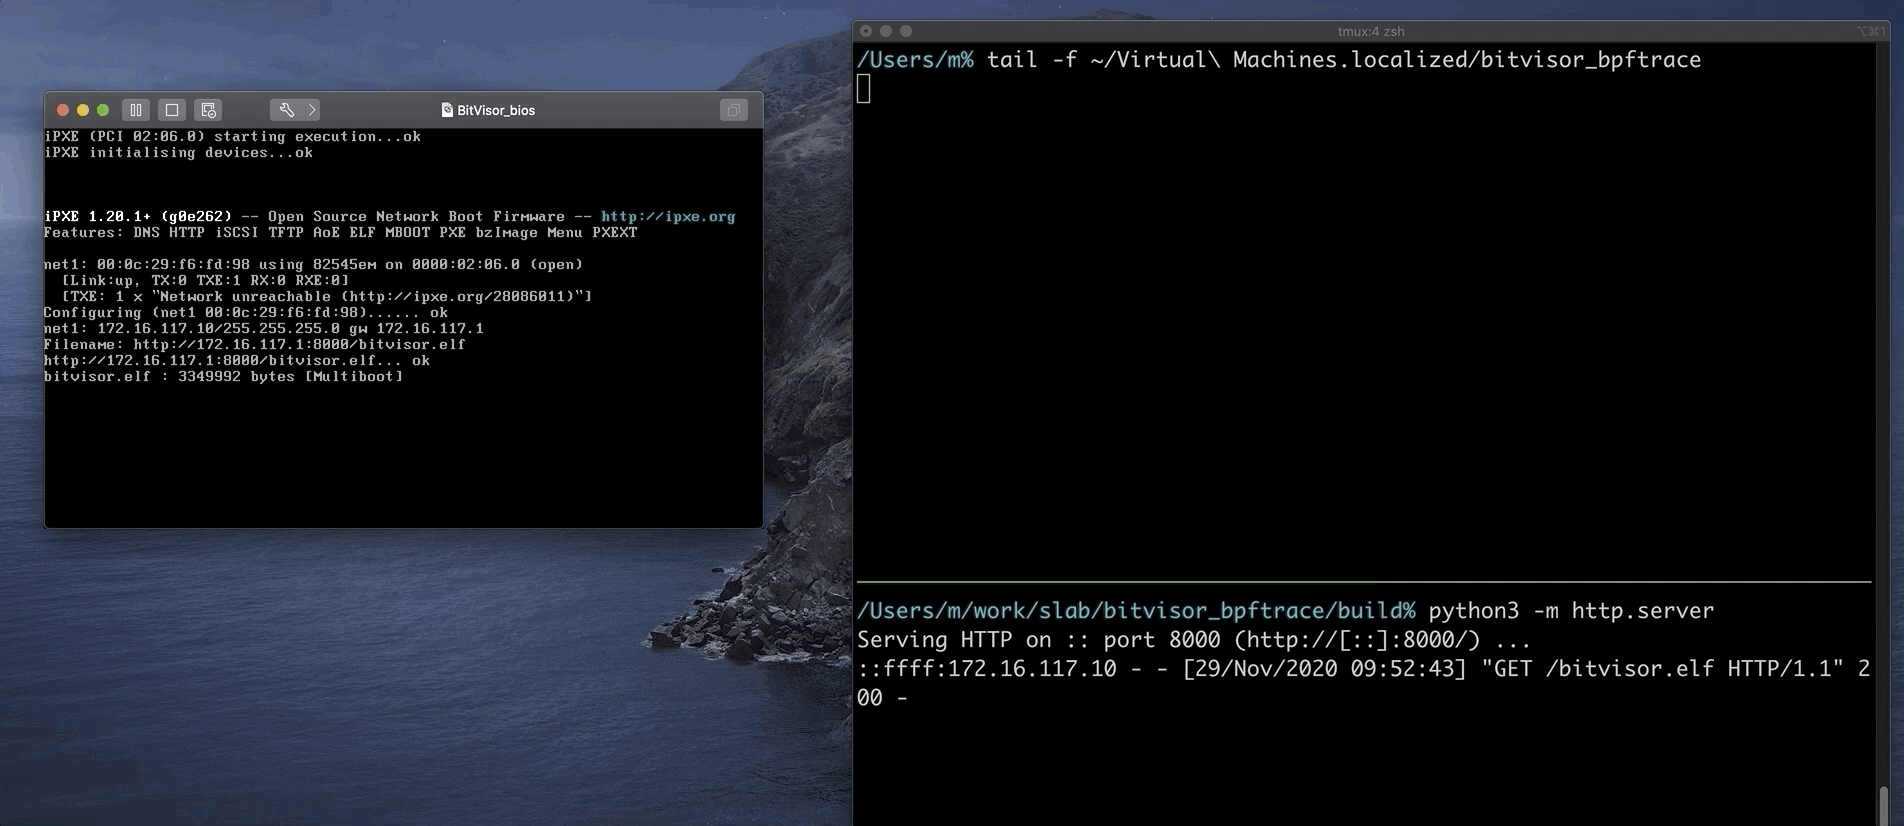
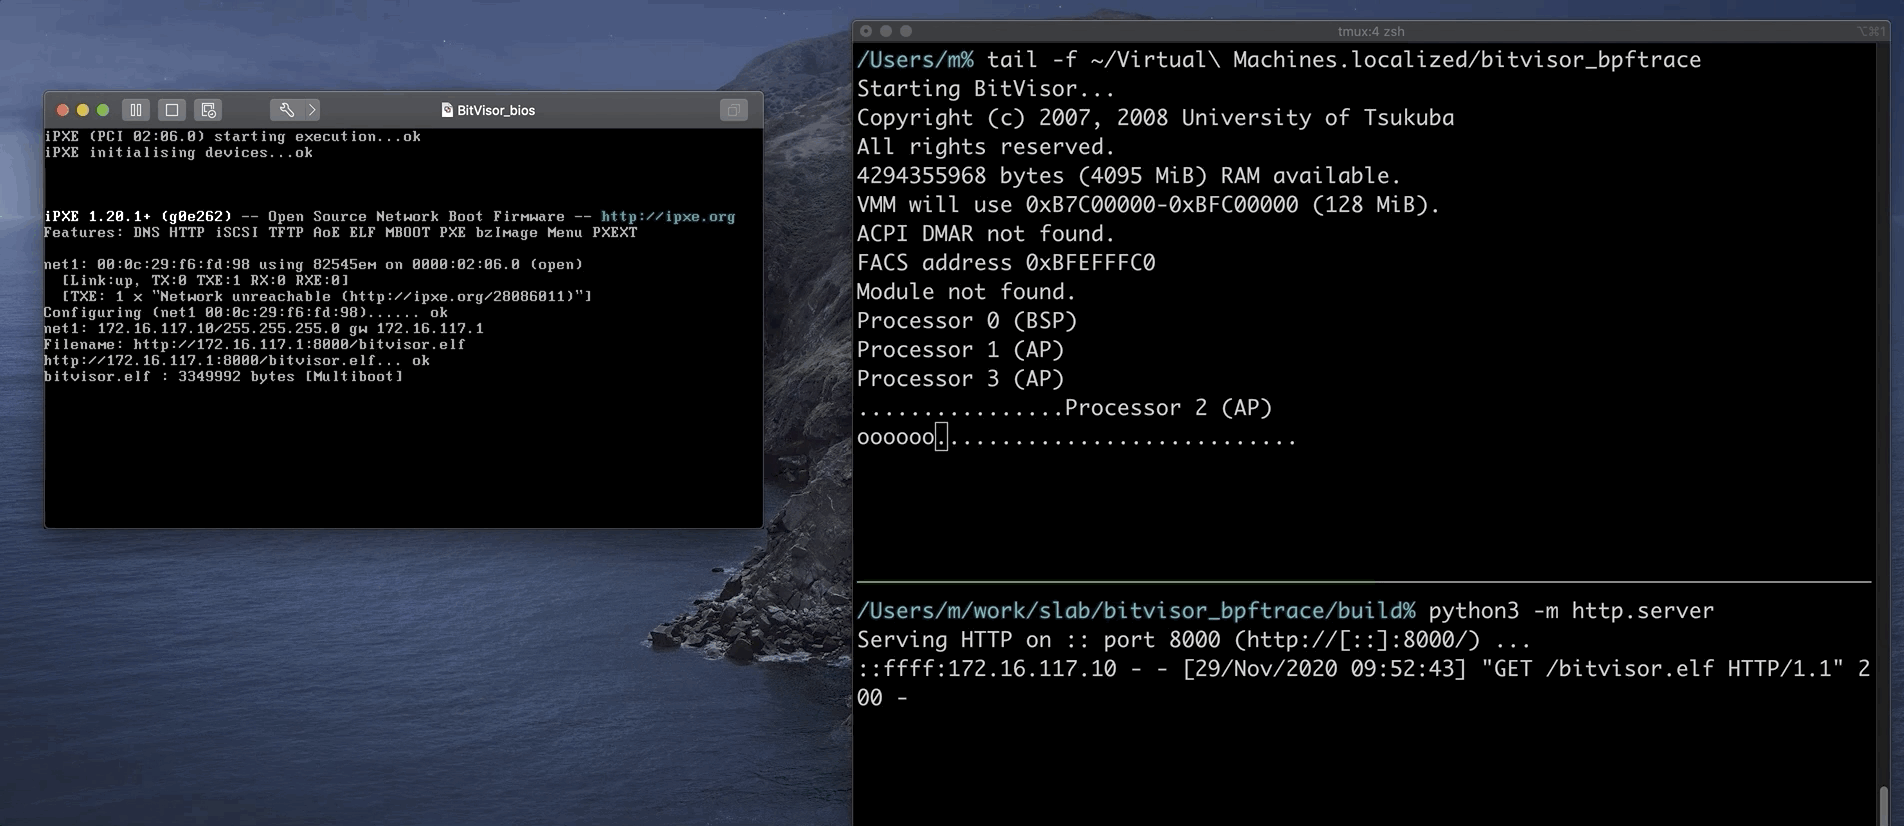
全てがうまくいけば,VMを起動すると,ipxeでbitvisorを取ってきてそれからゲストOSを立ち上げてくれます.BitVisorを修正したい場合は適当にソースを変更したあと,また ./make.sh でbitvisor.elfを更新してVMを再起動すればよいです.以下が実行例です (qiitaに動画が貼れないようなので画像で)
- 起動前
-
ipxeでのブート
-
BitVisorの起動ログ
まとめ
VMwareを利用したBitVisorの開発環境例を紹介しました.なかなか便利だと思うので,BitVisorの開発環境で挫折した人は是非一度試してみてはいかがでしょうか.