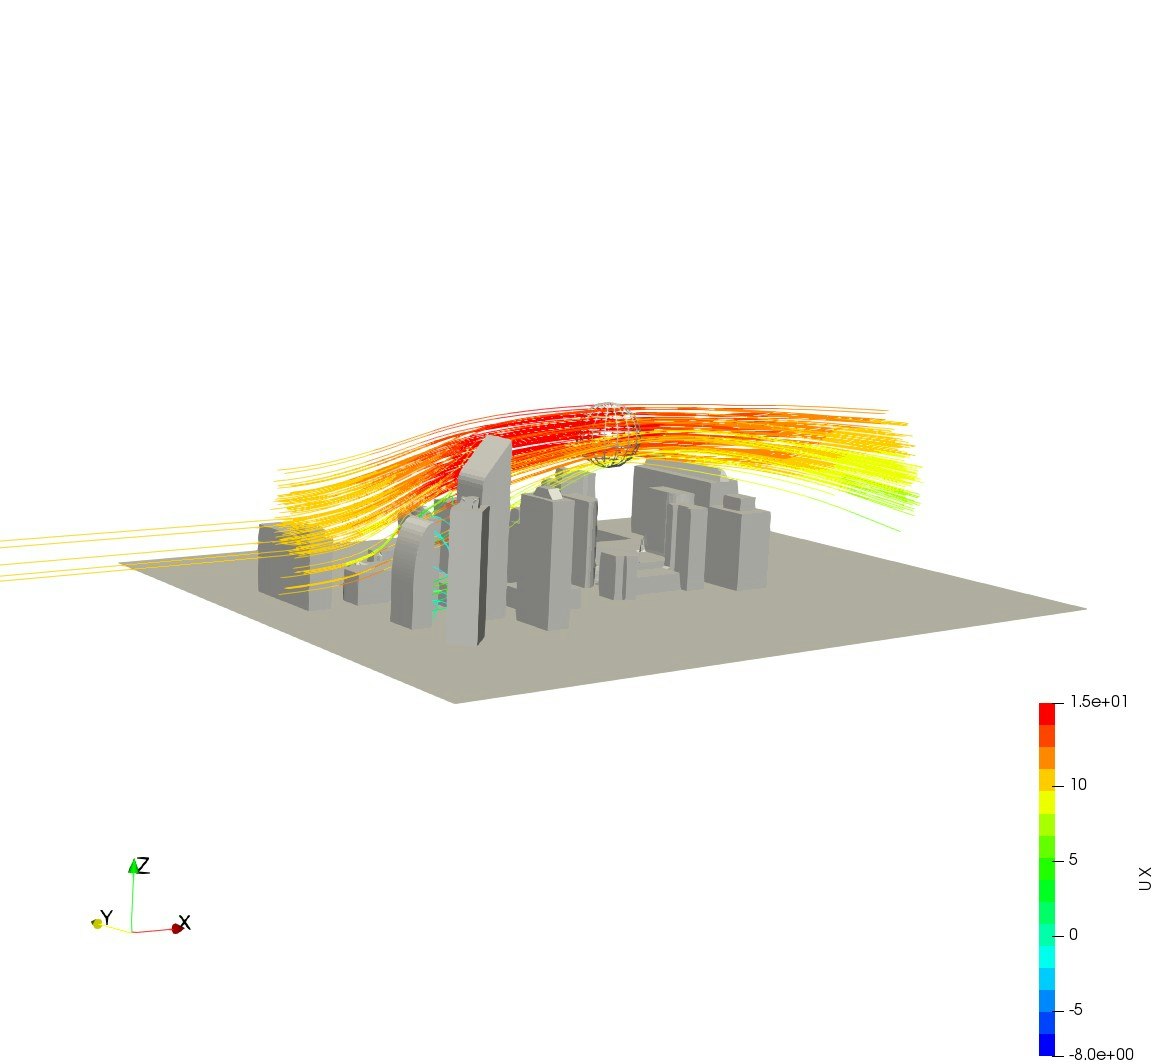
ParaViewで流線を書くときのメモ。
Paraviewで3次元的な流れの流線をStream Tracerで描画すると、High Resolution Line Sourceで描画すると2次元的な流線になり、point sourceにするとポイント周りの流線は書けるがポイントから離れた位置では流線が出ない(ポイントRadiusやたら大きくするという手はある)。
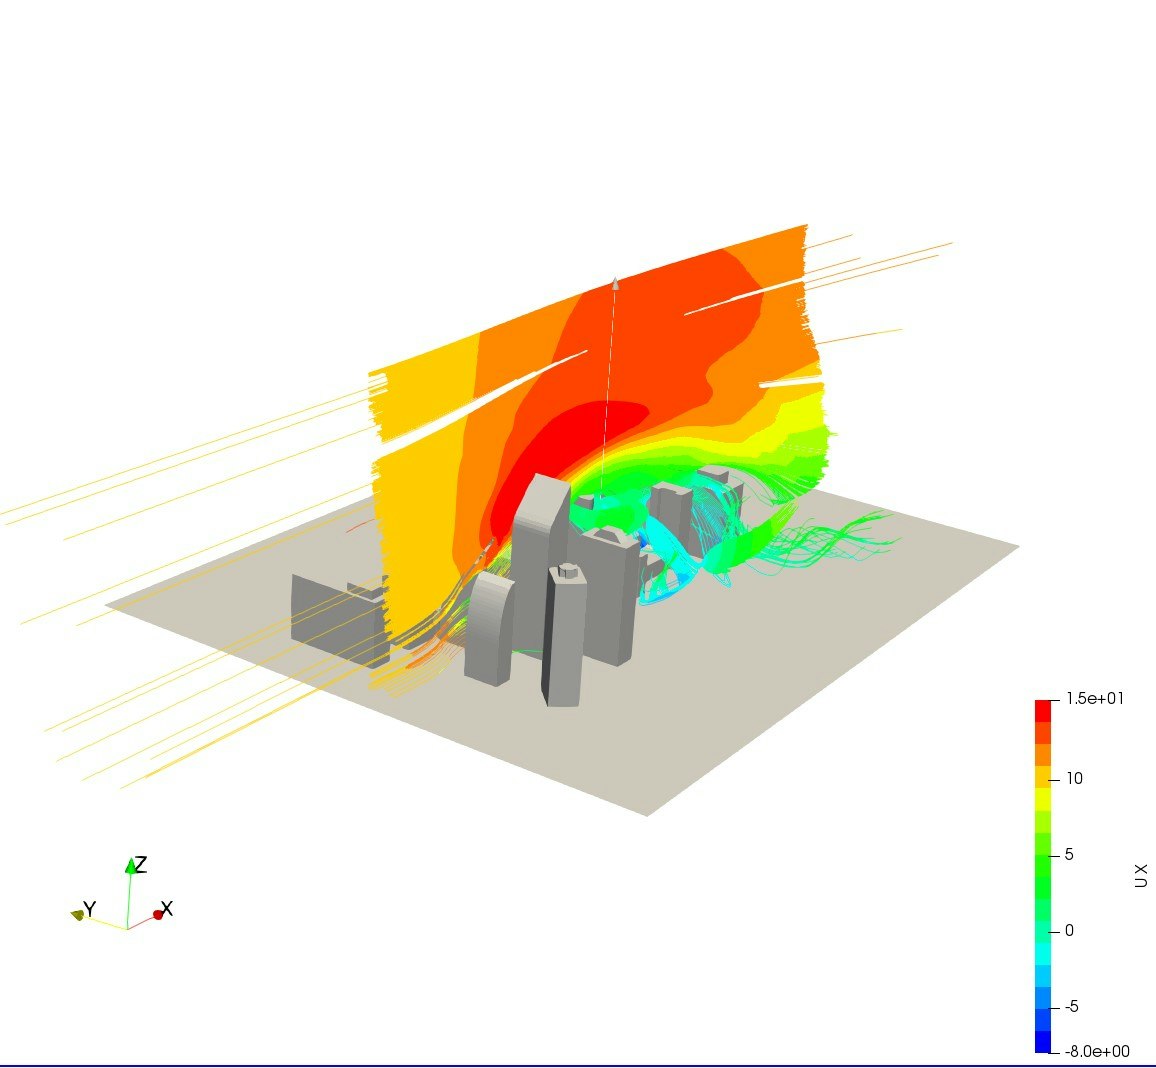
Fig.1 High Resolution Line Source
こういう場合は、流線をStream Tracer with Custom Sourceを使う。
Stream Tracer with Custom Sourceでは流線を描く元データと流線を描画するシードを定義するFilterを選ぶ。FilterとしてSliceを選ぶとSliceした断面から流線が描画される。
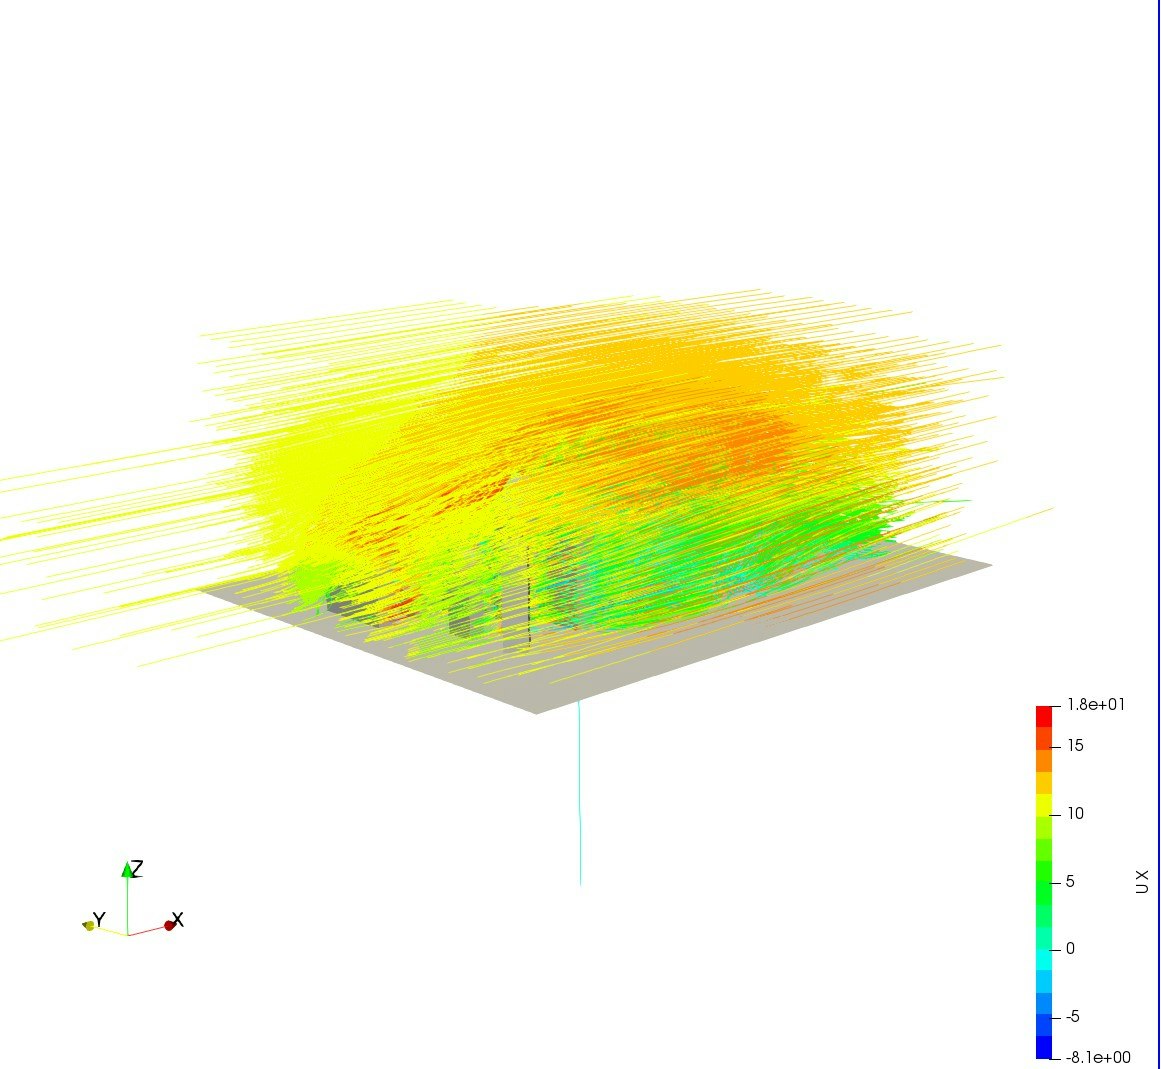
Fig.3 Stream Tracer with Custom Source
Stream Tracer with Custom Sourceだけだとシード数の調整がうまくできないので、間にMask Pointsフィルターを挟むと、シードの数をMaximum Number of Pointsで調整できる。
フィルタ設定時のPipeline Browserを次に示す。
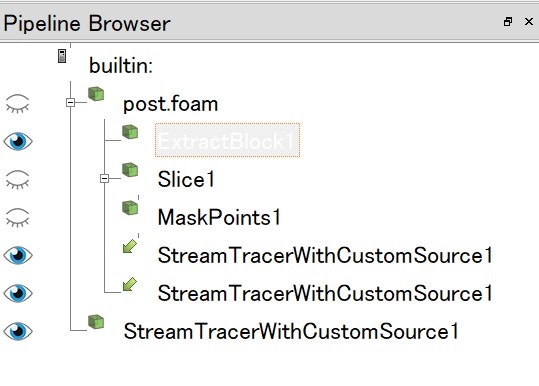
Fig.4 フィルタ設定時のPipeline Browser
設定手順は次の通り。
-
Sliceで断面を作る
-
SliceにMask Pointsを設定する
-
Mask PointsのMaximum Number of Pointsを調整する(始めは小さい数にする。デフォルトは5000で描画すると重い)。
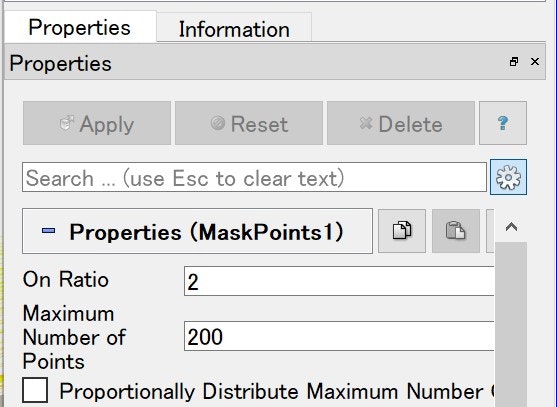
Fig.5 Mask PointsのMaximum Number of Points -
Mask PointsにStream Tracer with Custom Sourceを適用する。
-
Stream Tracer with Custom SourceのInputに大本のデータを指定し(上の画像ではpost.foam)、Seed SourceにMask Pointsを指定する。
そうすると次の図のようになる。
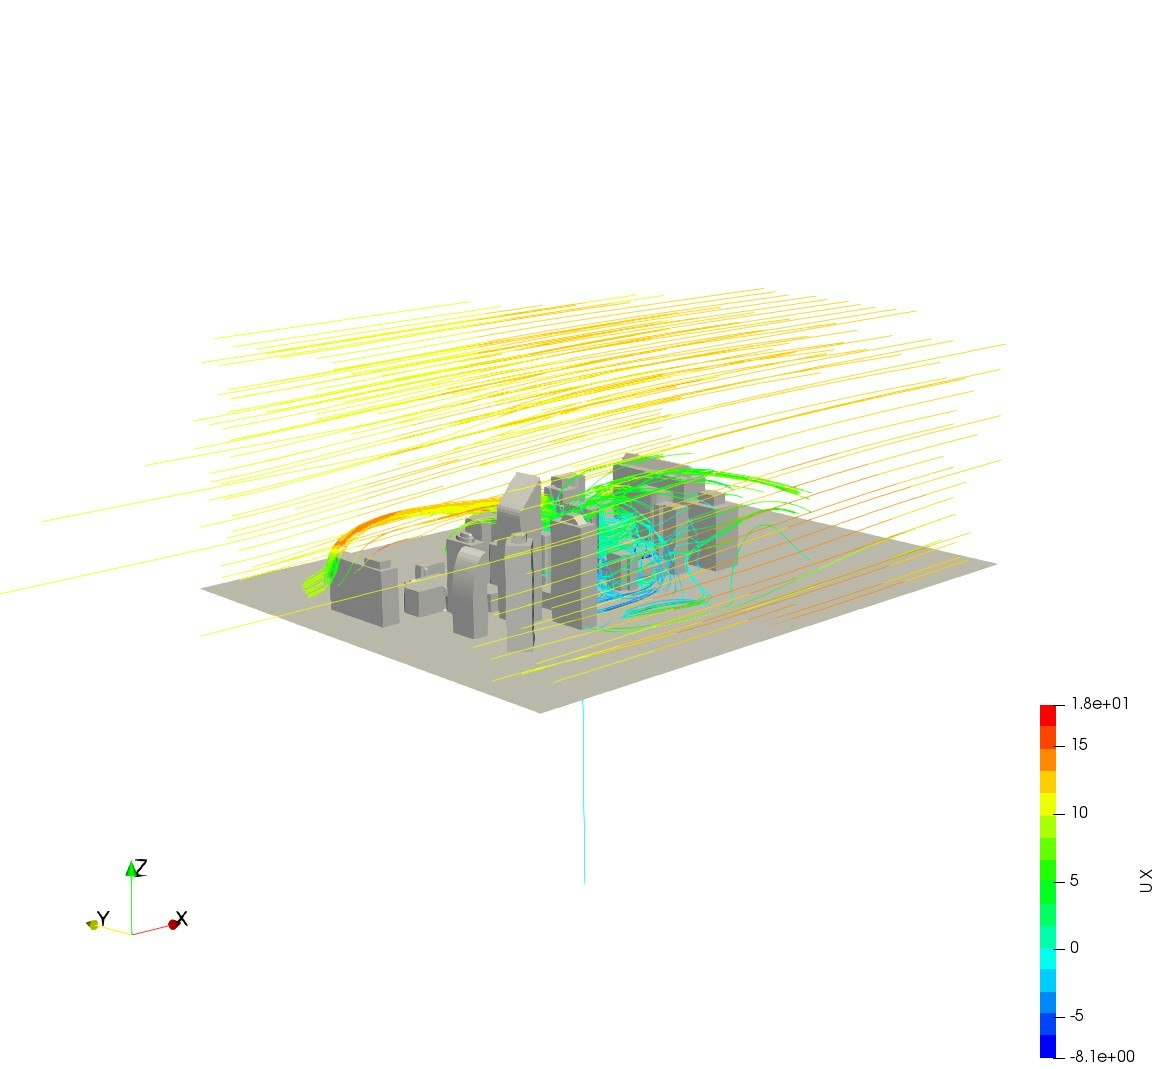
Fig.6 Mask Points+Stream Tracer with Custom Source
流線のイメージがOKそうならMaximum Number of Pointsの数を増やしていく。この方法なら過剰な流線描画でフリーズする状態を回避できる。
